Two New Quilt Patterns for Sale

This week, two of my new patterns are available!

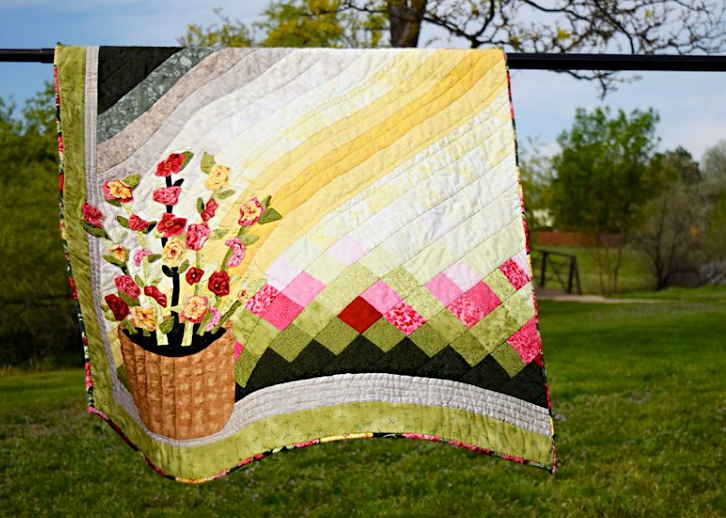
The first is “Flowers In The Window”.  This wall hanging appeared on Fons & Porter’s Love of Quilting Facebook page in March.  I received so many positive comments about it, that I wrote the pattern.

Flowers in the Window
Flowers In The Window

Now, it took me 4 weeks to write this pattern and it is 22 pages long!  It is “a teaching pattern” meaning that it is like you and I are sitting side by side making this together.  It is the closest thing to taking a private lesson with me. In it, I also tell about how I work with color.

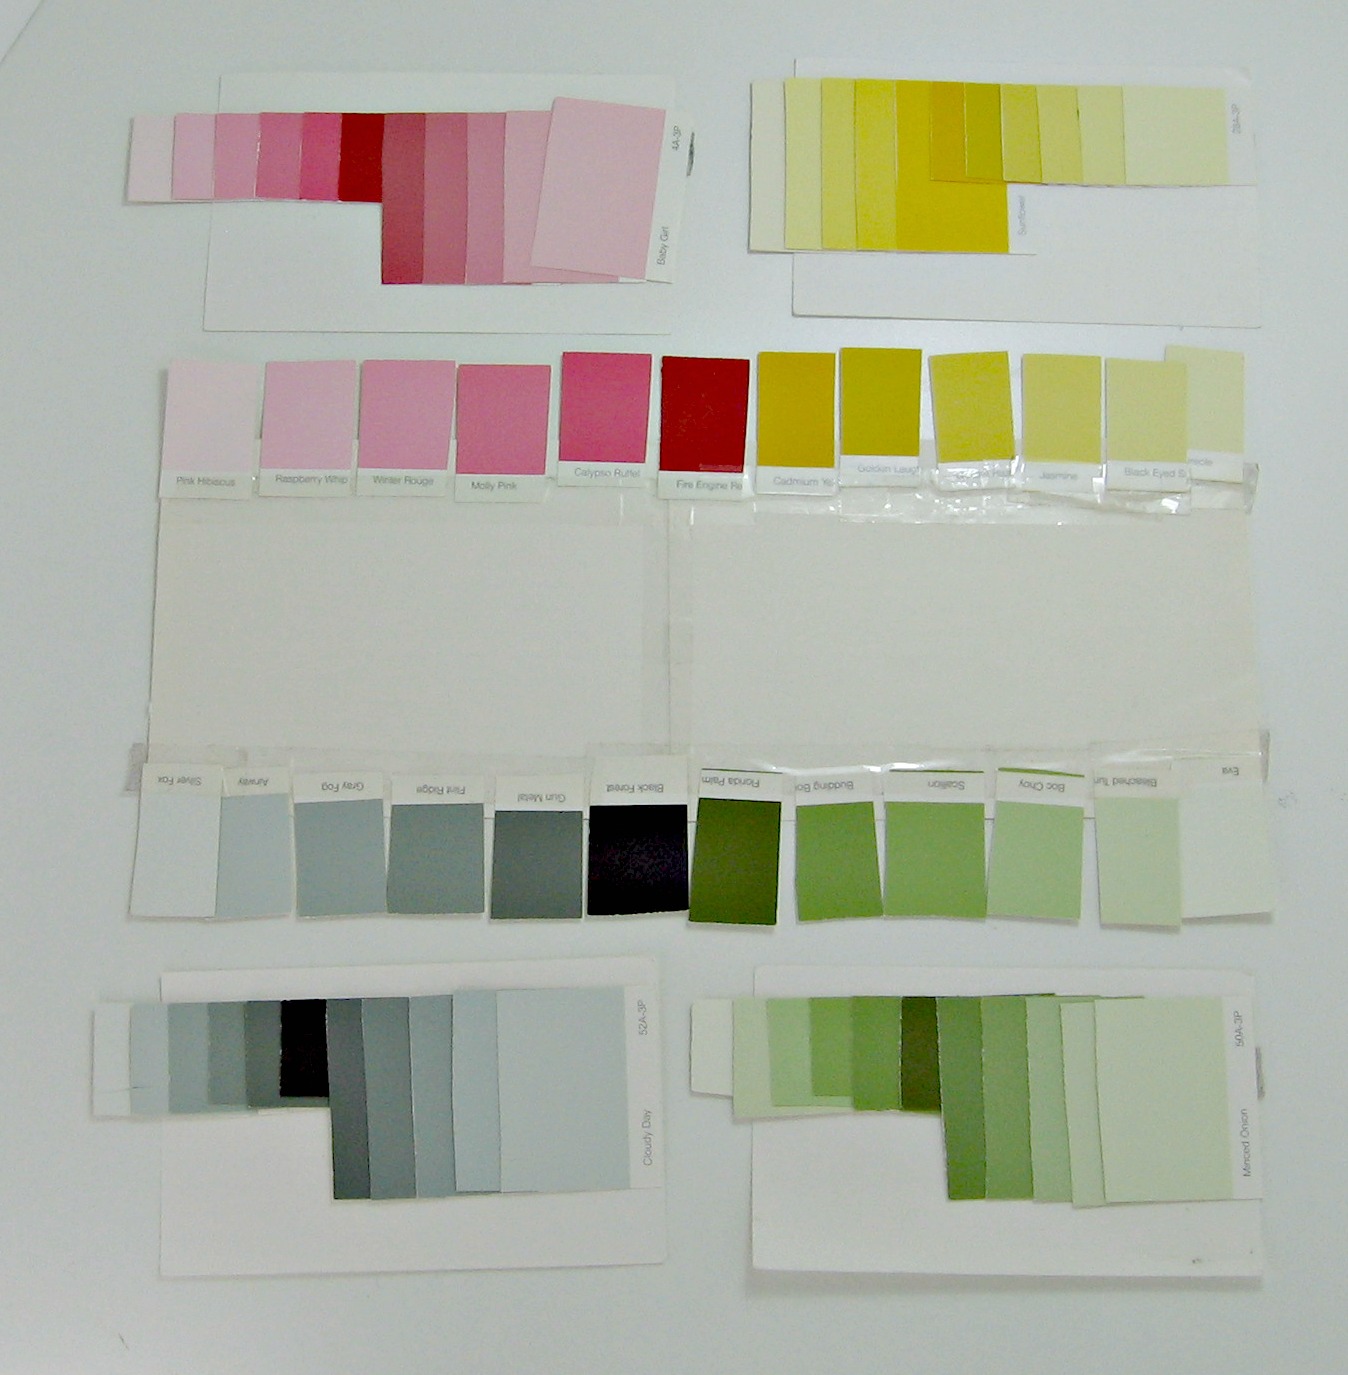
Color Key B
My Color Key

If you have any reservations or confusion when it comes to selecting fabrics, (And I know some of you do because I hear it all the time!) this is a great project to increase your understanding and confidence. You can purchase it directly from the pattern page on my website, Jenny Kae Quilts.

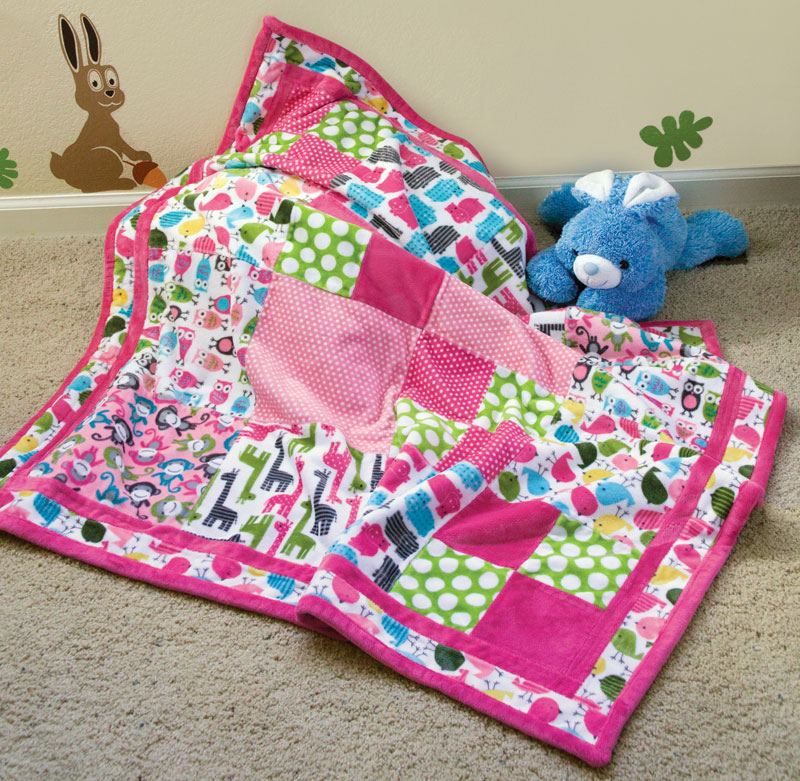
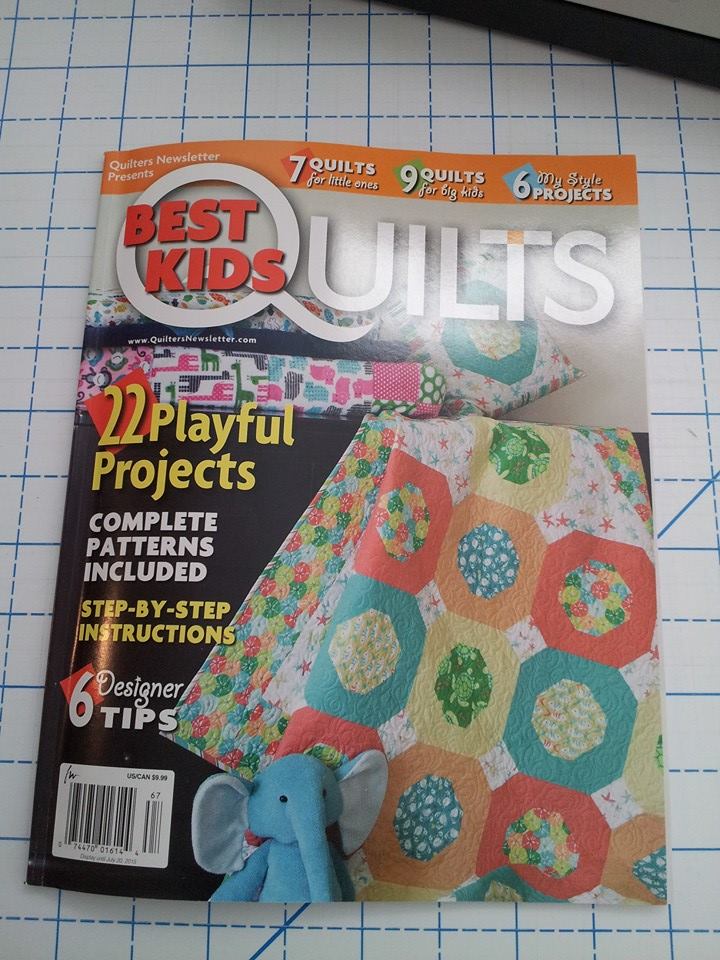
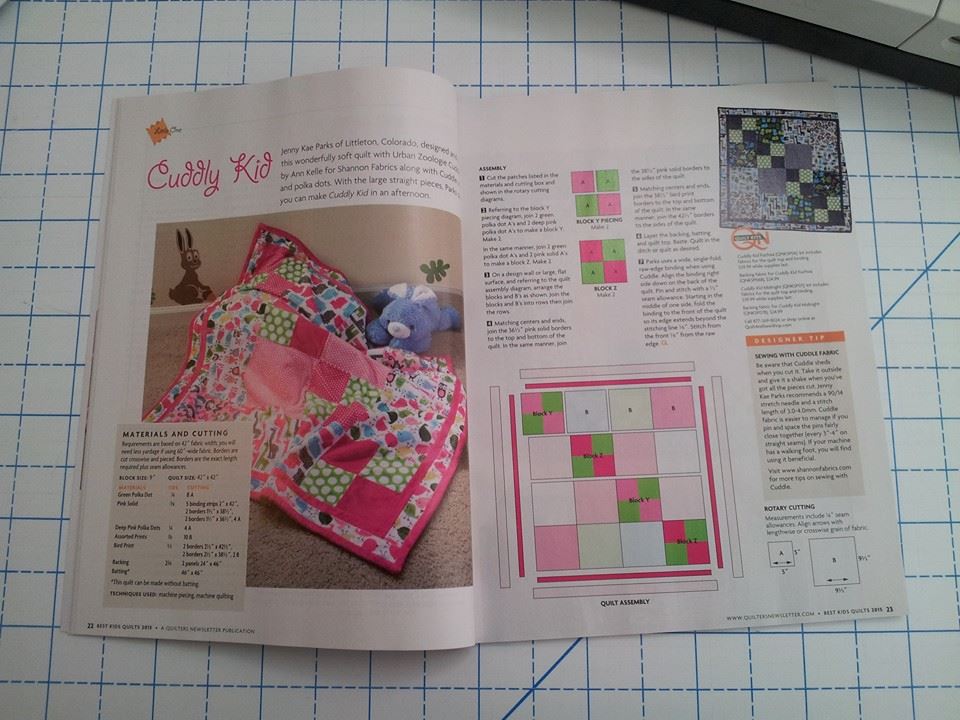
The other pattern, Cuddly Kid, was published in Quilter’s Newsletter’s Best Kids Quilts 2015.  You can purchase the magazine in stores or from Quilter’s Newsletter Cuddle Kid. 

CuddlyKid-Fuchsia-Styled_800
Cuddle Kid

This quilt features Cuddle pre-cuts, is easy to make and super soft.  It is shown in two color ways and kits are available.

QN Cuddly Kid cover
Quilter’s Newsletter Best Kids Quilts – Cuddle Kid
QN Cuddly Kid
Inside the magazine – Cuddle Kid

That’s all for now.  I would love to hear your thoughts, questions and suggestions in the comment section below.

Thanks,

Jenny

#quiltersnewsletter #jennykaequilts #flowersinthewindow #cuddlekid

Three Free Things!

I have THREE FREE things I want to tell you  about.

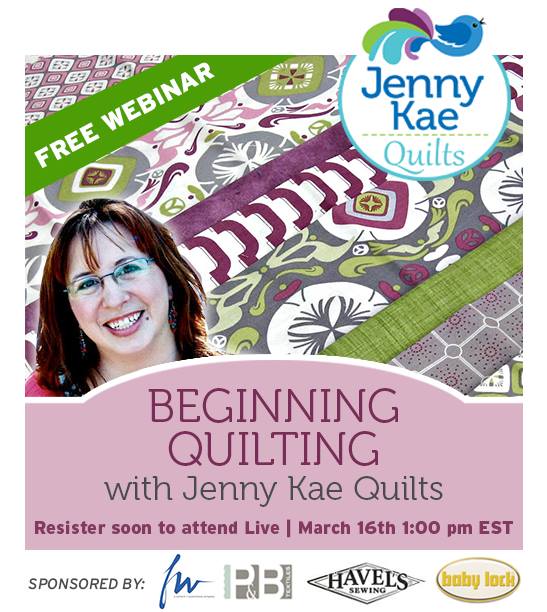
First, the FREE “Beginning Quilting” webinar was a huge success.  Over 1100 people tuned in!  When they told me that, I was shocked. I thought, “Be serious!”. I hope everyone enjoyed it and learned a ton!  It should be available again, for FREE, soon on Shop Fons and Porter.

Beginner Webinar

If you attended the webinar, I would love to hear what you thought.  Please consider posting a review in the comment section below.

Second FREE Thing.  There is another reason to leave a comment below, you could win FREE Fabric!  P&B Textiles provided all the fabric that I used in the webinar, including the entire Fontaine line and a custom pack of Color Weave and Suede.  Enter a comment below, between now and April 1st at 7:00 EST, and one randomly selected person will win all the fat quarters from the webinar!

P&B Giveaway

Third FREE thing.  I am also pleased to announce that the accompanying pattern, “Four Basic Blocks”, is now available for download.  Go to my website and get it for FREE!

Four Basic Blocks

Now, who don’t like a little bit of FREE?

Don’t forget to post your comments below and I will see you next time,

Jenny

#jennykaequilts #pbtex #babylock #havel’s #beginningquilting #freequiltpatterns

Flower In the Window

So, I was minding my own business, piecing a quilt and noticed things were really hopping on my Facebook page.  I thought, “Hmm, somebody must have posted something about me today but I have not idea what it is.”  Then folks started coming out of the woodwork asking me about a quilt I made, years ago, for a contest, that I didn’t even win!  “Hmm. I better do some investigating.”  (I consider myself a bit of an sleuth, I could have be a spy but I am too much of a klutz. Picture Laurel and Hardy solving crimes!)

As I was looking on my Facebook feed, lo and behold! I found this!

Flower in the Window

Fons and Porter posted this photo along with information about my upcoming web seminar.  To register click here FREE Beginning Quilting

From Fons and Porter:

“Are you new to quilting? Welcome! We know sometimes quilting can be a time and skill intensive hobby, and sometimes you’re not sure where to start. No worries! Jenny Kae Parks is hosting a FREE Beginning Quilting webinar on March 16th. Learn more at our Editors’ Blog: http://www.fonsandporter.com/blogs/?p=3251

And I have to say the comments people made are so complementary and wonderful.  Thank you, thank you, thank you.  I am really touched and delighted.

Several of you asked about the pattern and where you can buy it.  I must confess, I don’t have a pattern, yet.  I have the quilt, notes and some scraps so I will write the pattern and have it available on PDF in a couple of weeks.  I will post info as soon as it is available.

In the meantime, check out my website for other patterns, demos and web seminars.

Hope to see you soon,

Jenny

#jennykaequilts #flowerinthewindow #freequiltingwebinar

Lay flat! Gosh Darn it! Pressing Issues – Part 1

Proper pressing is essential for accurate quilting.  Before I get into hows? and whys?, I want to share my favorite tools for pressing.  The first two are required and the last one is optional.

First, you have to have a pressing surface.  It should be hard and stable and, um, that is about it.  I have a standard ironing board, Walgreens style.  I also have a small, DIY one that I made.  I take it to classes and it works really well.

Made with materials you have, RIGHT NOW, in the perfect size and totally portable.

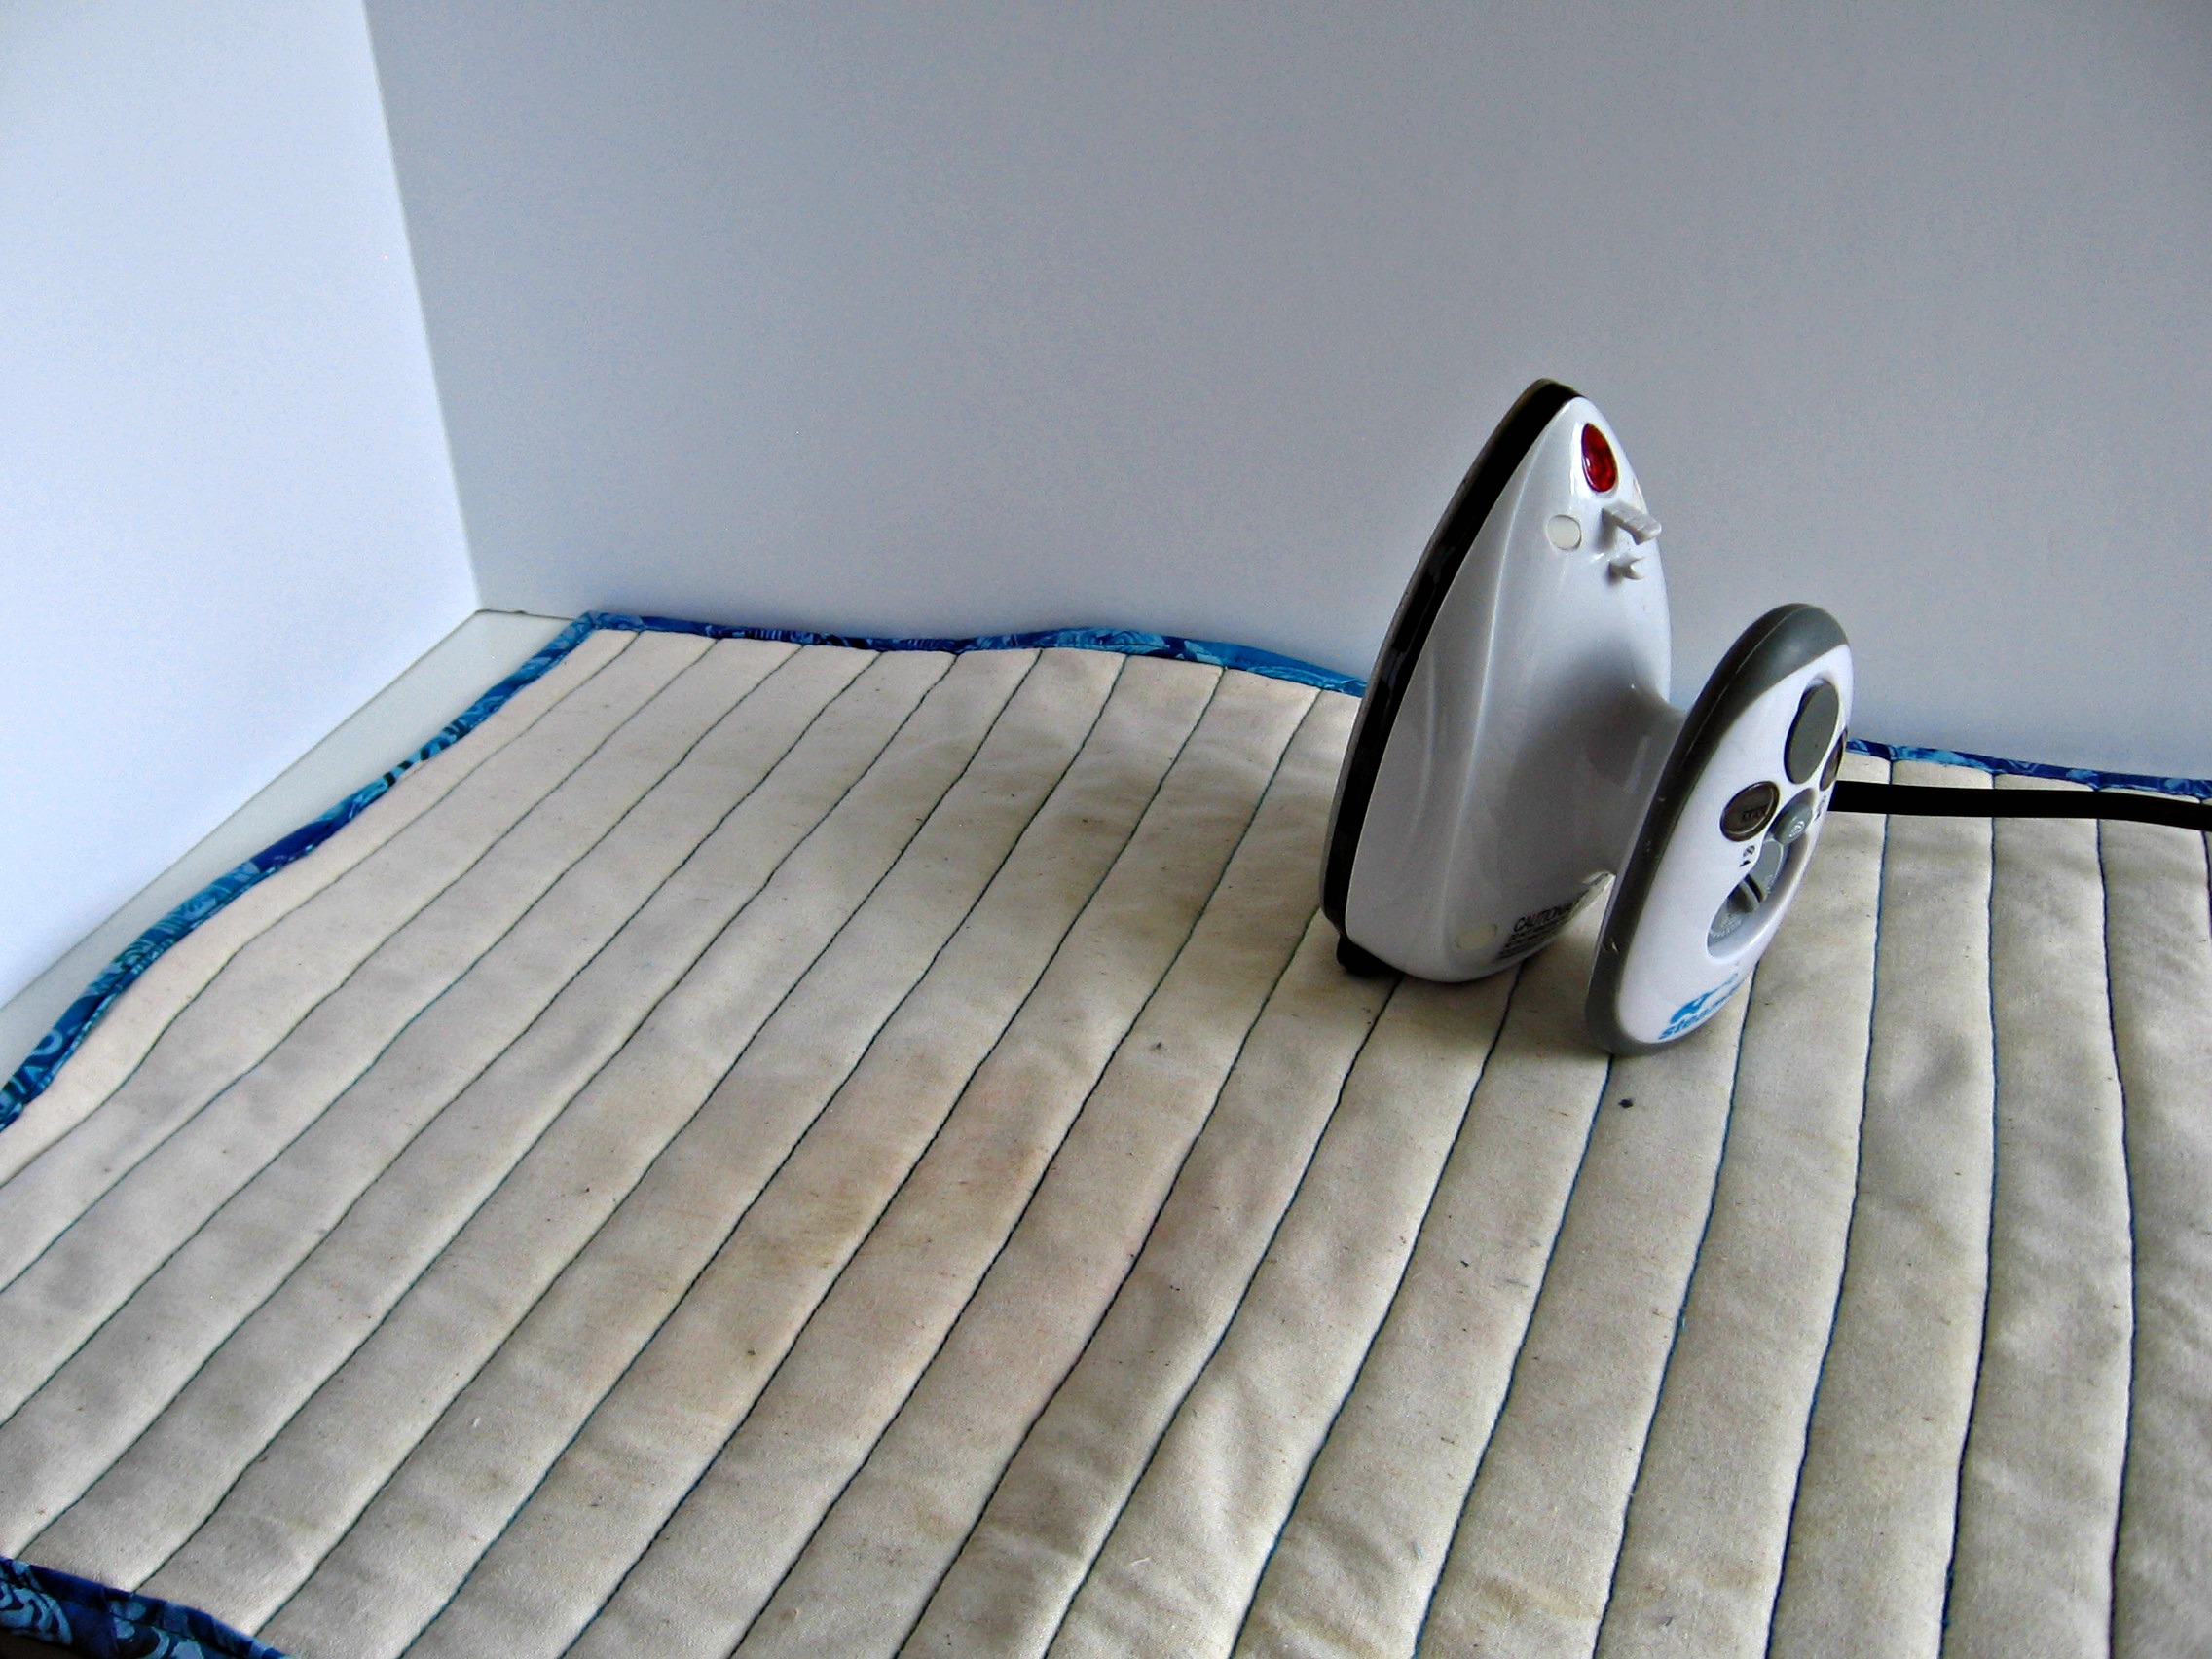
To make this custom pressing pad, I measured the size I wanted to cover.  I layered muslin, batting, tin foil, batting and muslin and trimmed the sandwich to the proper dimensions.  (Instead of tin foil, I bought the special material made just for pot holders, but I could not find it when I was ready to make it.) Then I quilted channels so there would be no shifting.  I bound the edges with scrap binding.  The really cool things about this method is that you can make it the PERFECT size and use stuff you already have. Yahoo!

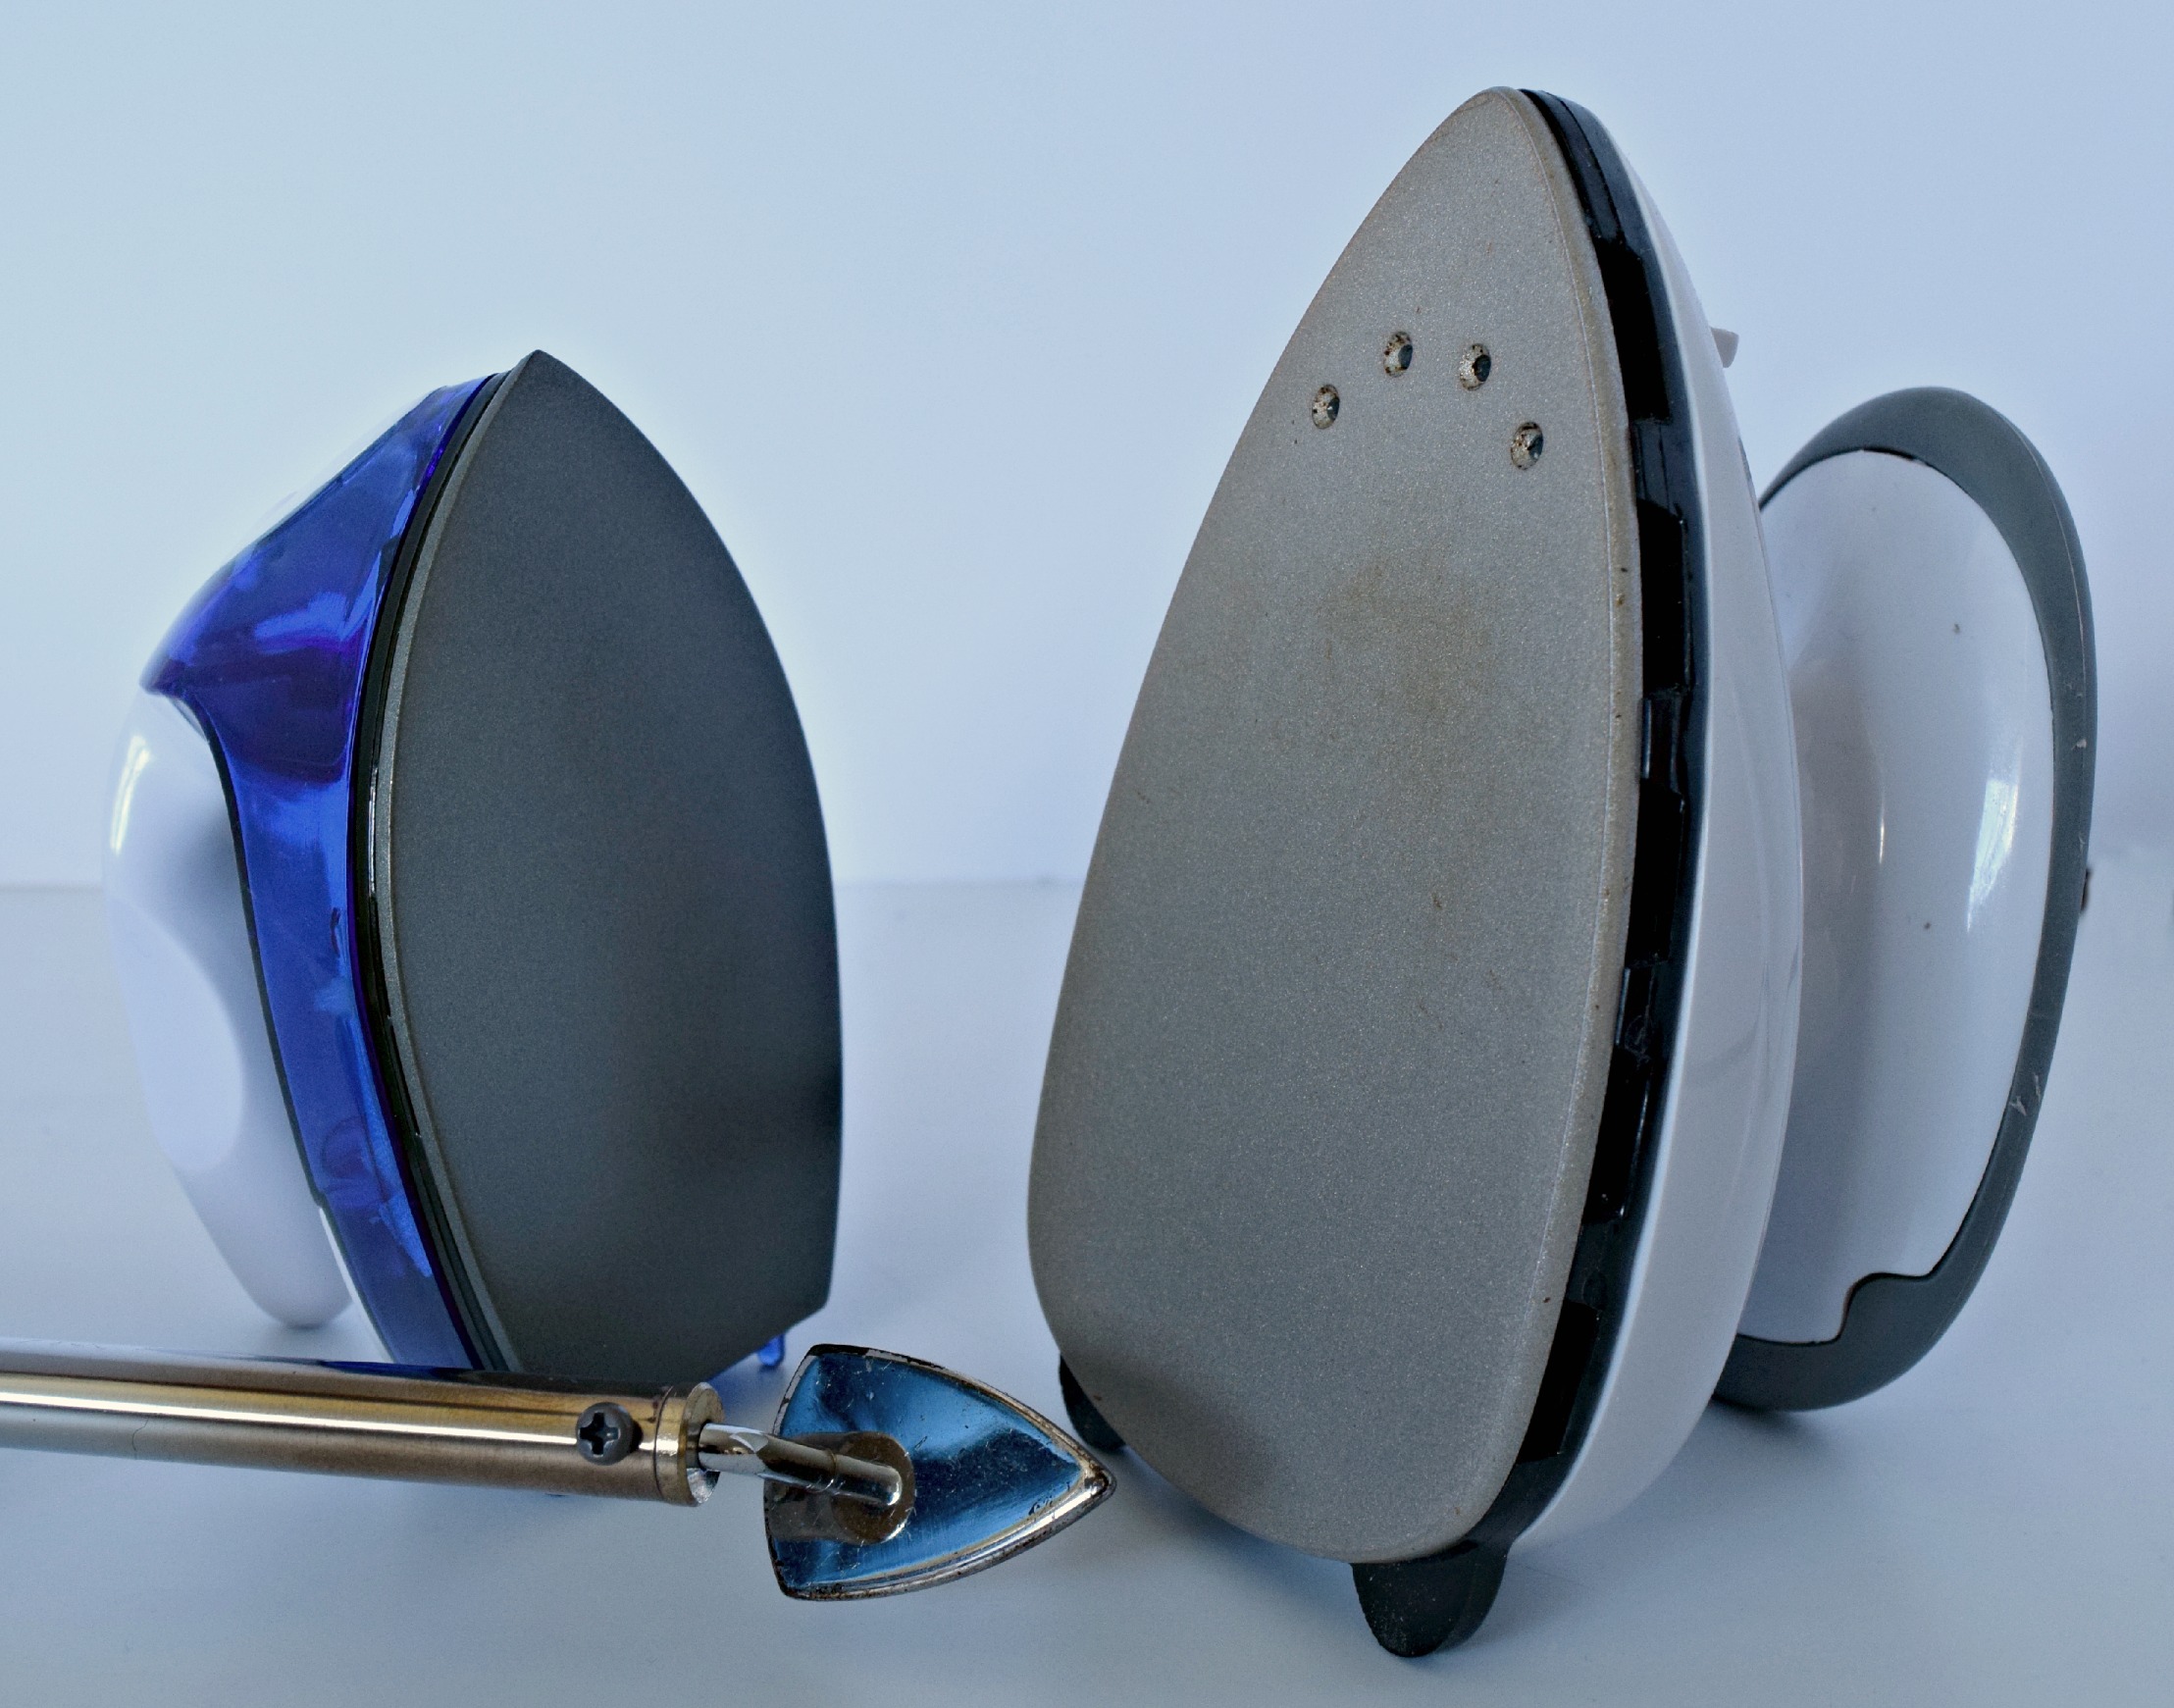
These are my favorite irons, one for home and one for the road.

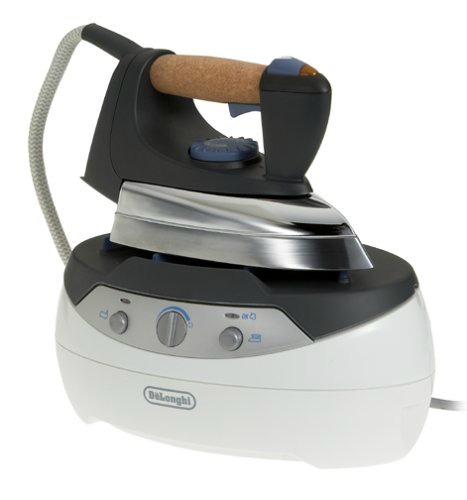
Delongi Iron
This is my star-at-home iron. Ain’t she pretty?

This is the Delongi Ironing System.  It runs about $250 but is totally worth it.  It gets hotter than a hootenanny, doesn’t leak and STAYS hot!  I know the new auto-shutoff on many irons is a safety feature but just when I am ready to press again, the iron has to heat up, again.  Grrrrrr!

Oh, are you worried about me leaving the iron on? I have a solution.

Problem solved!
Problem solved!

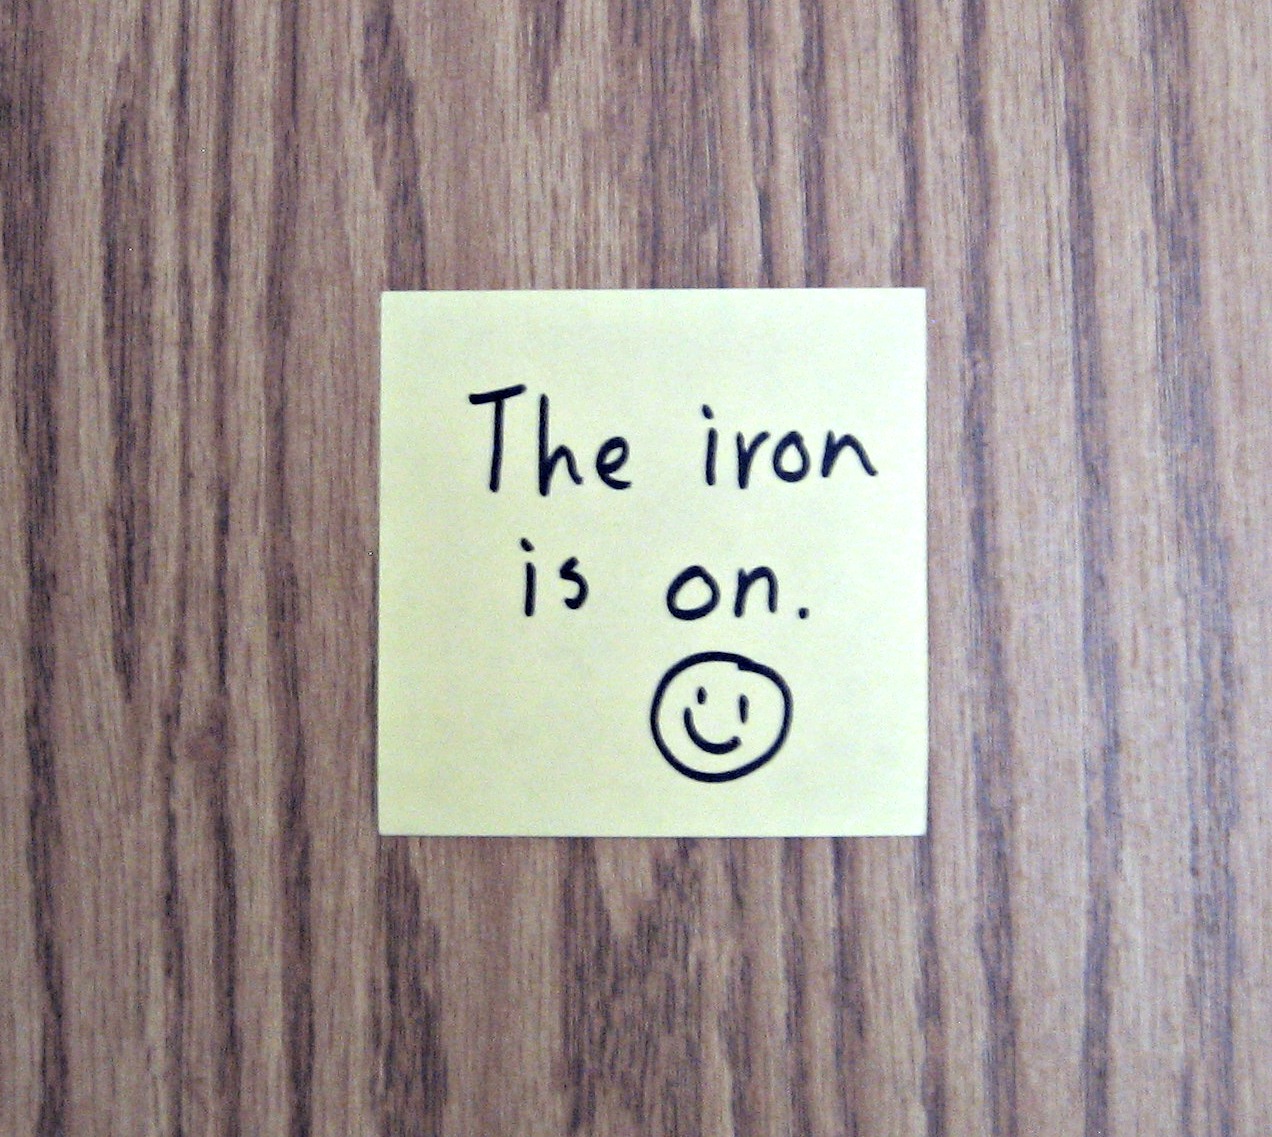
Every time I turn the iron on, I put my stick note on the door that says, “The Iron Is On.”  That way when I leave the room, I see it and check the iron. (I also think leaving notes is a good habit to get into, as I get older, I think I will need more Post-its, just saying.)

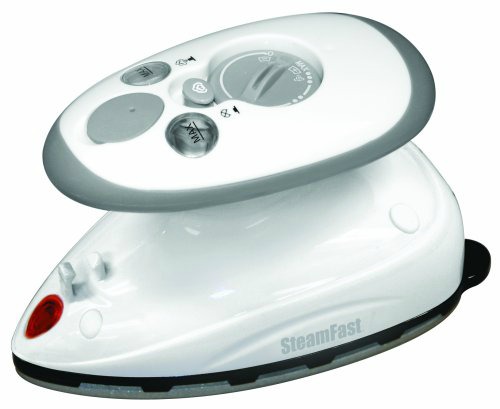
When I am on the road, this is my favorite, the Steamfast SF-171 Travel Iron. I LOVE it!

Perfect little iron.

It is easy to pack, heats up quickly, stays no-fooling-around hot, uses steam, all-around great iron.  Love it.

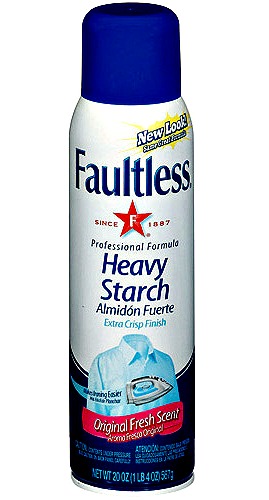
The optional pressing tool is starch. My favorite is Faultless Spray Starch.  It is easy to use, easy to fine and inexpensive.

My favorite starch.
My favorite starch.

I DO NOT starch everything.  I use it only when I want to minimize stretch, say for piecing curves and bias edges.  Or when the fabric just will not LAY FLAT!  Somehow, this magic spray makes fabric fly in proper formation.

In Pressing Issues – Part 2, I will cover the hows? and the whys?

What are your questions about pressing?  Leave a comment or question below.

See you soon!

Thanks,
Jenny

#jennykaequilts #pressing #delongi #steamfast #faultless

The Quilter’s Bucket List

Anyone who has been quilting for a while has a list of quilts they want to make.  They may even have several in progress!  I have my own list, my Quilter’s Bucket List.  These are the quilts I want to make, at some point, in my quilting career.  I also include which stage I am at in the process (idea, pattern, stash, cutting, piecing, quilting).  The quilts below are the works of others and are great inspiration.

1. A Lone Star  – I am in the Stash stage, 17 yards of it!

2. Grandmother’s Flower Garden – I am in the Piecing stage.  And as soon as I can find the box I have all the pieces in, I might finish.

Image result for grandmother's flower garden quilt

3. A Postage Stamp Quilt, a quilt made with 1 1/2″ squares and no two fabrics the same. I am in the Stash stage.  I am VERY certain I have enough scraps to make several king size quilts, just saying.

Image result for postage stamp quilt

4. A Double Wedding Ring – I have the templates so that is the Idea Stage

Image result for double wedding ring quilt

5.  A Jinny Beyer quilt. She is my color mentor and I just love her stuff. Check out her website. Jinny Beyer

So what is on your Quilter’s Bucket List?  Post your comments below.

Thanks,
Jenny

#bucketlist #jennykaequilts #quiltersbucketlist

Machine Quilt Binding Webinar

If you are like me, you spend hours picking the perfect pattern and fabric.  You spend more hours cutting, piecing, pressing, perfecting the top.  Then, you spend even more hours basting and quilting.  But there is one last hurdle between you and the finish line, binding!

Percentage-wise, we don’t spend anywhere NEAR the time learning to bind that we spend on every other aspect of quilting.  No wonder we struggle, forget how we did it last time, try tool after tool and never feel it is quite right.

I feel your pain.

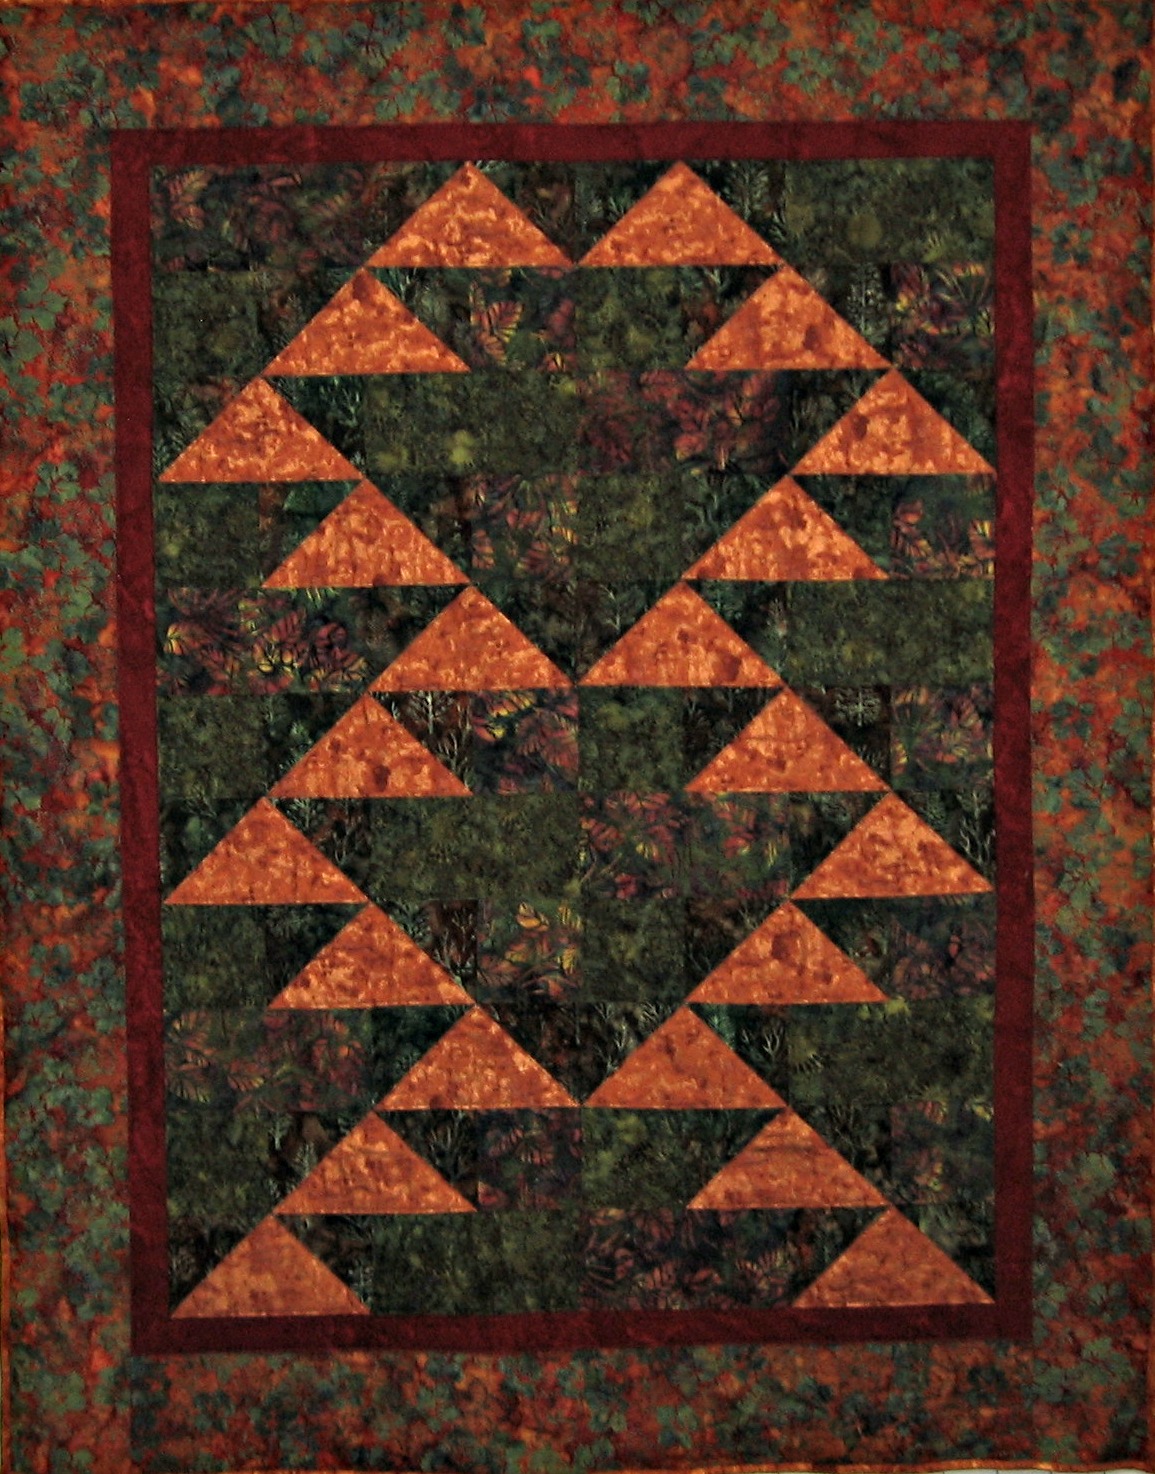
I made this quilt for a friend of mine.  I love the copper and the green together.

The Lost City of Z

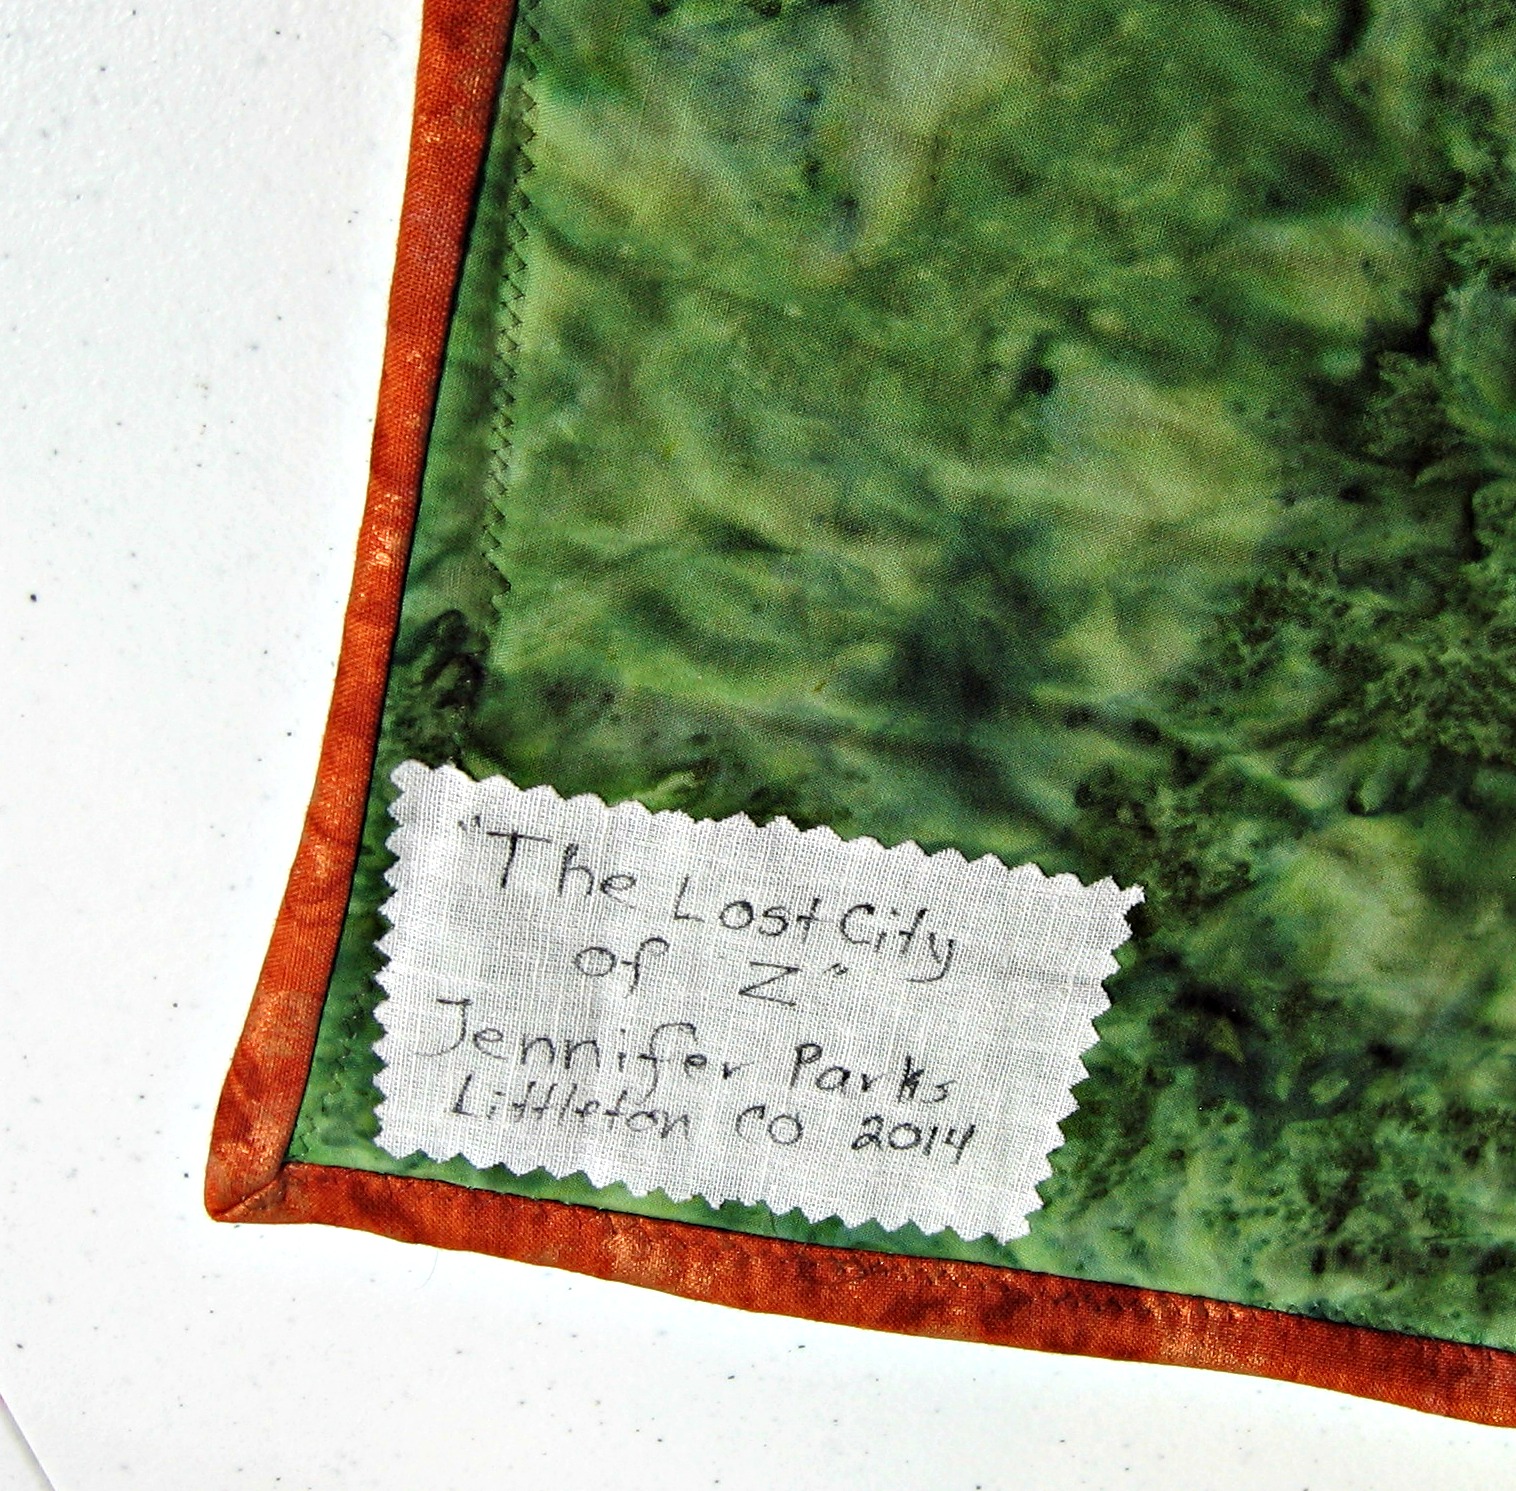
However, the only thing I notice when I look at it is this!  Look at how uneven the binding is.  This, my friend, is just a cry for help!

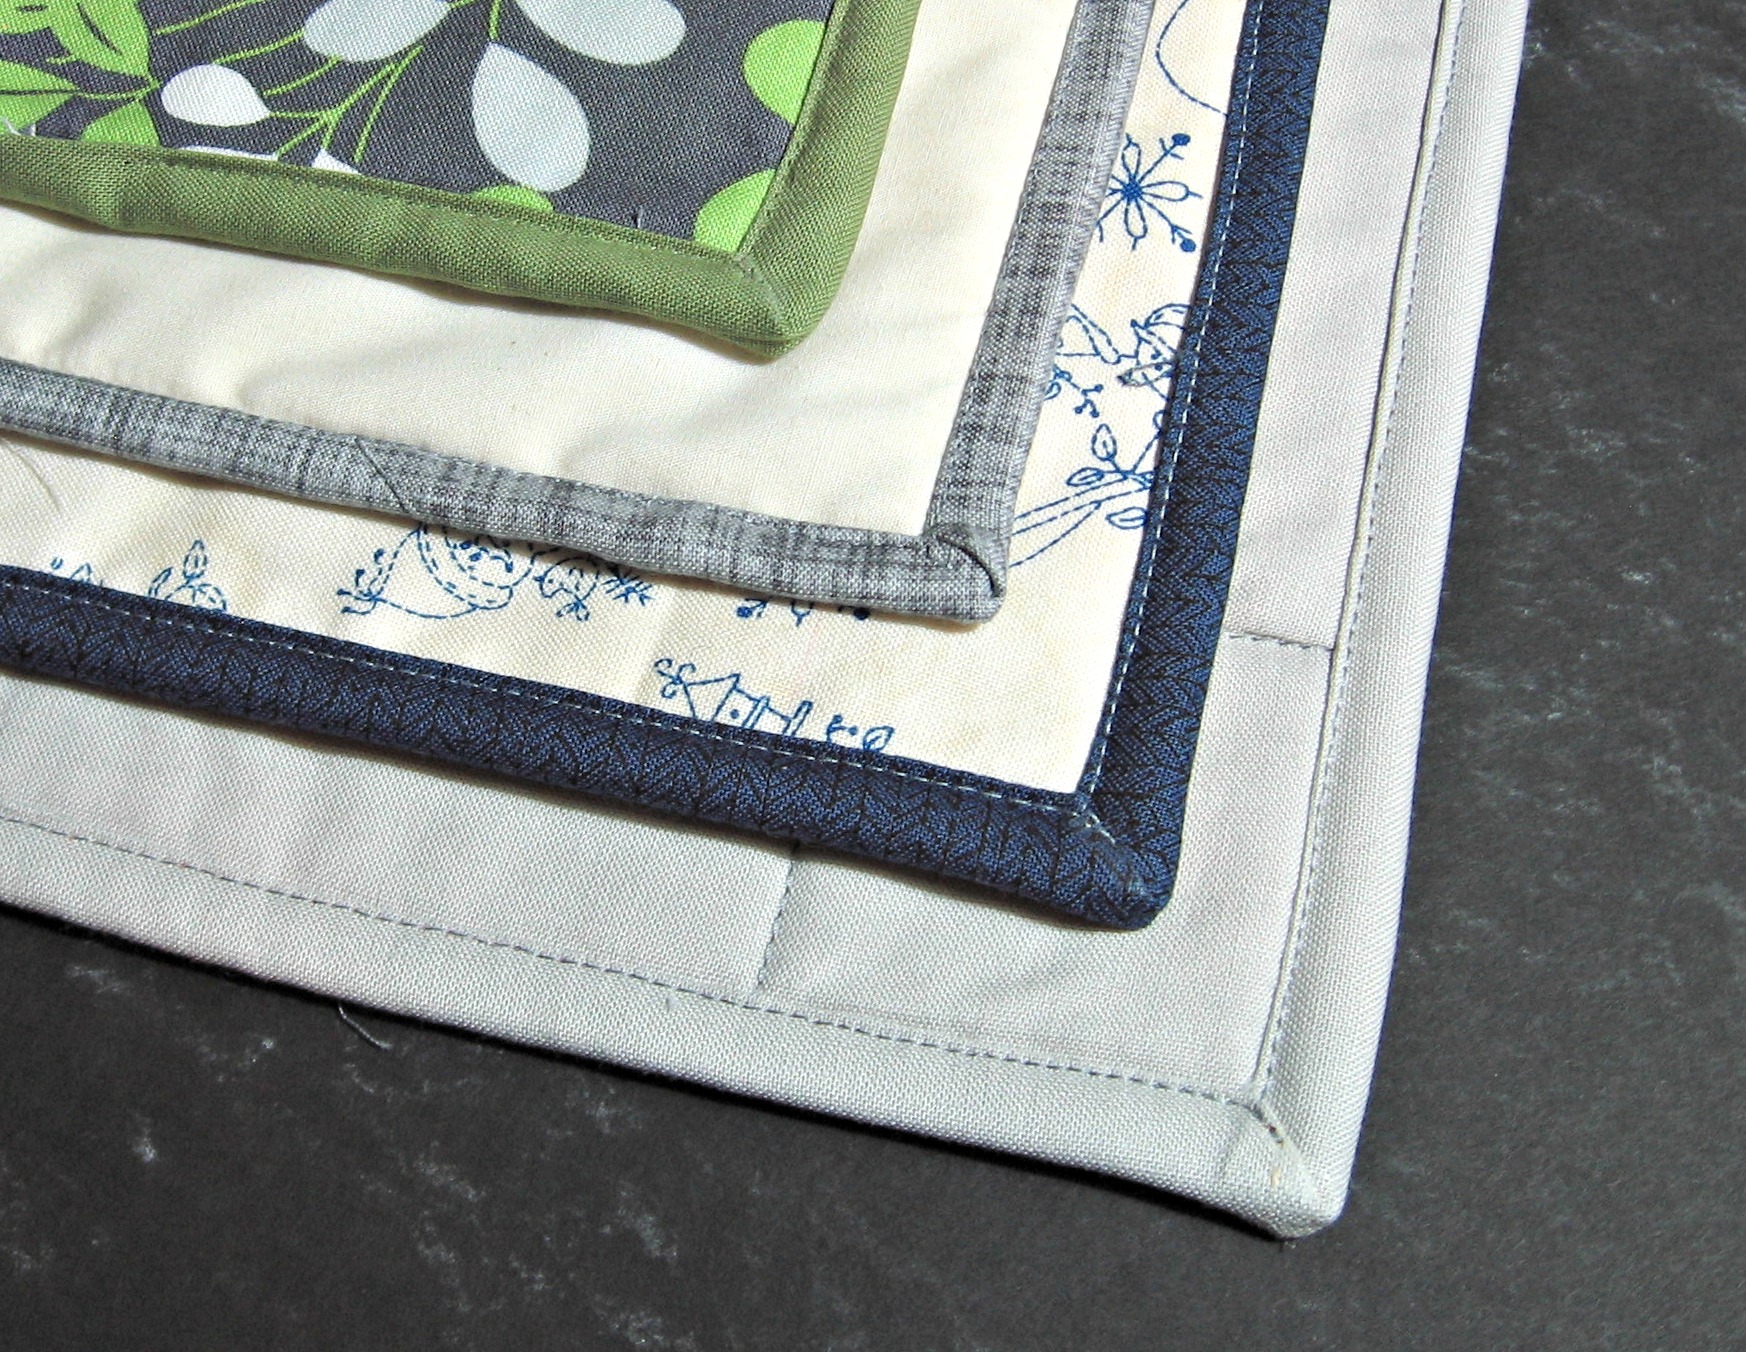
Cry for Help  Cry For Help 2So I devoted time just to finding a binding that was fast, uncomplicated and beautiful.  Voila!   What do you think?  Aren’t they gorgeous?

Macnine Binding Webinar

This is, by far, my most requested technique.  In fact, I show it in almost every class I teach!

And now, you don’t have to come to my class.  You can learn my binding methods in you own home with my binding webinar, “Machine Quilt Binding Made Easy”, coming up on February 17th, 5:00 to 6:00pm EST.  Even if you can’t attend, you can purchase the webinar and watch it whenever you like!

Click here to learn more and buy the webinar.

If you have any questions or are planning to attend, please post a comment below.  I would love to hear from you.

Hope to see you soon,

Jenny

#jennykaequilts #quiltbinding #bindingwebinar

Just A Taste of Quilting

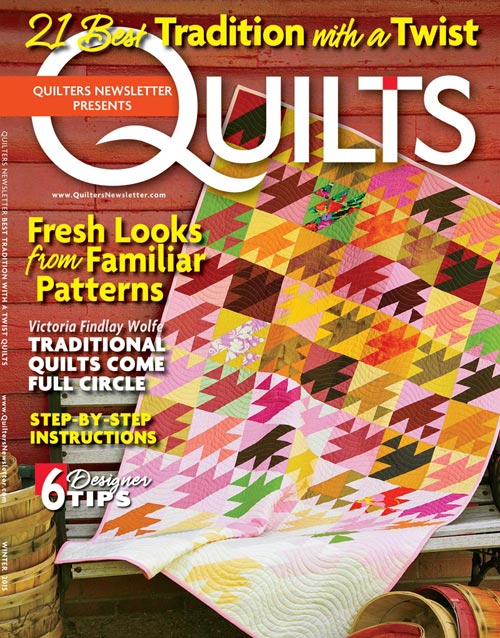
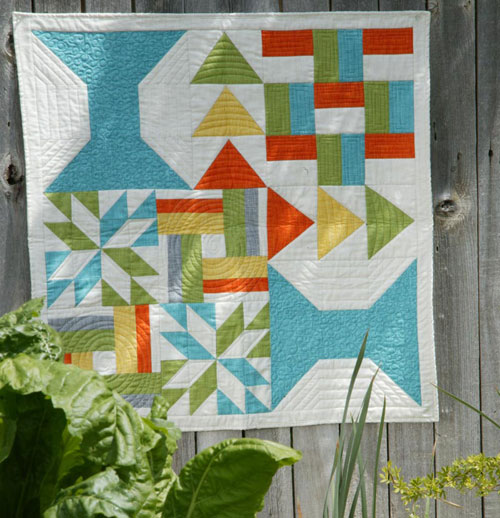
Yay!  I am so excited you came to see my blog!  One of my quilts, “Just a Taste” has been published in Quilter’s Newsletter’s special edition called “21 Best Tradition With A Twist Quilts” Winter 2015.  Thank you, Quilter’s Newsletter.

TwT-Cover_500  JustaTaste_500

This is an updated version of the classic sampler.  Quilters use samplers to learn a variety of  techniques for piecing and quilting.  If you are a new quilter, this is a great one to start with.  It used common blocks, Rail Fence, Log Cabin, Flying Geese and Lamoyne Star to cover several basics like strip piecing, half-square triangles, templates and y-seams.  It is small enough to give you just a taste of quilting without being intimidating.  And you can buy the magazine and the kit from Quilt and Sew shop here.

The beautiful fabric is from P&B Textiles Color Weave collection.  You can see the entire collection at P&B’s website.

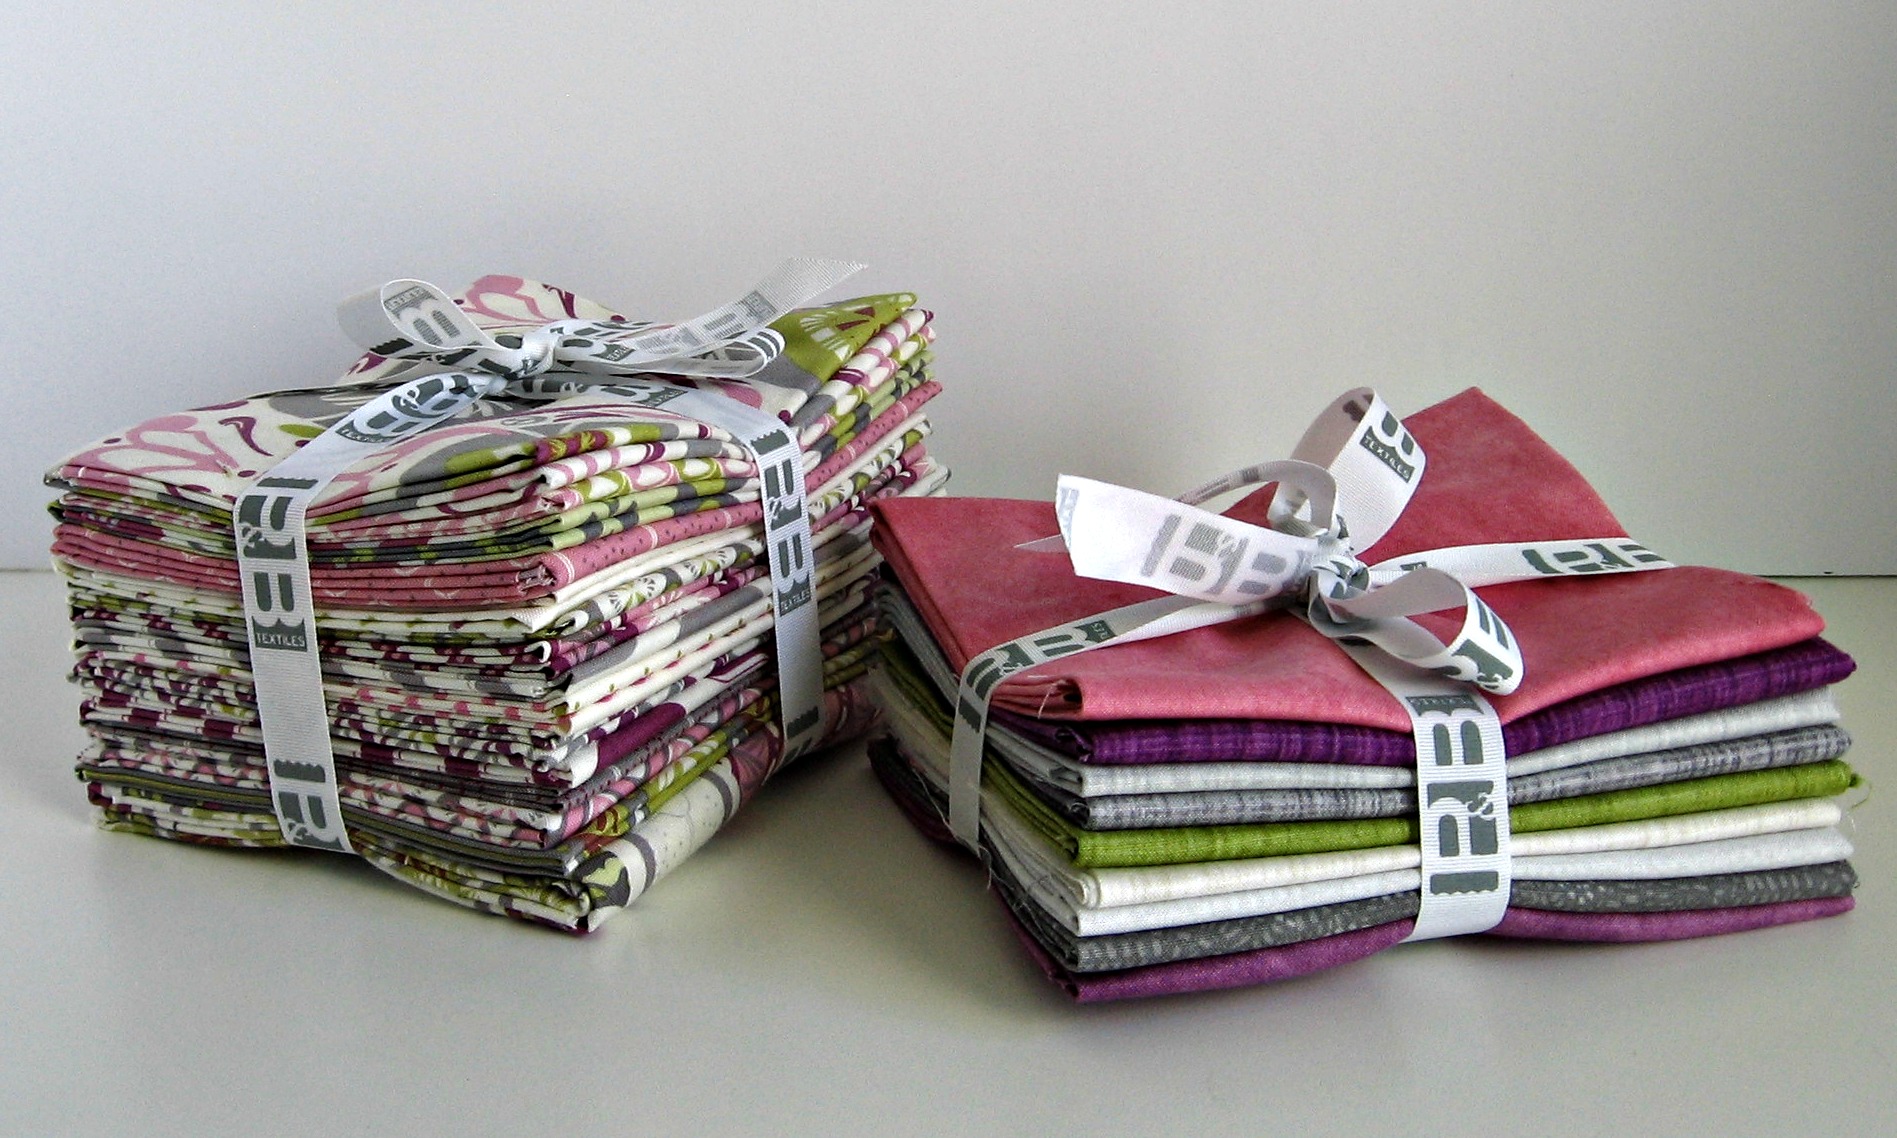
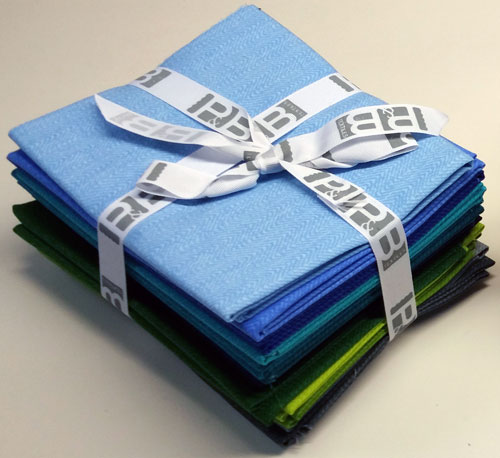
For your chance to win this P&B Textiles fabric bundle, write a comment.  I would love to hear your thoughts!  On February 2nd, I will randomly select a winner from the comments and Quilter’s Newsletter will send you this!

Zenith-BundleFor more about me, my classes, patterns, demos and webinars, go to my website, JennyKaeQuilts.com.

Thanks for stopping by,

Jenny

#jennykaequilts #quiltersnewsletter #pbtextiles #justataste

The 12 Days of Cleaning

The 12 Days of Cleaning

This re-wording of the 12 Days of Christmas is dedicated to anyone with a sewing room and has tried to clean it.  My apologies to the song’s writers.

On the first day of cleaning, my sewing room gave to me, a pattern I lost the instructions for.

Pattern Day 1

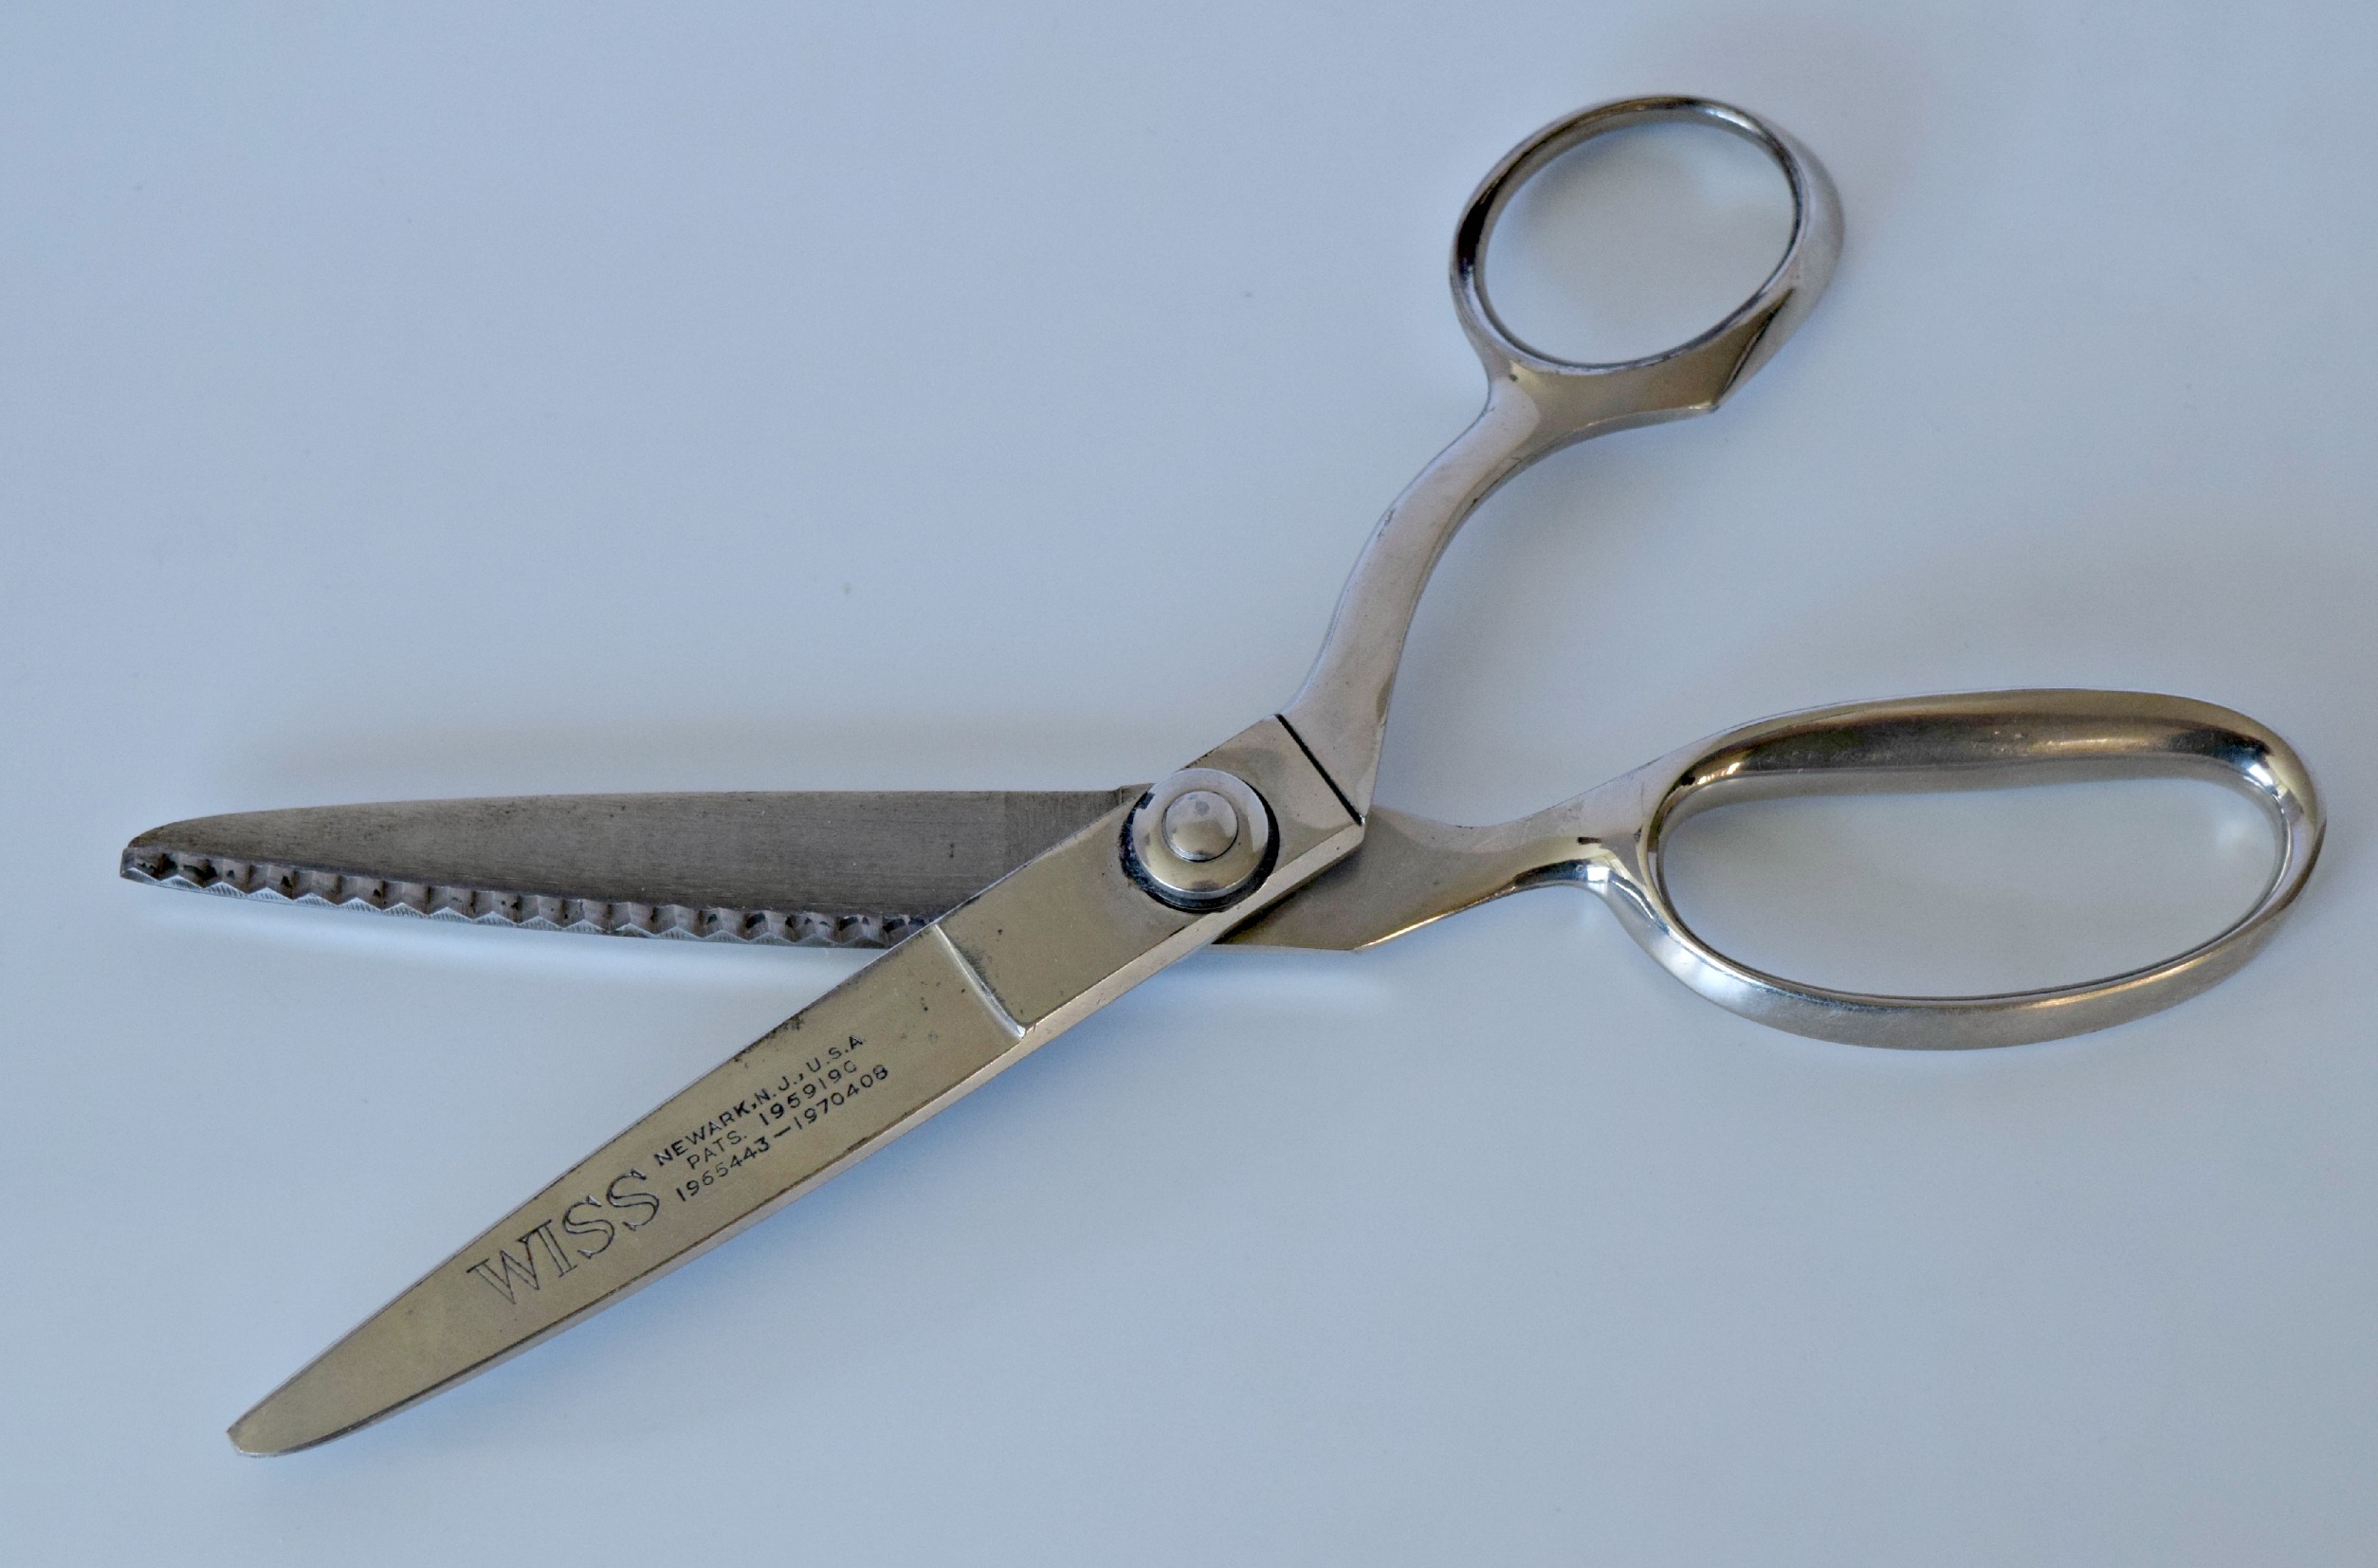
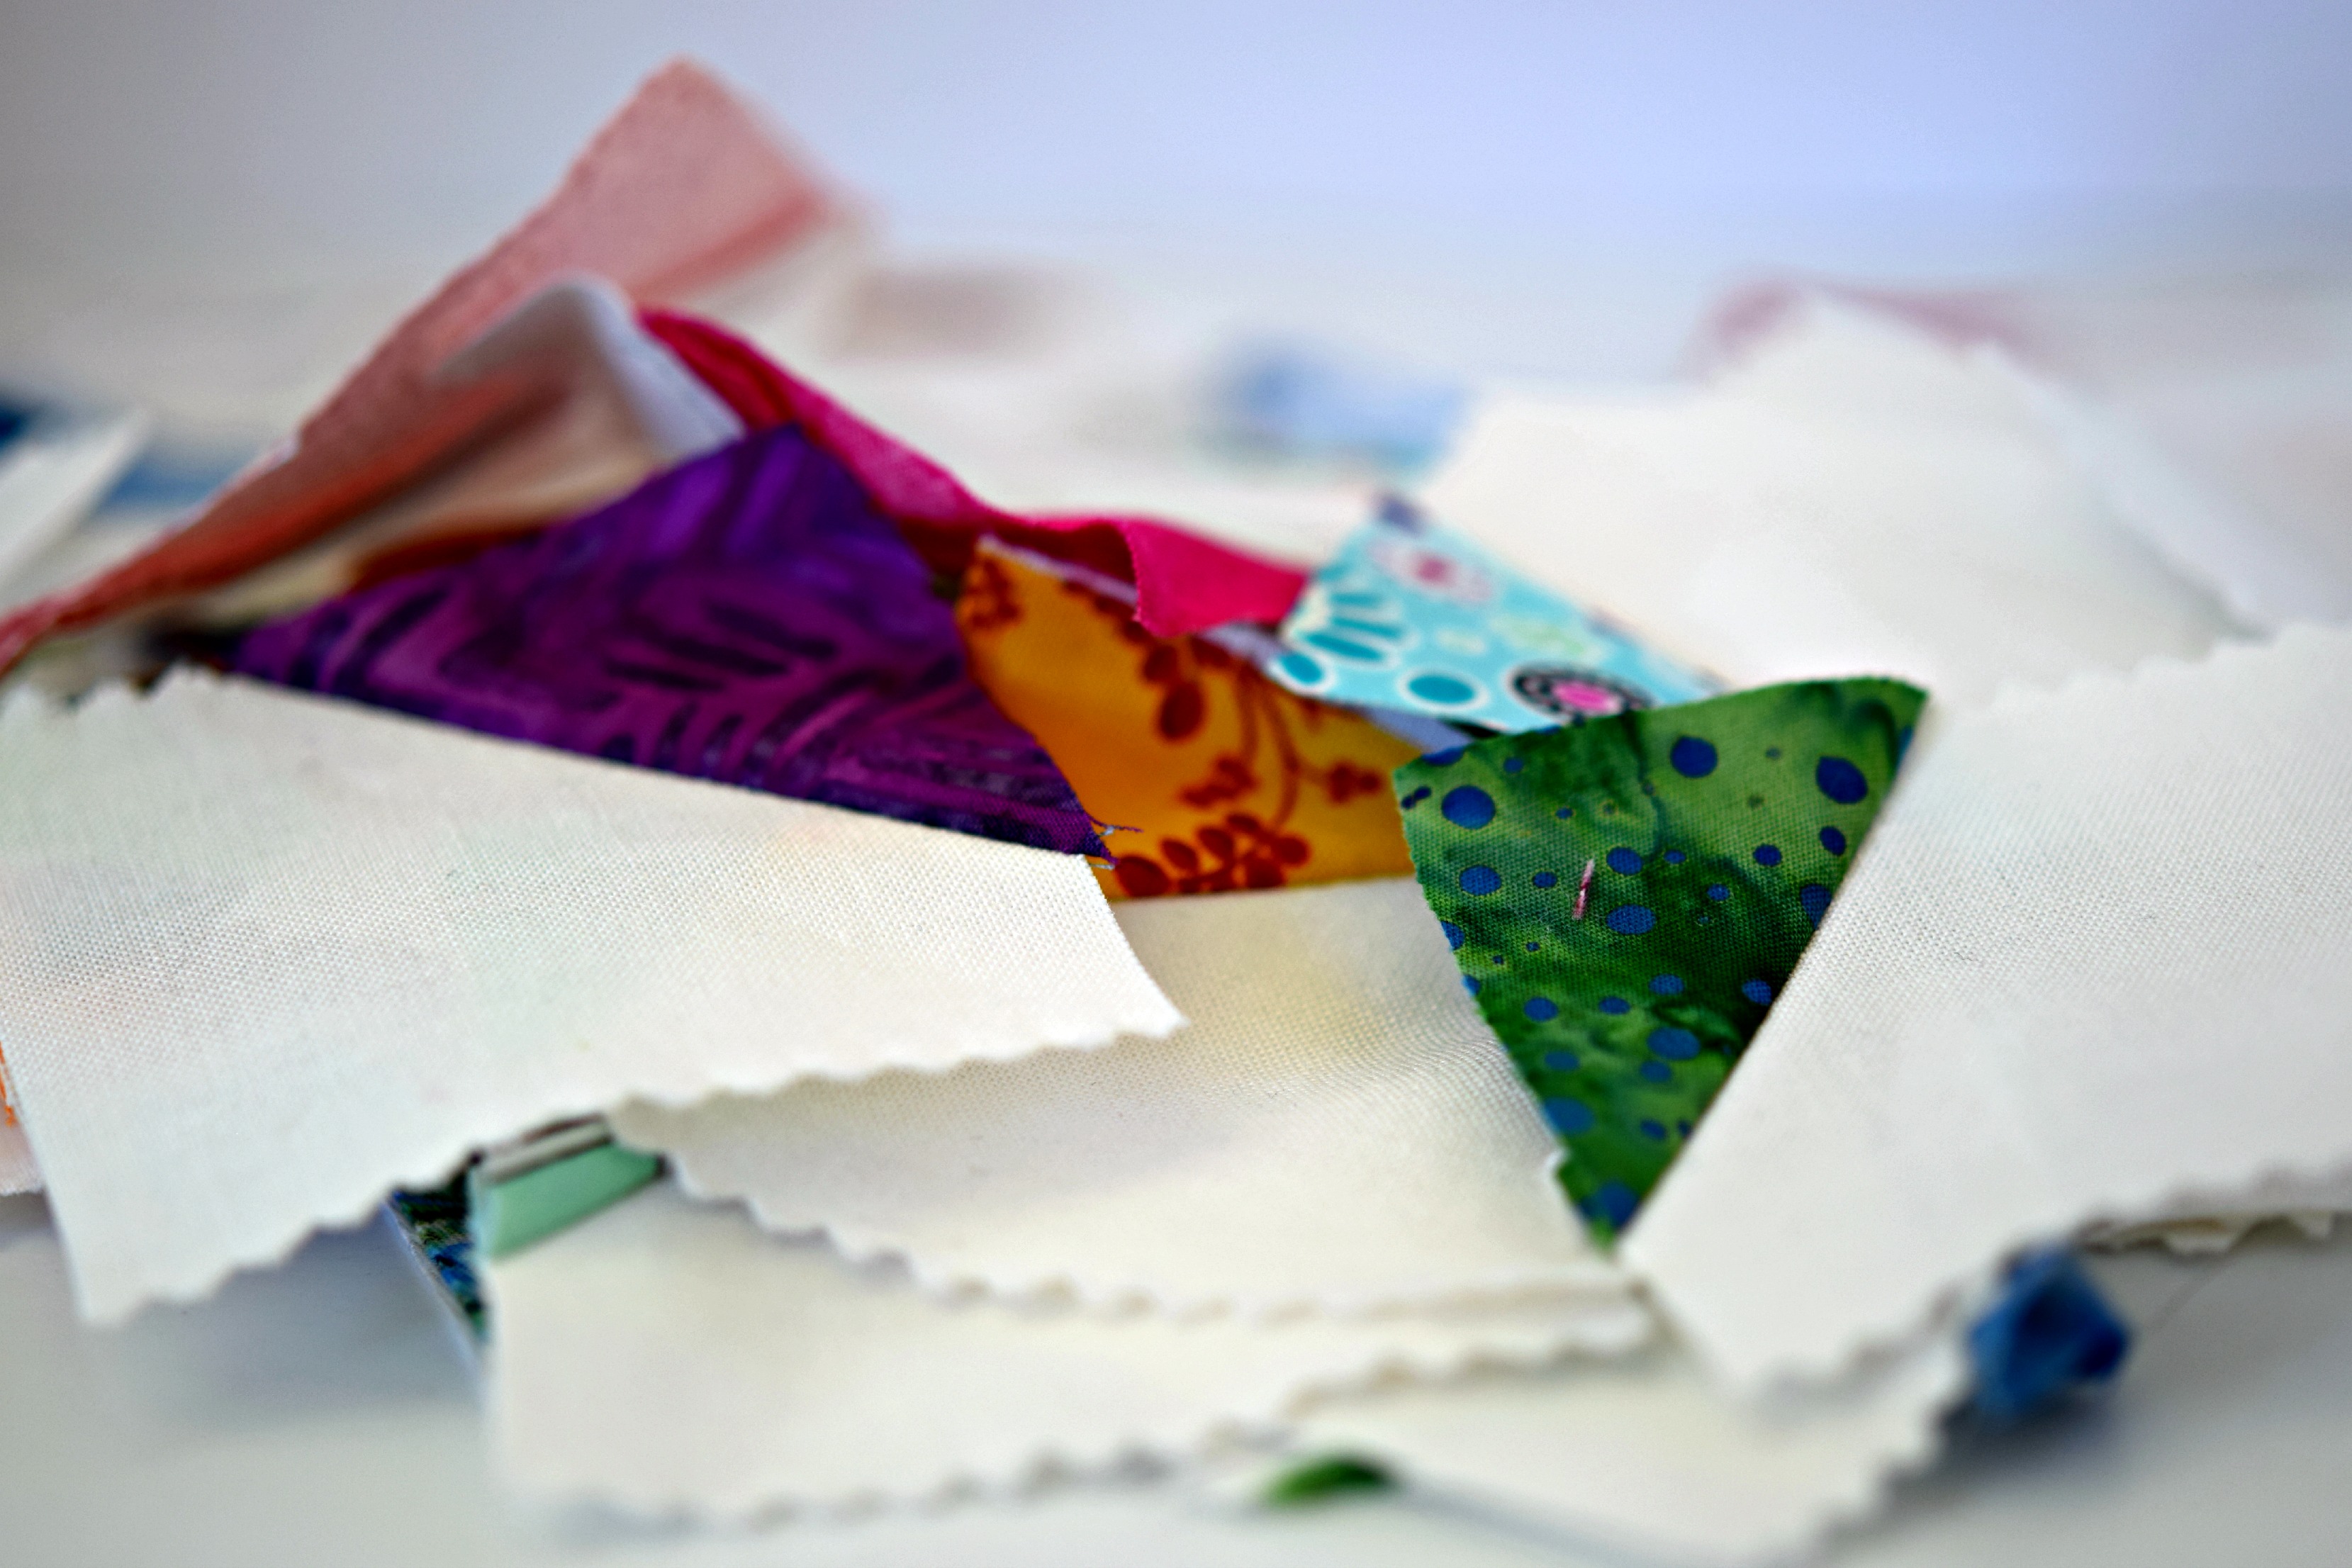
On the second day of cleaning, my sewing room gave to me, two pinking shears and a pattern I lost the instructions for.

Pinking Day 2   Pattern Day 1

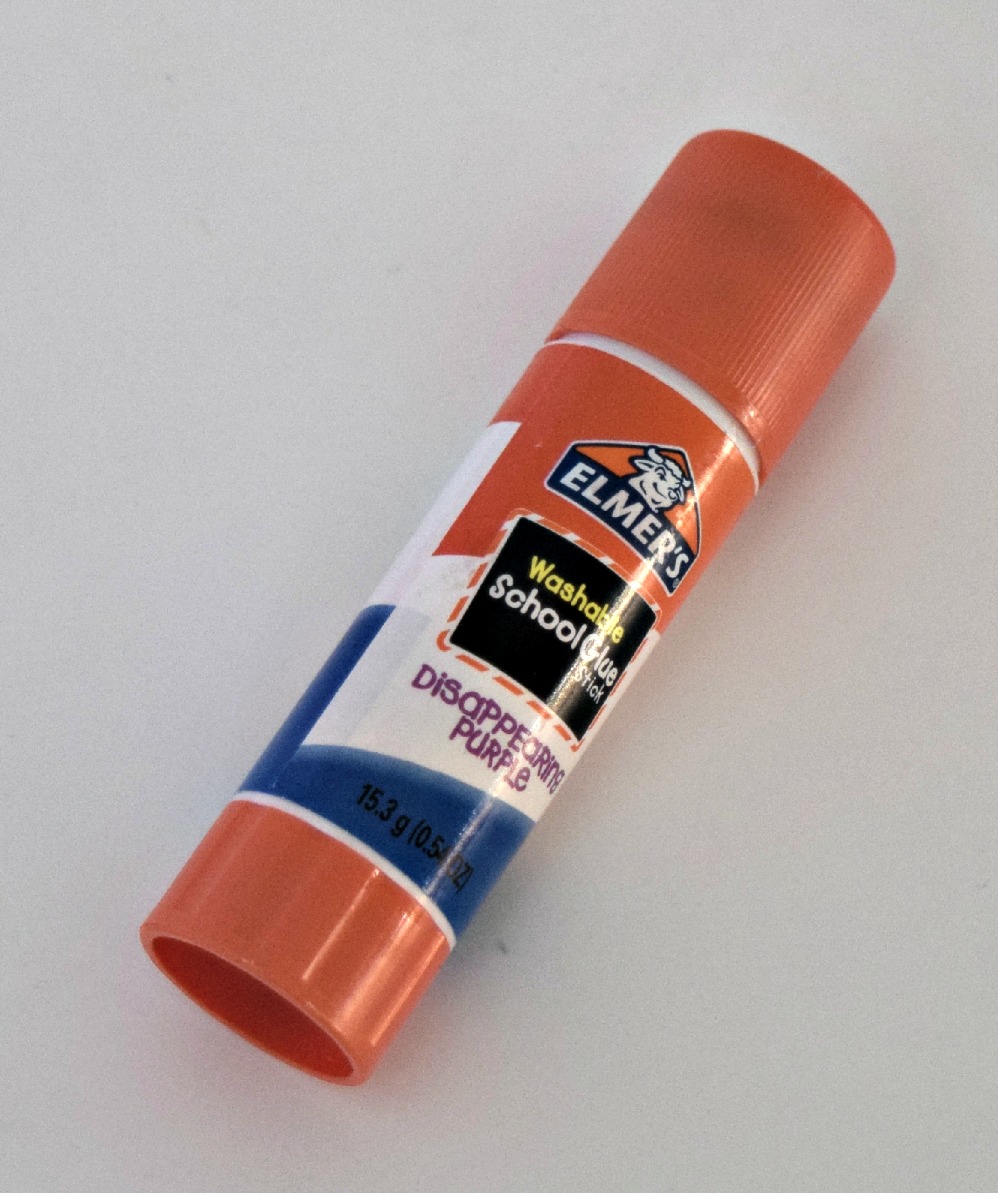
On the third day of cleaning, my sewing room gave to me, three glue sticks, two pinking shears and a pattern I lost the instructions for.

Glue Stick Day 3  Pinking Day 2  Pattern Day 1

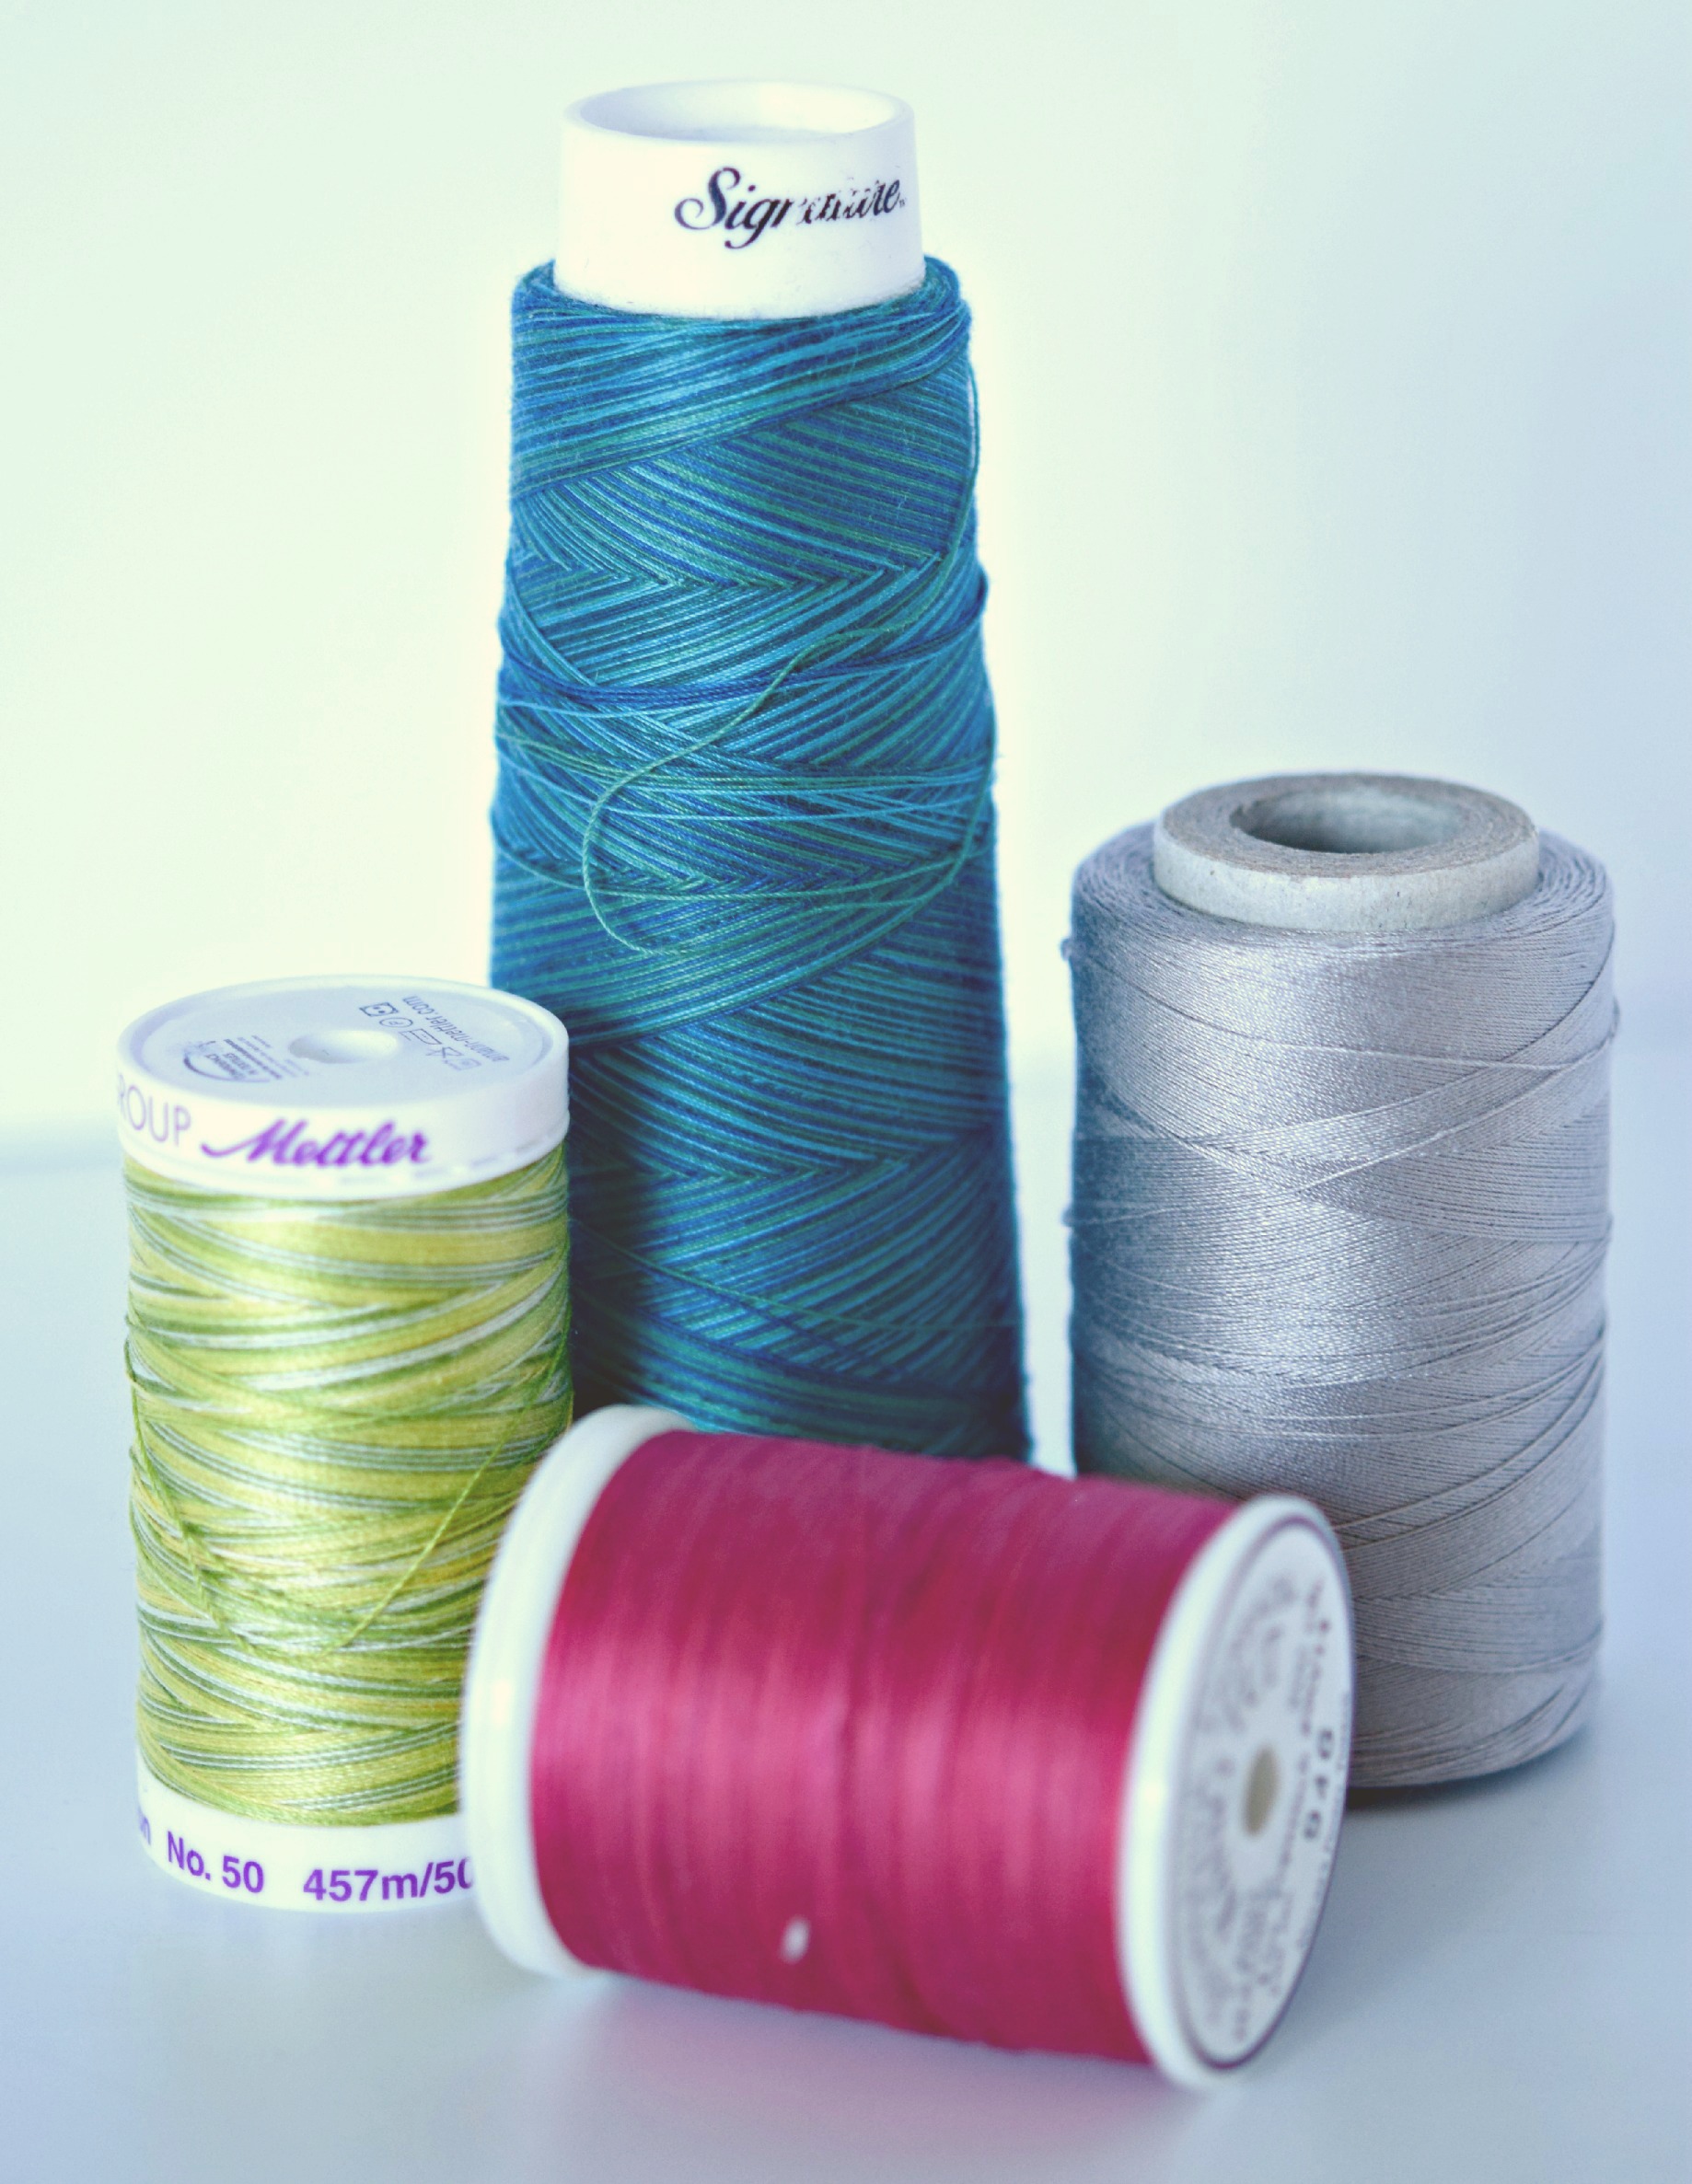
On the fourth day of cleaning, my sewing room gave to me, four spools of thread, three glue sticks, two pinking shears and a pattern I lost the instructions for.

Thread Day 4  Glue Stick Day 3  Pinking Day 2  Pattern Day 1

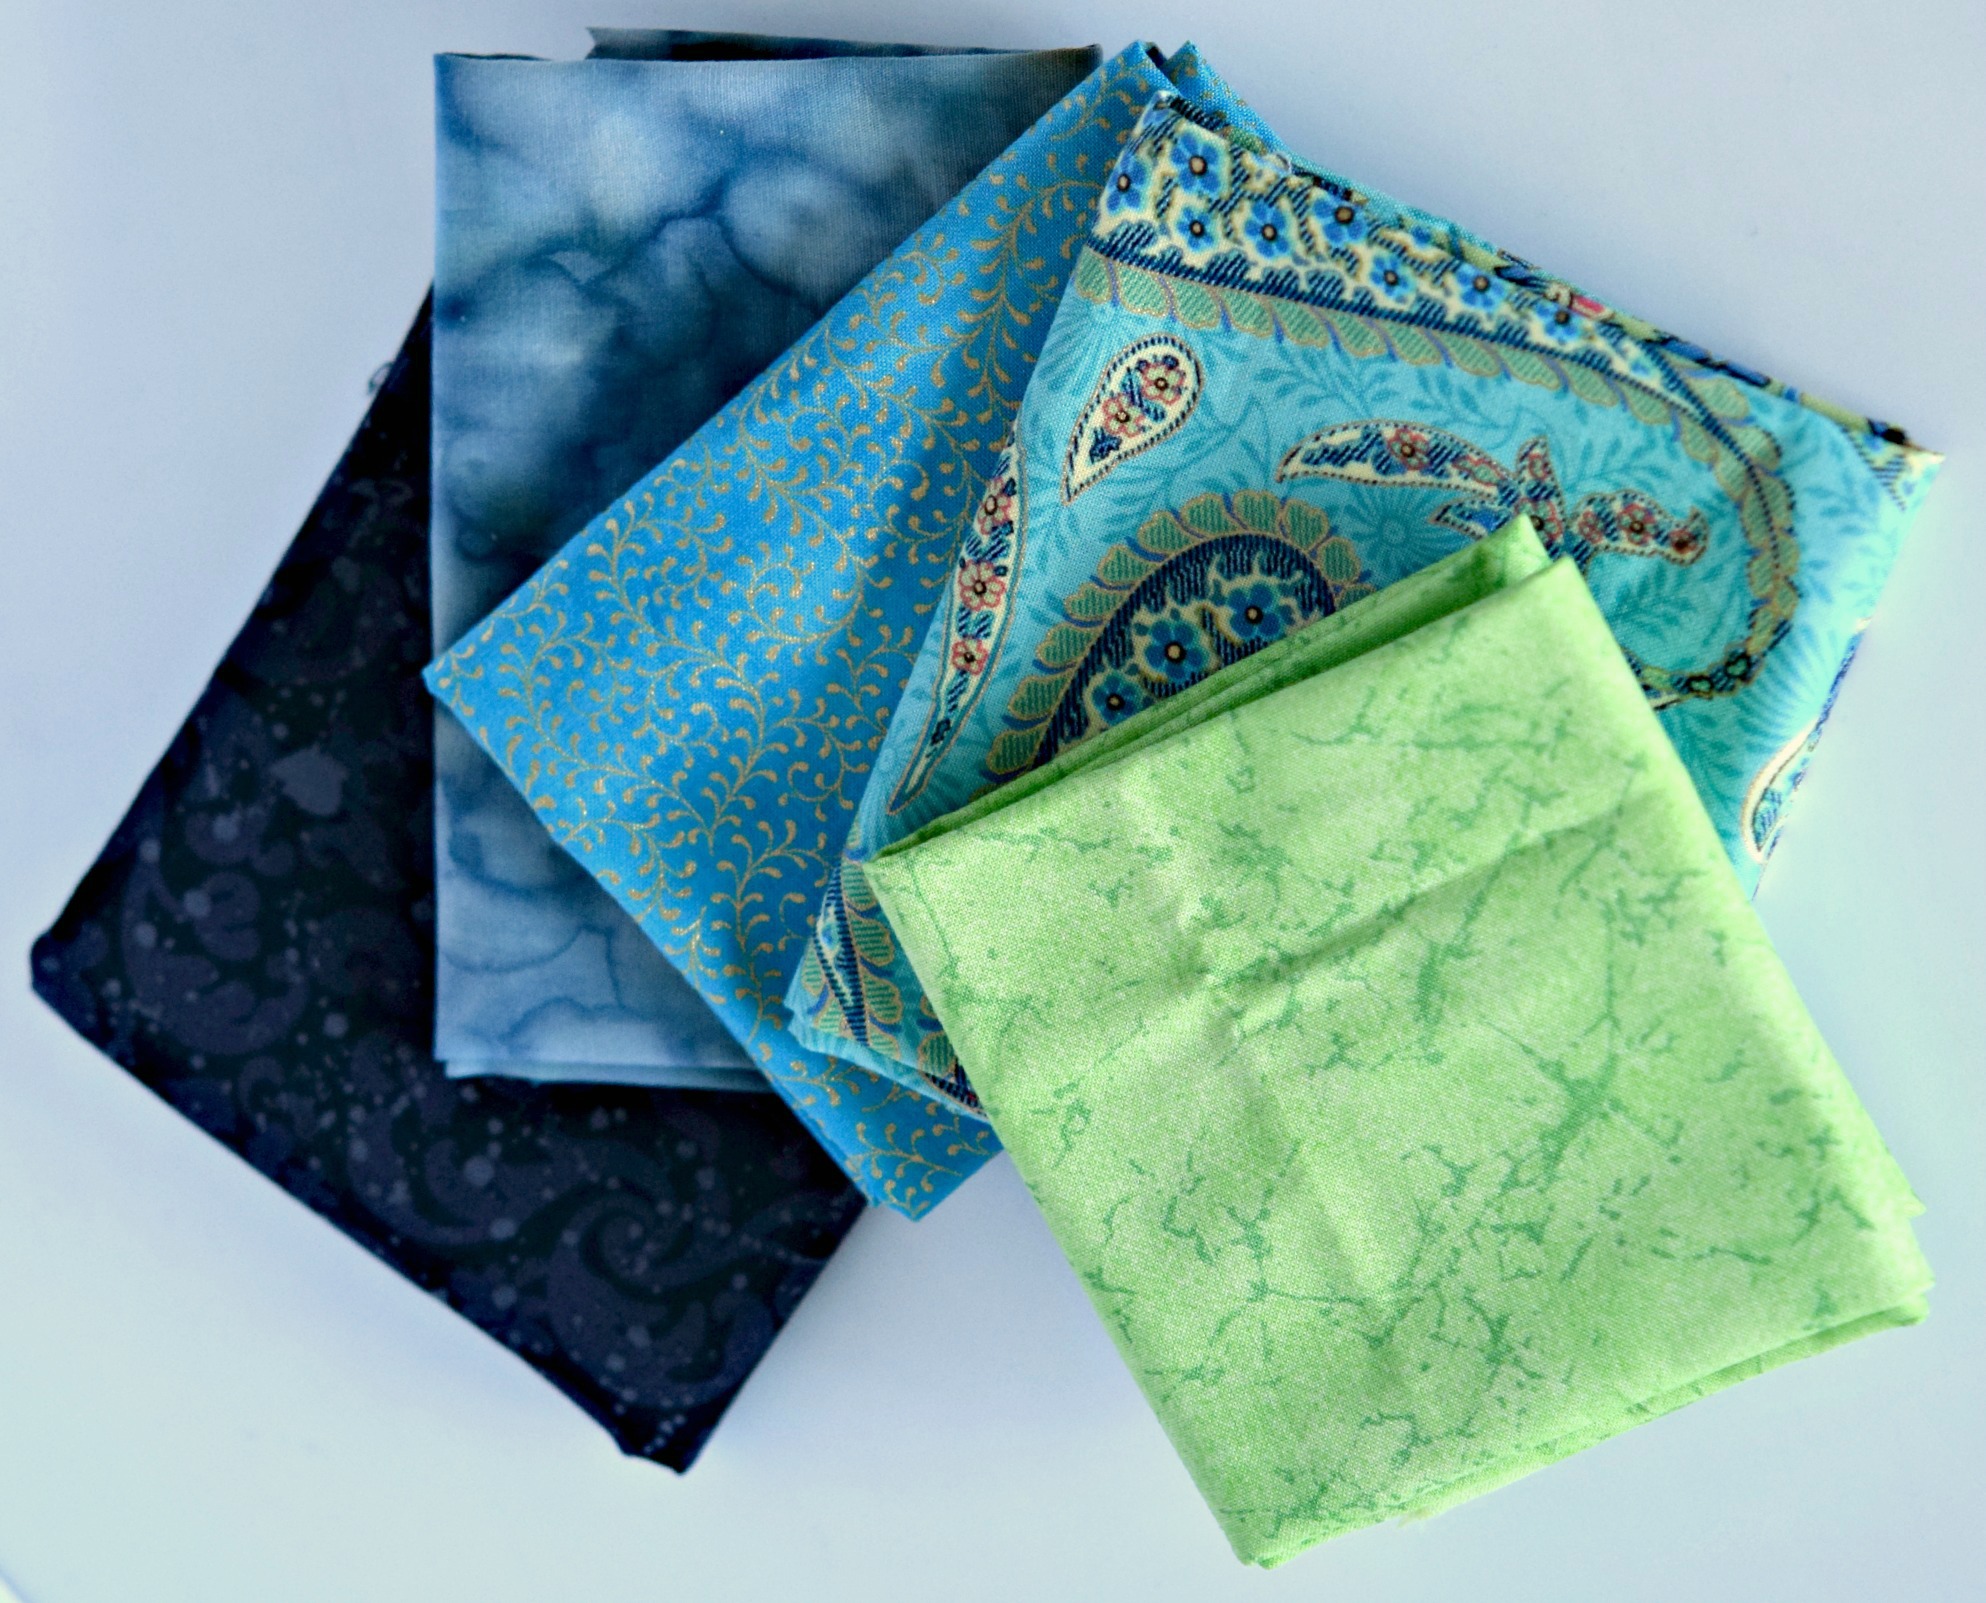
On the fifth day of cleaning, my sewing room gave to me, five fat quarters, four spools of thread, three glue sticks, two pinking shears and a pattern I lost the instructions for.

Fat Quarters Day 5  Thread Day 4Glue Stick Day 3Pinking Day 2Pattern Day 1

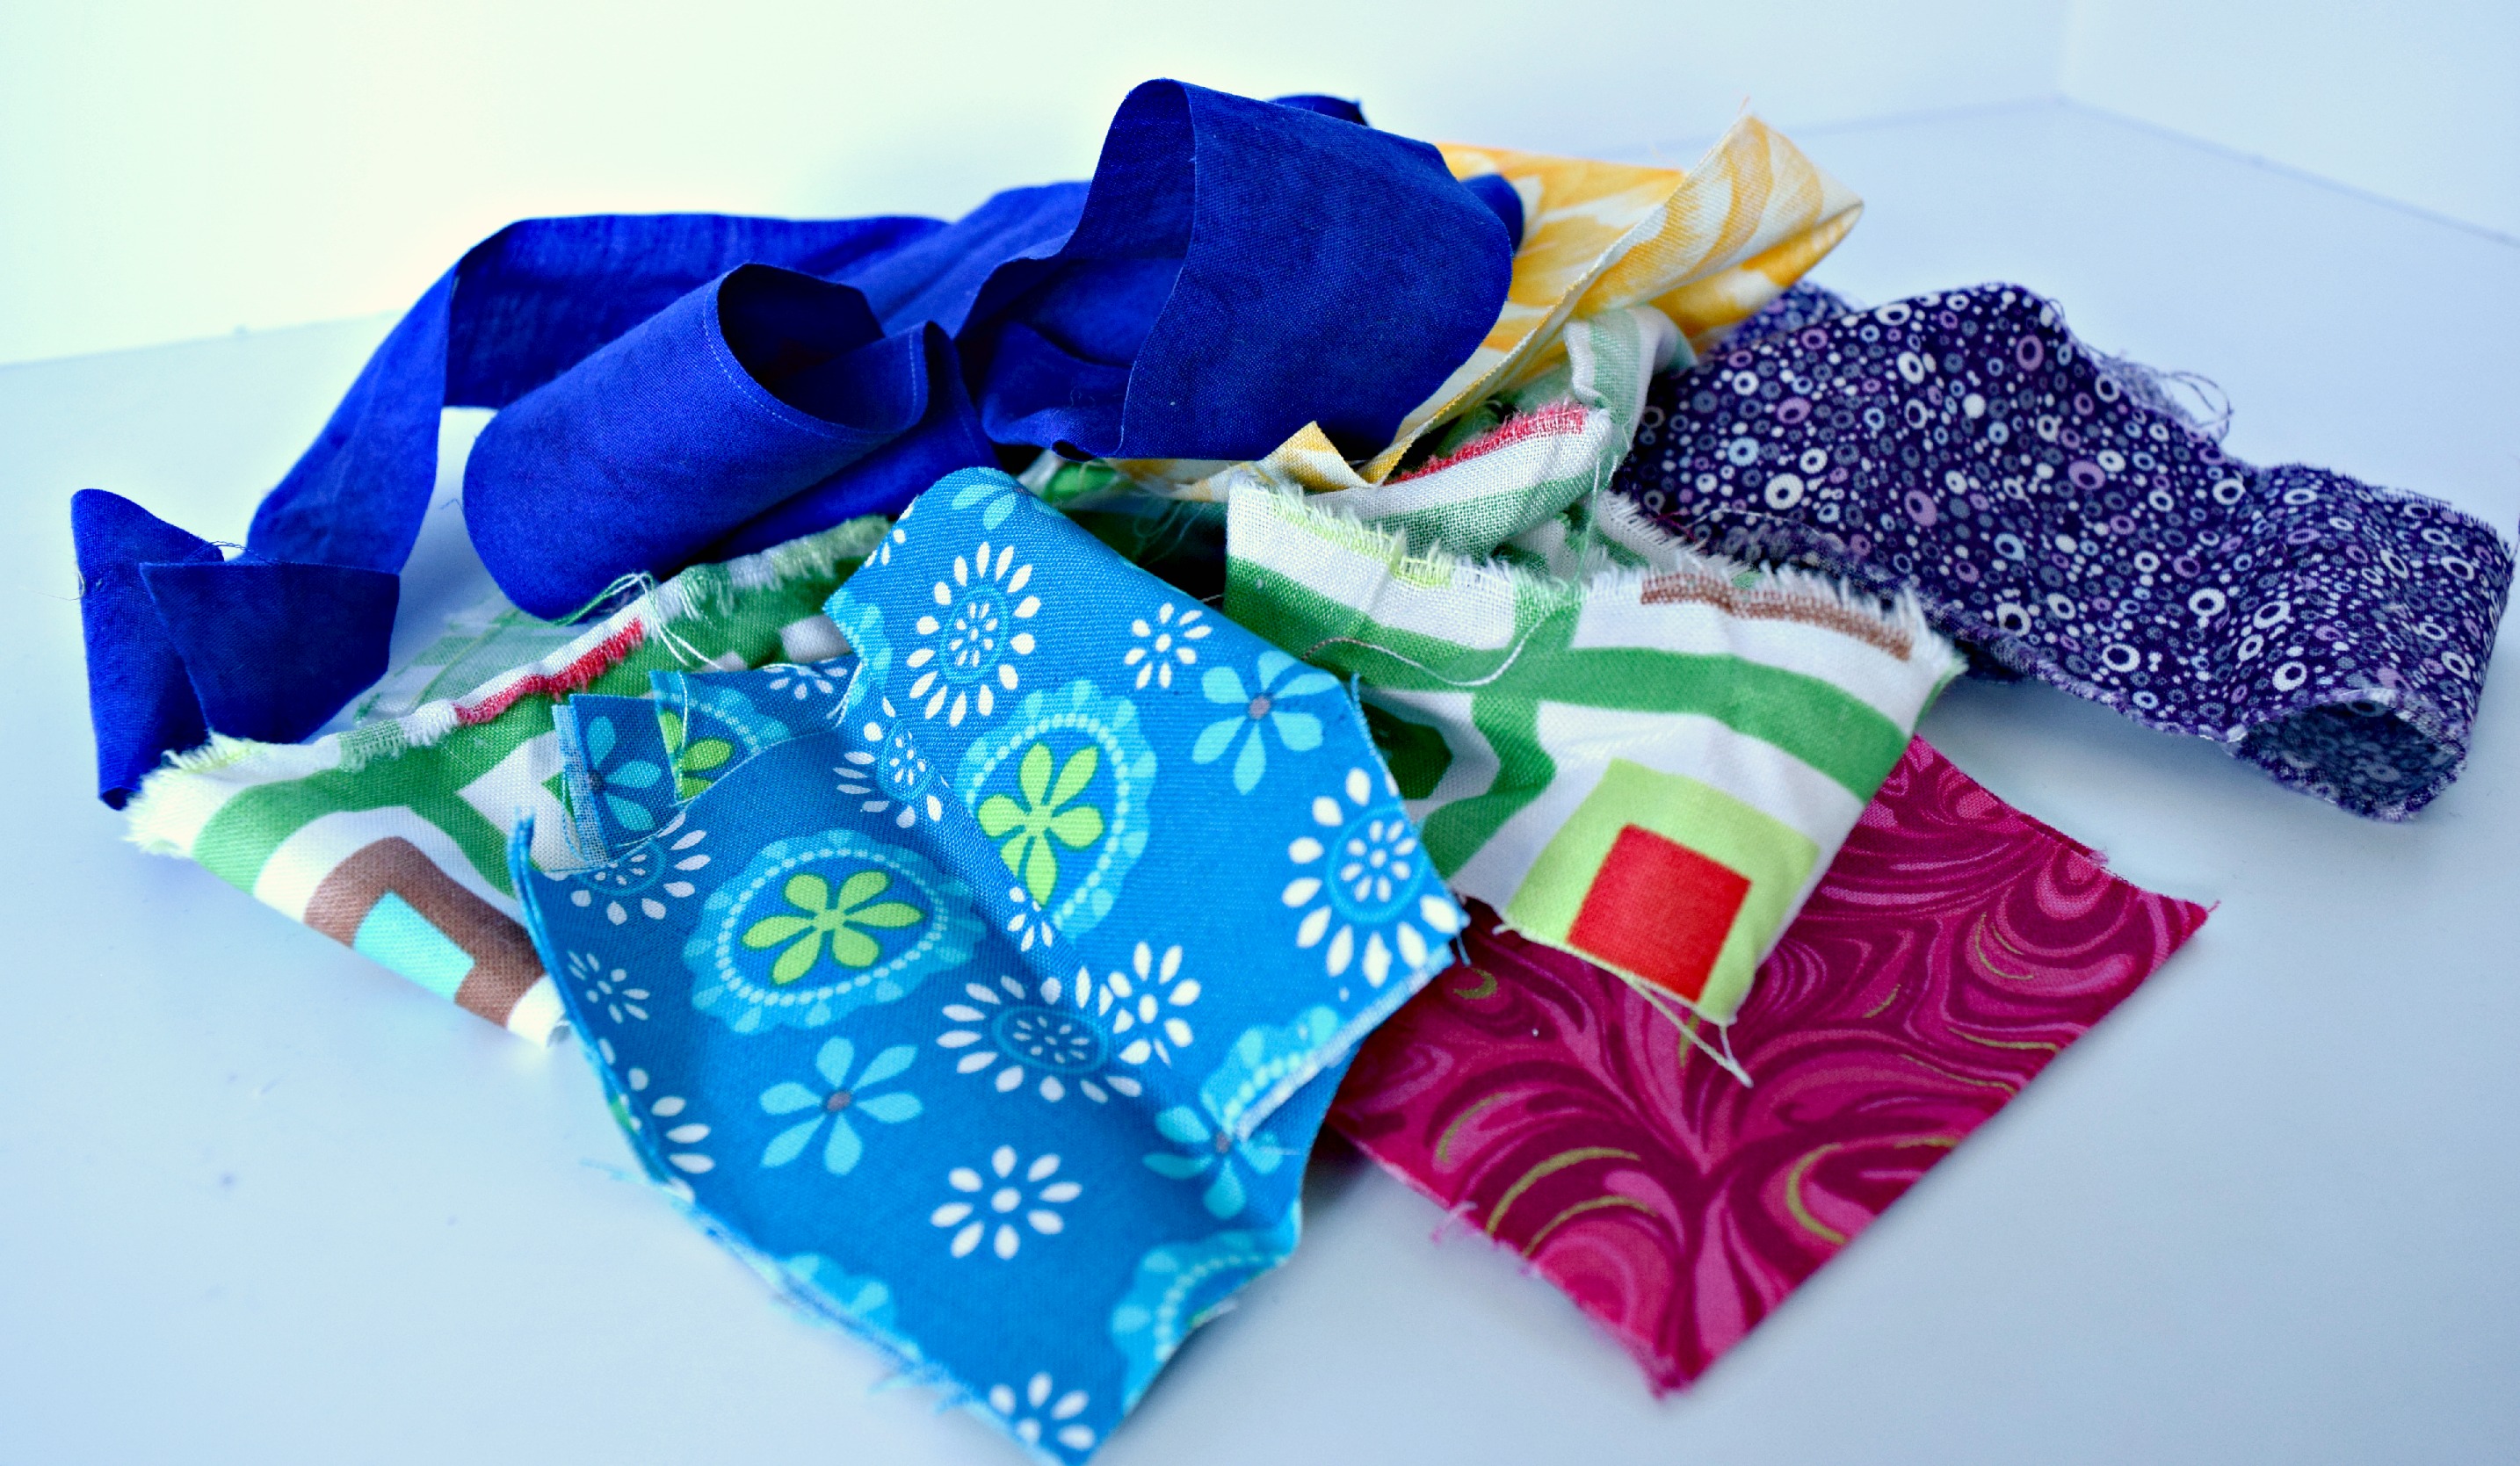
On the sixth day of cleaning, my sewing room gave to me, six scraps-a-pitching, five fat quarters, four spools of thread, three glue sticks, two pinking shears and a pattern I lost the instructions for.

Scraps Day 6 Fat Quarters Day 5Thread Day 4Glue Stick Day 3Pinking Day 2Pattern Day 1

On the seventh day of cleaning, my sewing room gave to me, seven seams-a-ripping, six scraps-a-pitching, five fat quarters, four spools of thread, three glue sticks, two pinking shears and a pattern I lost the instructions for.

Seams Day 7Scraps Day 6Fat Quarters Day 5Thread Day 4Glue Stick Day 3Pinking Day 2Pattern Day 1

On the eight day of cleaning, my sewing room gave to me, eight yards-a-stashing, seven seams-a-ripping, six scraps-a-pitching, five fat quarters, four spools of thread, three glue sticks, two pinking shears and a pattern I lost the instructions for.

Yards Day 8  Seams Day 7Scraps Day 6  Fat Quarters Day 5Thread Day 4Glue Stick Day 3Pinking Day 2Pattern Day 1

On the ninth day of cleaning, my sewing room gave to me, nine irons pressing, eight yards-a-stashing, seven seams-a-ripping, six scraps-a-pitching, five fat quarters, four spools of thread, three glue sticks, two pinking shears and a pattern I lost the instructions for.

Irons Day 9Yards Day 8Seams Day 7Scraps Day 6Fat Quarters Day 5Thread Day 4Glue Stick Day 3Pinking Day 2Pattern Day 1

On the tenth day of cleaning, my sewing room gave to me, ten blocks-a-piecing, nine irons pressing, eight yards-a-stashing, seven seams-a-ripping, six scraps-a-pitching, five fat quarters, four spools of thread, three glue sticks, two pinking shears and a pattern I lost the instructions for.

Blocks Day 10Irons Day 9Yards Day 8Seams Day 7Scraps Day 6Fat Quarters Day 5Thread Day 4Glue Stick Day 3Pinking Day 2Pattern Day 1

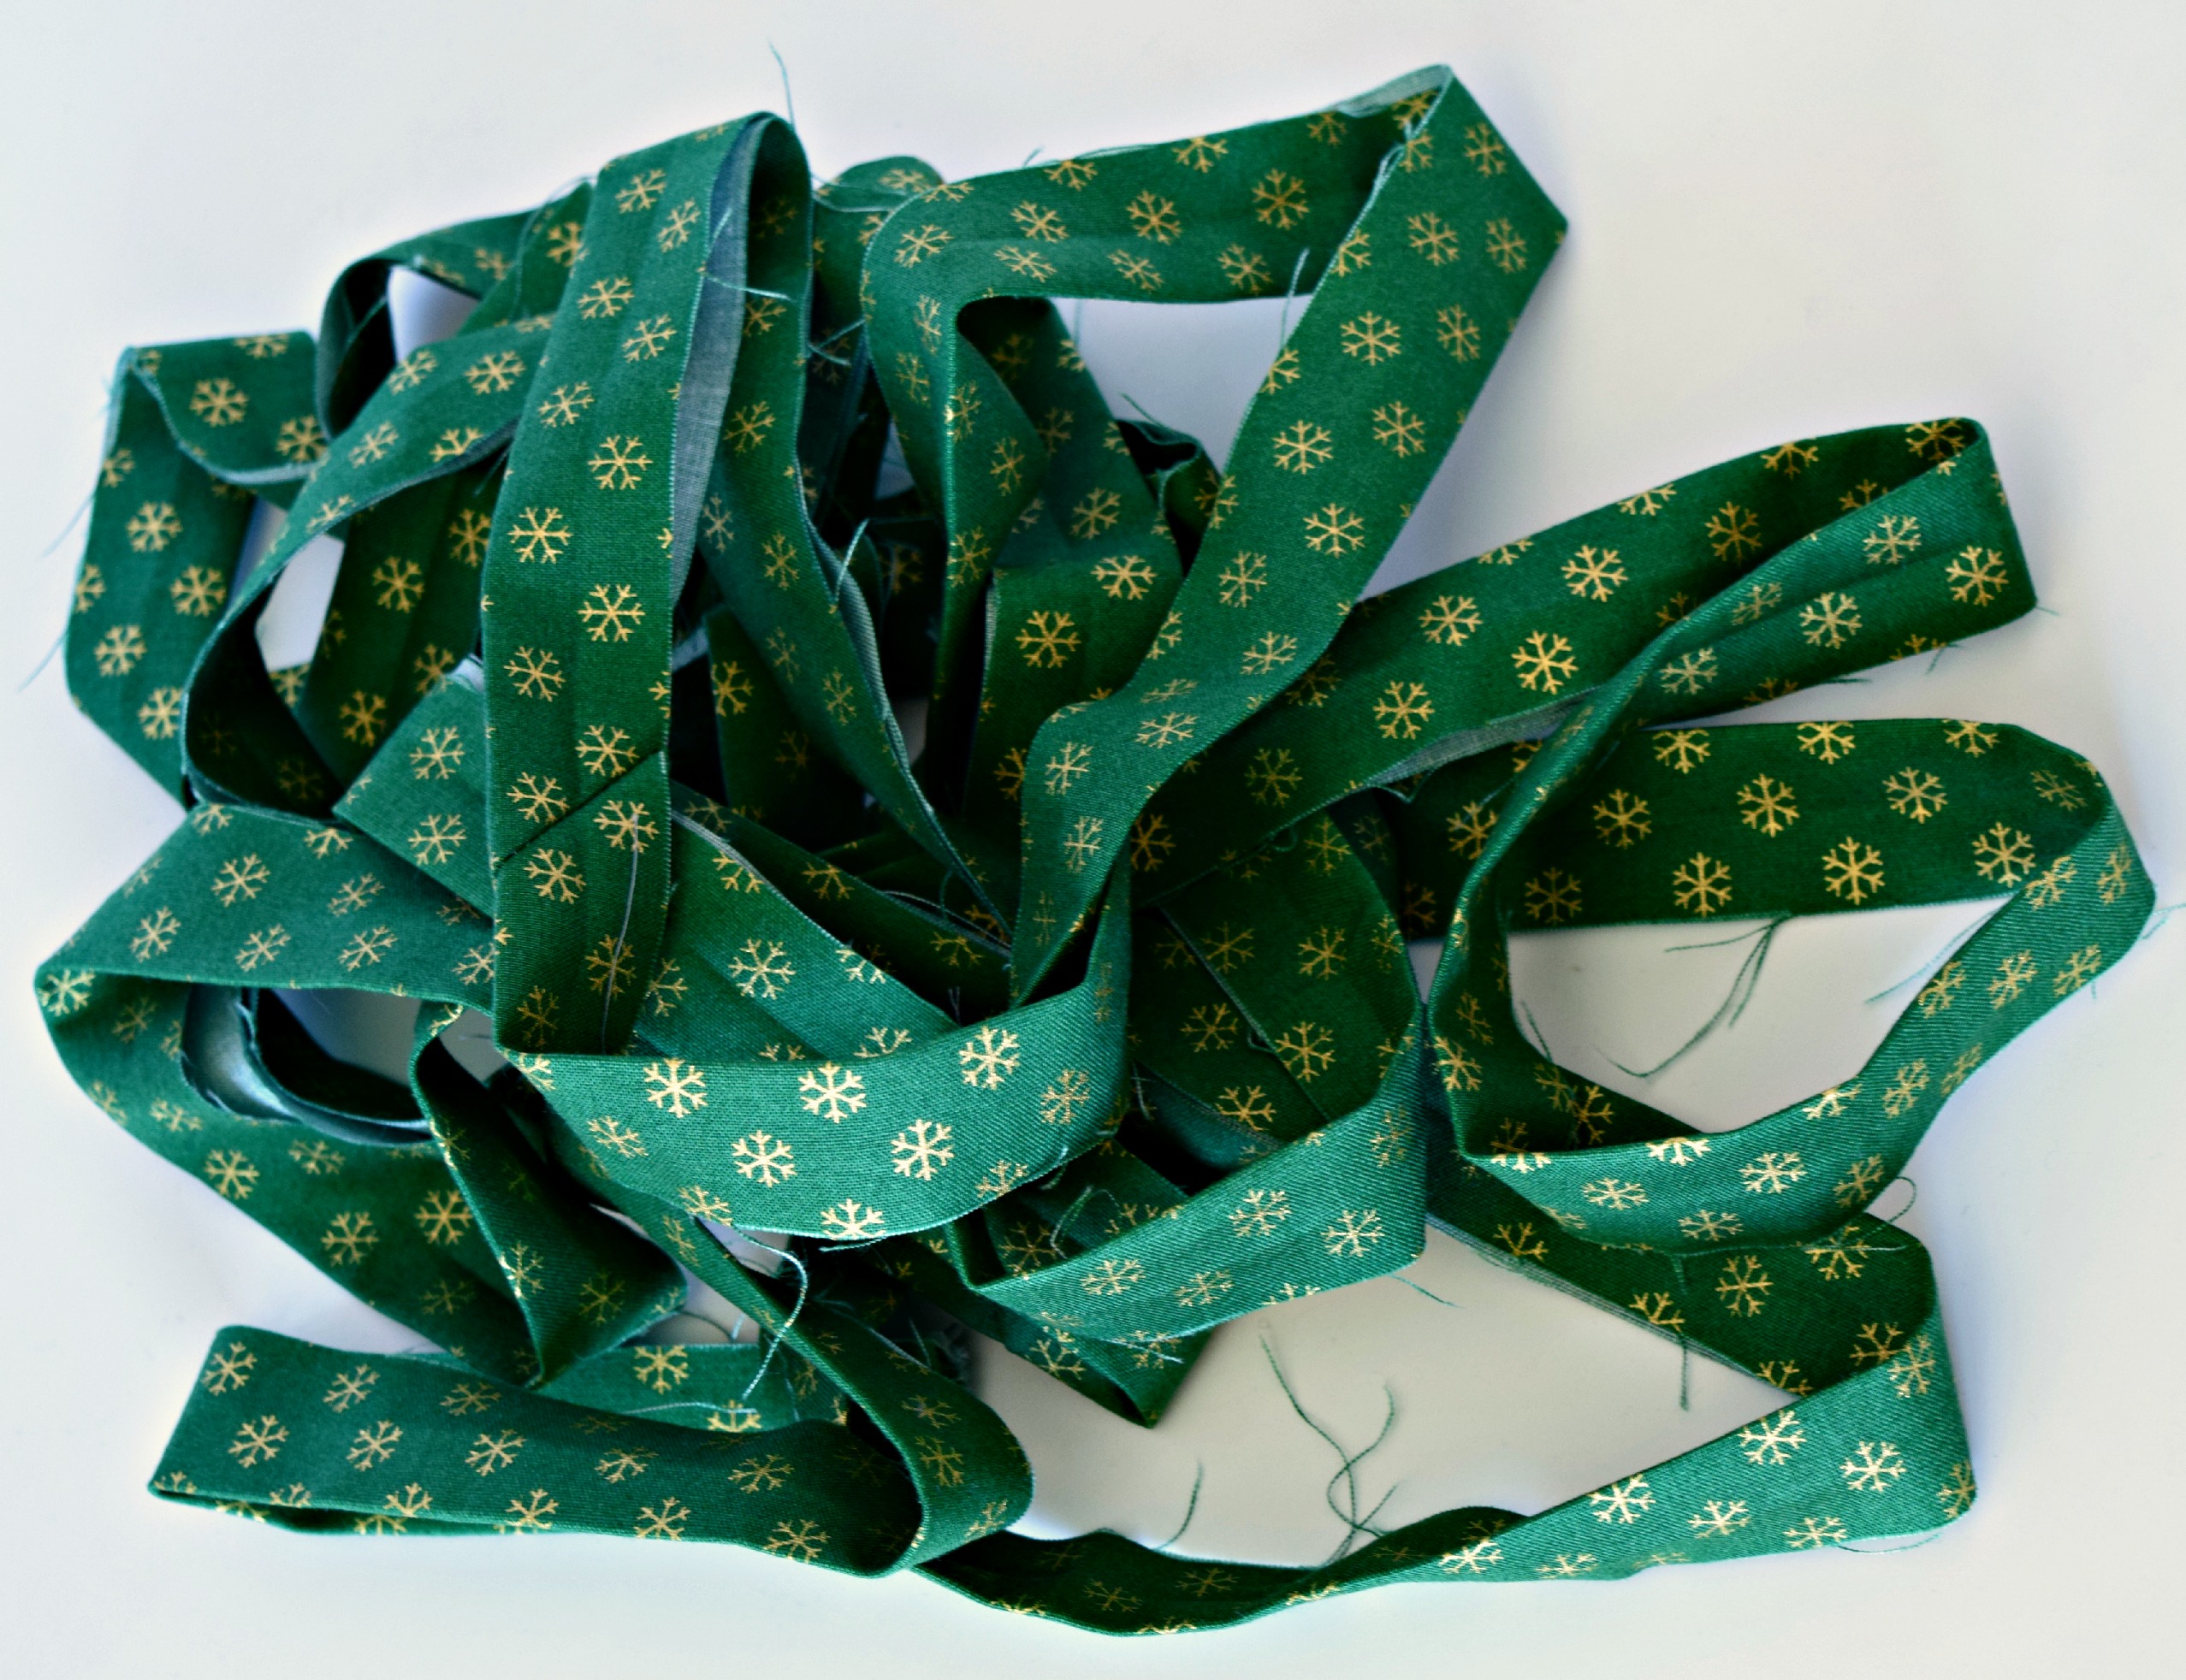
On the eleventh day of cleaning, my sewing room gave to me, eleven feet of binding, ten blocks-a-piecing, nine irons pressing, eight yards-a-stashing, seven seams-a-ripping, six scraps-a-pitching, five fat quarters, four spools of thread, three glue sticks, two pinking shears and a pattern I lost the instructions for.

Binding Day 11Blocks Day 10Irons Day 9Yards Day 8Seams Day 7Scraps Day 6Fat Quarters Day 5Thread Day 4Glue Stick Day 3Pinking Day 2Pattern Day 1

On the twelfth day of cleaning, my sewing room gave to me, twelve bobbins winding, eleven feet of binding, ten blocks-a-piecing, nine irons pressing, eight yards-a-stashing, seven seams-a-ripping, six scraps-a-pitching, five fat quarters, four spools of thread, three glue sticks, two pinking shears and a pattern I lost the instructions for.

Bobbins Day 12Binding Day 11Blocks Day 10Irons Day 9Yards Day 8Seams Day 7Scraps Day 6Fat Quarters Day 5Thread Day 4Glue Stick Day 3Pinking Day 2Pattern Day 1

Merry Christmas and happy cleaning!

Jenny

www.jennykaequilts.com

#jennykaequilts #sewingroom #12daysofchristmas #12daysofcleaning

Thread! Glorious Thread! Now I Have to Pick One.

Thread! Glorious Thread!  Now I Have to Pick One.

When I teach beginning quilters, I am often asked about thread.  My heart dies a tiny bit each time students ask me “Can I use any type of thread for piecing?”, while holding a cone of stretchy, serger thread.  Or, “The brand of thread doesn’t matter, does it?” while winding a bobbin with 2 for $3 mystery thread. Yes, it matters what type of thread you use. And, yes, just like the name Levi’s on a pair of jeans indicates it will be of better quality than a pair of jeans from Walmart, sometimes the brand matters.
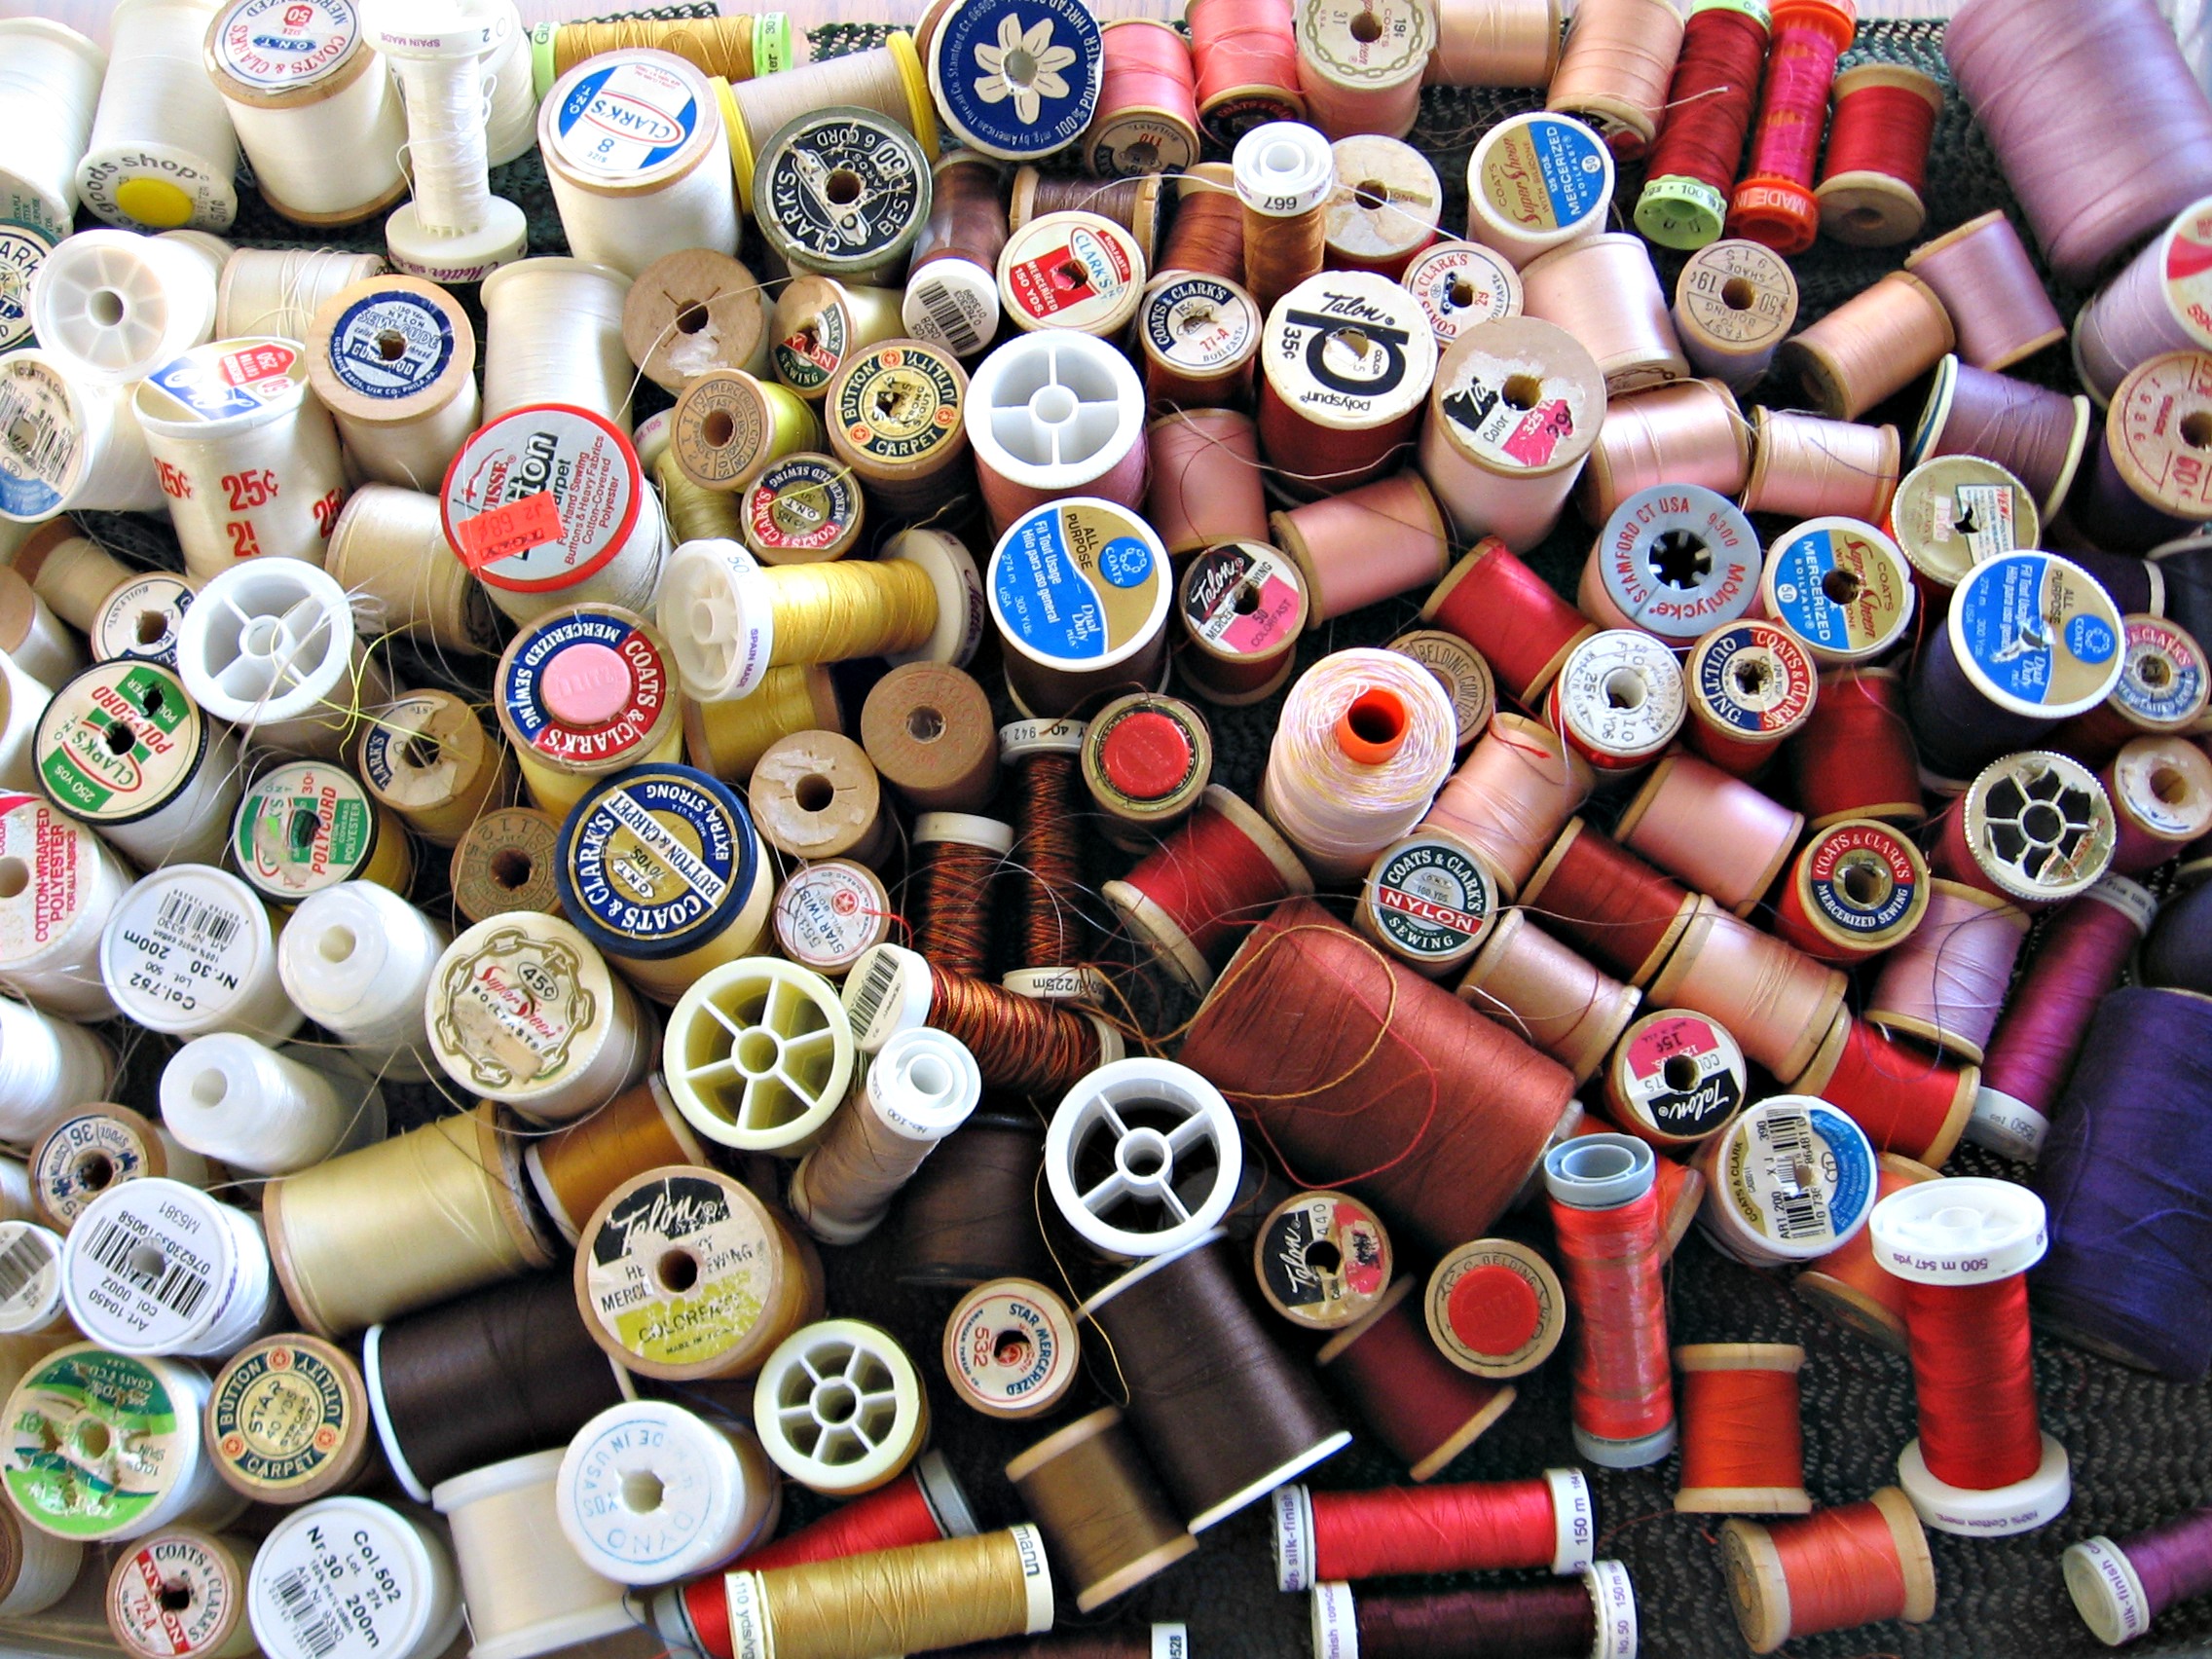
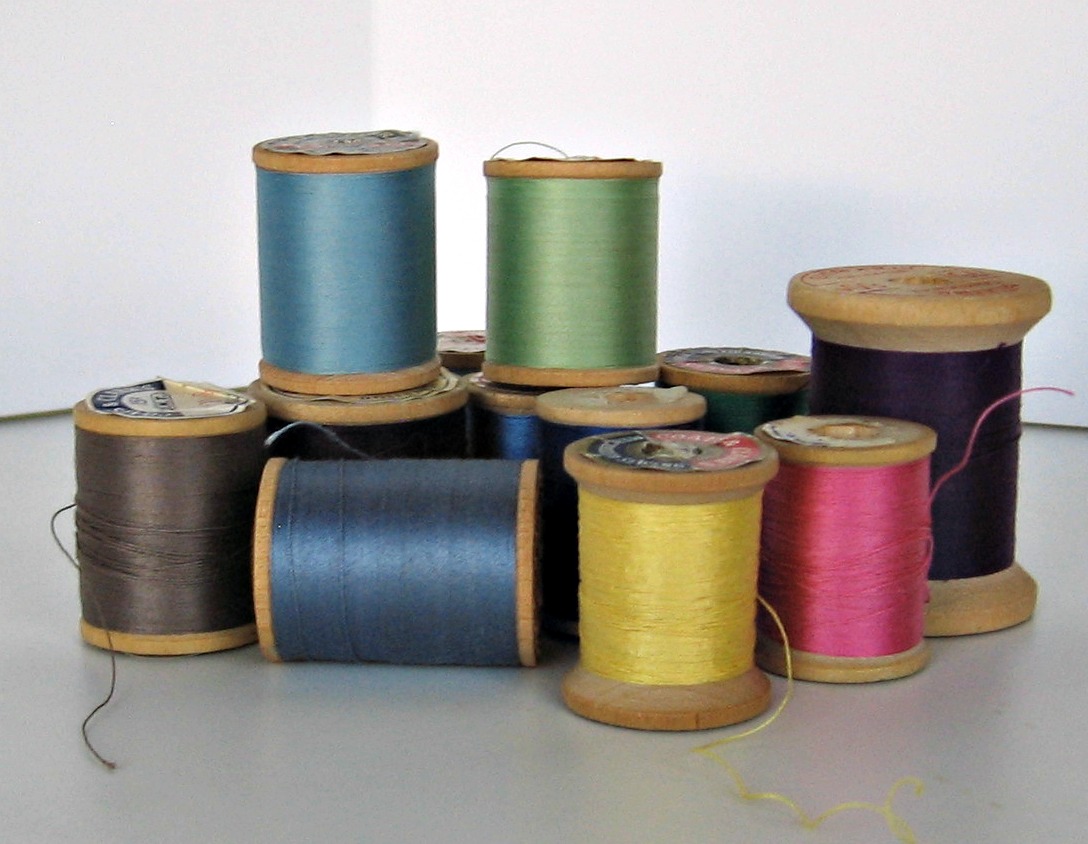
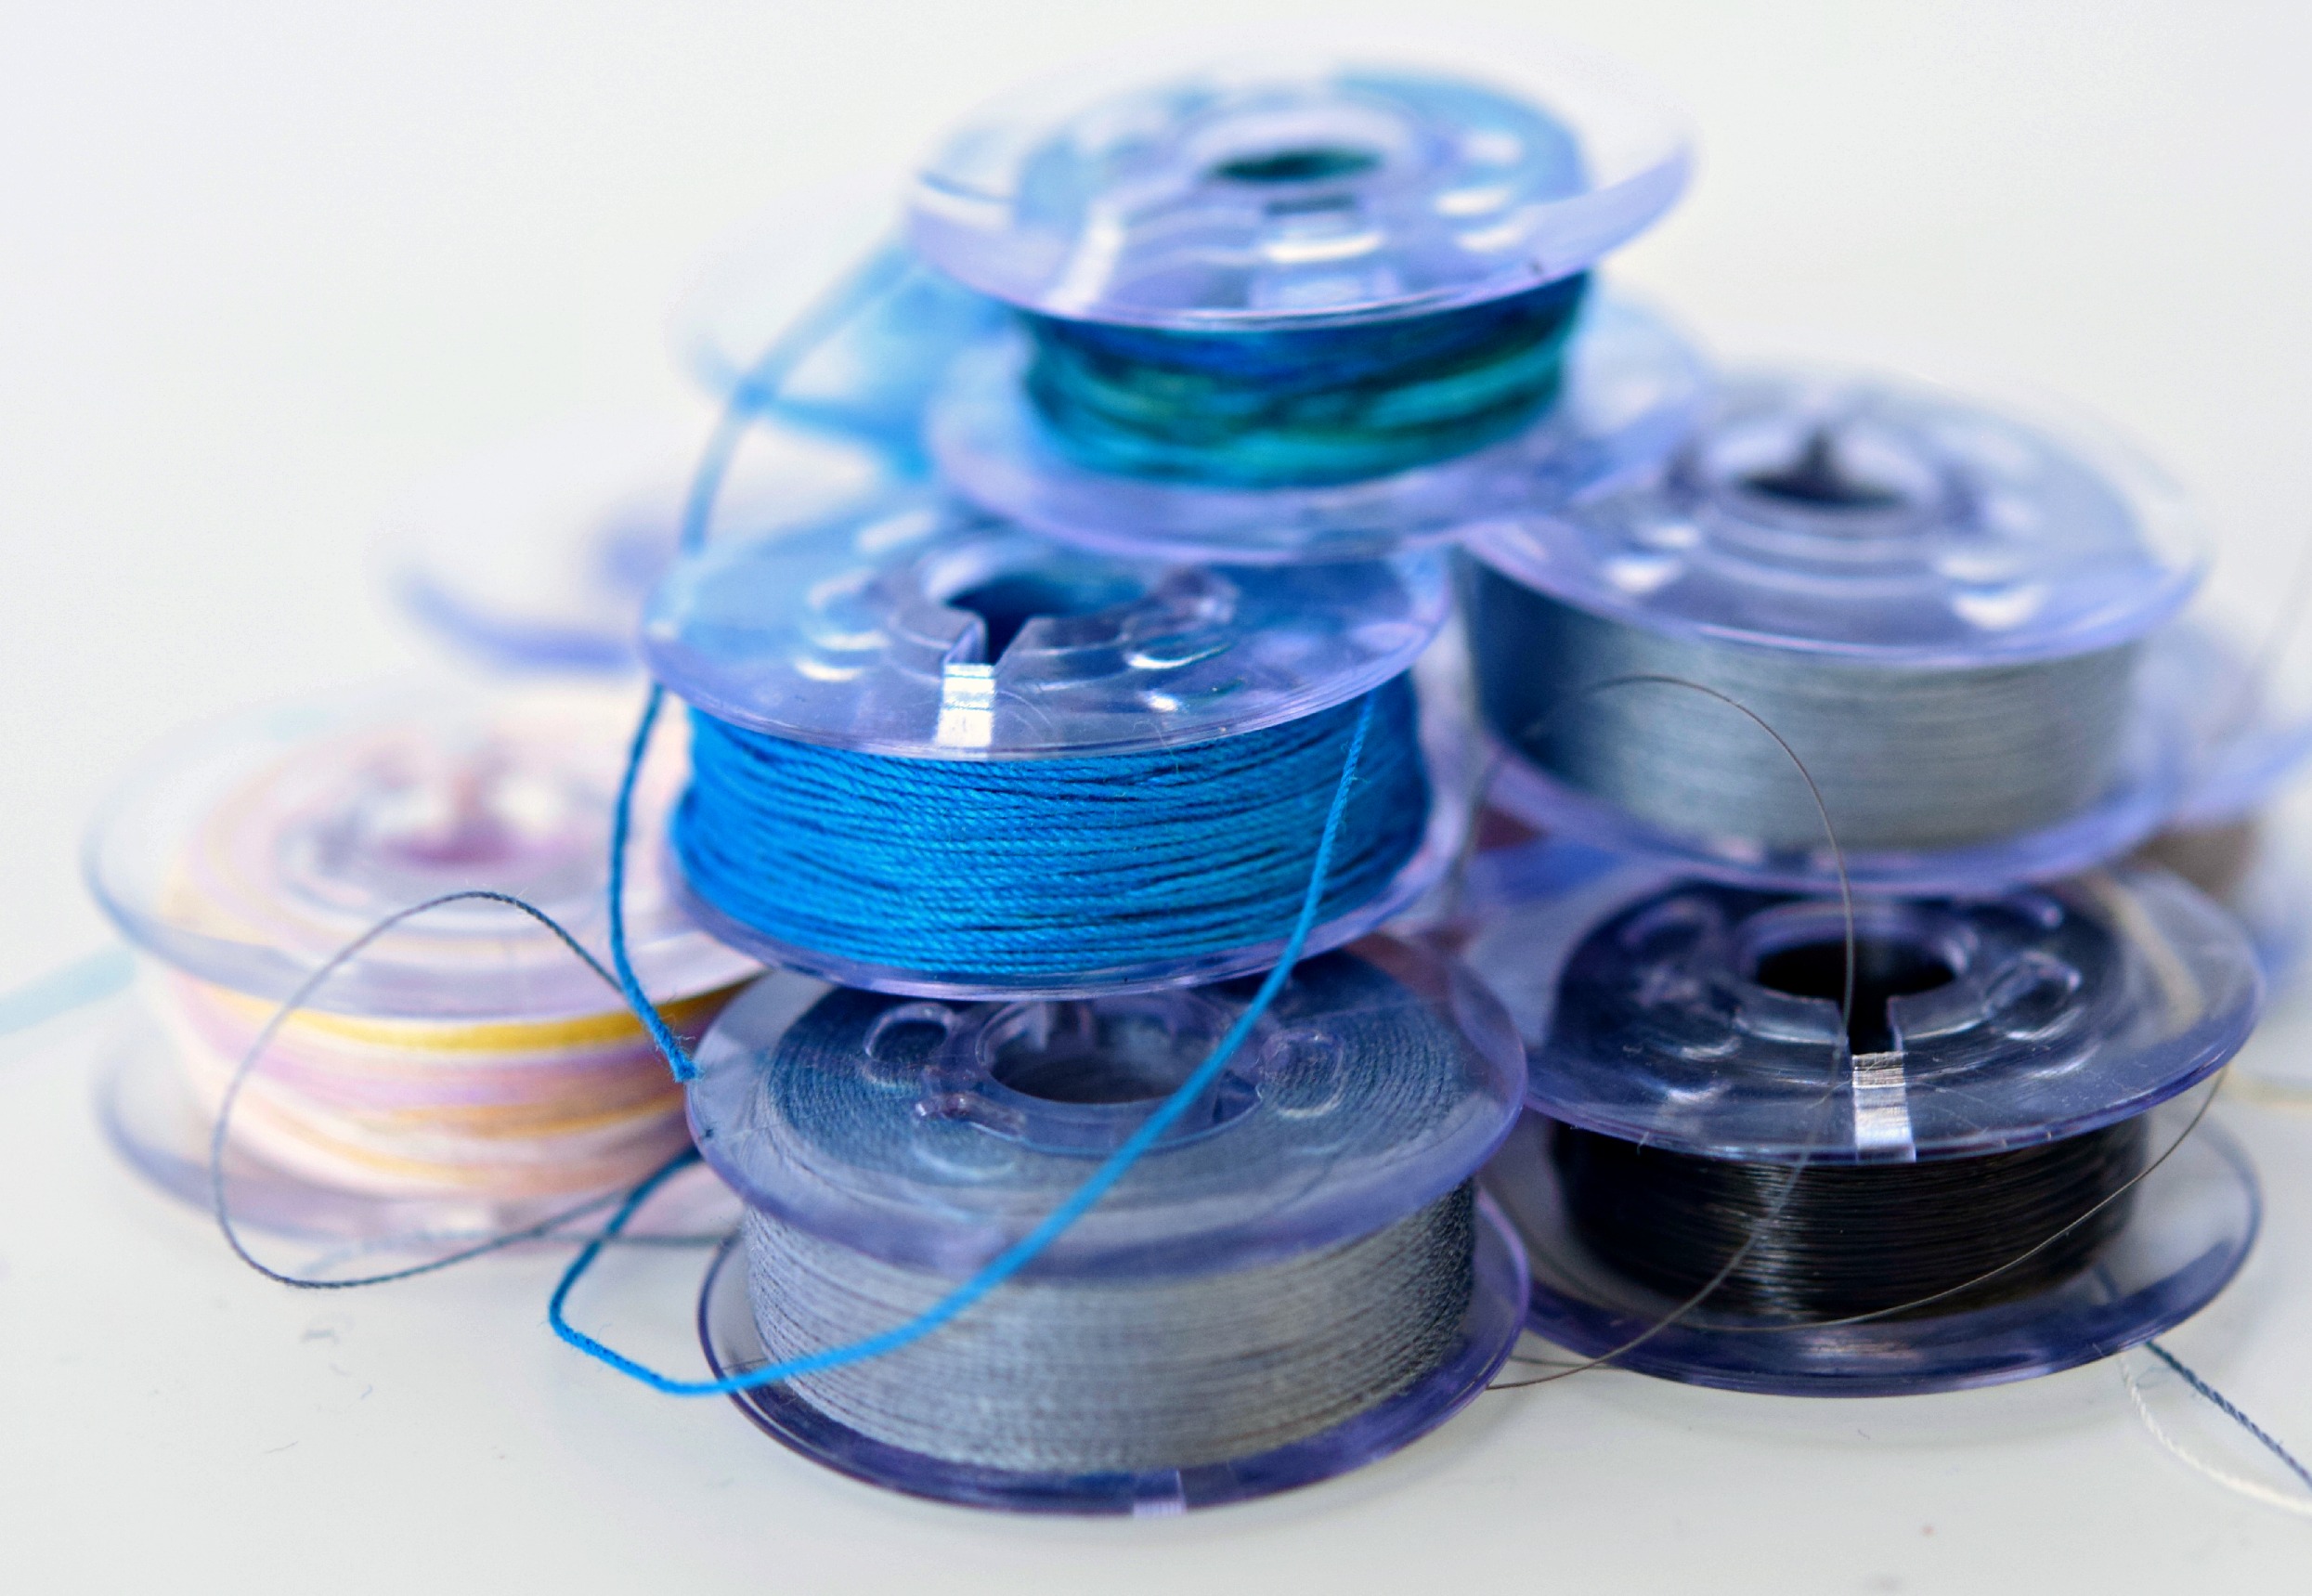
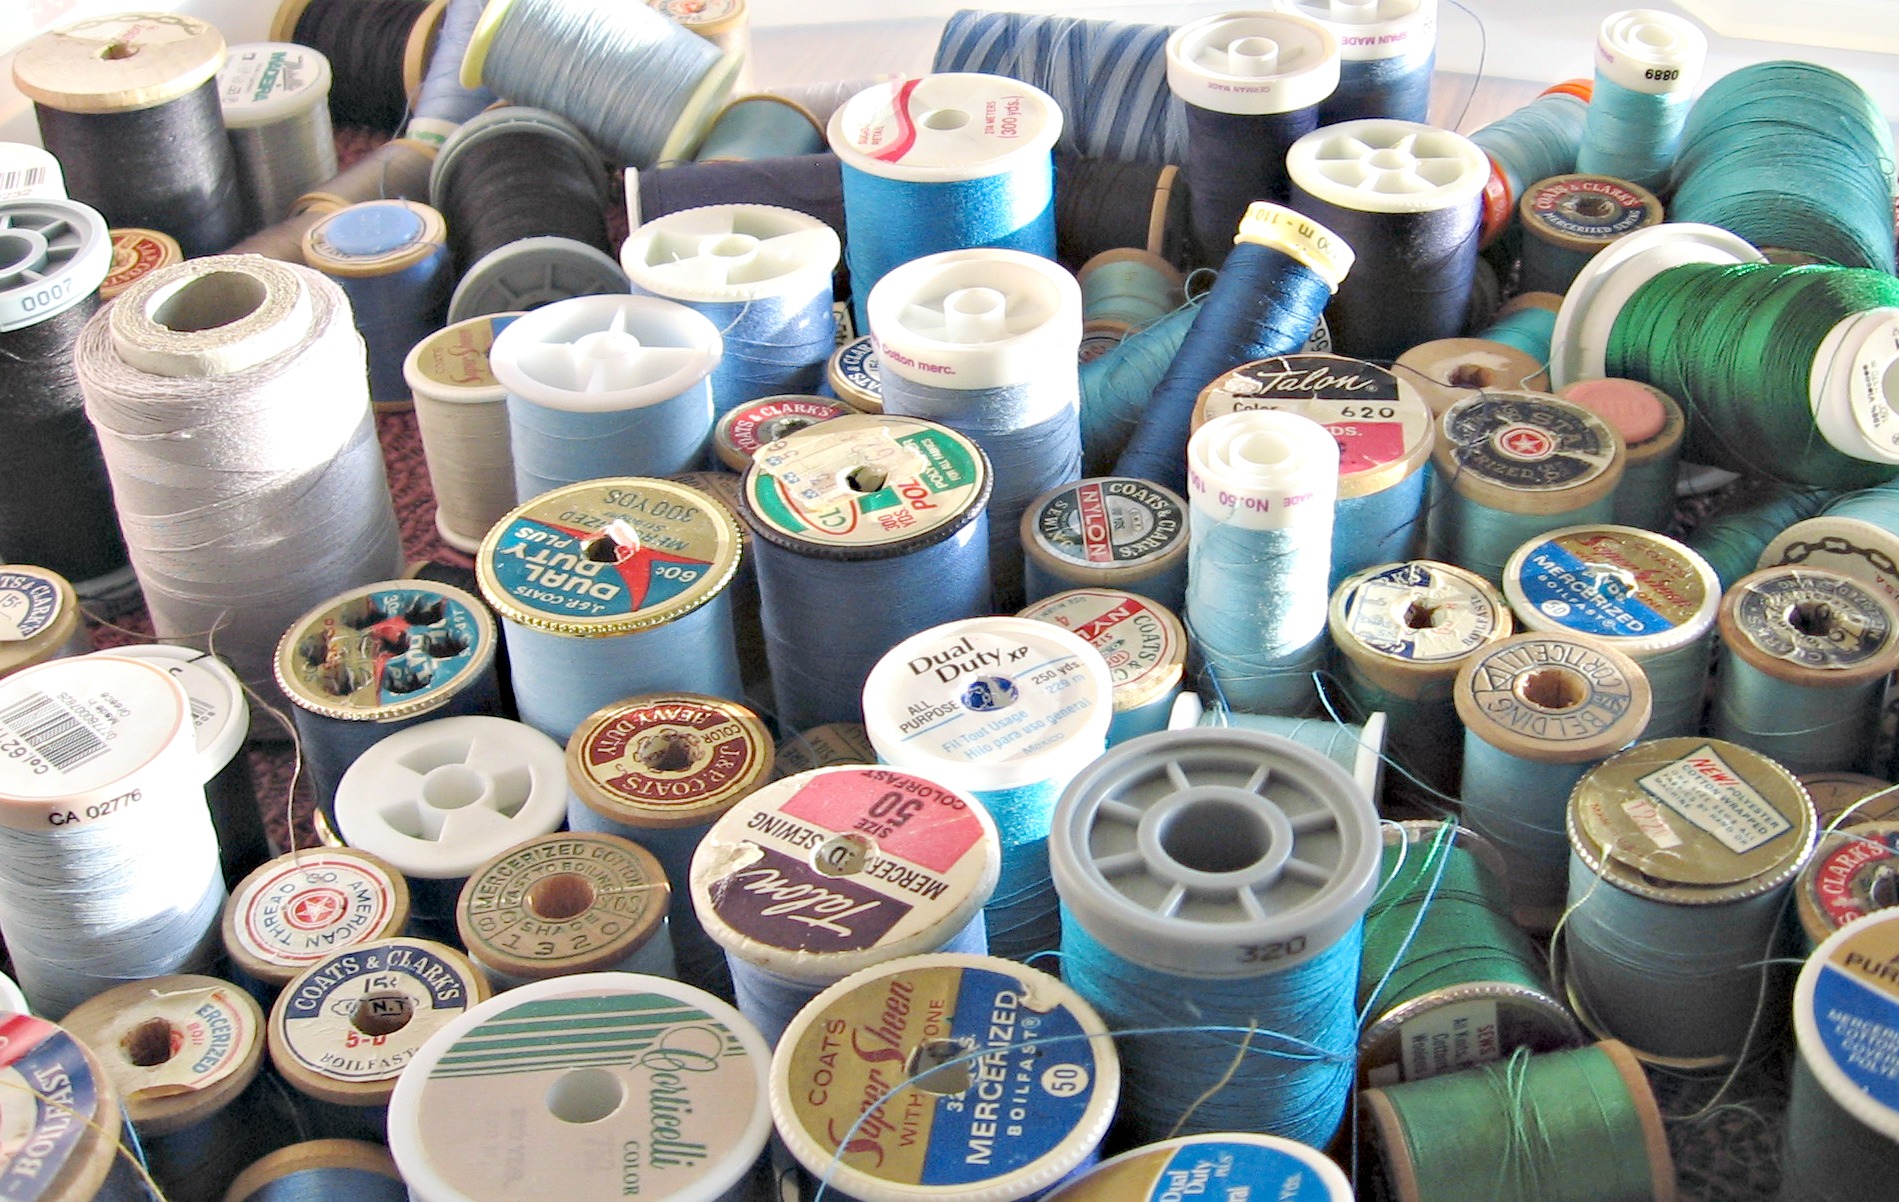
Thread CollectionI have done all kinds of sewing, garments, costumes, doll clothes, home decorating, and, of course, machine quilting.  So, I have tried all kinds of thread and have an extensive collection.  I want to share with you my thread philosophy, a bit about needles, what thread qualities work well for piecing thread and what qualities work well for quilting.  Full disclosure, after trying many brands, my favorite, is Aurifil.  However, even though it meets all my needs, please, find what works best for you.

My Thread Philosophy

Thread is a tool.  You have to decide what you want the end result to be and adjust your tools to fit the purpose.  You are investing your time and talents into your projects! Buy the best tools you can afford, learn to use them and you will get better results. I almost always make a test piece when I am working with a new thread.  To make a test piece, use the same fabrics and batting from the project and try the thread.  Test your tension, thread, needles, stitches, whatever is new and might mess you up later.

A Bit About Needles
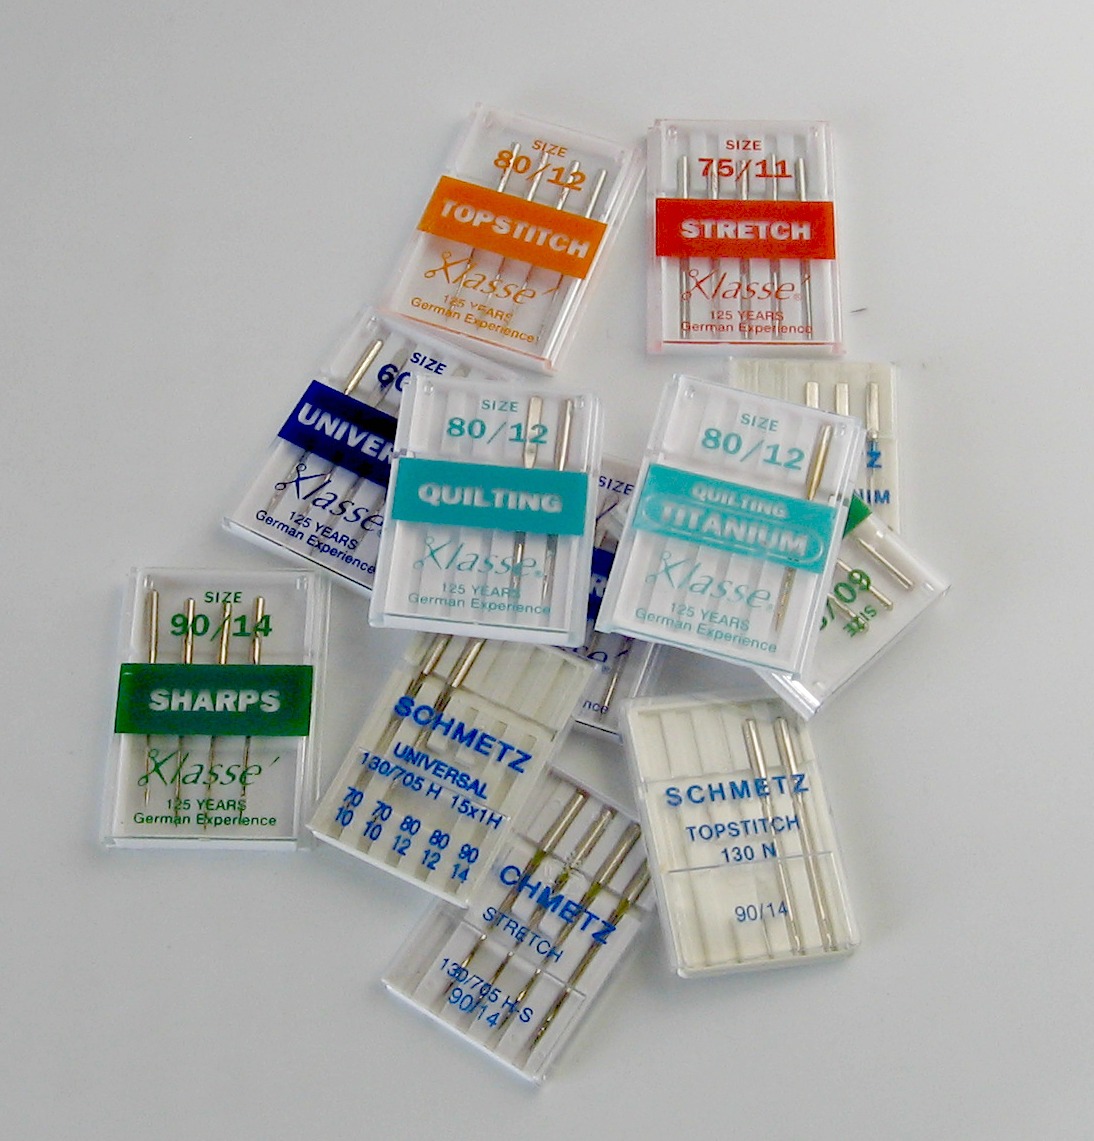
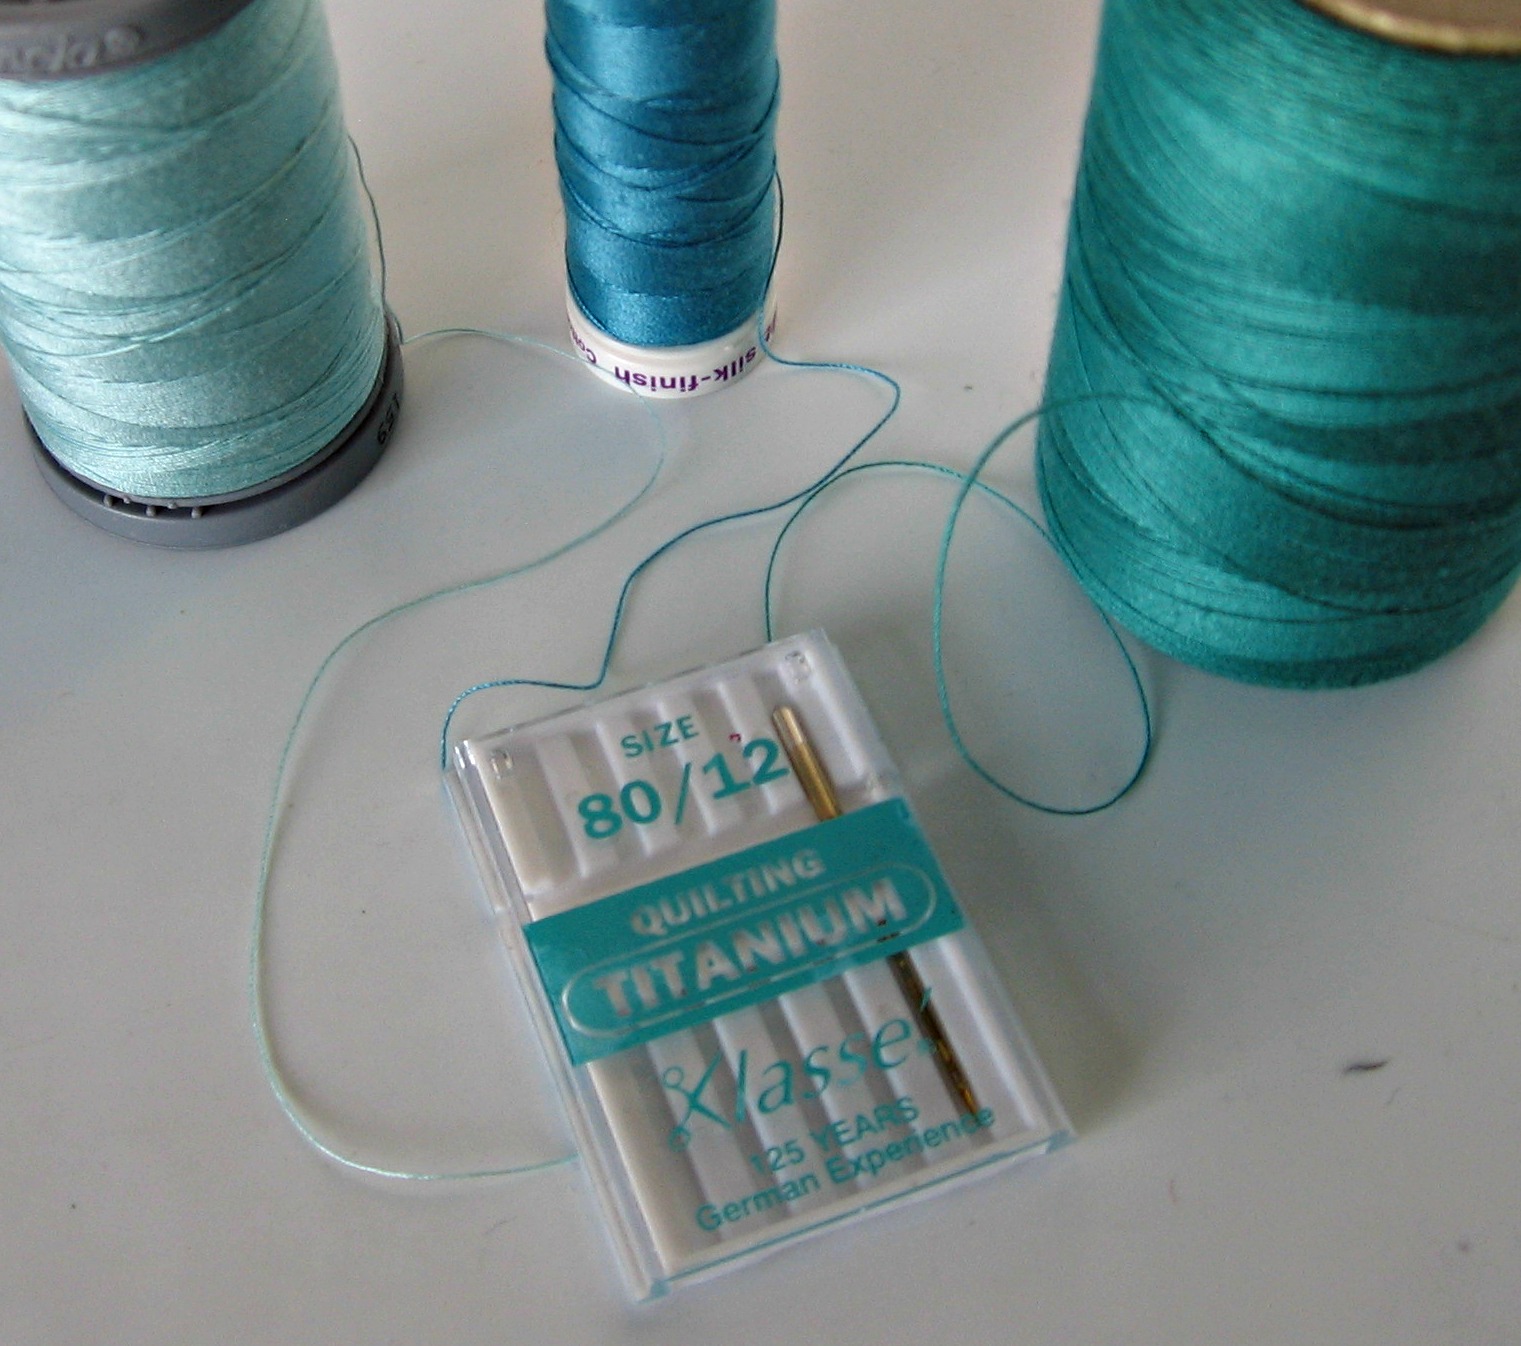
Needle PacksAlways match your needle to your thread.  The needle number indicates the size of the thread, a larger numbered needle goes with a larger thread.  The kind of needle, i.e. sharps, stretch, quilting, indicates the type of sewing you want to do.  Match the needle to the thread and the task.
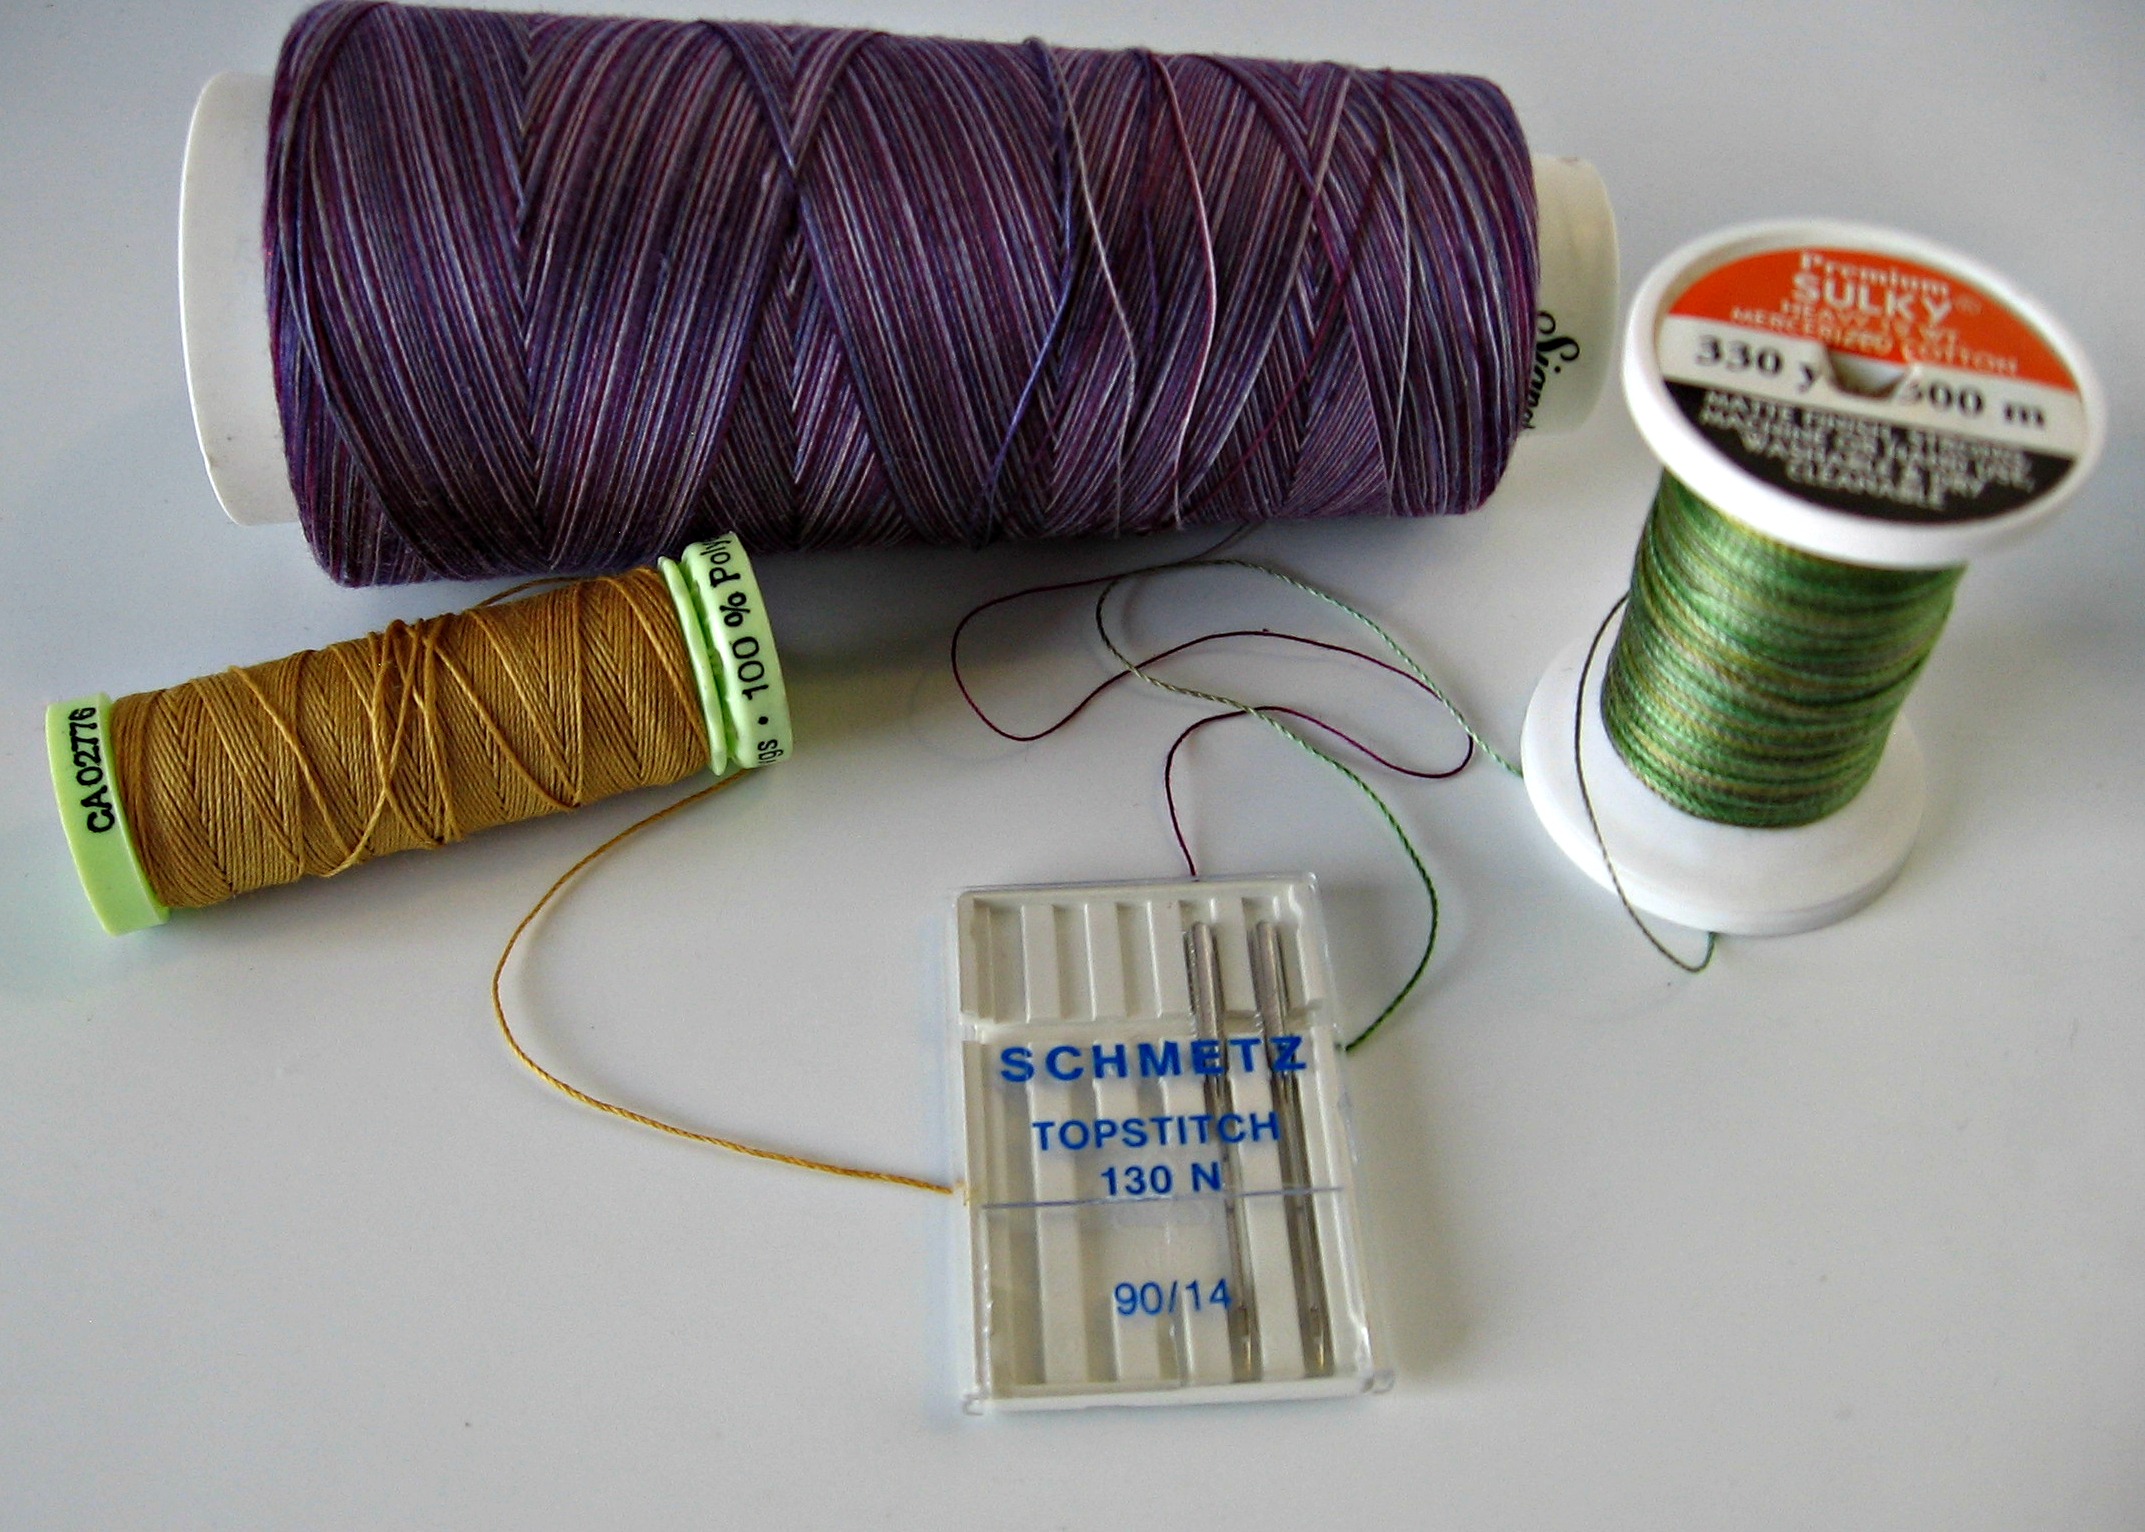
Large Thread

Small ThreadSome people advise using a new needle whenever you start a new project or change to a new needle after every 8 hours. I don’t.  I think there are too many variables!  What if my project was a pot holder and took me only 2 hours, do I have to put in a new needle on the next project?  Or what if I started one project and had to switch to something else, do I have to track the hours for each project and replace it after the time is up?  How irritating!  I have enough to keep track of, thank you.  And, it seems to me, I would waste a ton of needles.

My method is based on two needs. One, I change needles when I change thread types.  Like I stated above, match the needle to the thread and the task.  If I switch to a larger decorative thread, it is time to change the needle.  Two, I put in a new needle when I encounter a problem.  For example, If my machine starts skipping stitches, it is time to replace the needle.  If I jammed the needle on a pin or the throat plate, it is most likely bent, it is time to replace the needle.  Remember, the method serves you, you don’t serve the method.
What I Look For in A Piecing Thread
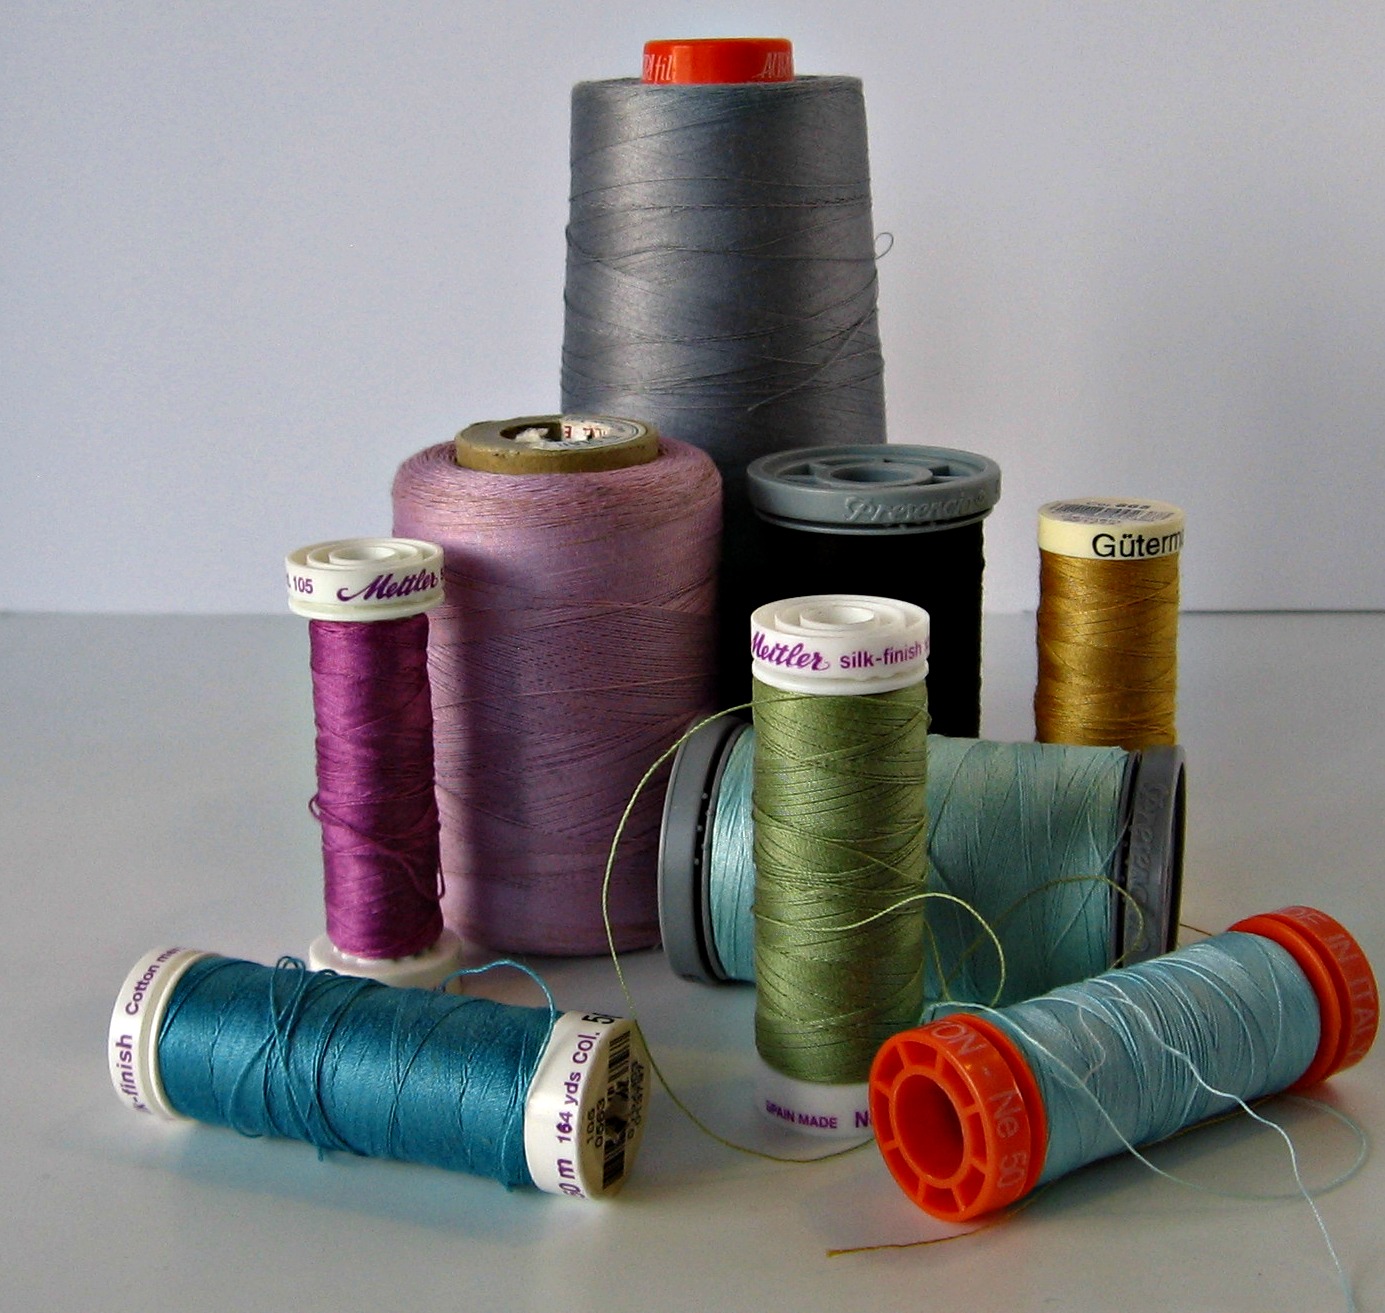
Pieding ThreadWhat I want in a piecing thread is a workhorse: cotton, smooth, thin and low-lint. I want 100% cotton.  I always piece with 100% cotton, I feel my thread should match my fabric type so they will not fight each other but will stretch and move together.  I want something smooth so it flows freely and doesn’t tangle.  I want something thin so when I press the fabric, the thread doesn’t take up a 1/16th of an inch, throwing off my accuracy.  I want something strong so it will not break while I am sewing and will help the quilt to last longer.  I want a thread that is a low-lint producer so I don’t have to clean my entire bobbin mechanism every time I change my bobbin!

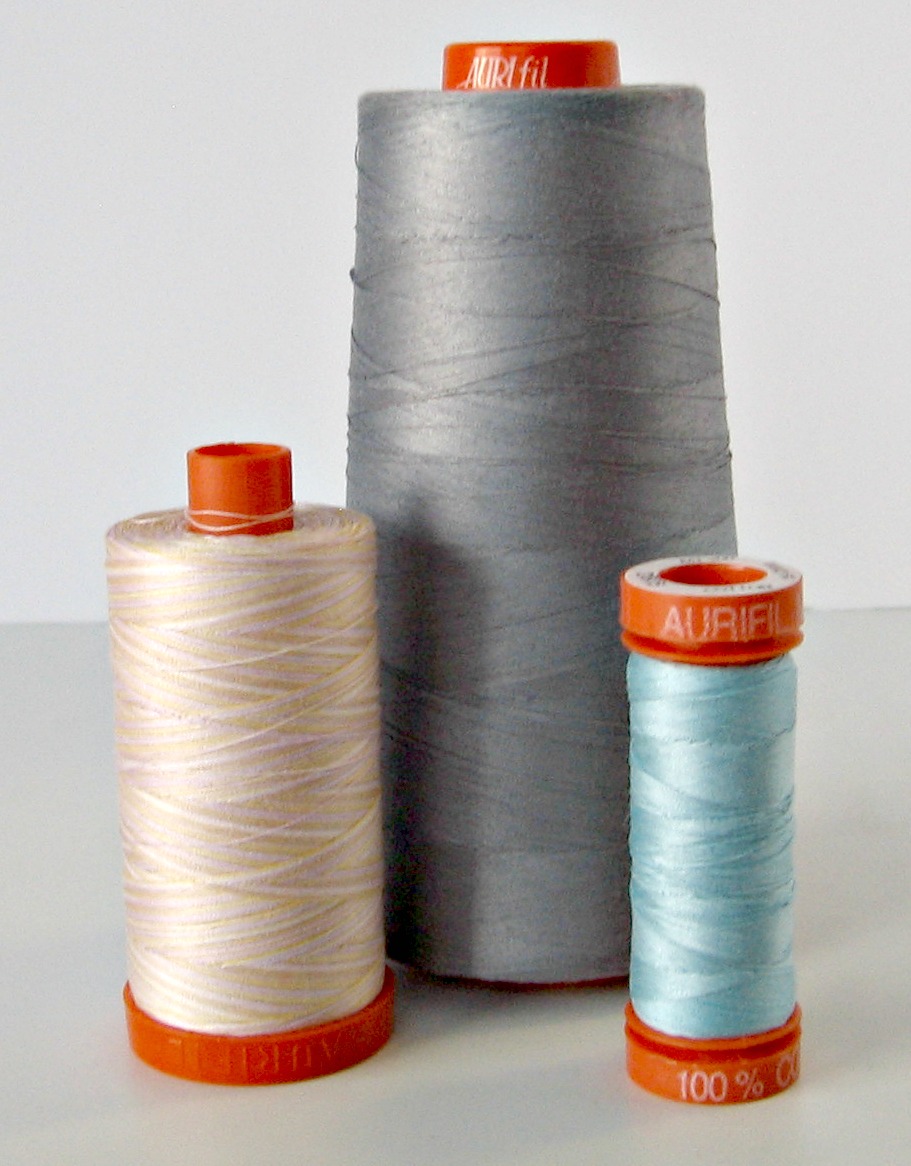
As for colors, I use gray for almost everything.  It is good to have a spool of black and a spool of white, just in case, but gray is my go to. The one brand I have found that works the very best for me and my machine, hands down, is Aurifil Mako 50 wt. I recommend it to all my students and anyone else who asks.  Another thing I really like about Aurifil is that I can buy a huge cone of gray for about $50 and, even with sewing class samples, shop samples, quilts for shows and personal projects, these cones last forever.  It is well worth the investment.  Even though minky is 100% polyester and NOT cotton, I still use Aurifil for piecing, it works beautifully.
Aurifil ThreadWhat I Look For In A Quilting Thread

When I think about quilting thread, I ask myself, “How do I want the finished quilt to look?”.  I think about how dense or obvious I want the quilting?  Are there features I want to highlight?  It used to be that only 100% cotton thread was acceptable for quilting.  Times have changed.  Feel free to try whatever you like.  I have used cotton, polyester, rayon, nylon, metallic, monofilament and mystery thread from my grandmother’s wooden spools.  I have used thick, thin and everything in between.  I have even used different kinds on the same quilt. (This is why I make a test patch, to see what will work!)
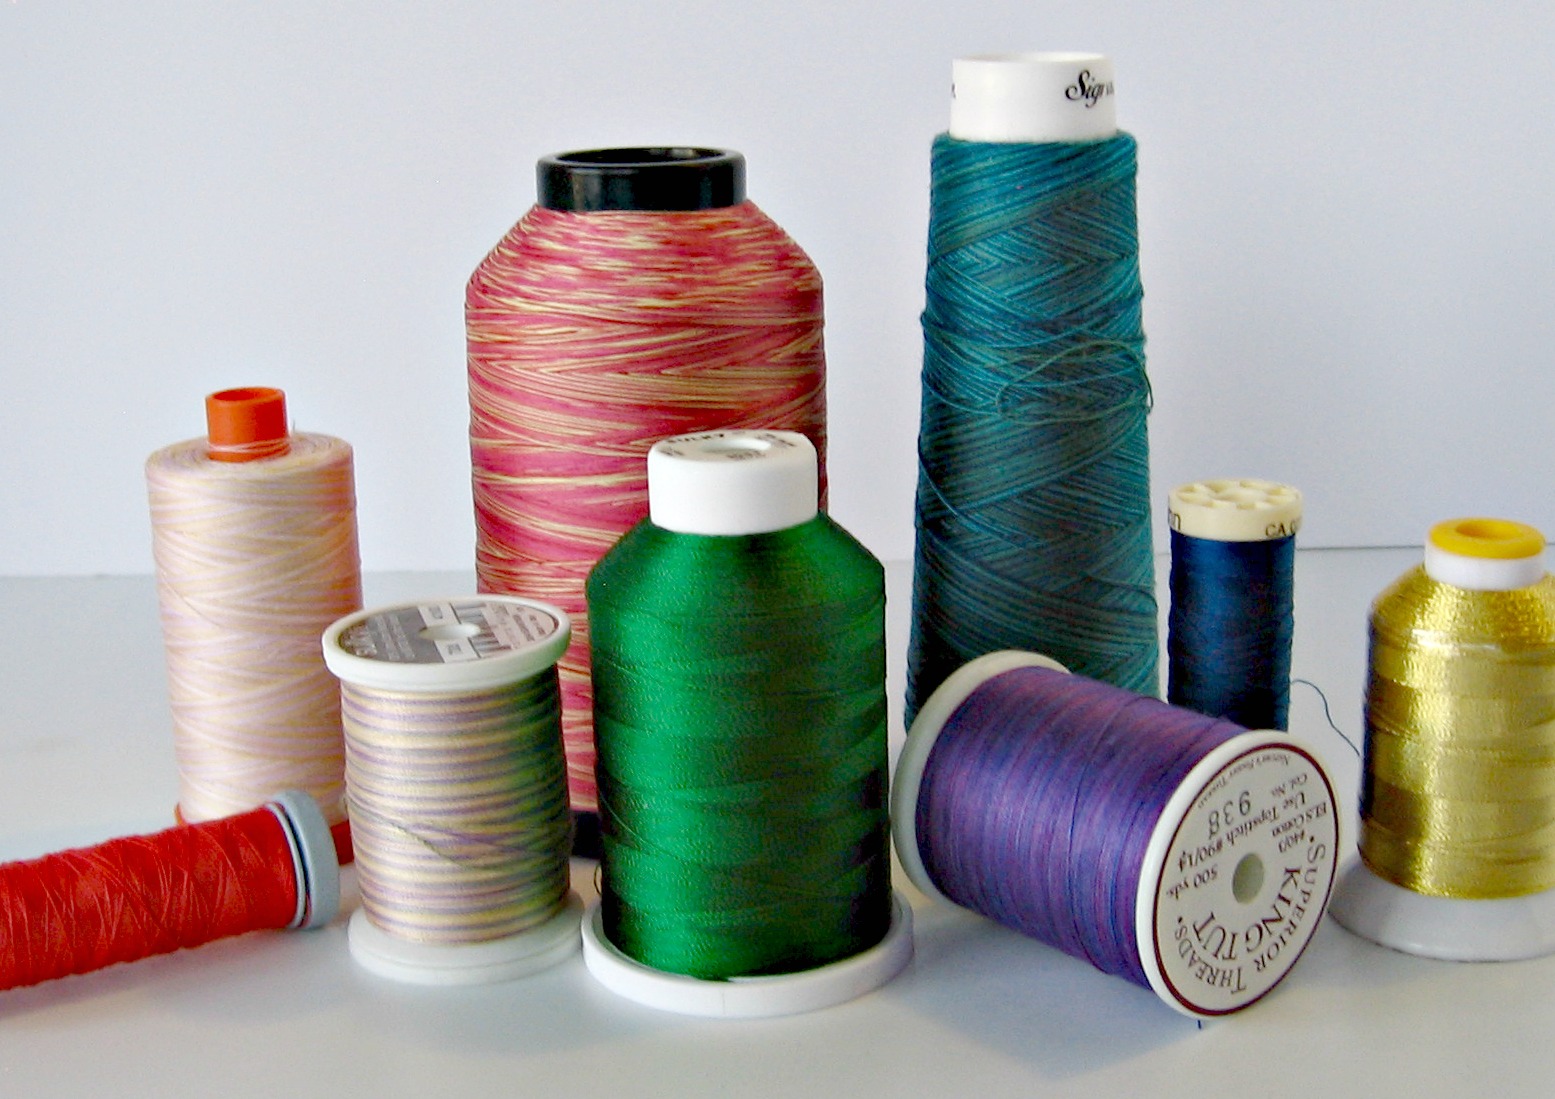
Quilting Thread    Wooden SpoolsIf you are just starting out, try a variegated cotton thread.  Cotton is a great fuss-free choice and with the variegated colors, mistakes are not as obvious.

For me, I put a great deal of effort into the design and piecing, I don’t want the quilting to obscure or take away from the design.  I like a thread that gives texture and completes the quilt.

I love, love, love the monofilament thread from Aurifil.  It is smooth, strong and gives depth. Admittedly, it can be tricky to learn to thread, but you are smart, you can do it and get beautiful results.  I even have my beginning students use it in class.
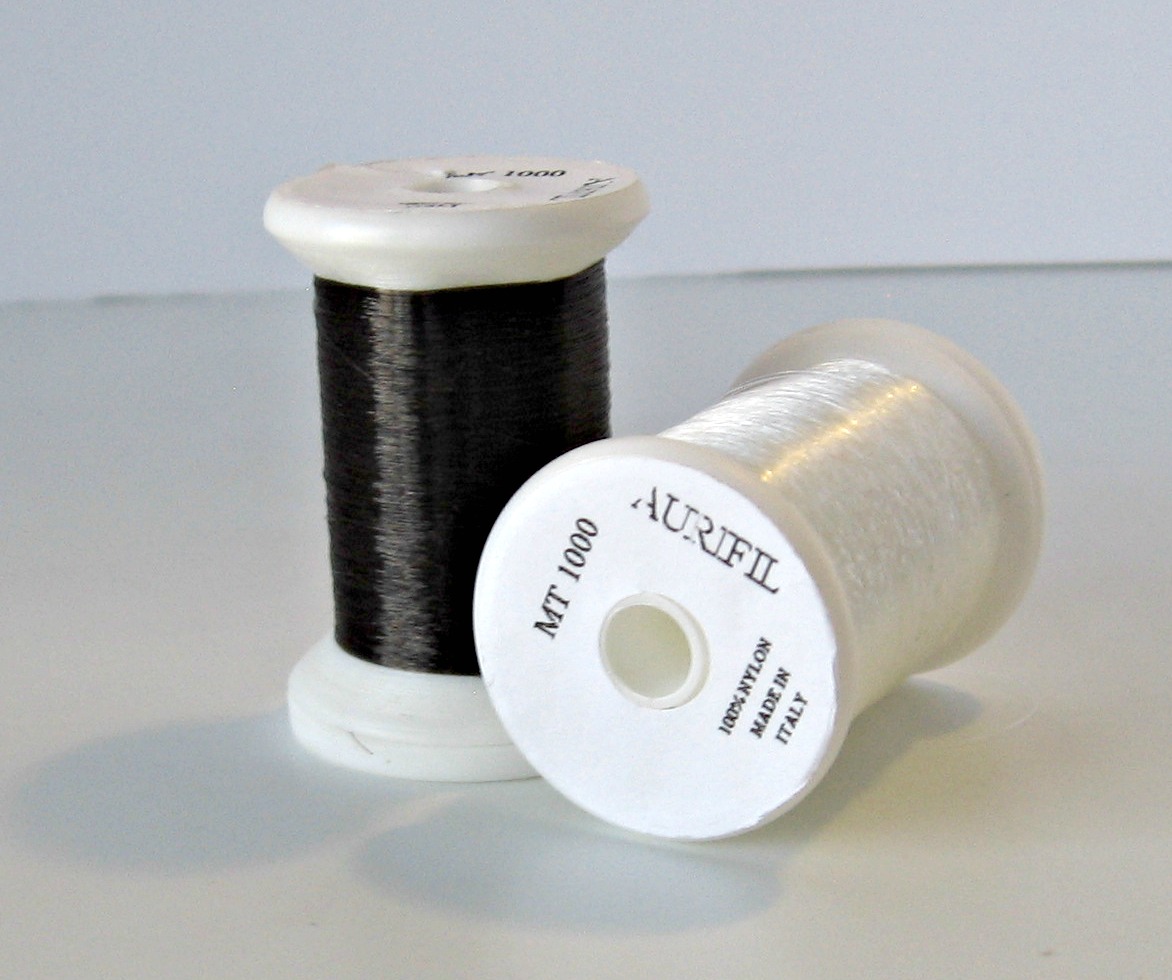
Aurifil MonoBecause most quilters use colored thread, I think monofilament makes projects unique and interesting.
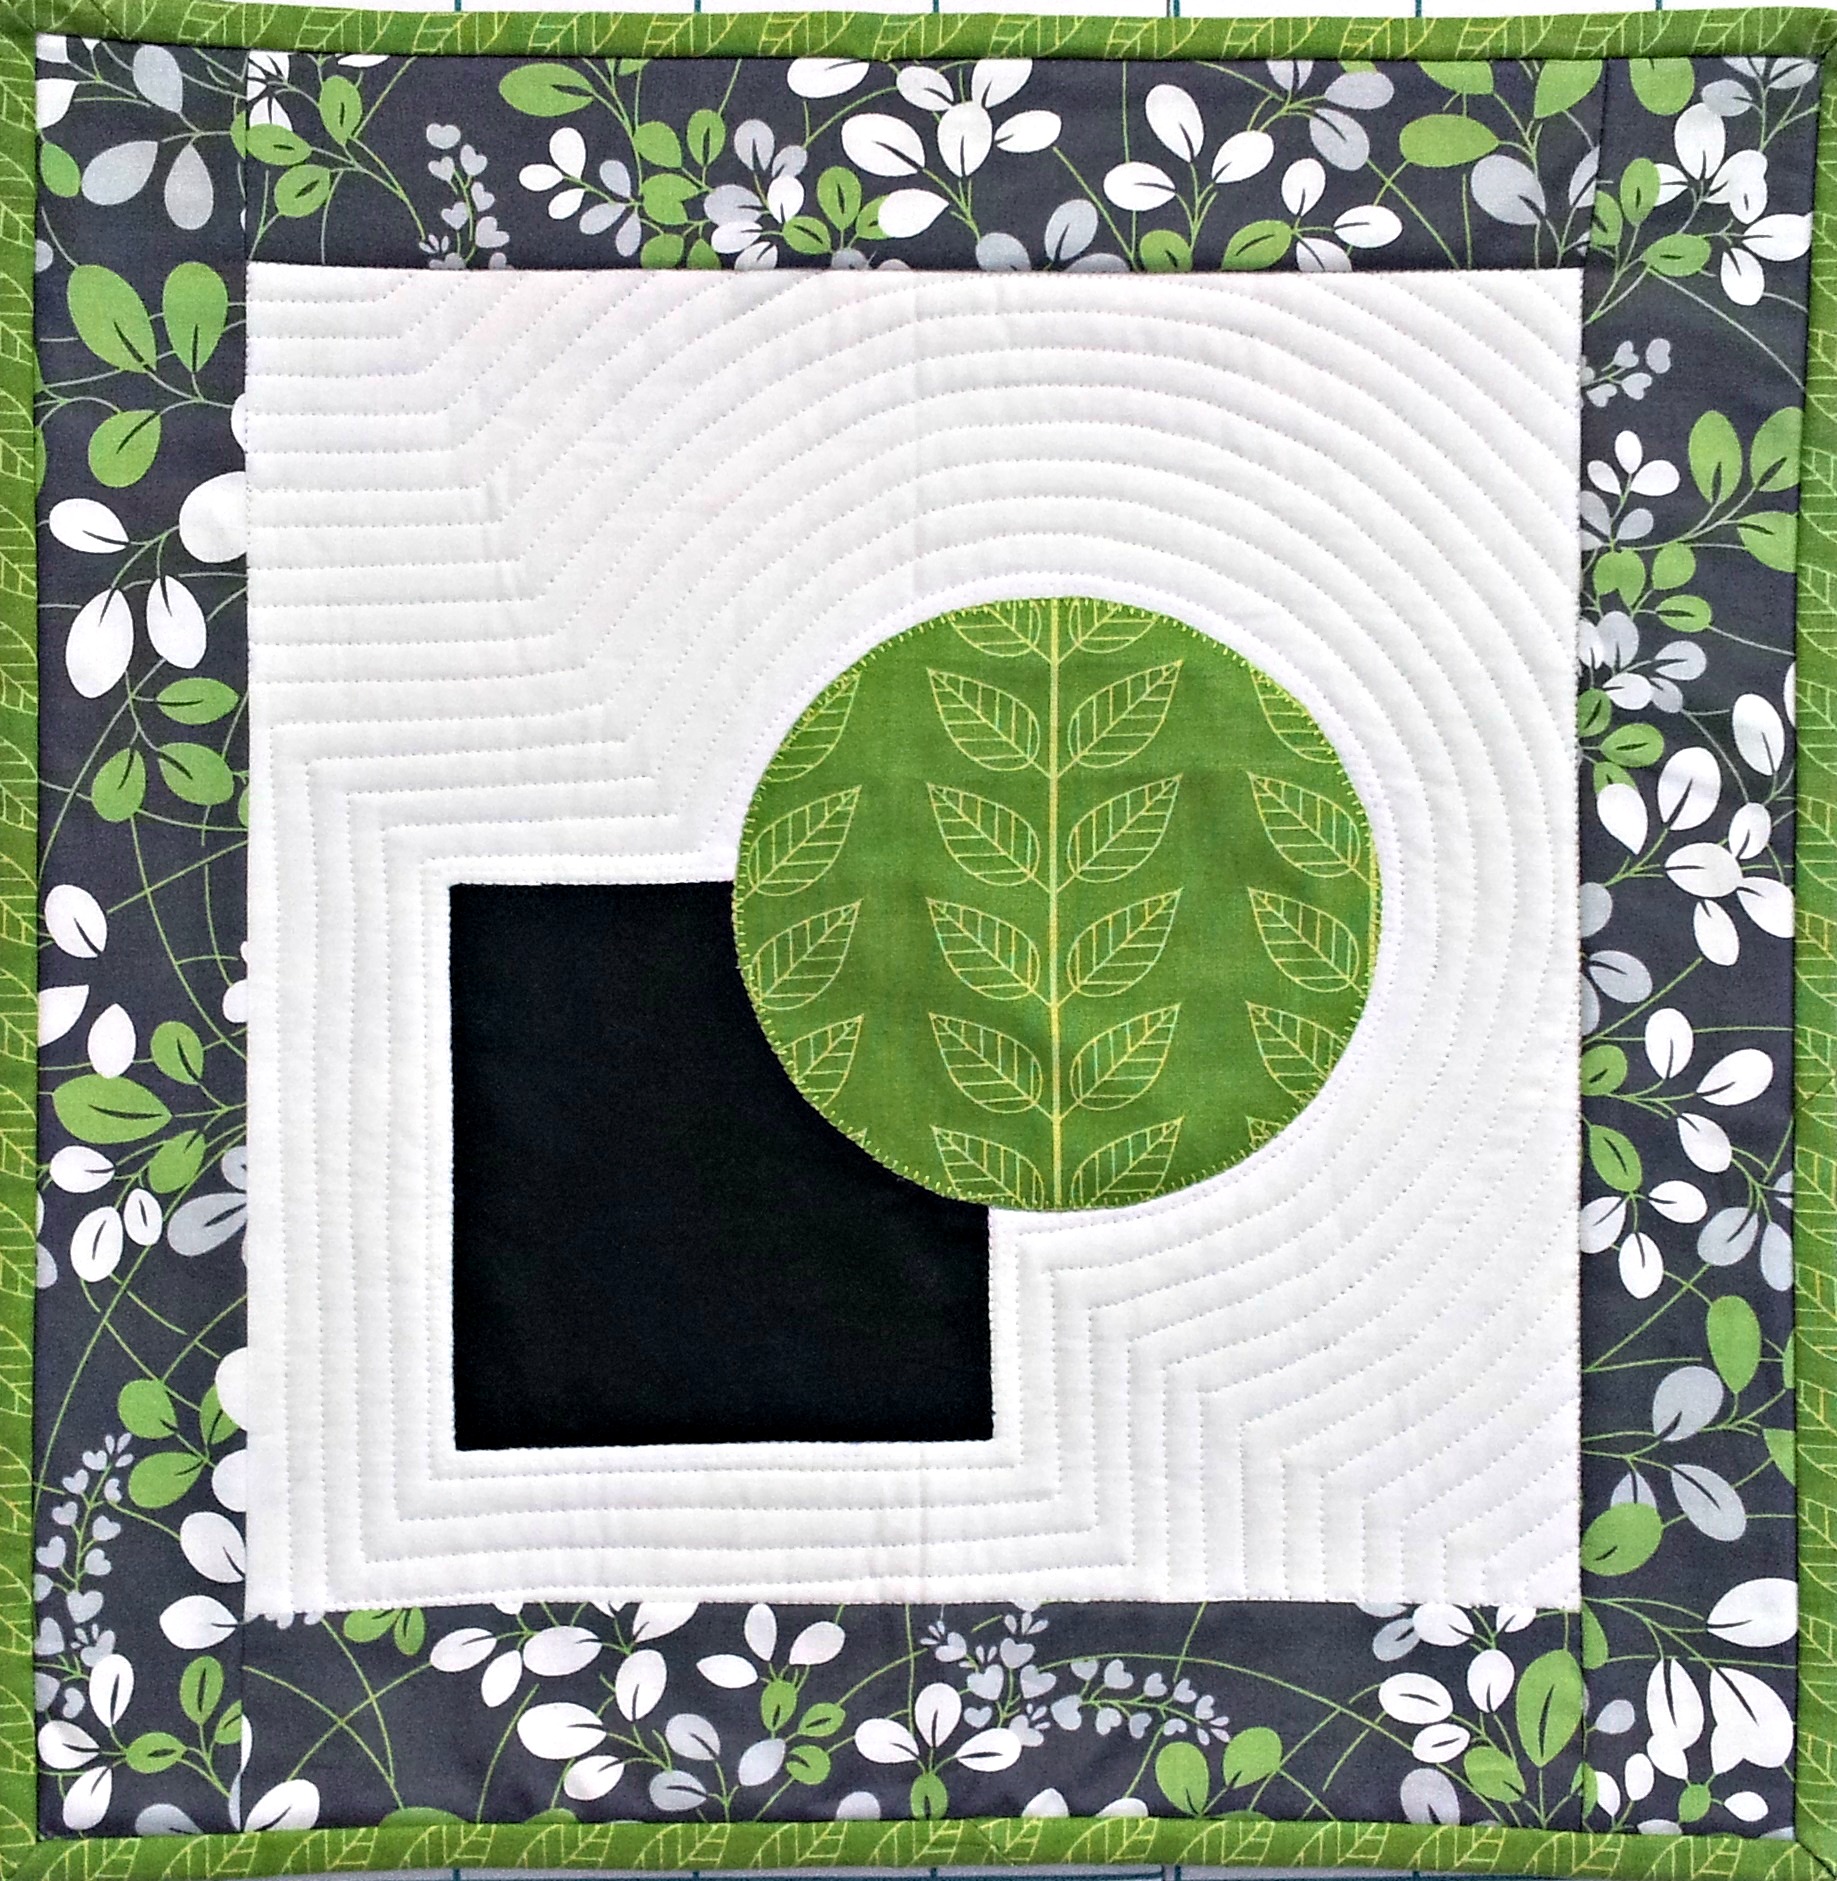
Mod Applique 2Final Thought

There are no rules in quilting, only realities.  The reality is what works best for you.  I have shared with you what works best for me.  I hope you feel both armed with information and encouraged to see what works for you.

Thanks for reading my blog and happy quilting!

Jenny

For more about me or my patterns, demos, webinars, and classes, check out my website Jenny Kae Quilts

For more about Aurifil thread, go to Aurifil
Ending Threads#aurifil  #jennykaequilts #thread #quilting
Making Minky Easy – My Best Binding Method

Binding!  That final stage you just want to finish, NOW!  This is, by far, my most requested technique.  It makes binding minky easy, fast and beautiful.

1.  Cut binding yardage 2″ wide.  Do not cut minky on the bias!  It is stretchy enough.

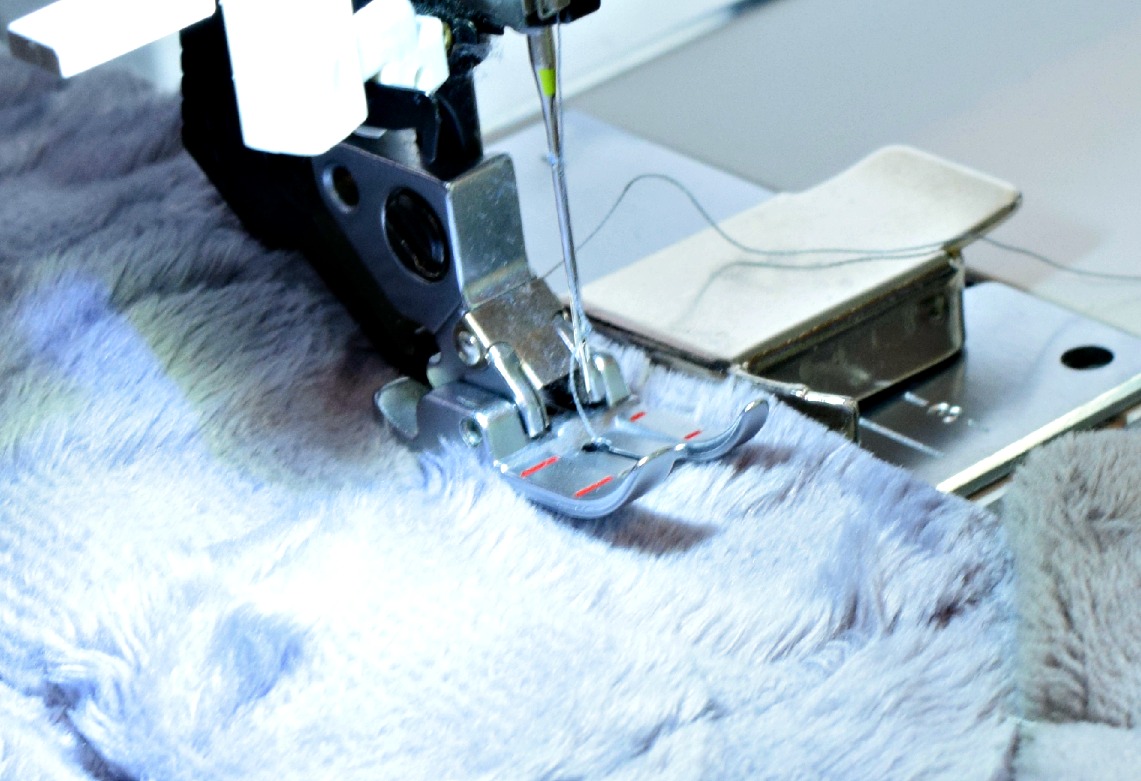
2. Prep your sewing machine.  Use a 90/14 Stretch needle.  I prefer my single-hole 1/4″ foot and a magnetic seam guide to keep the fabric in line.

Foot and Guide

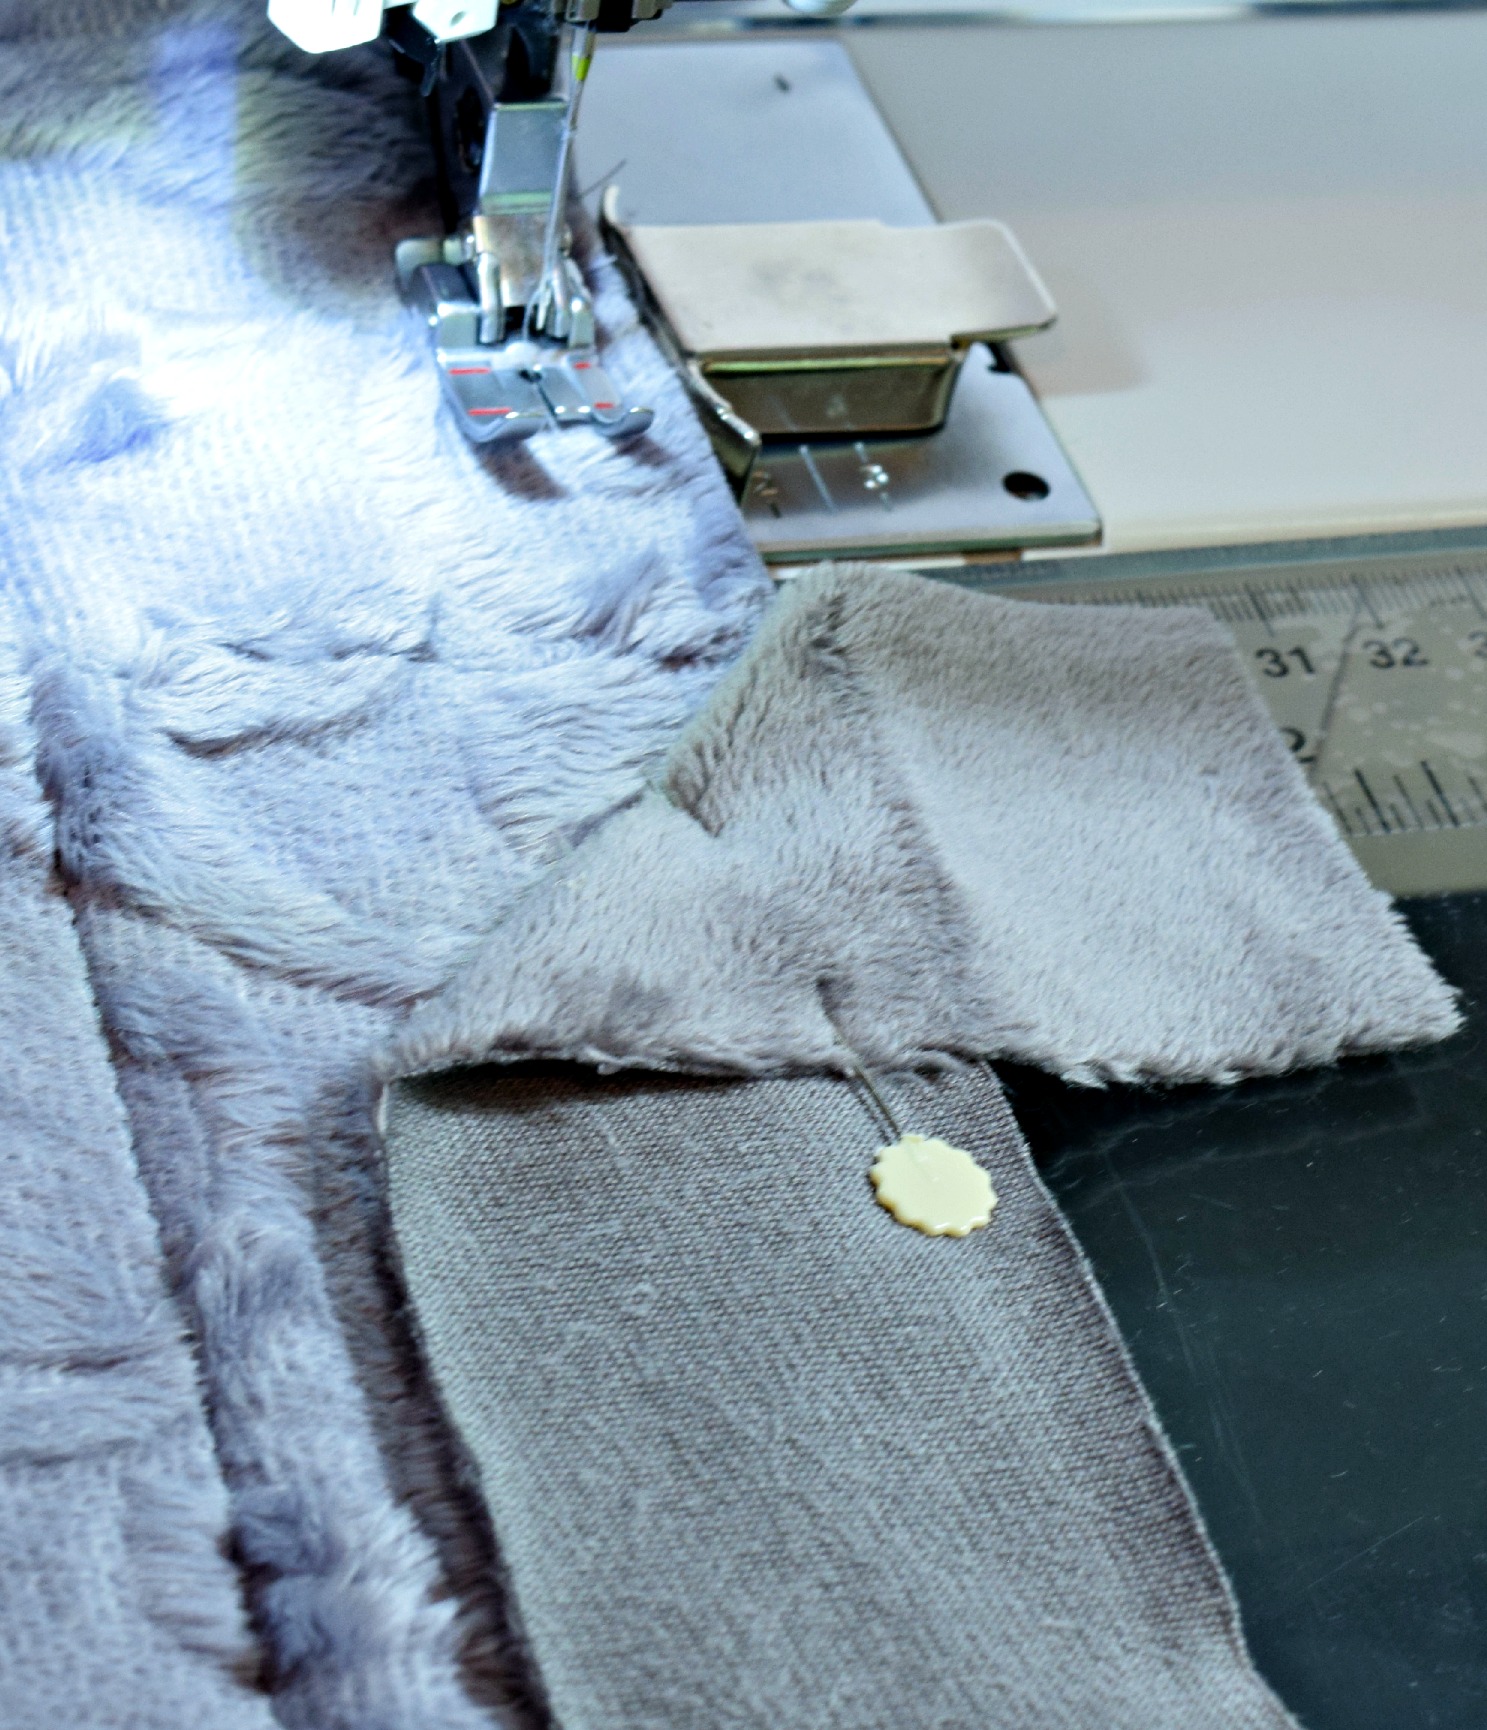
3. Next, make a finishing fold  Starting on the back of the quilt in the middle of a long side, fold the beginning of the strip down at a 45 degree angle.
Fold Close-up

4.  Using a 1/2″ seam allowance, stitch along the edge till about 2″ from the corner.
1st Corner

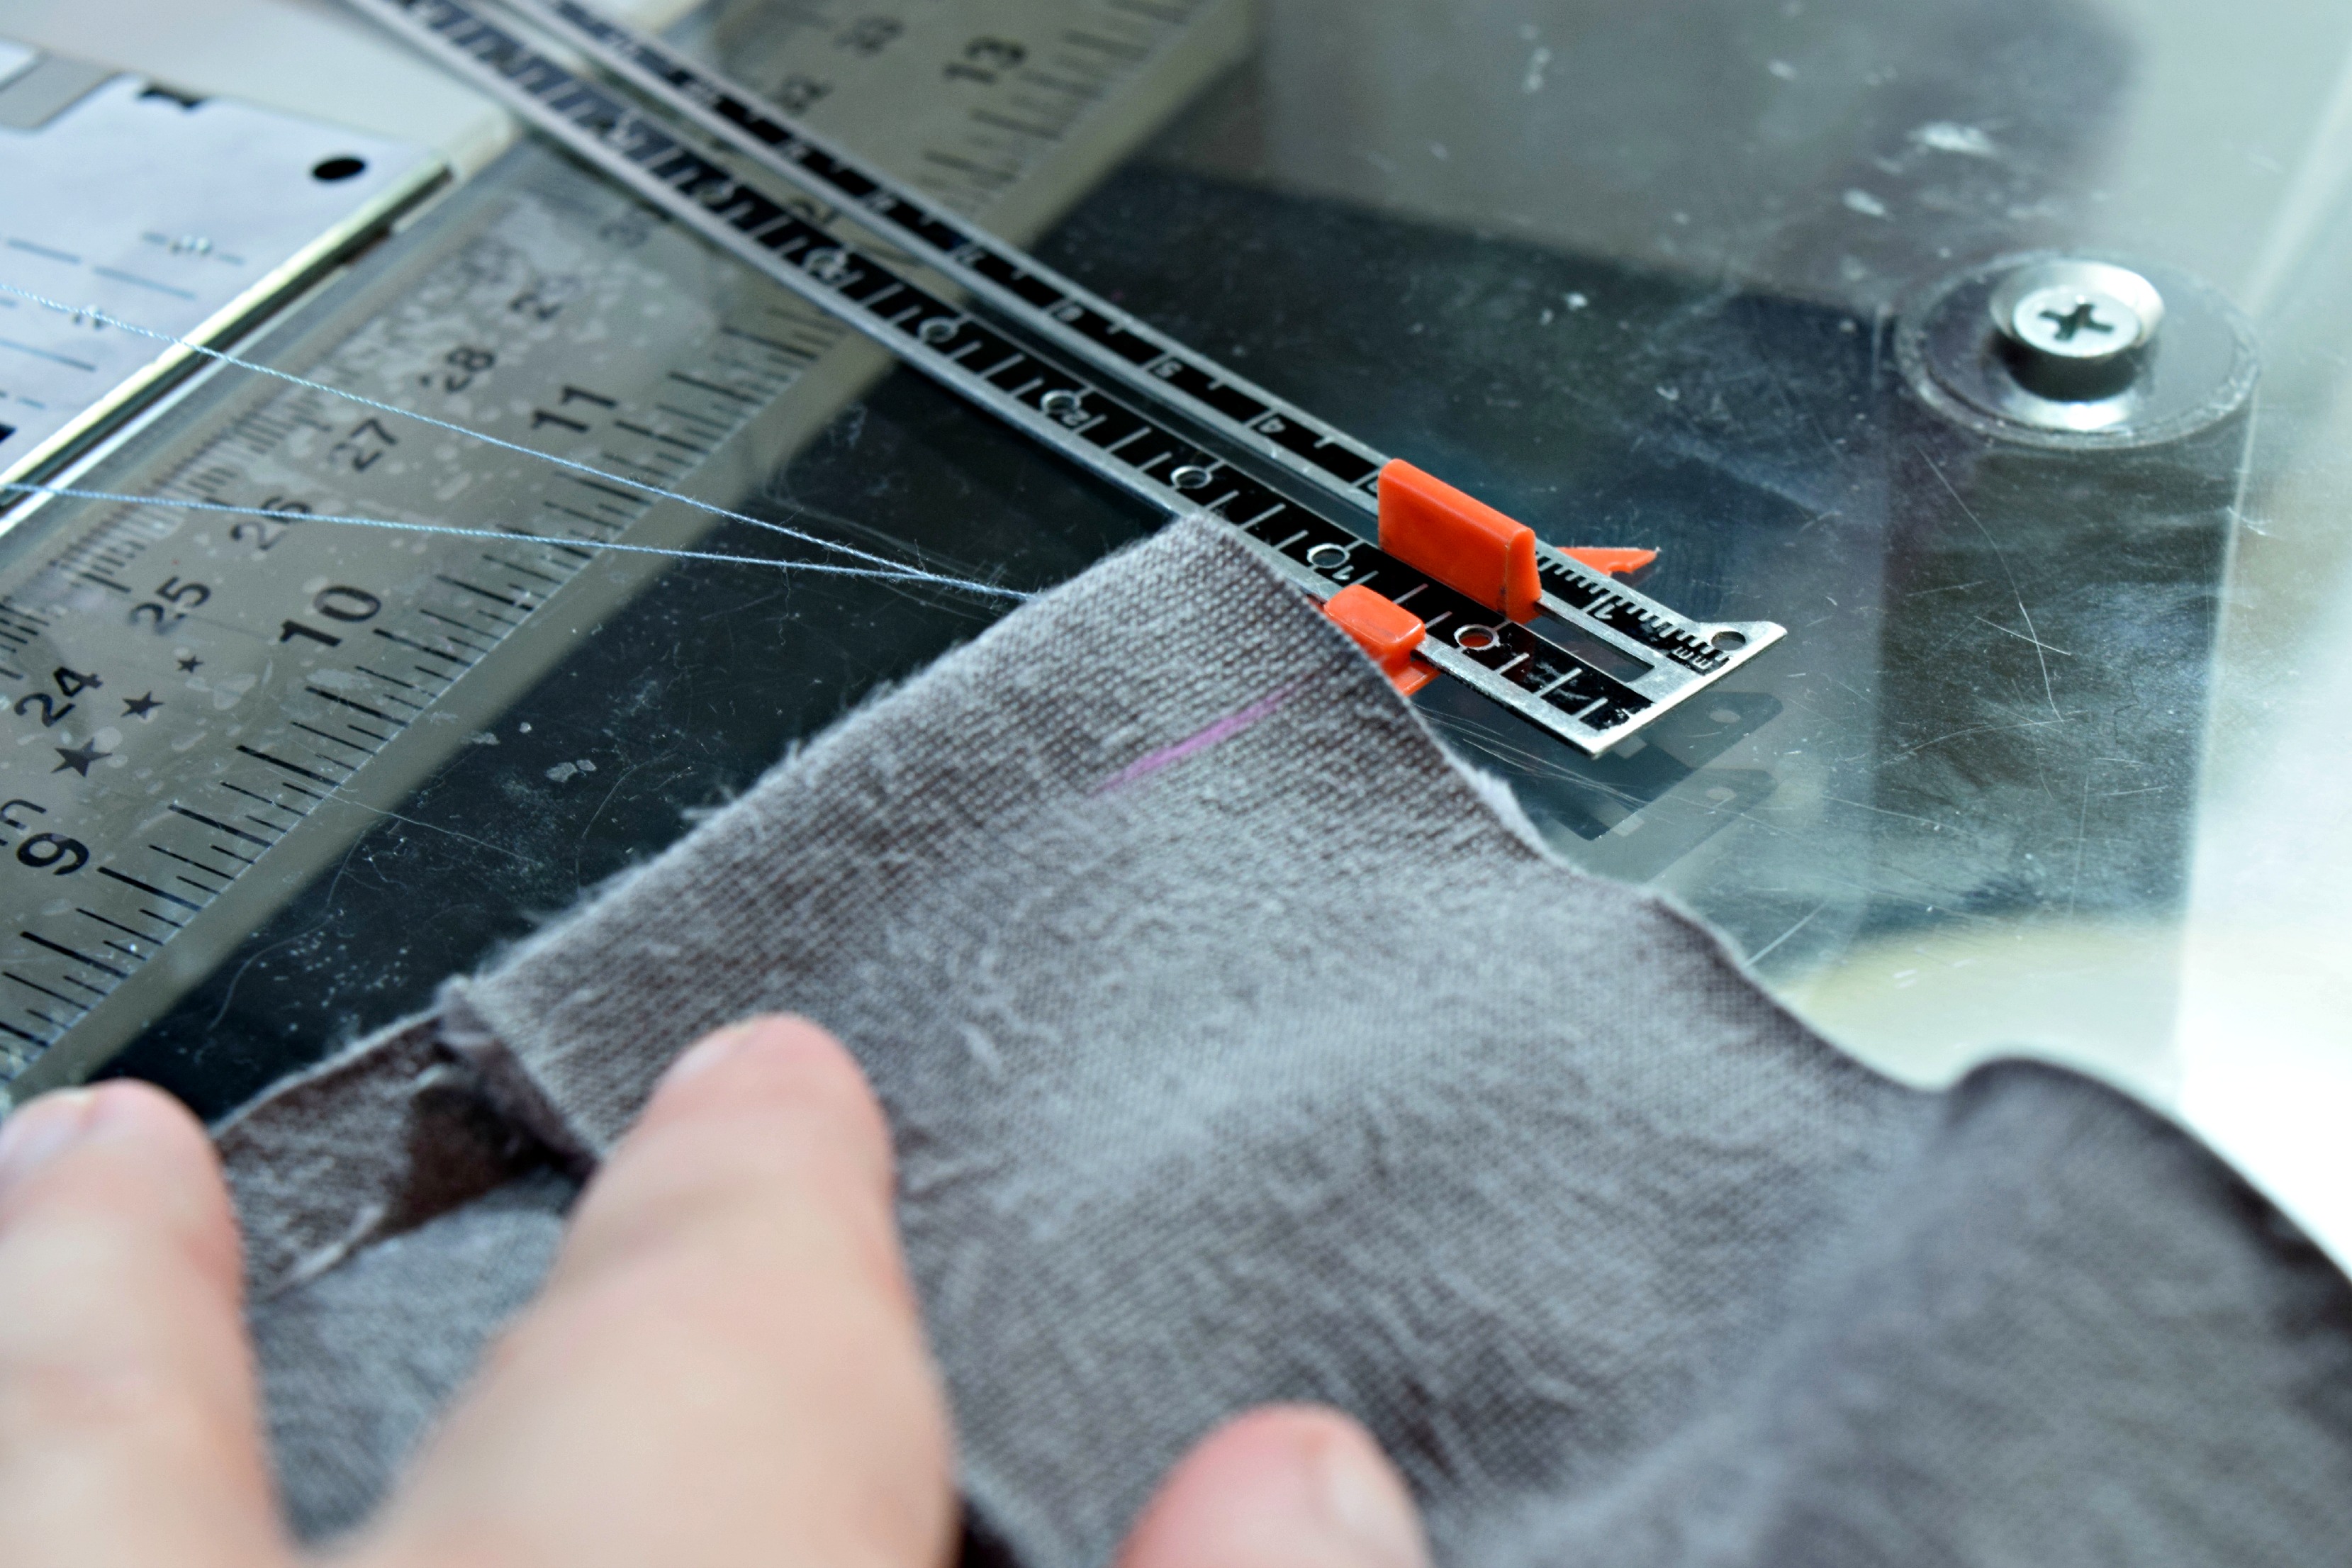
5. Measure 1/2″ from the end and draw a line.

1st corner mark

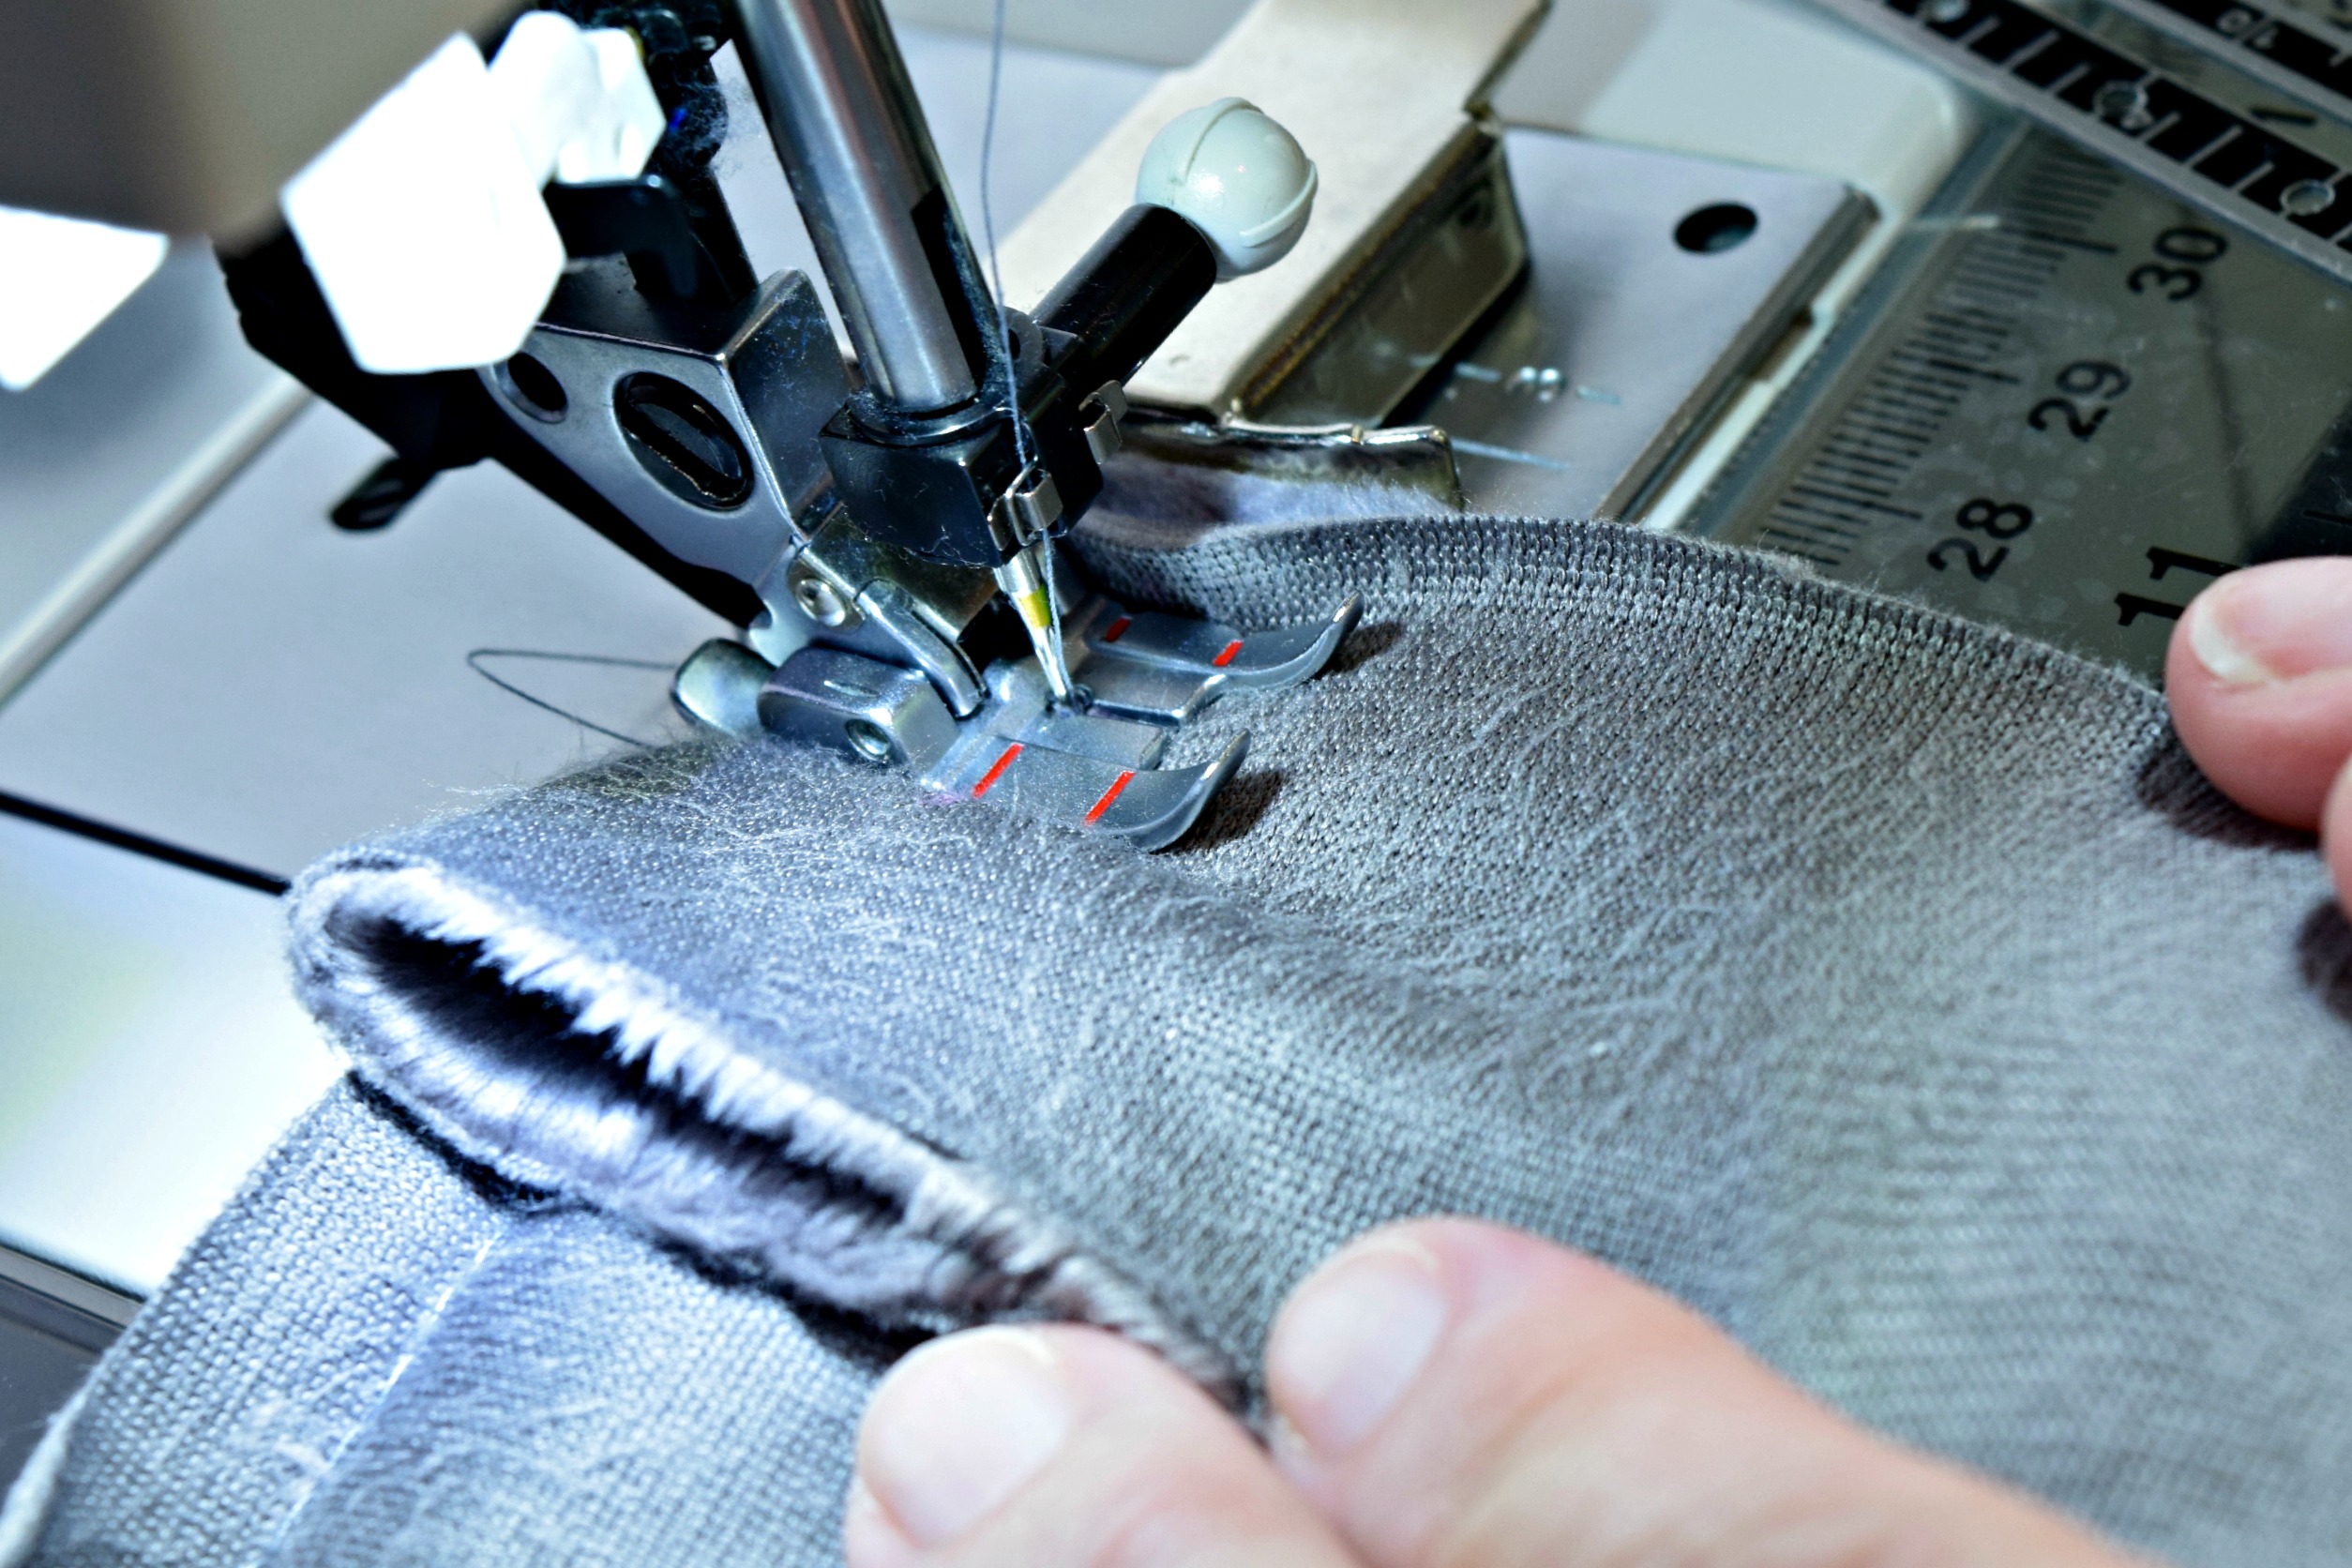
6. Turn the quilt and stitch right off the edge at a 45 degree angle.

45 Degree Cornor

If you did it right, it will look like this.

45 Degree Sew Off

7. Fold the binding strip up along the 45 degree line you just stitched.

Corner Fold

8. Fold the binding strip down aligning it in three places, along the left side, the top fold and the edge of the quilt that you are going to quilt next.  It should look like this.

Folded Corner Binding

9. Measure 1″ from the corner and draw a mark.

2nd Corner Mark

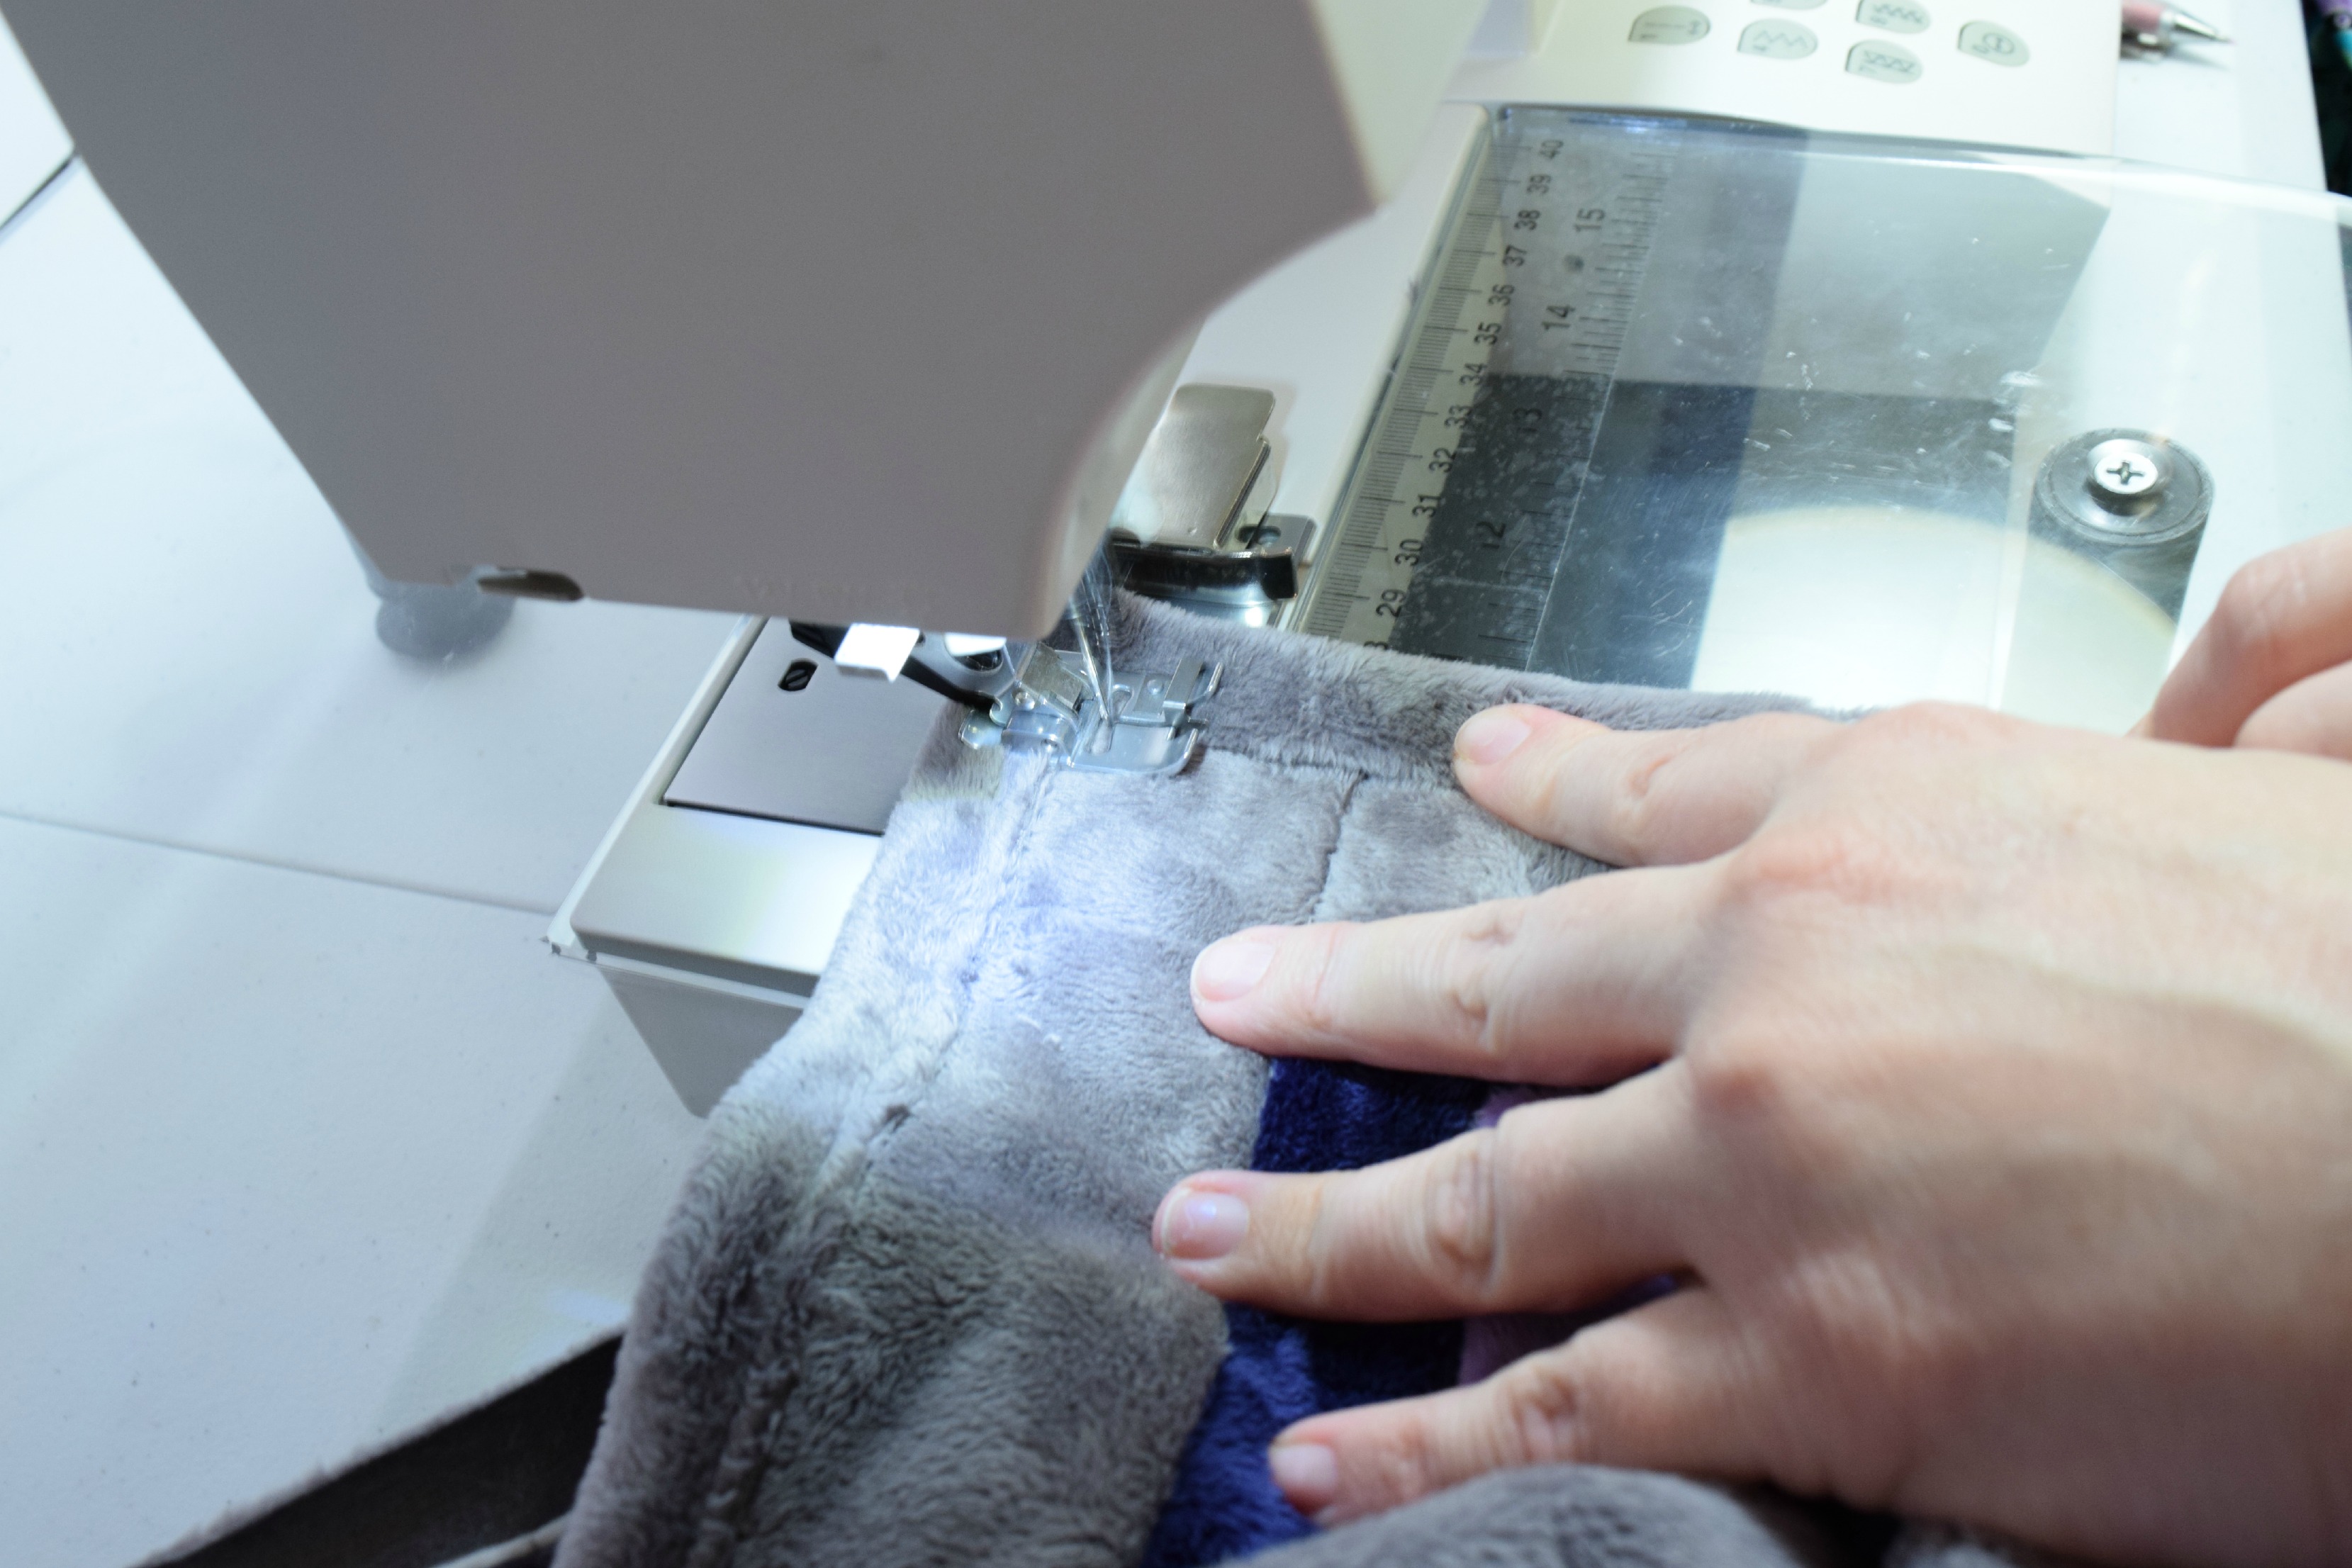
10. Start stitching on the mark you just made and sew all the way to the next corner.  Repeat the same precess for each of remaining corners.

Stitching after Turn

11. Stitch your way around to the finishing fold.  Stop about 2″ before the fold.

Ending near pocket

12. Cut the end of binding at a 45 degree angle.  Lay it on top of the finishing fold and stitch along the line you stitched before.  It can be a bit fiddly but just adjust as you go along.

Cut Ends

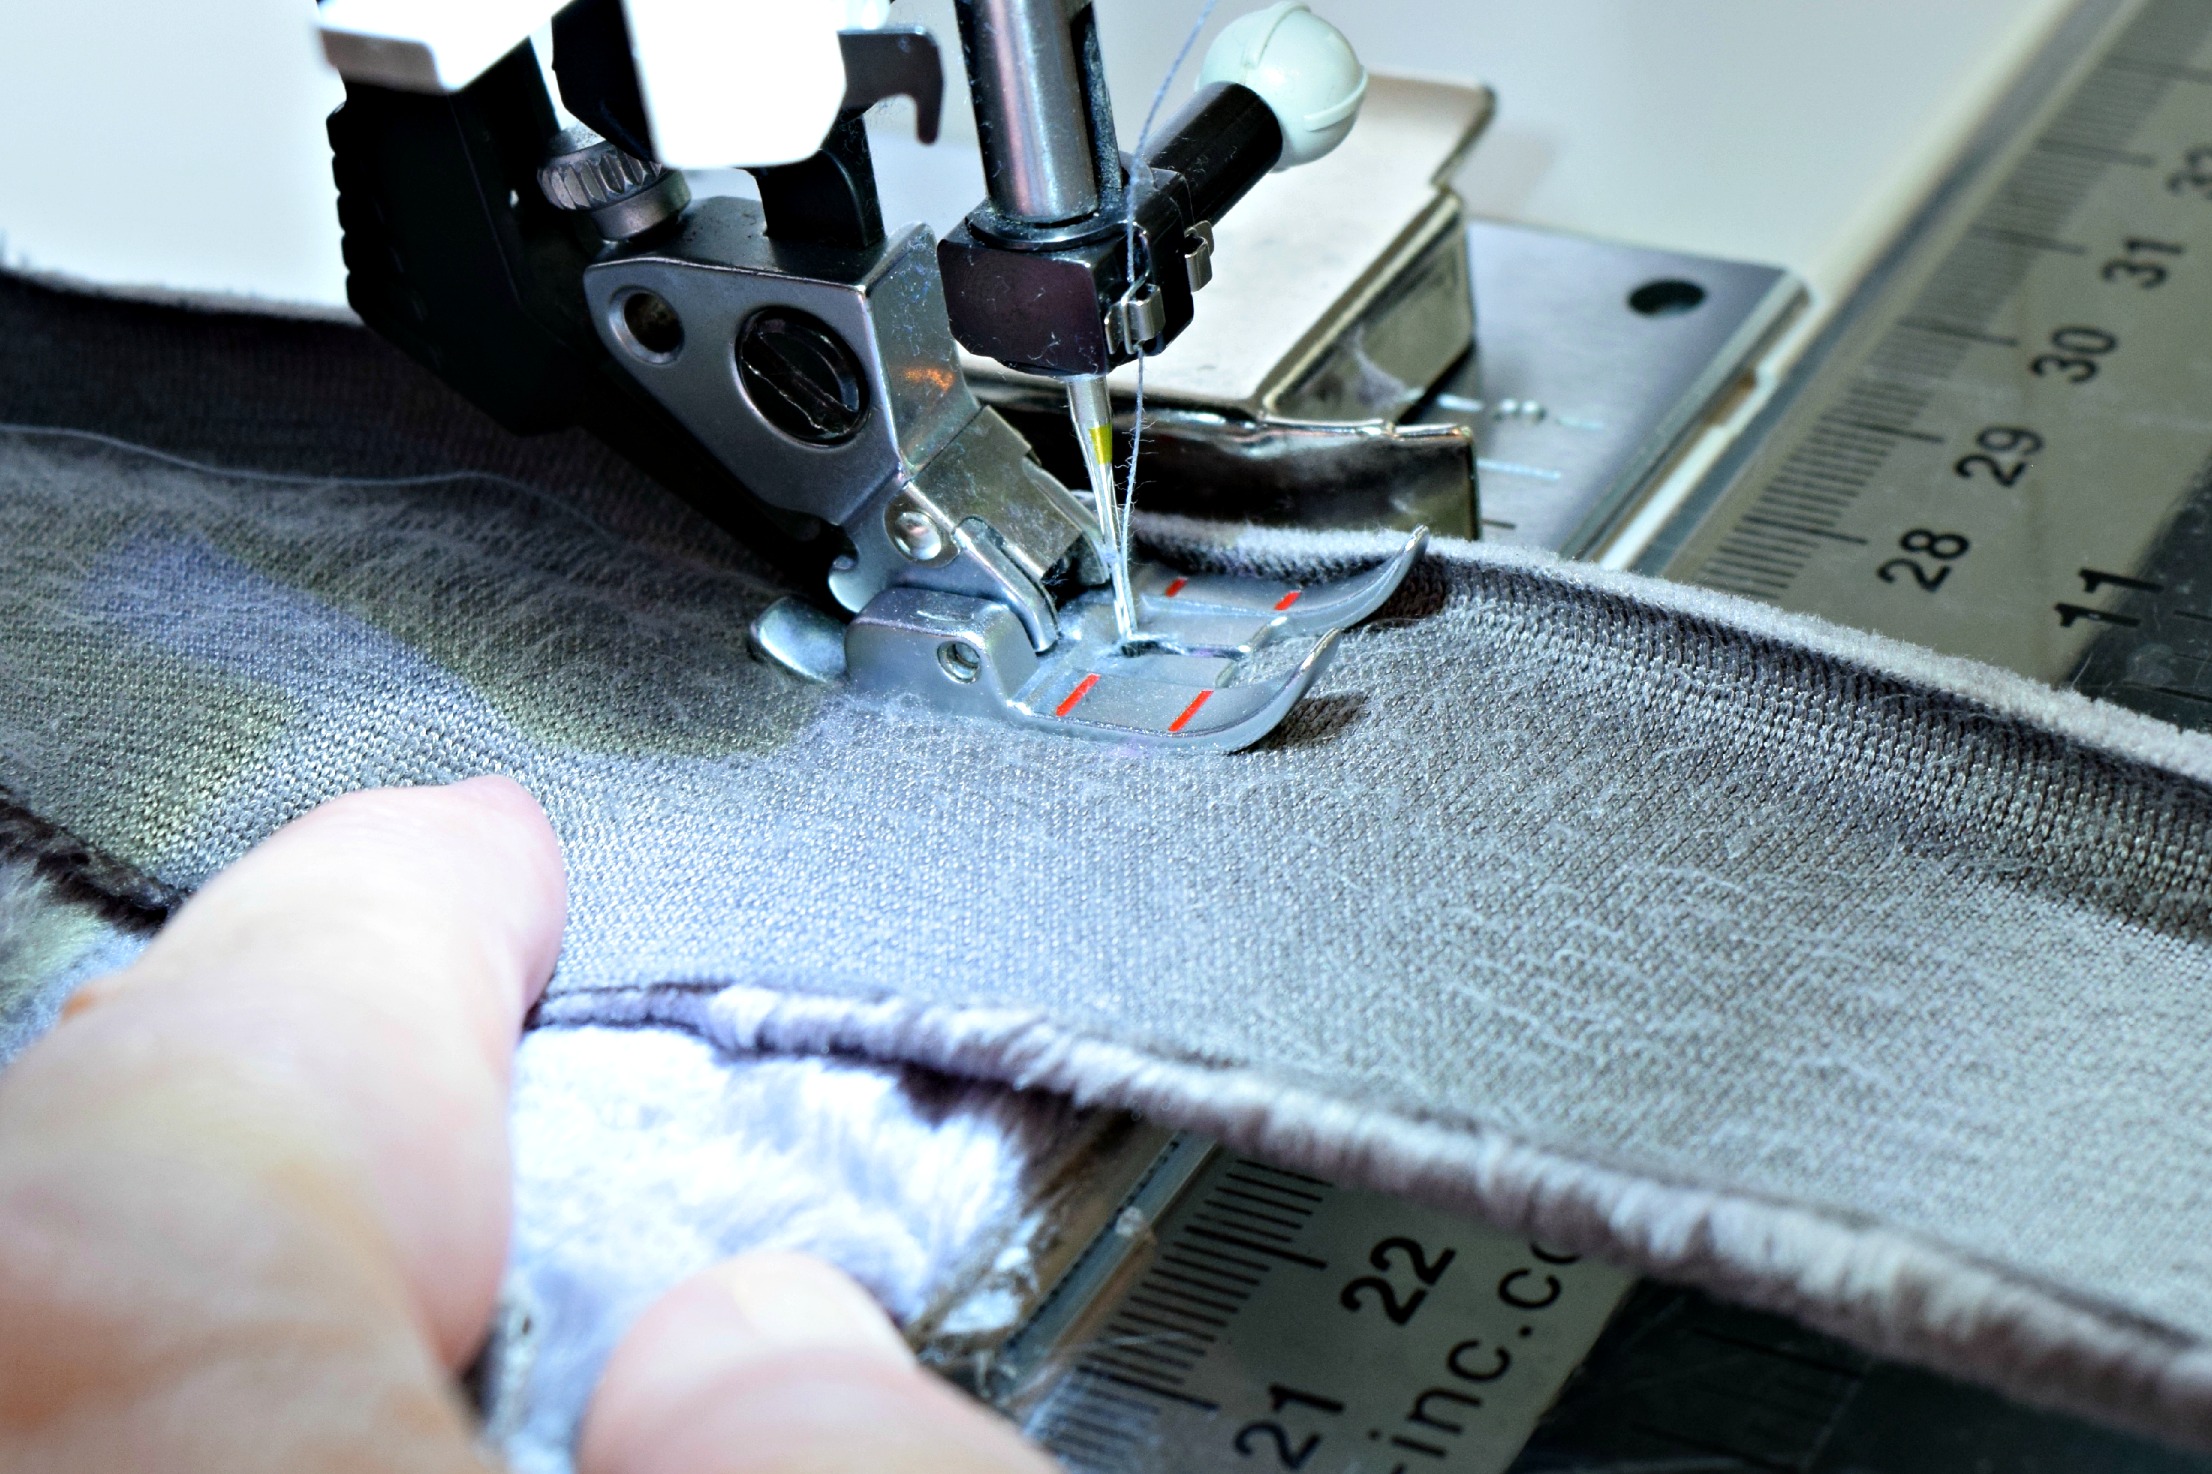
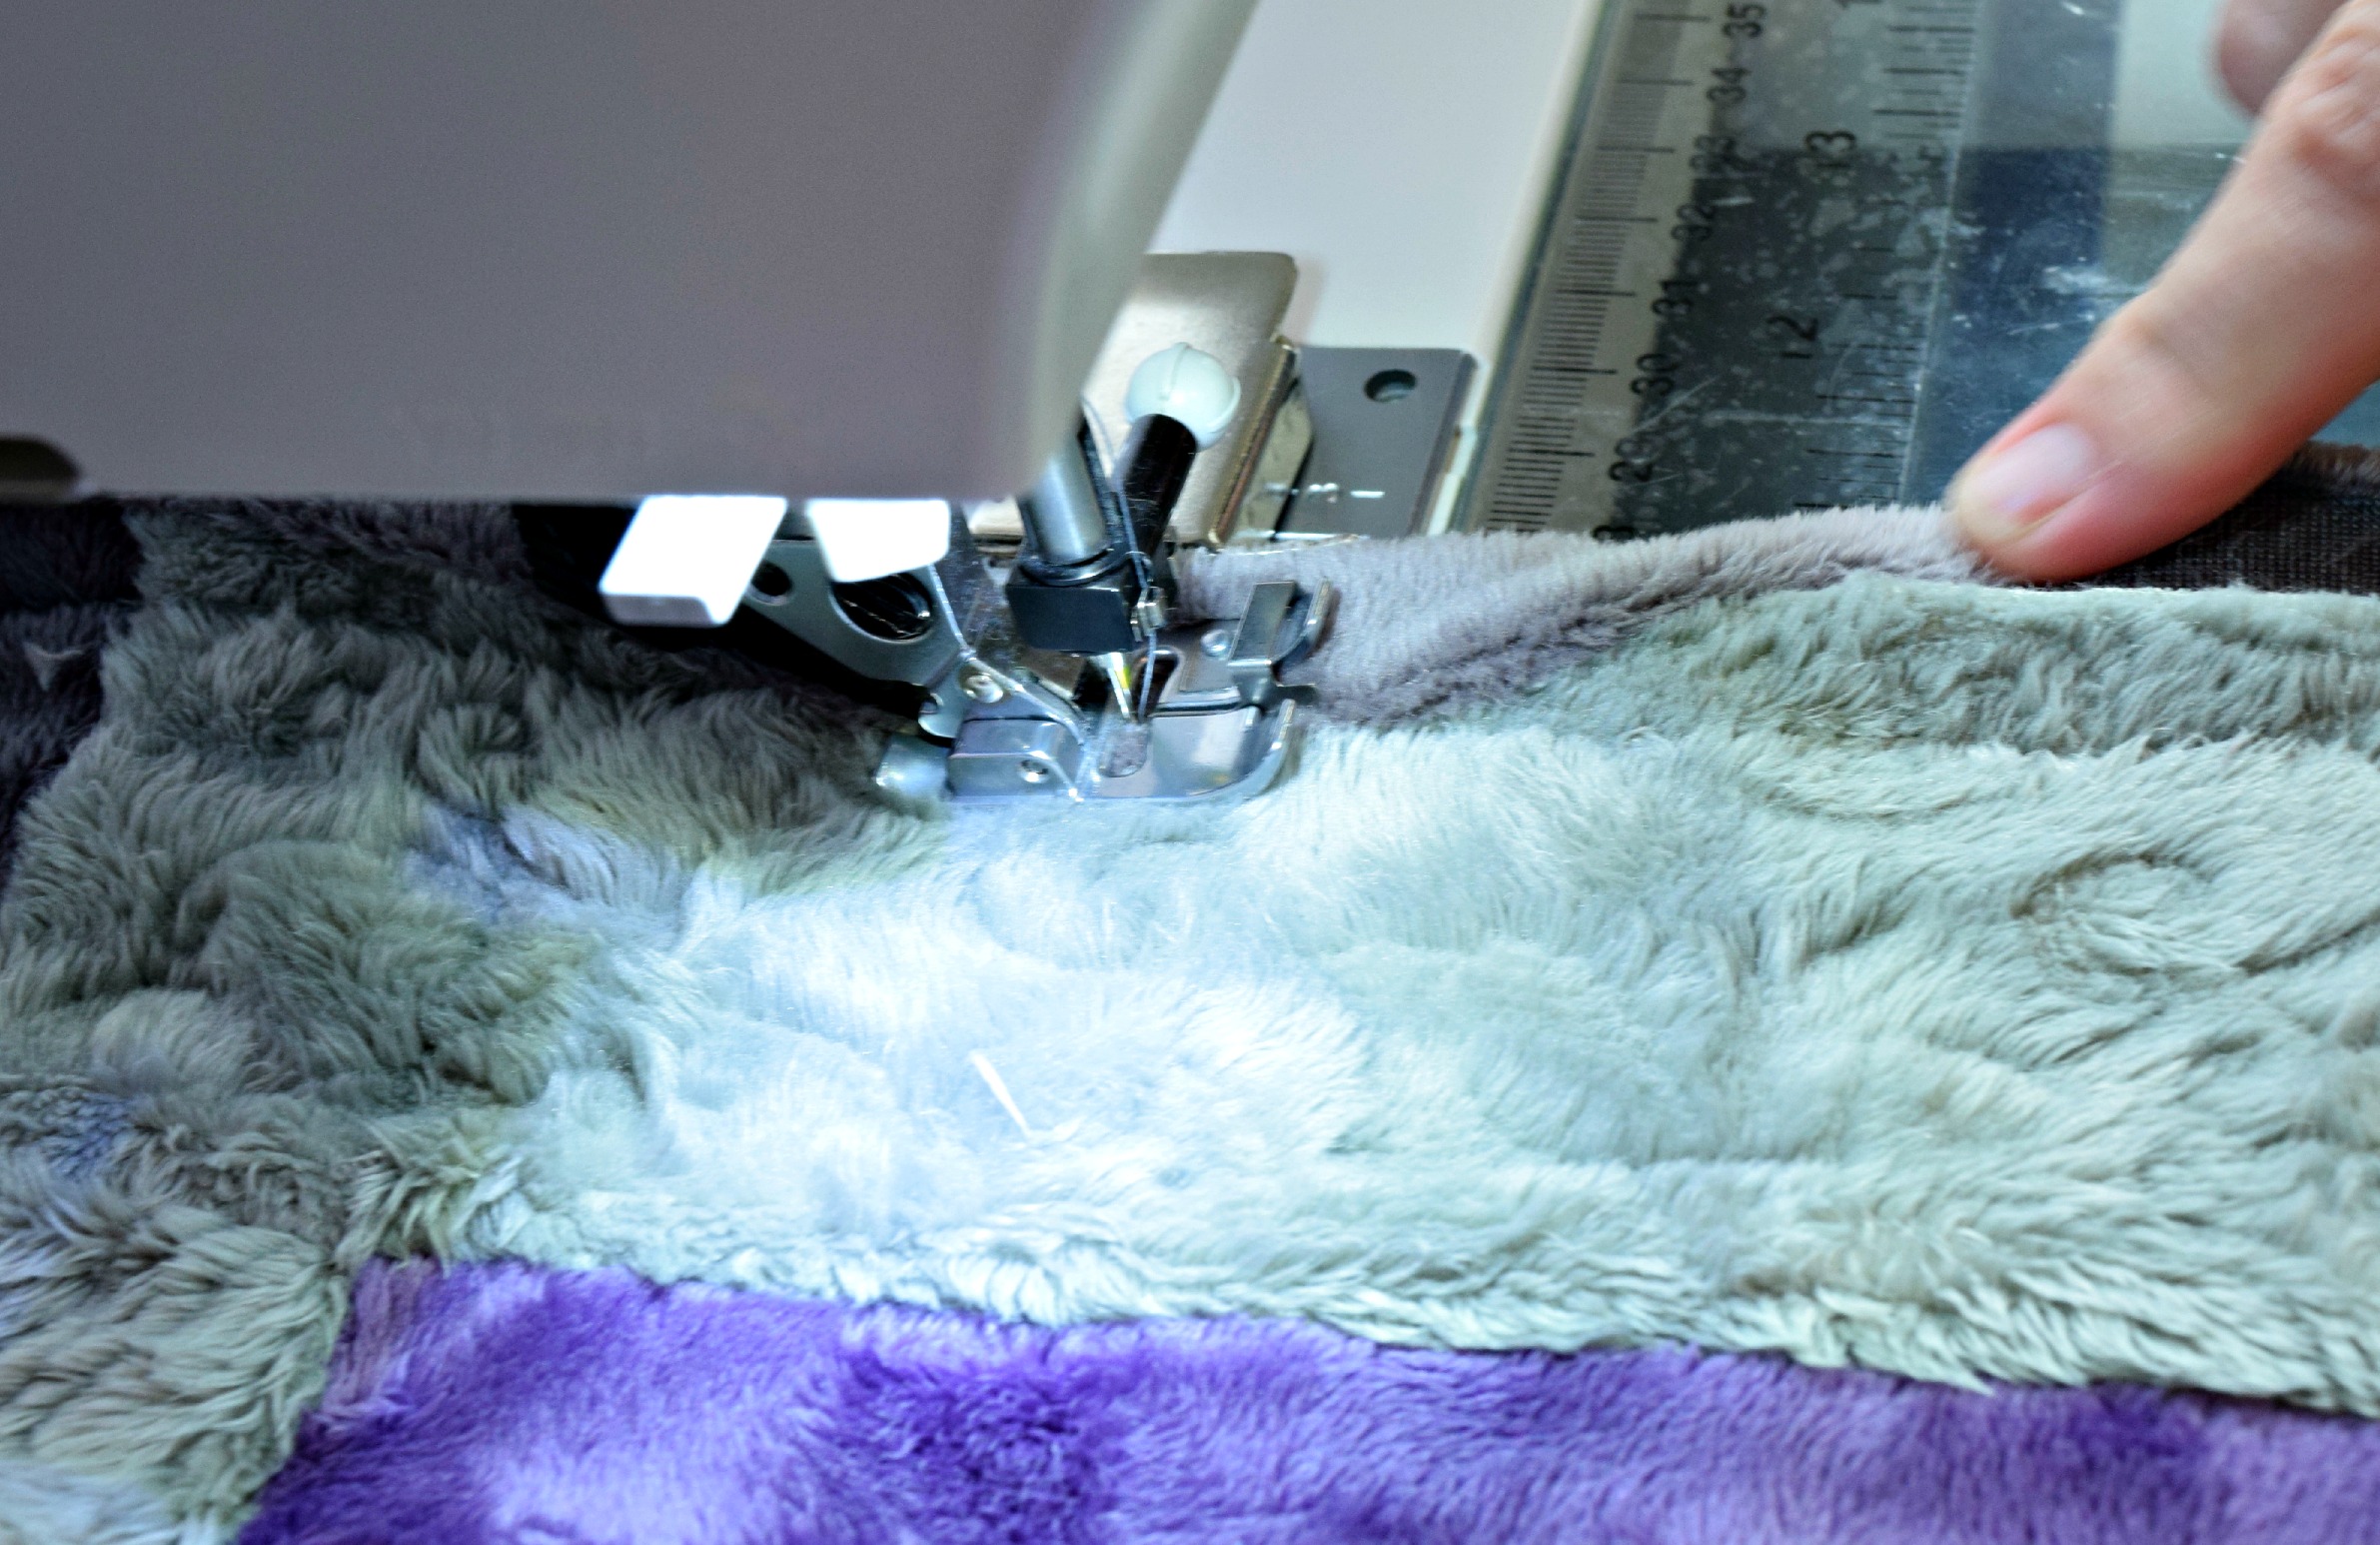
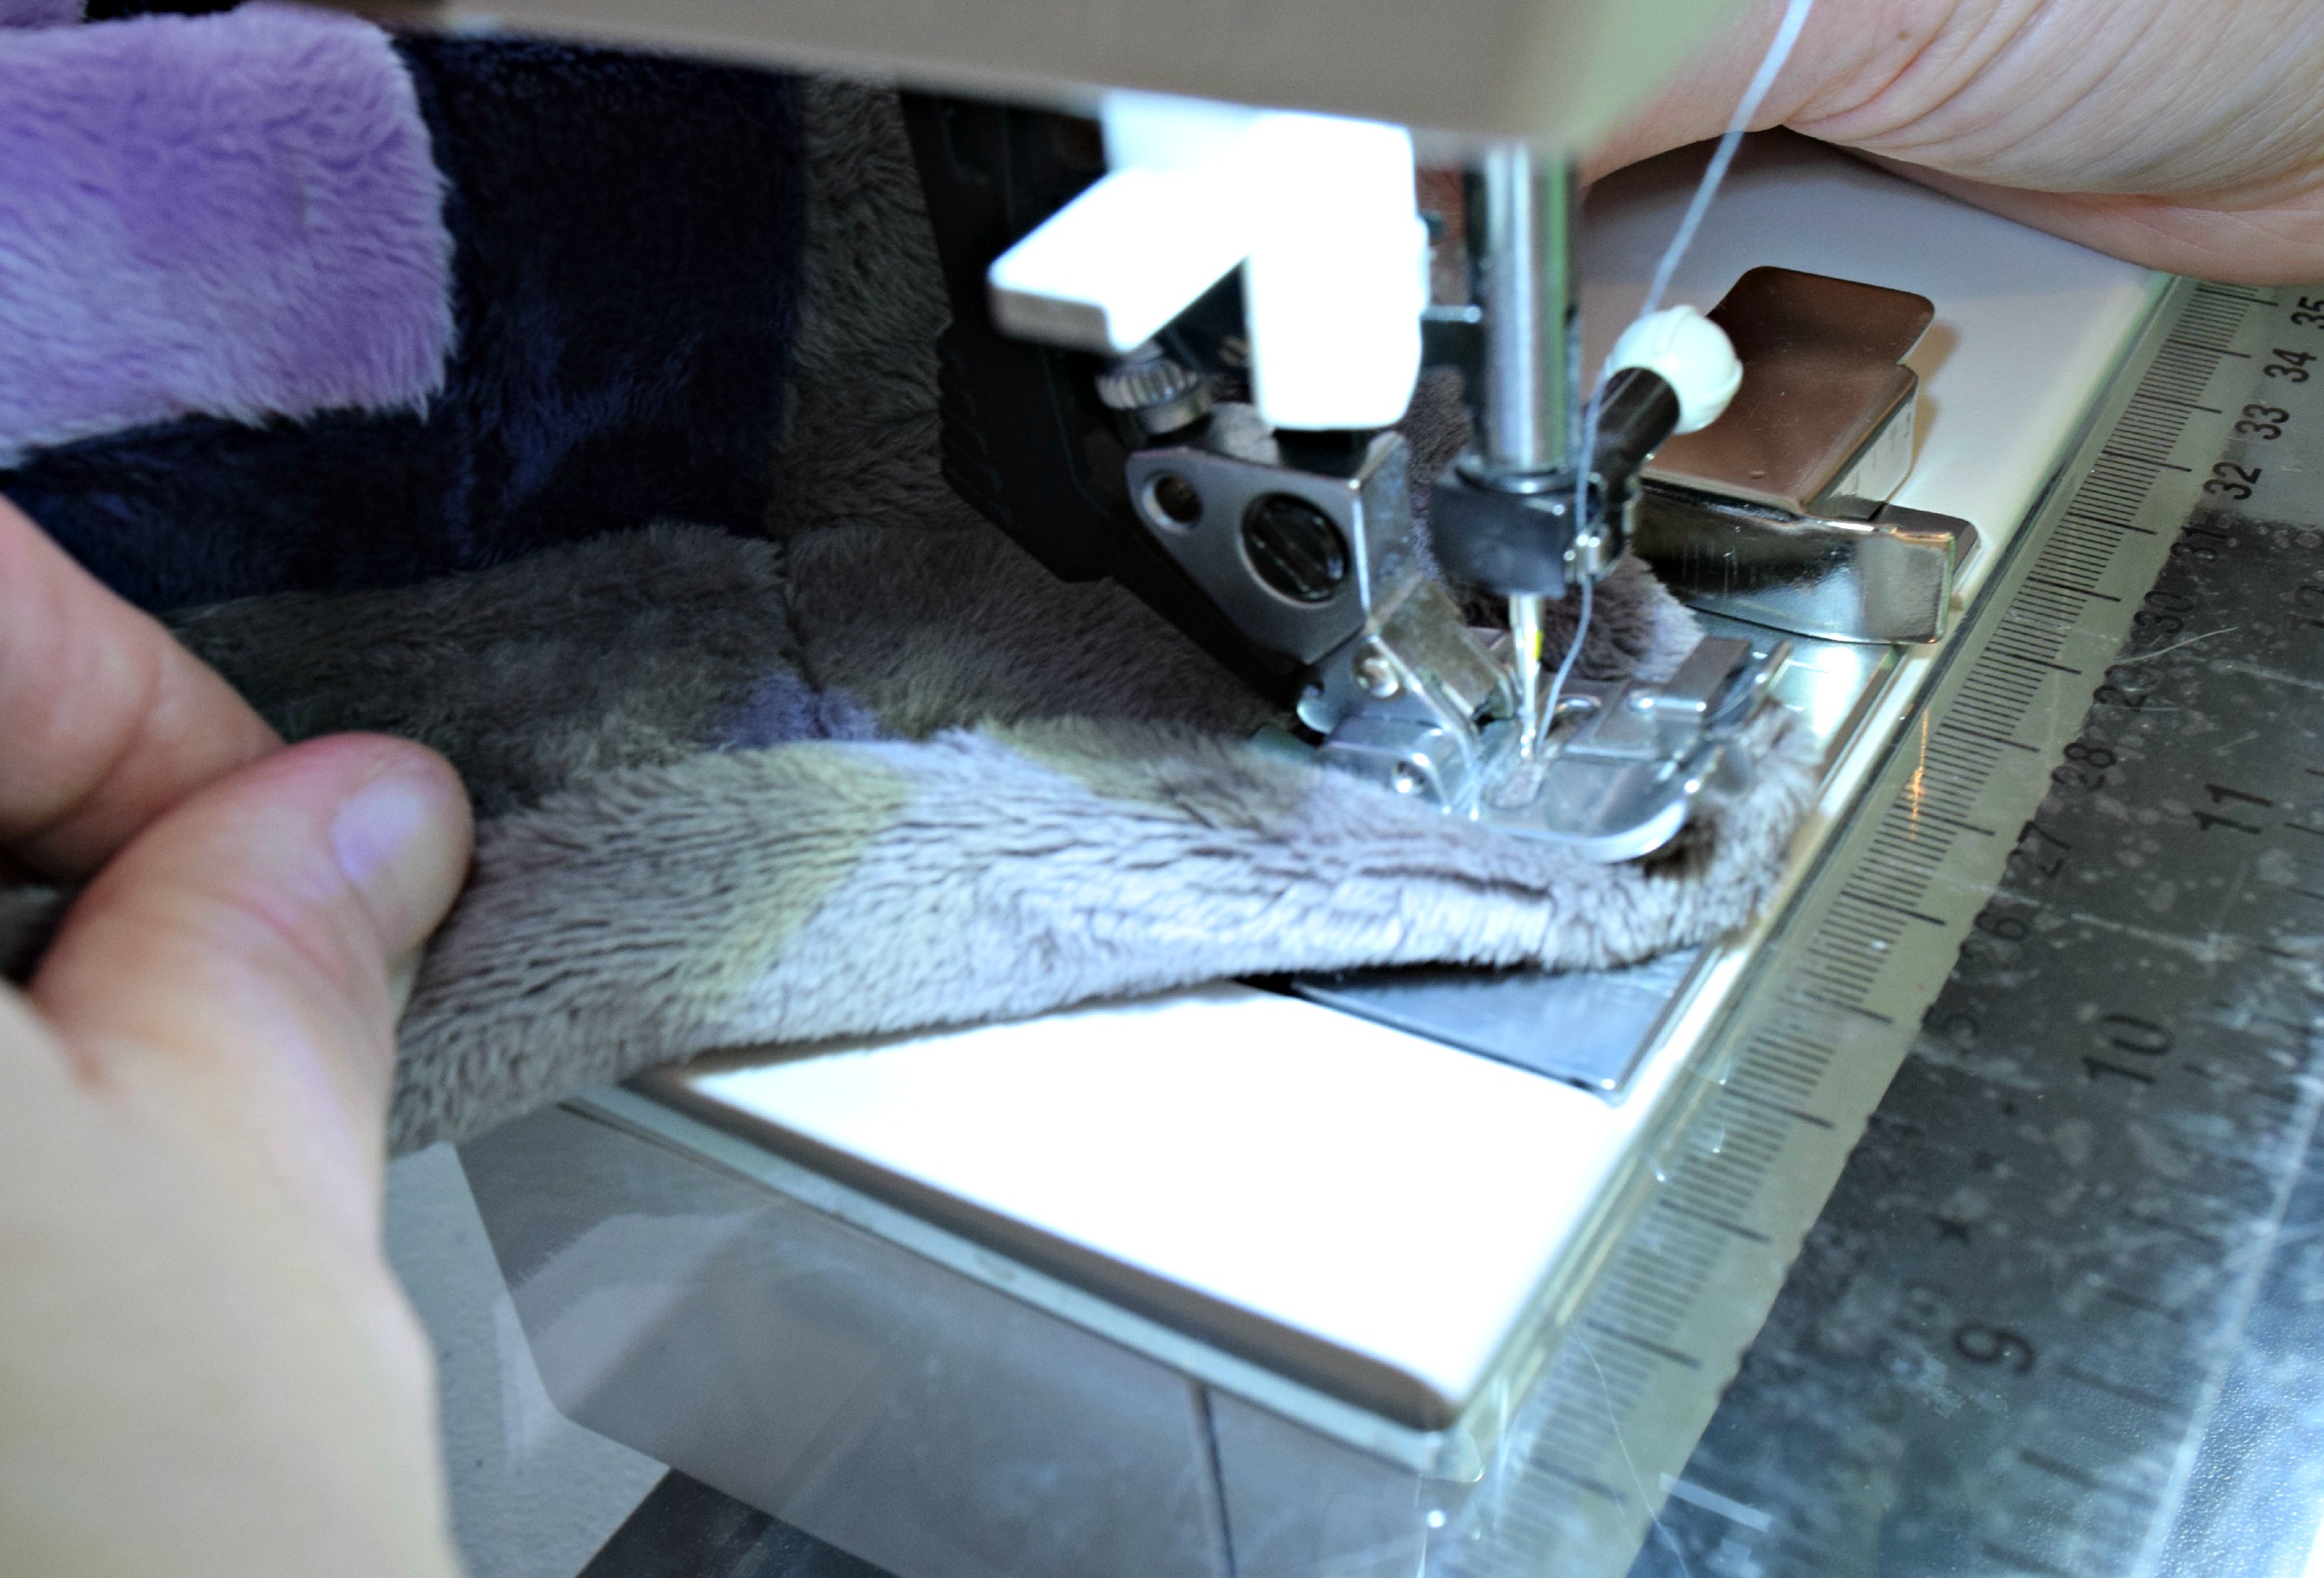
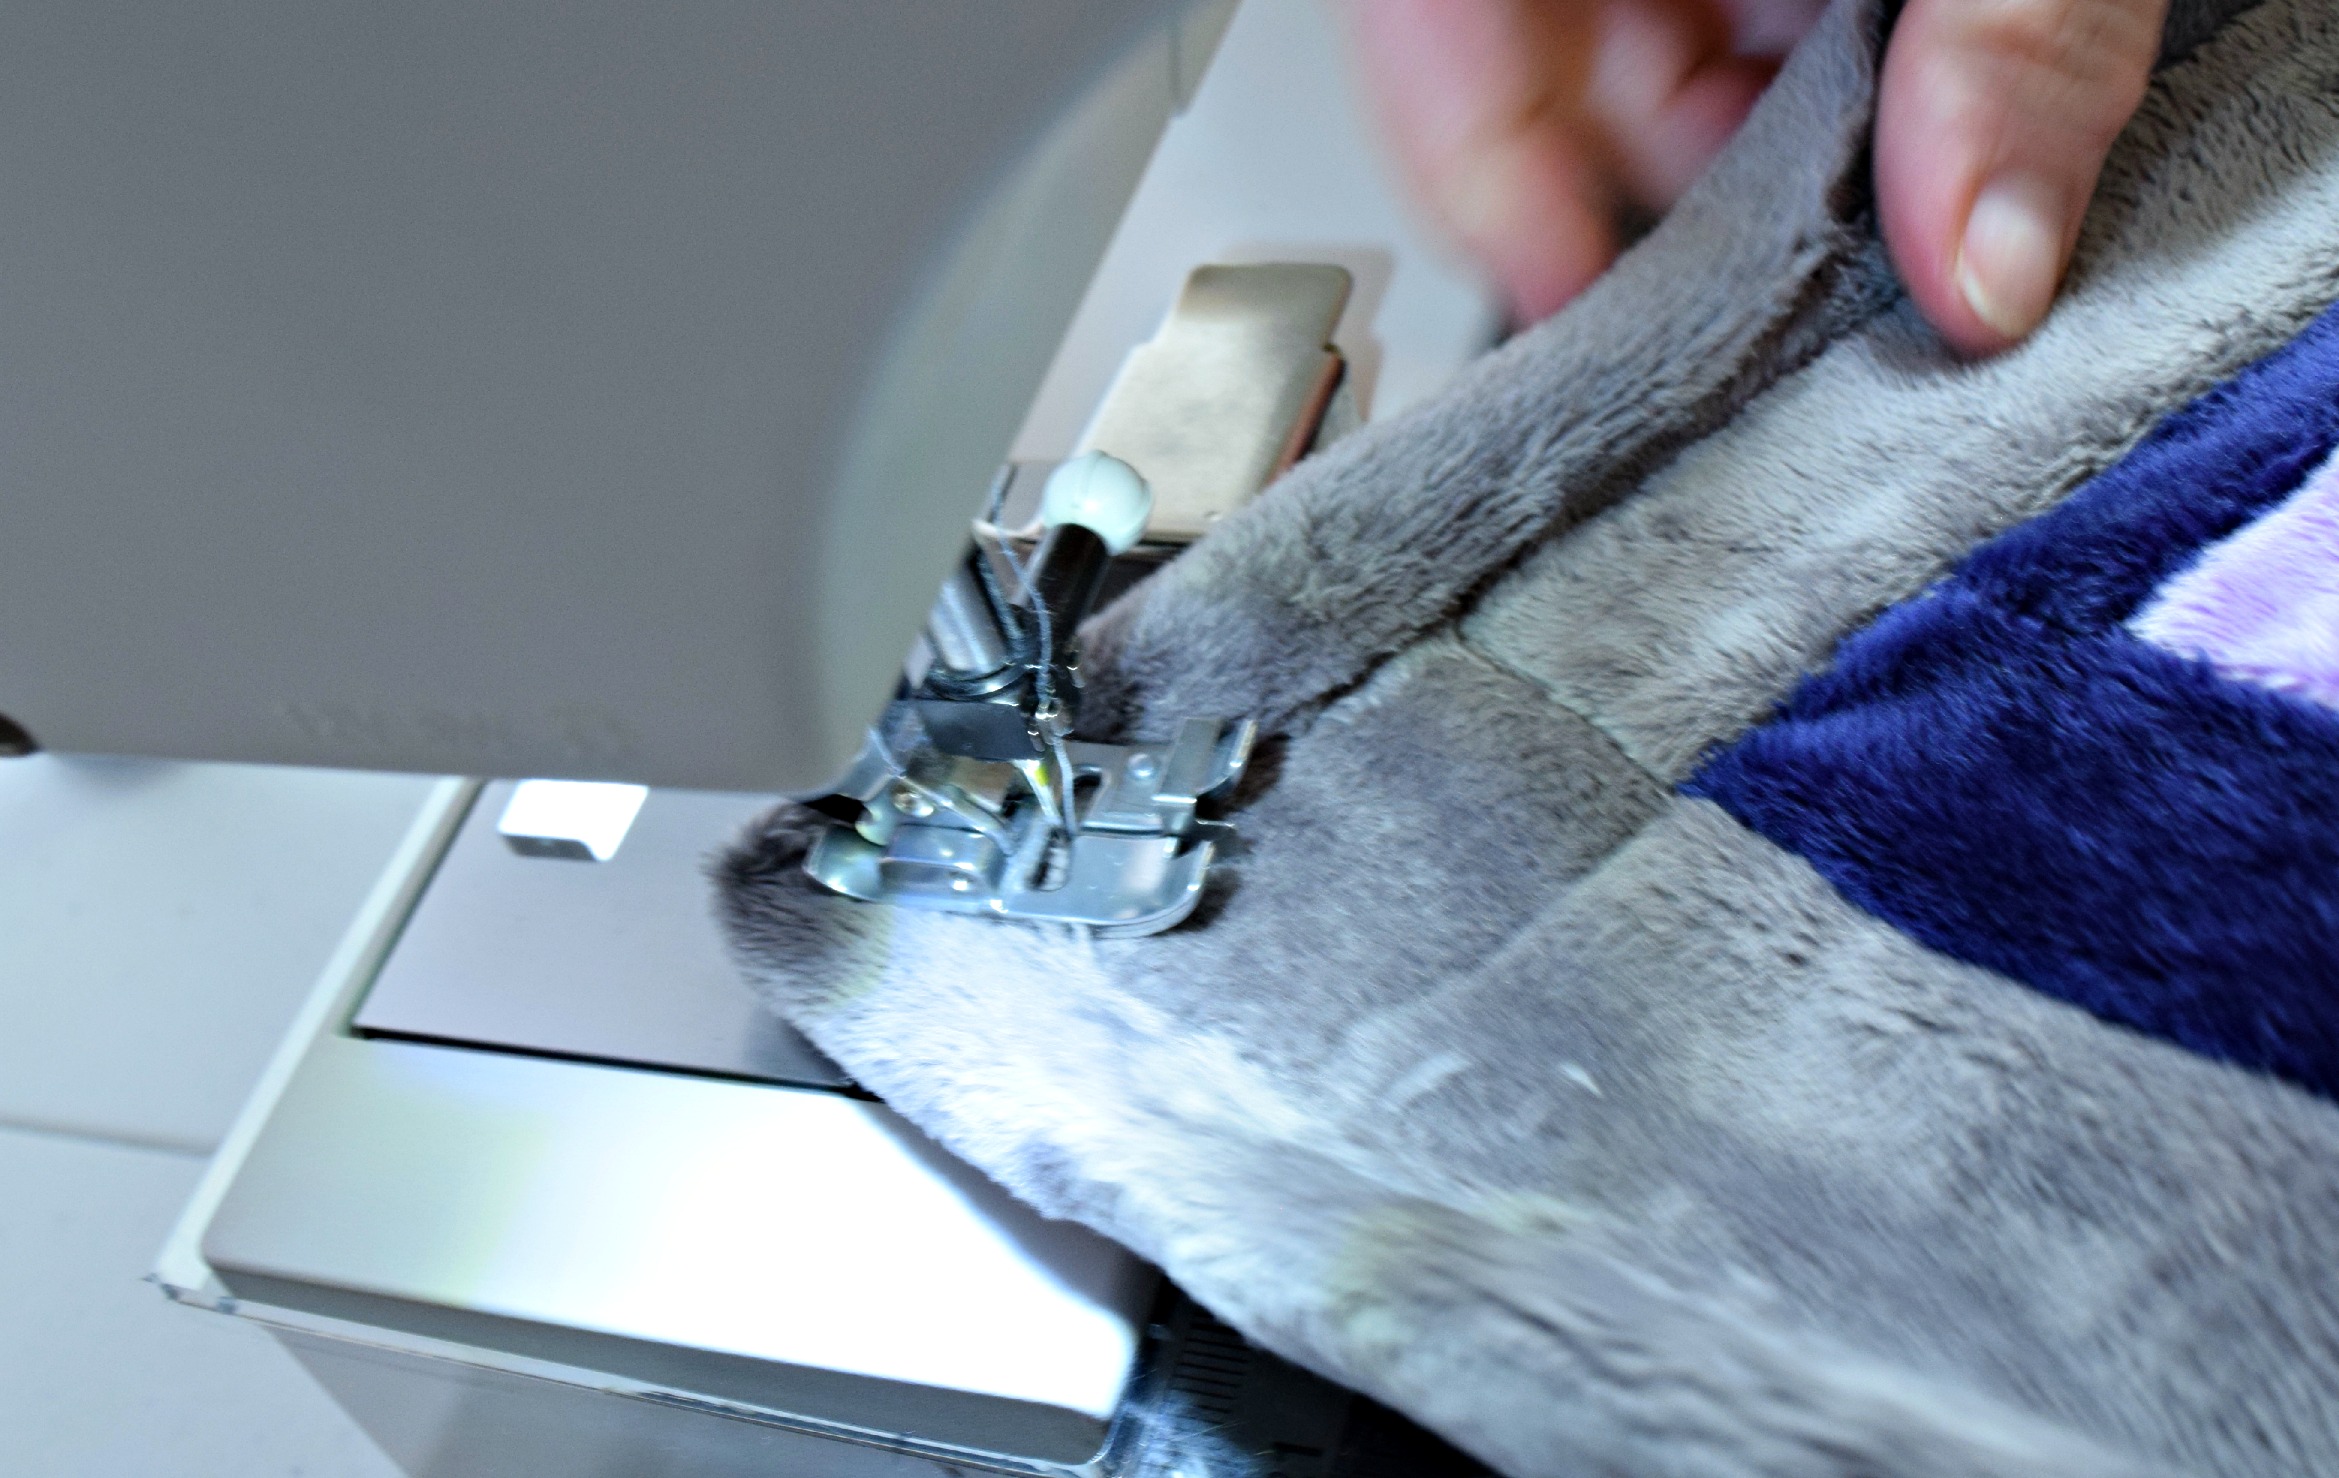
13. Now switch to the front side.  For the rest of the job, I use a stitch-in-the-ditch foot.  The flange on the bottom of the foot guides your stitching along the line you stitched on the other side.  Bring the binding to the front and hold it in place, just over the stitching line.  Line up your foot and sew.

Start on The Top

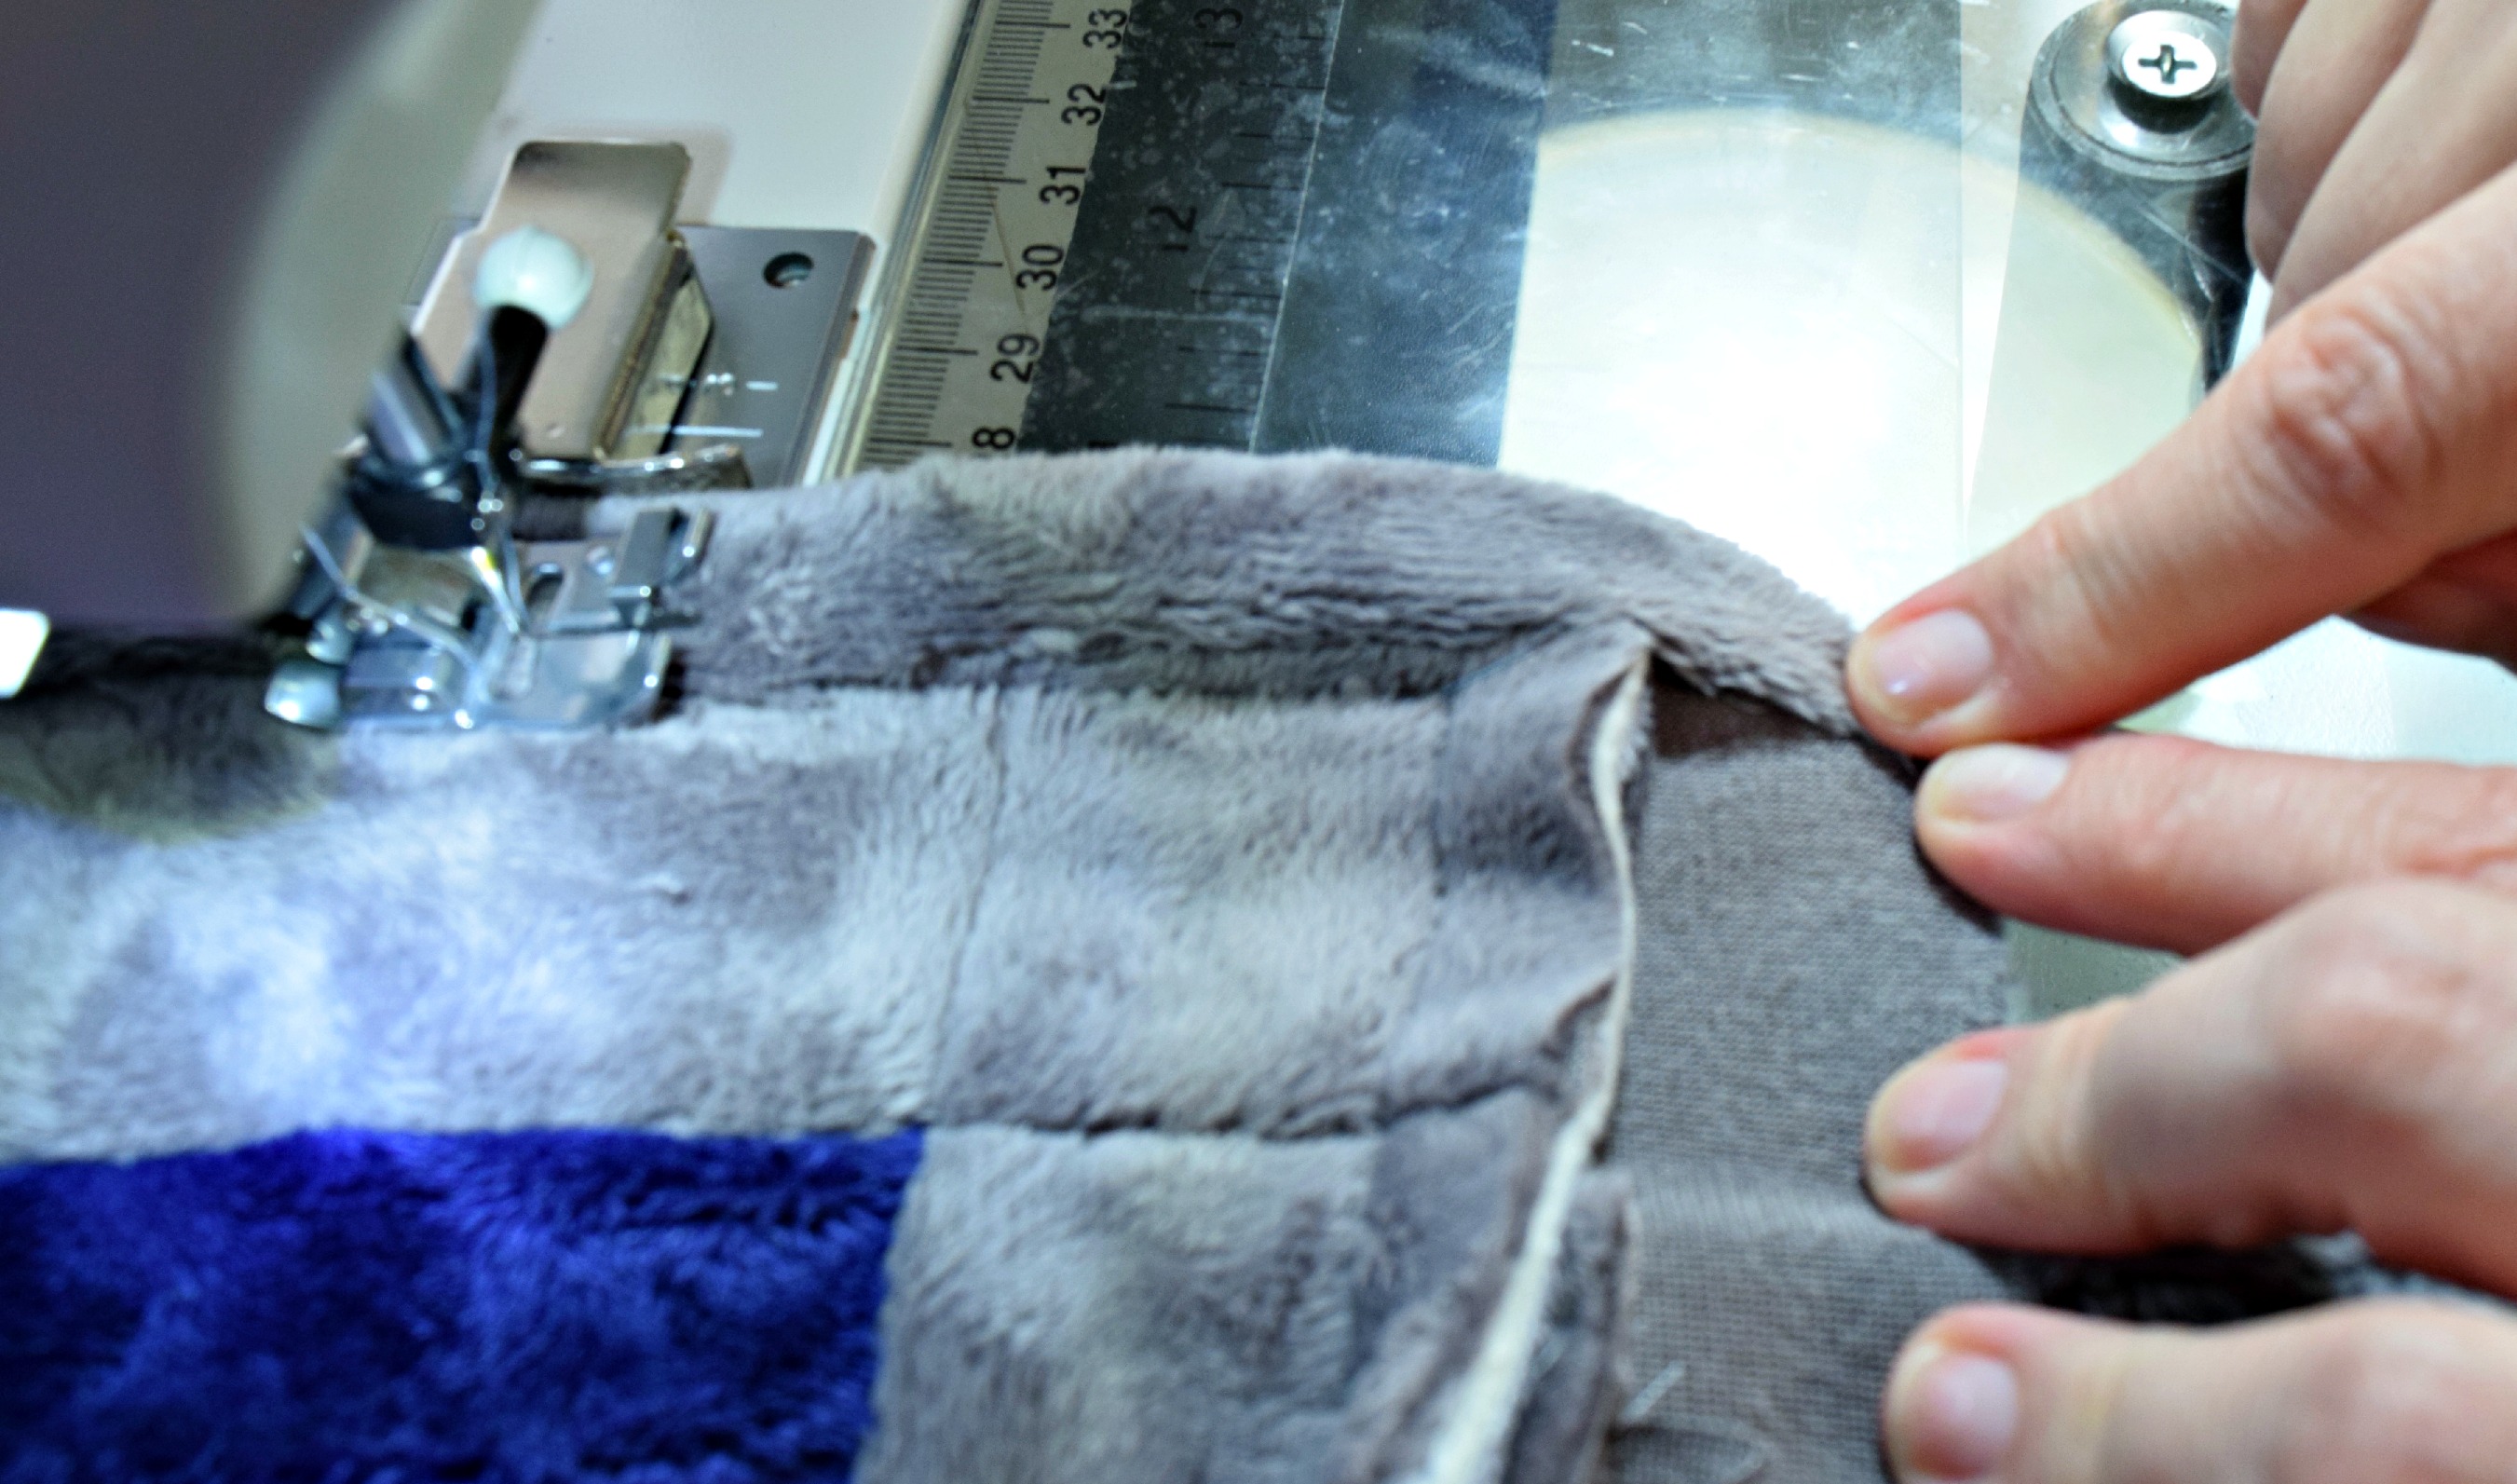
14.  When you come to the corner, stop about 2″ away.  Pull the binding toward you and you will see the 45 degree angle.

Pull for Miter Corner

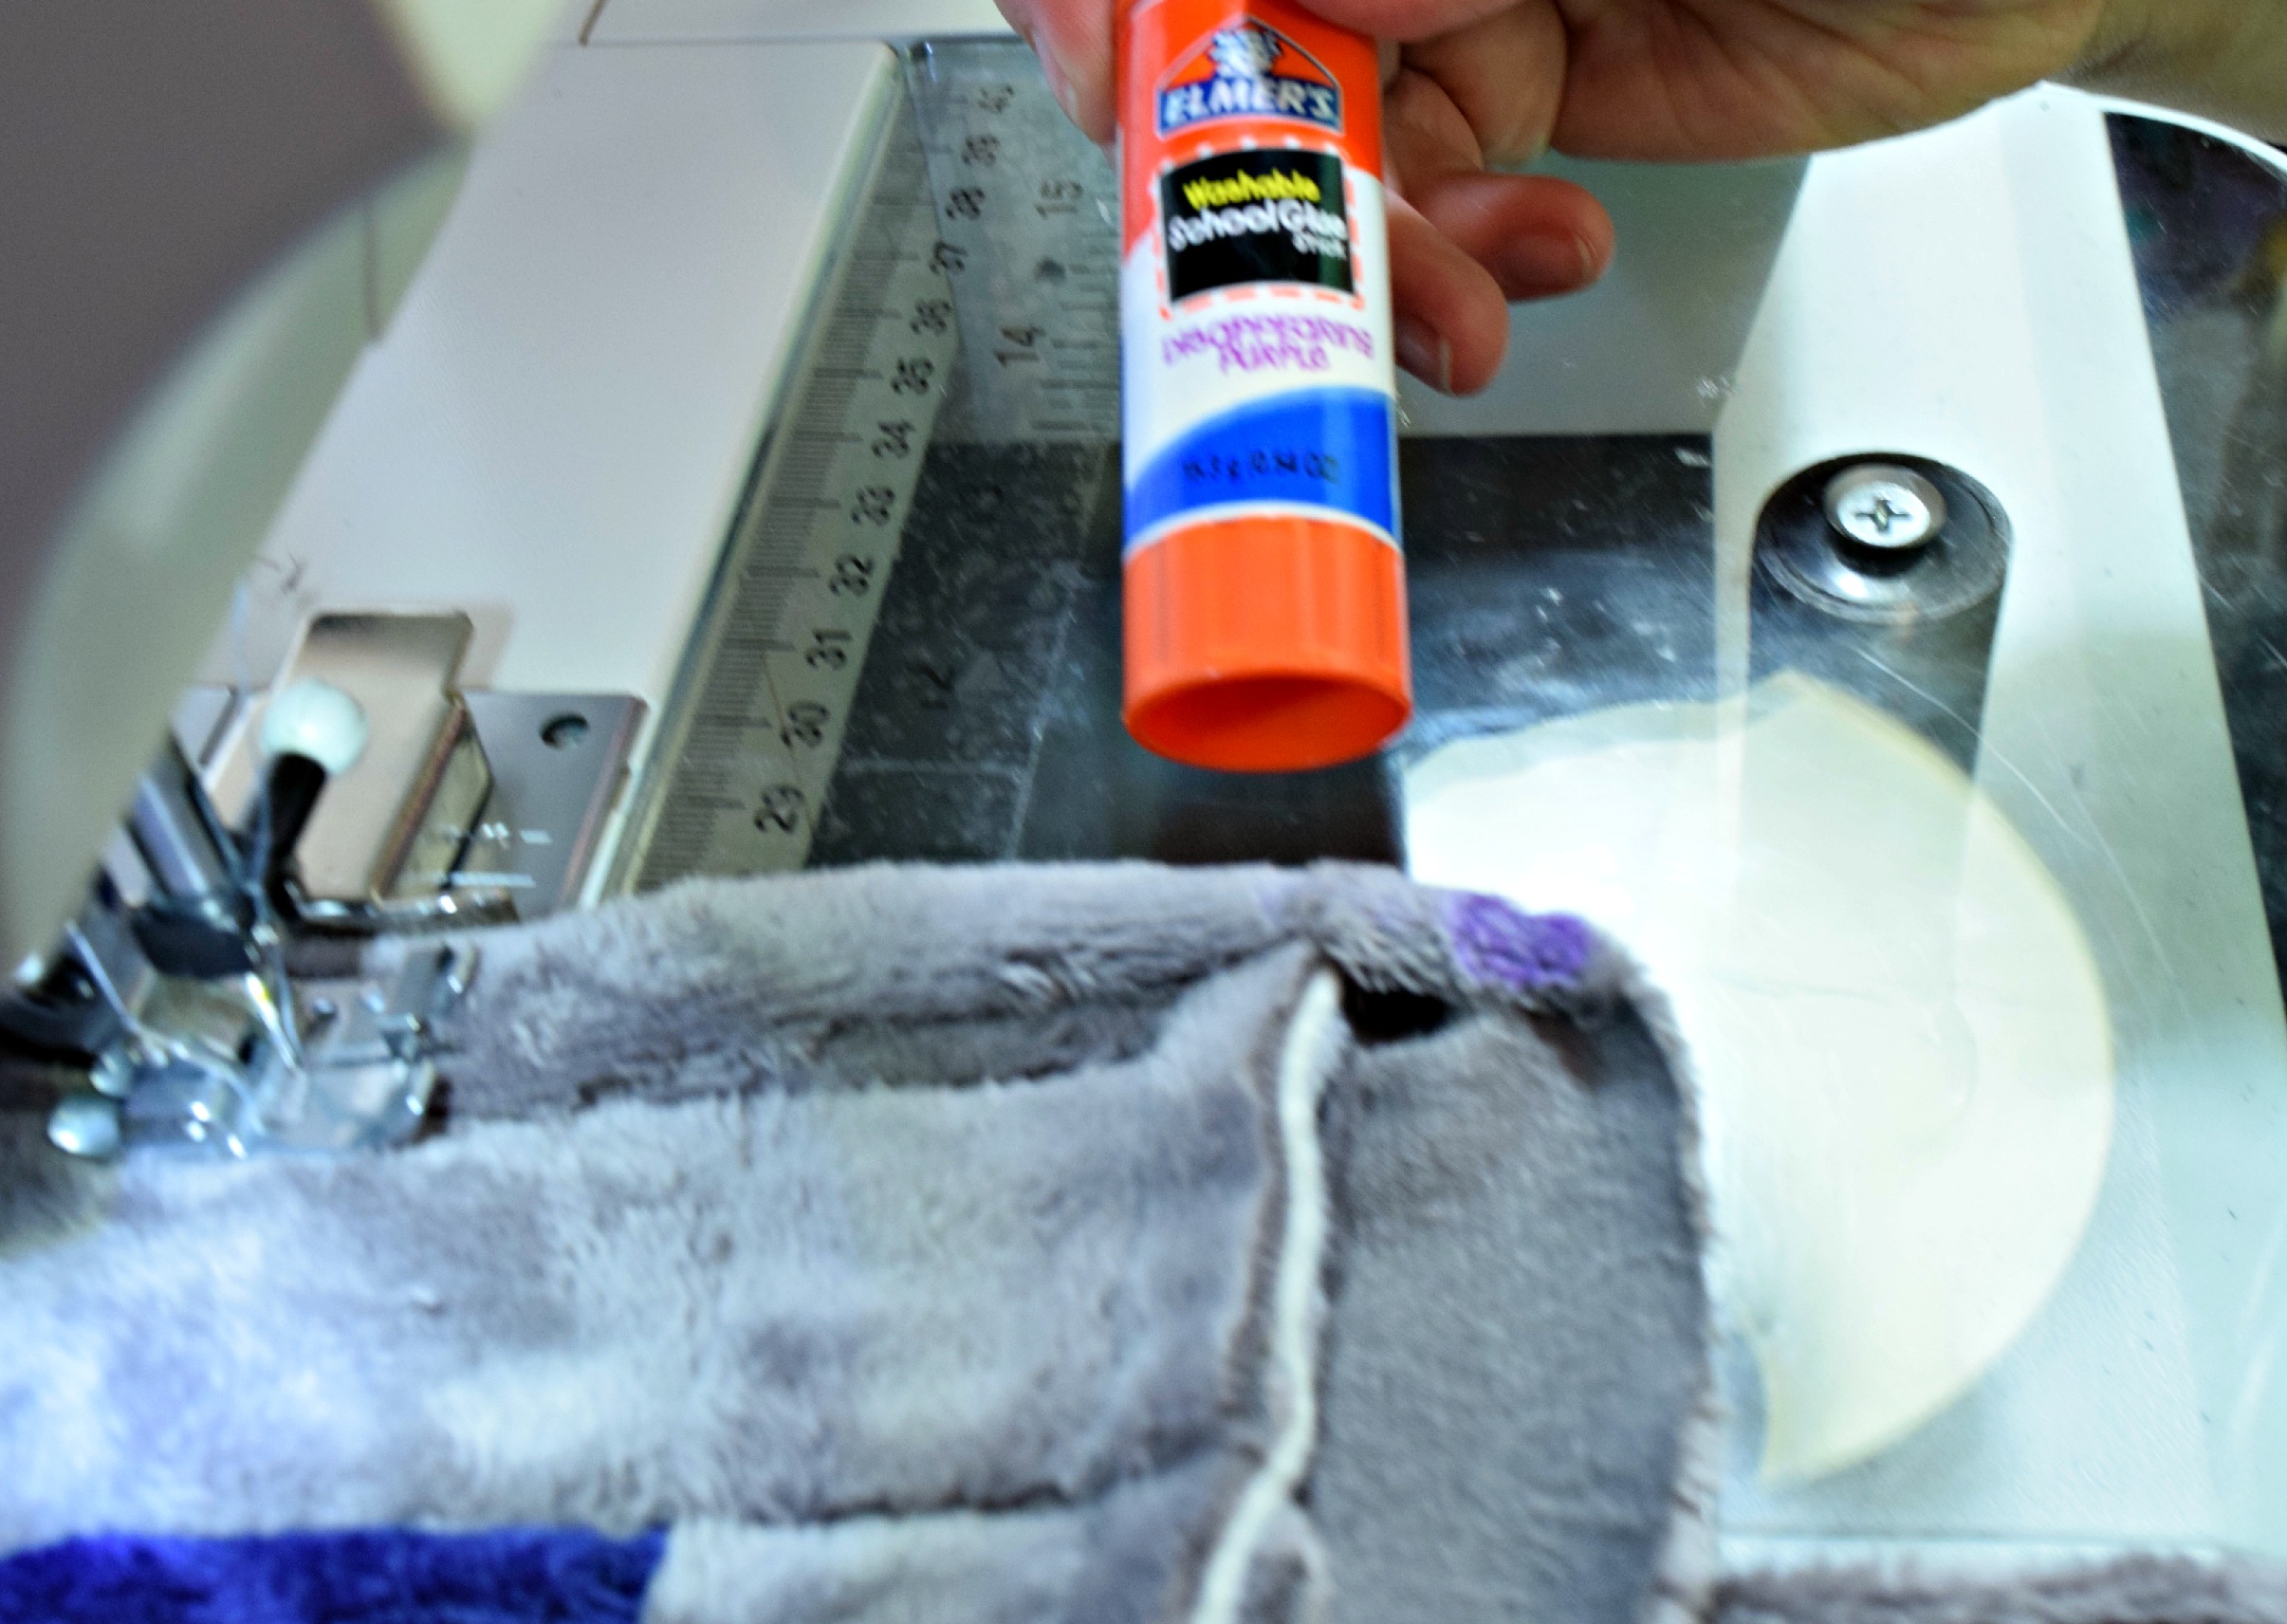
15.Put glue stick on the part that will fold up and touch the binding.  It should look like this.

Glue Stick

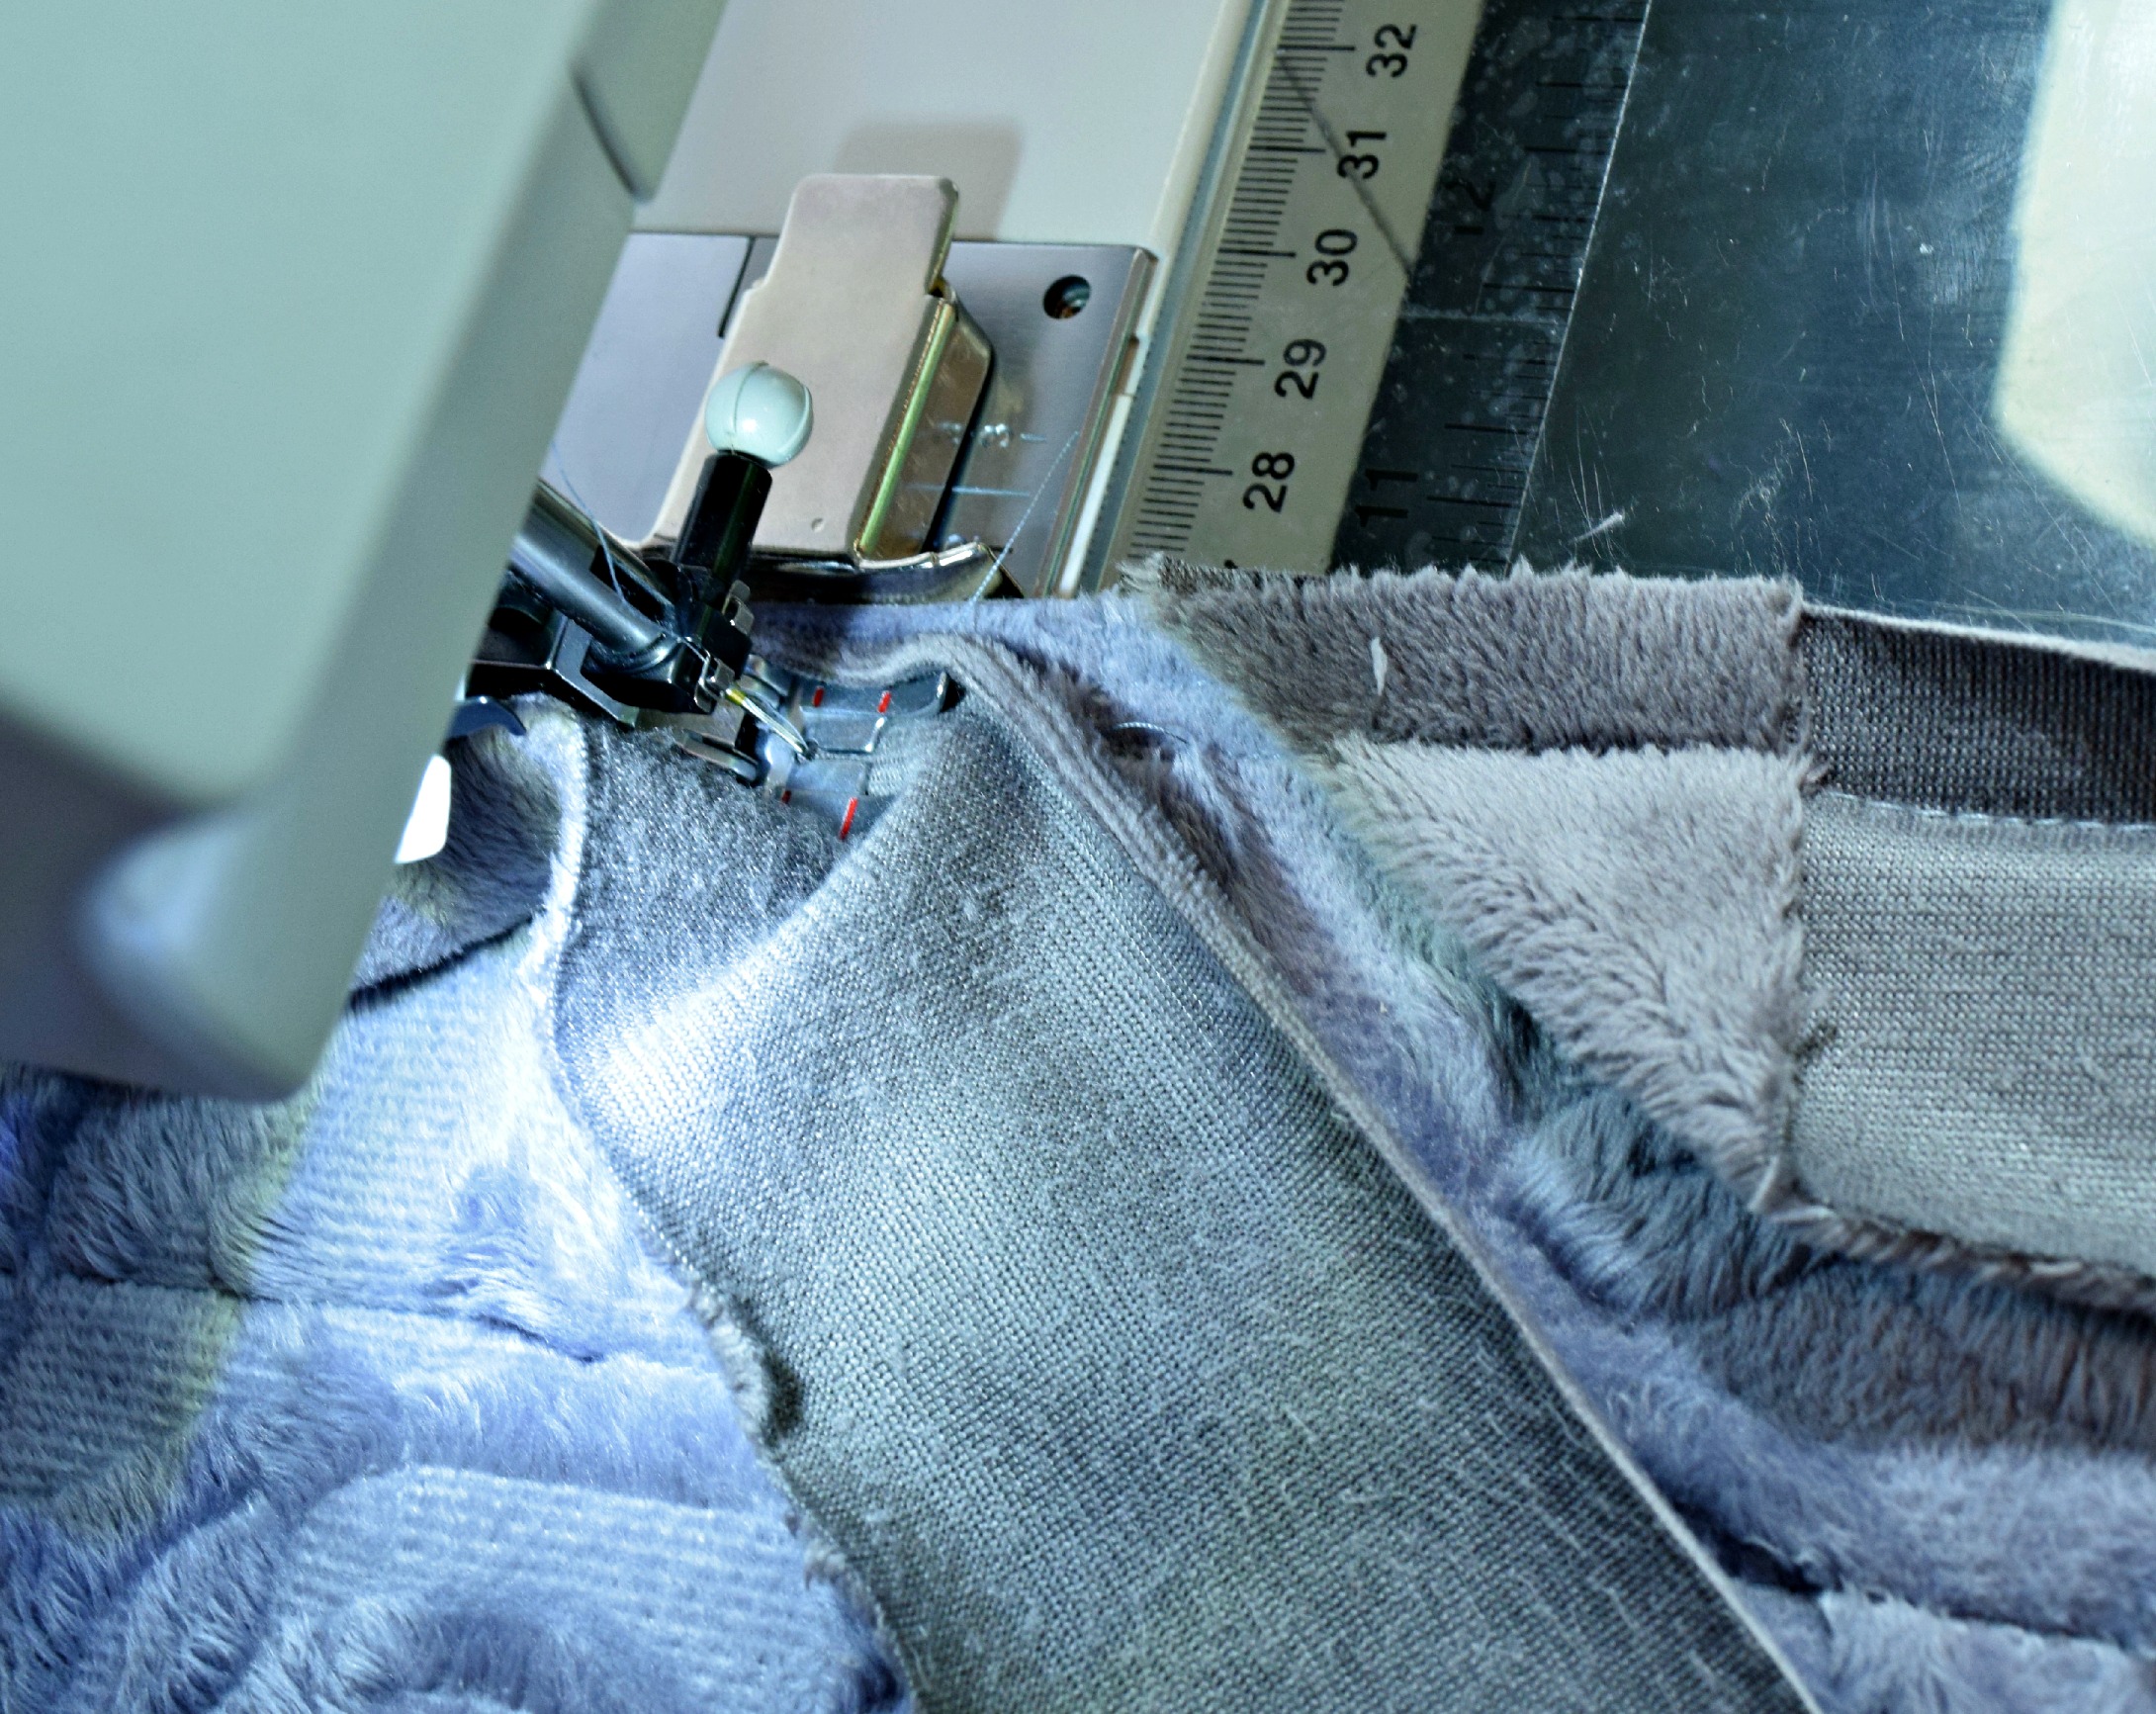
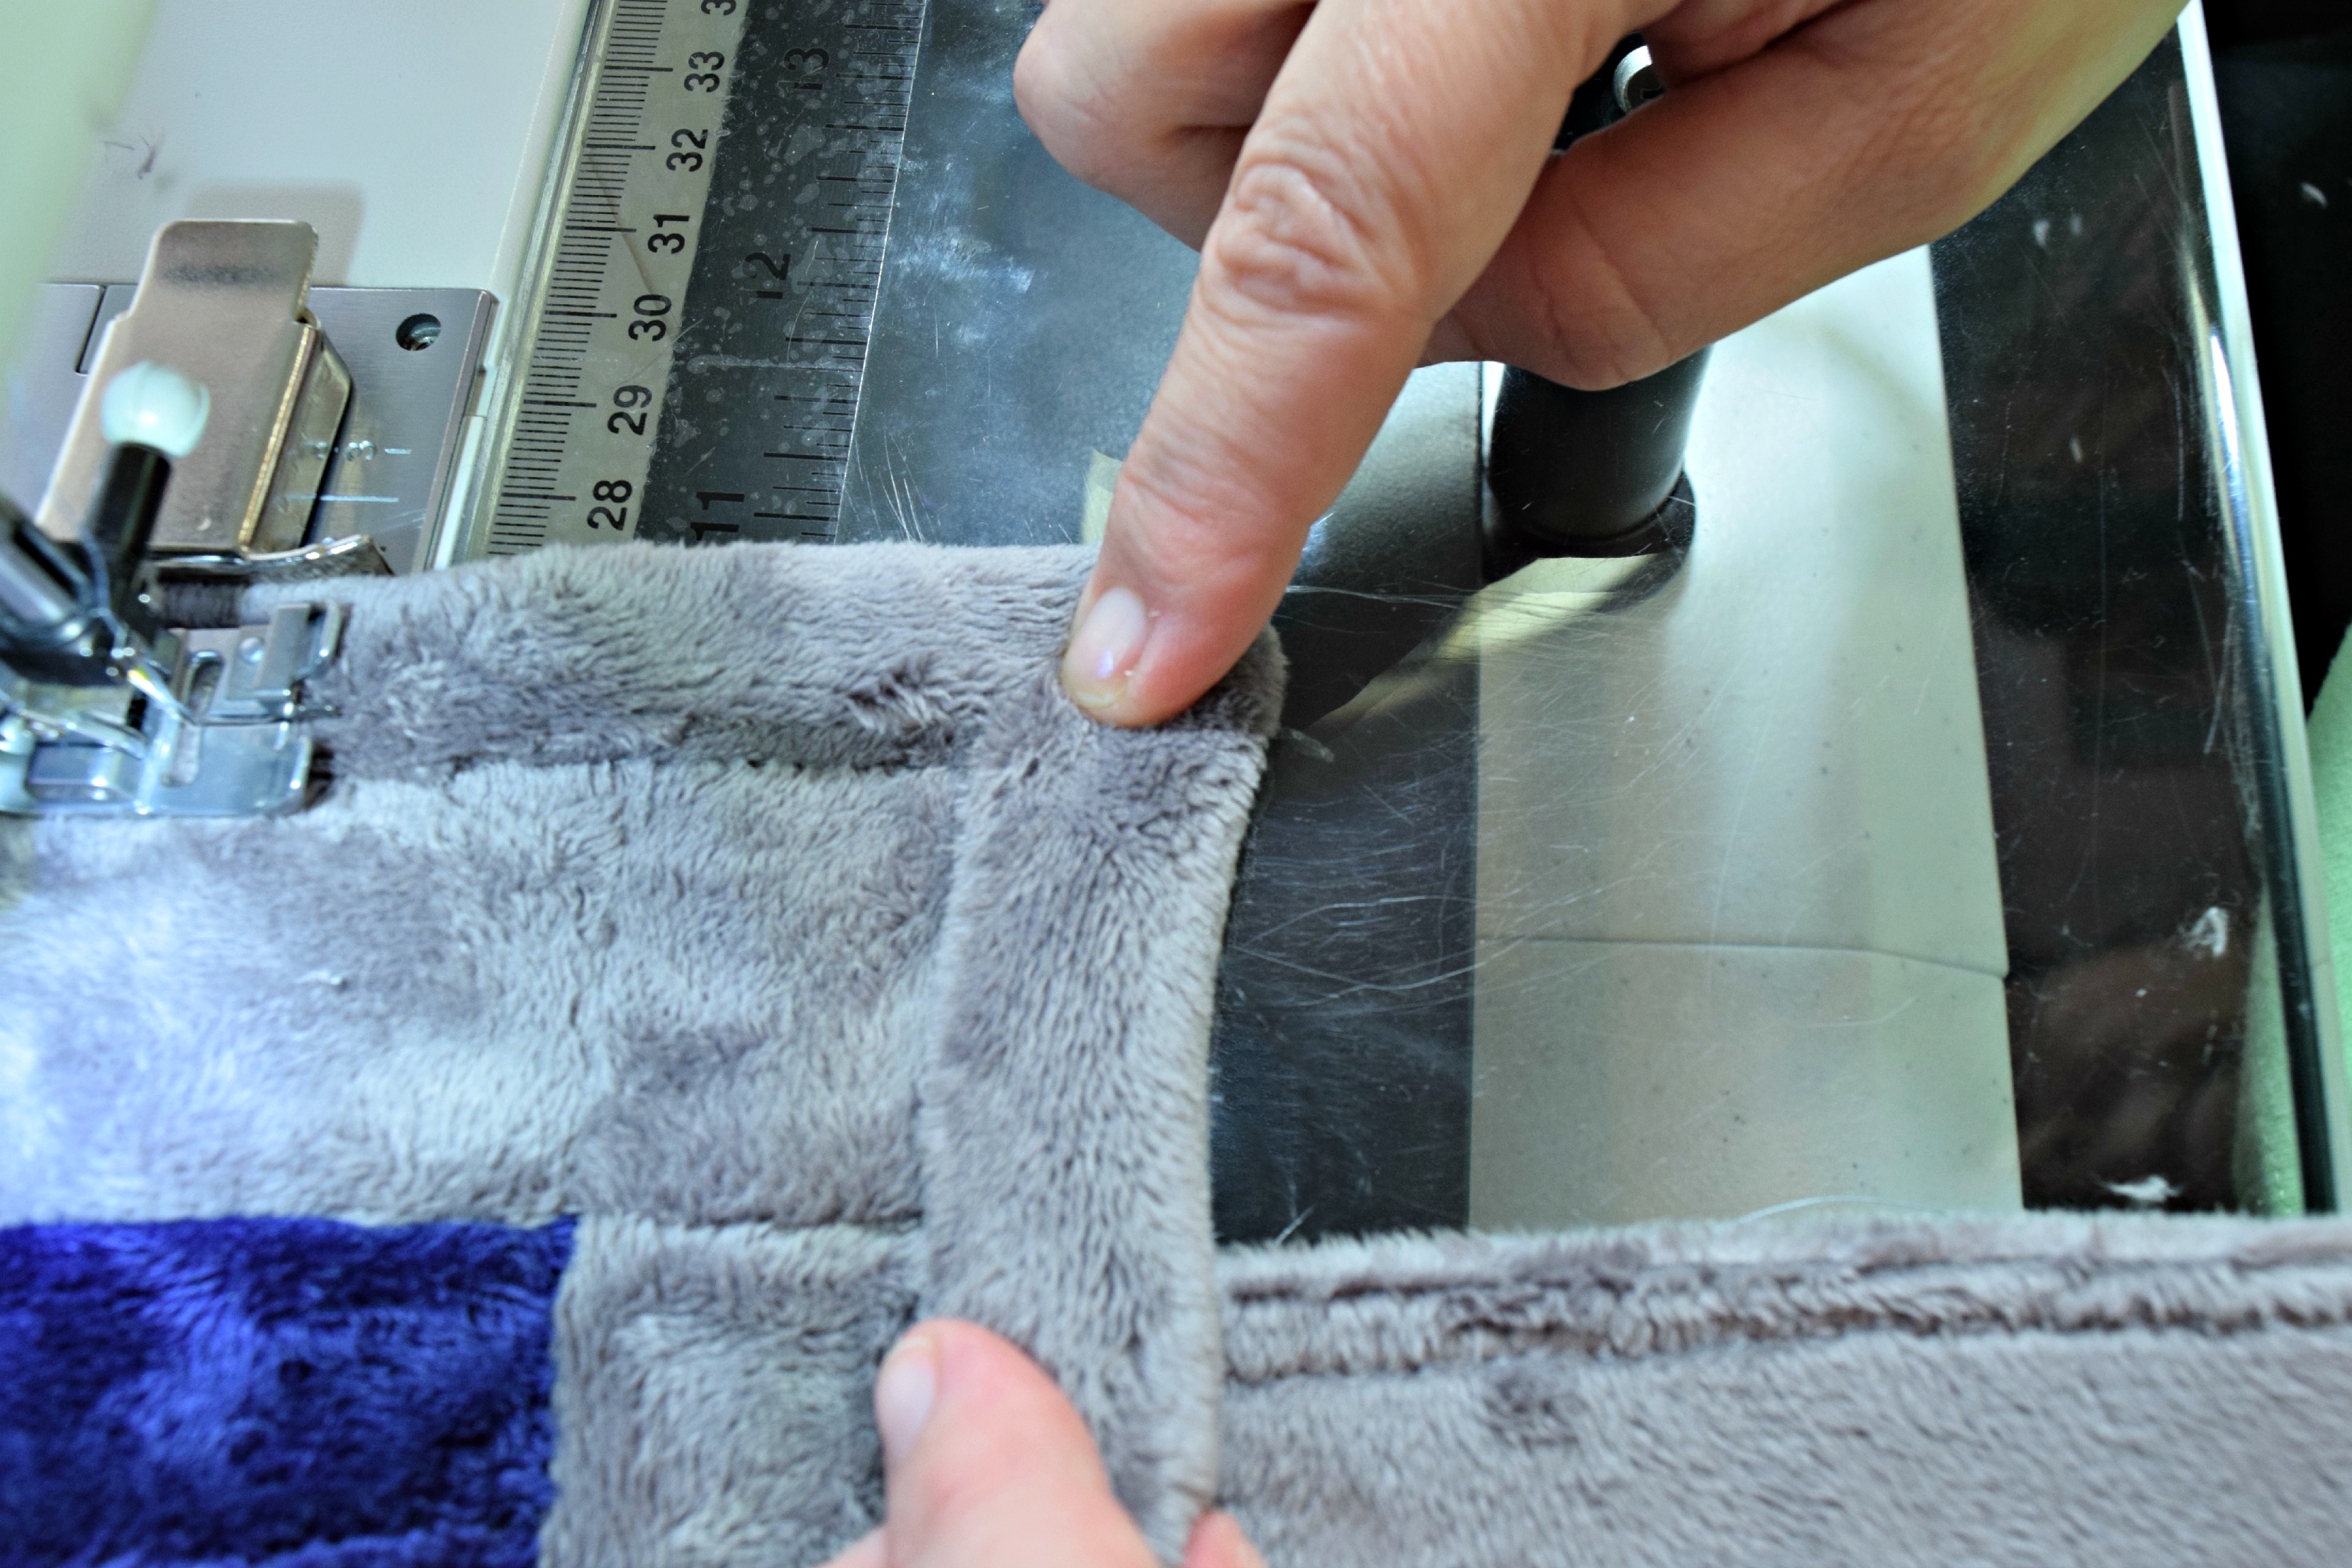
16.  Fold the glued side up and arrange to create a miter. Sometimes things can get bunchy with the batting and seams in the corner.  Trim if you need to, so you can get a better fold. Stitch down to the corner.

Corner Folded Up

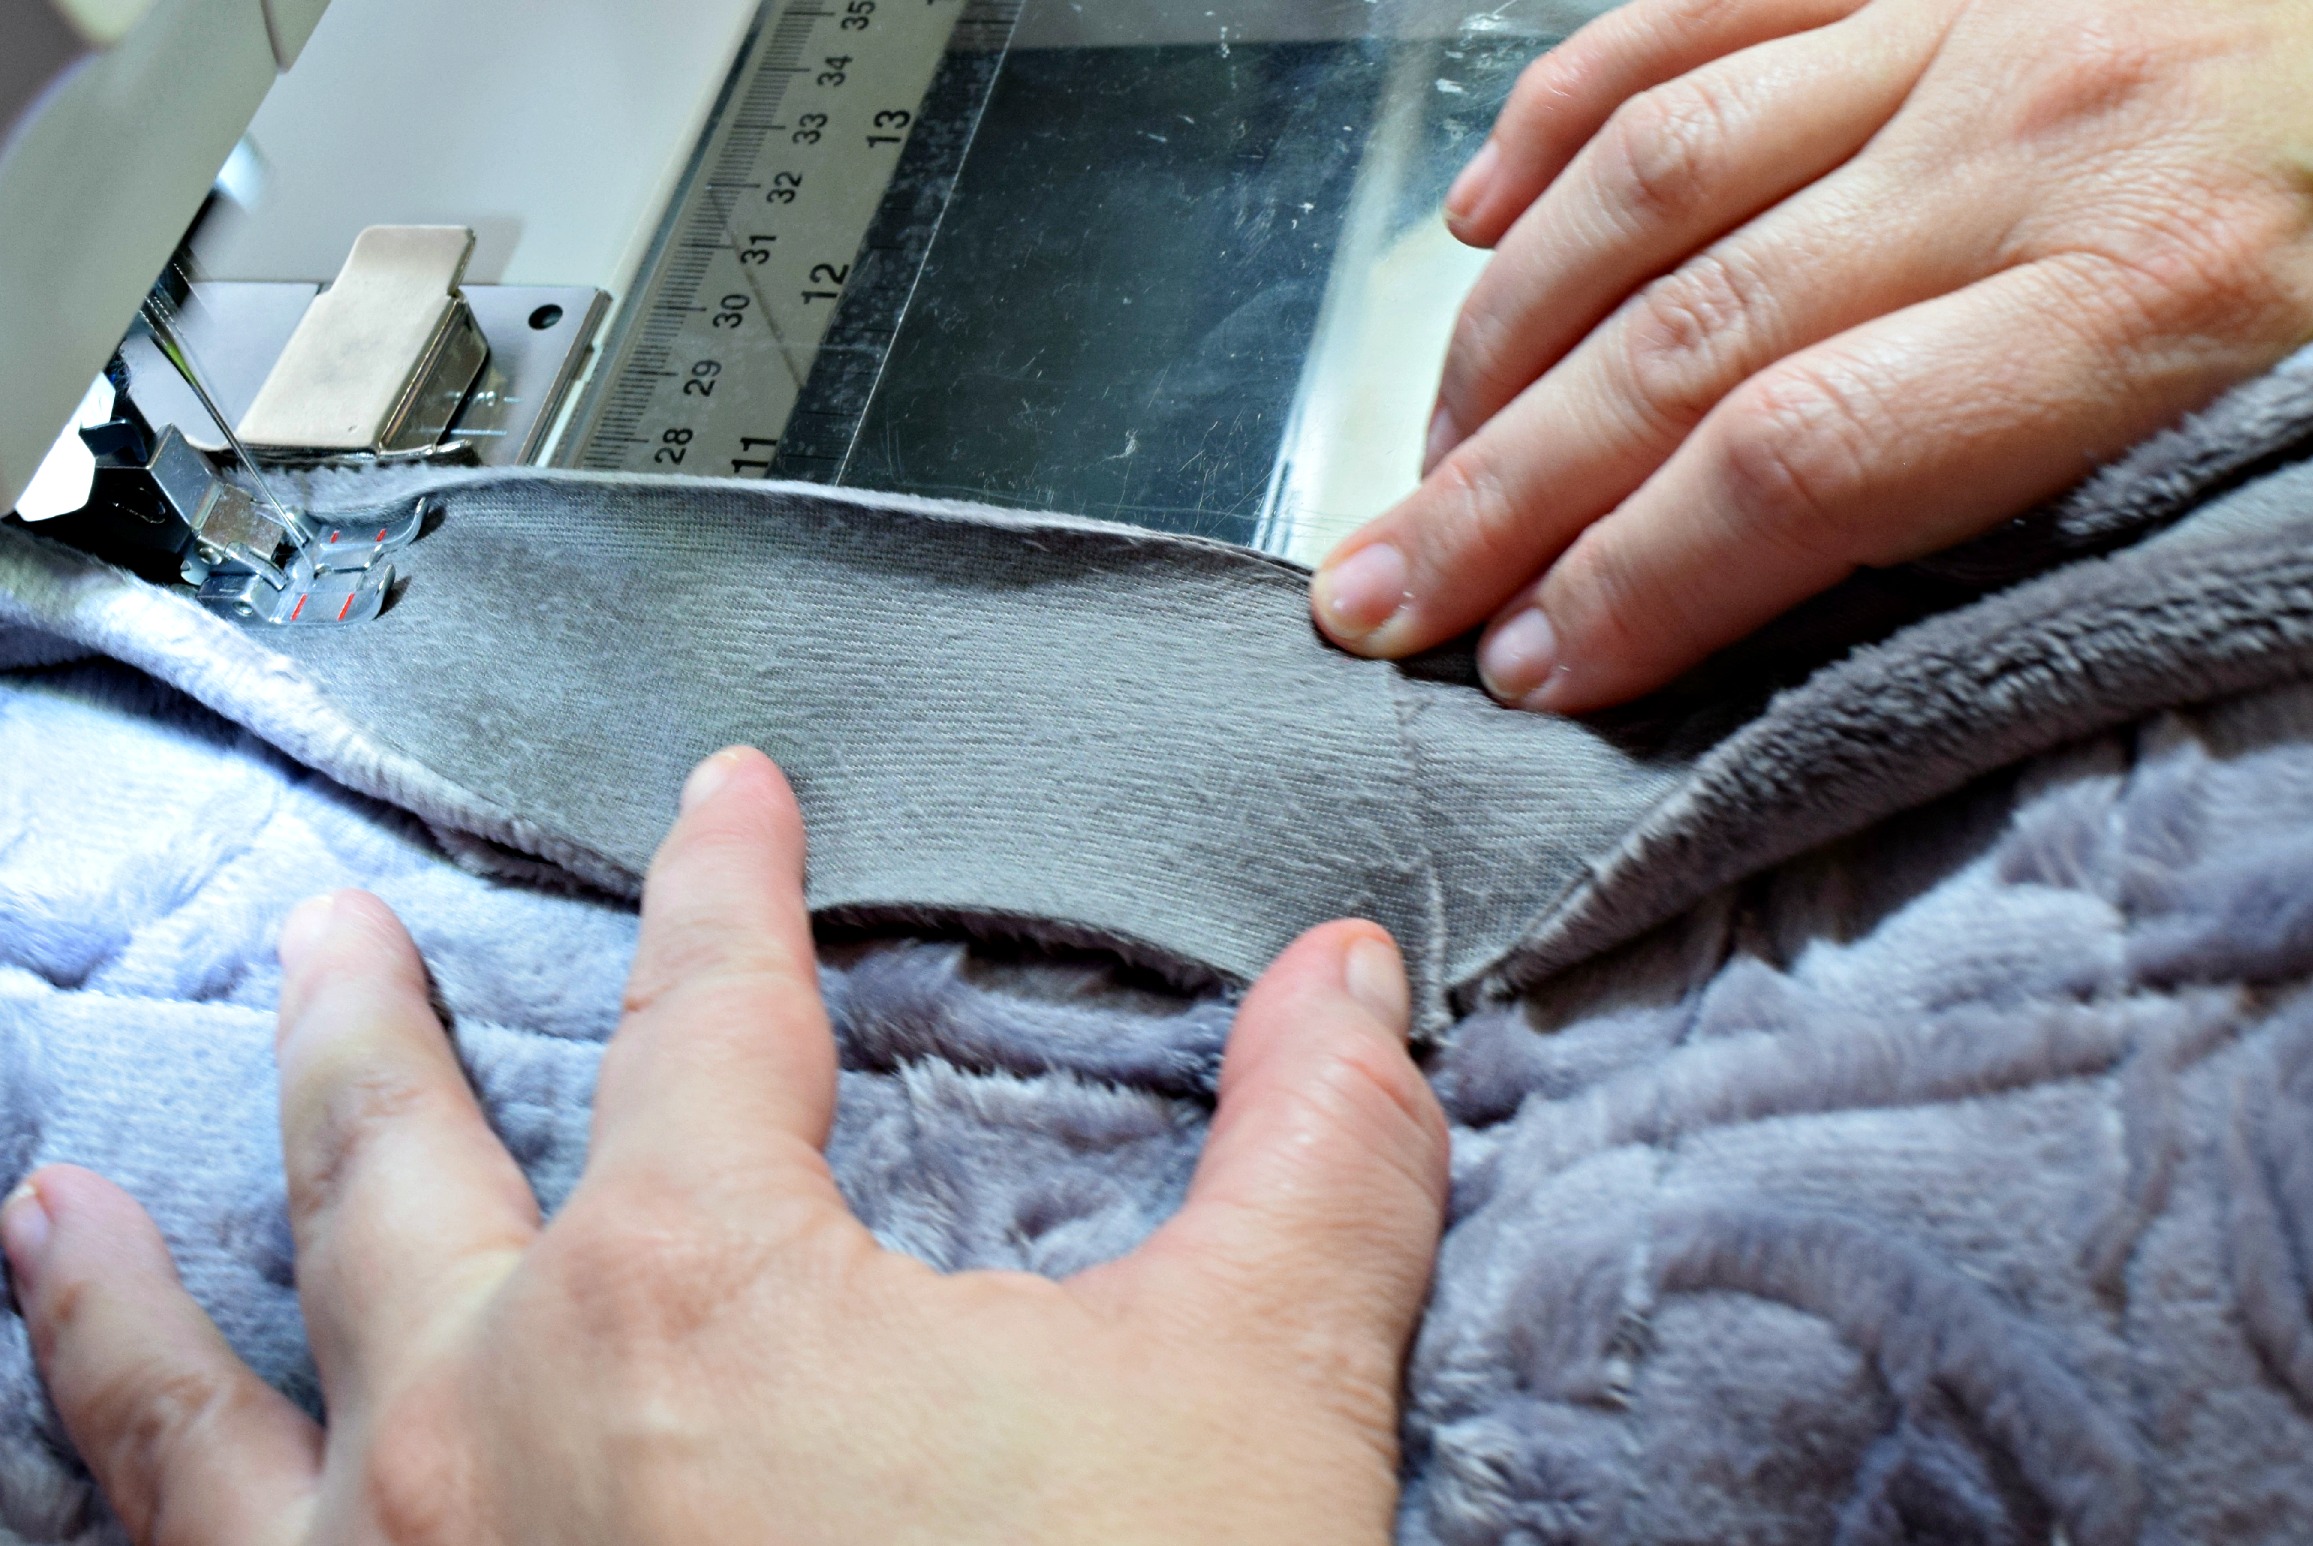
17. Stitch till just before the folded miter and stop. Turn the quilt and stitch up the miter to secure it in place.

Stitch up the Miter

18. Turn the whole quilt around and stitch down the miter to secure it and get your needle back to the stitching line.  Stop and admire the cute and perfect miter you just made!

Stitch Back down the Miter

19. Rotate the quilt around and stitch to the next corner.  Repeat this for the remaining three corners.

Stitching all the way home

Yay! Your quilt is done!

Finished Binding

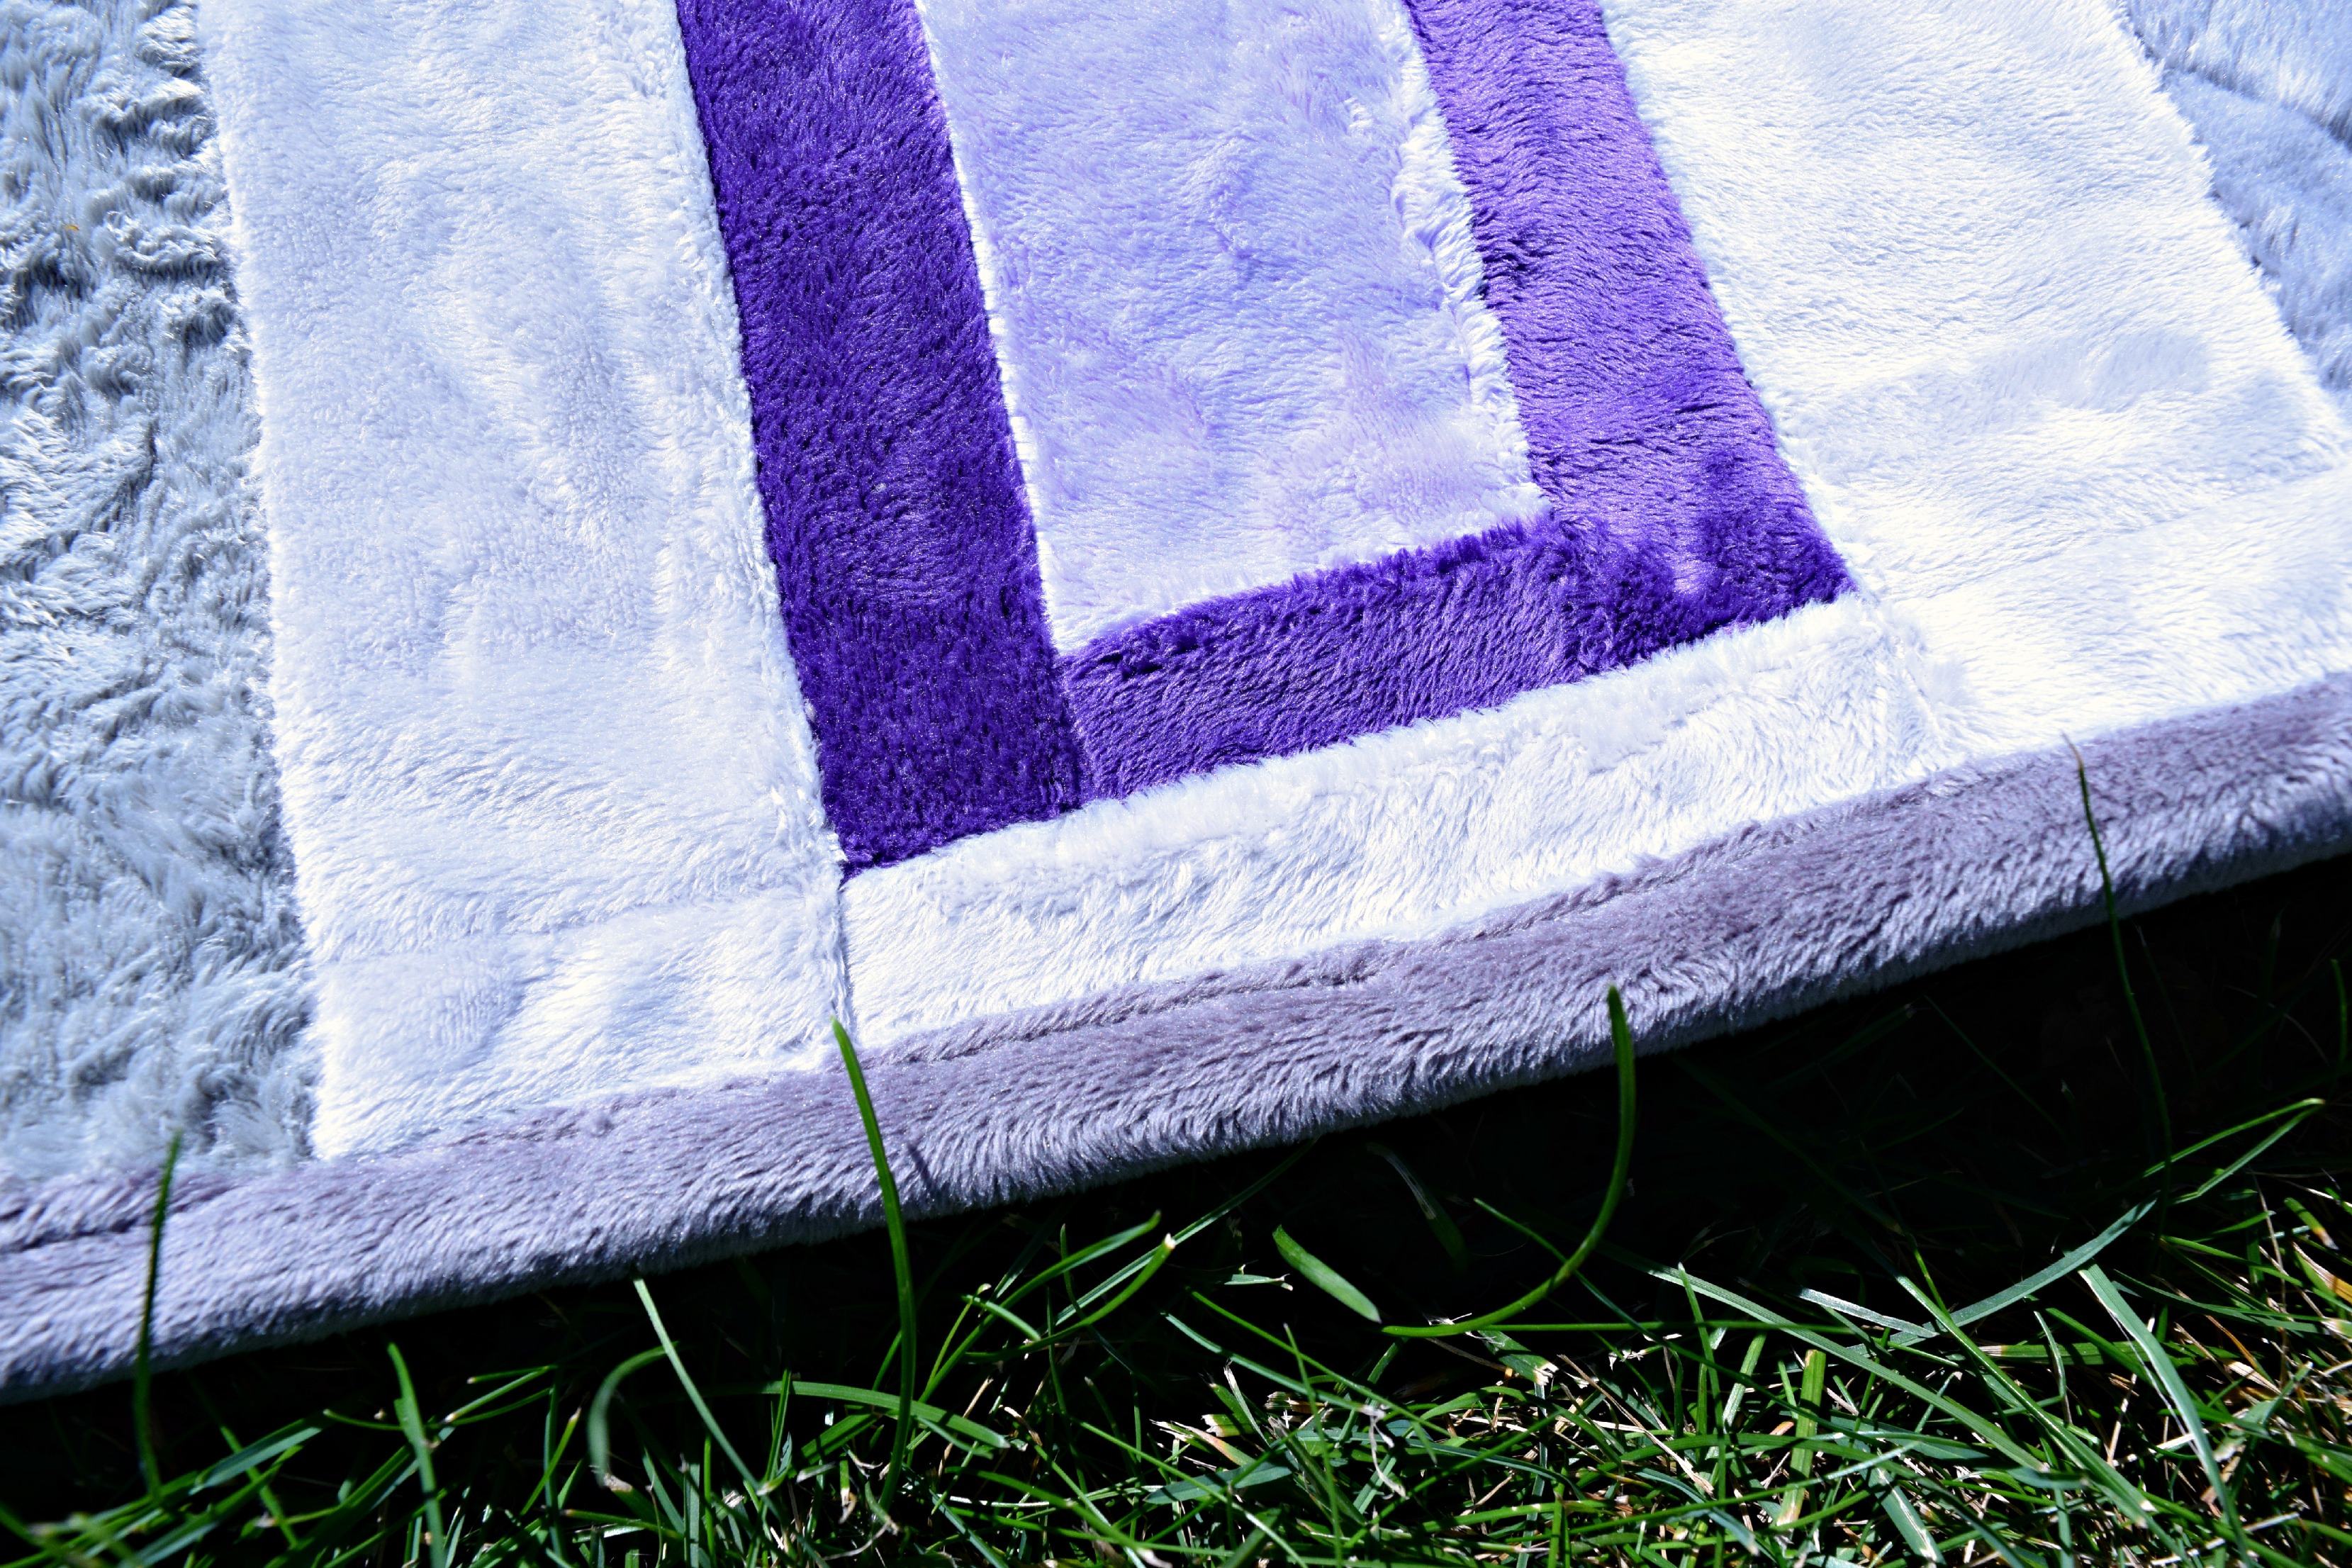
Now you have a finished binding and four perfect mitered corners!  What?  Not all four are perfect?  Not to worry. This is the best method I know for binding.  With practice, you will get better and better.  I hope you feel encouraged to give it a try and enjoy more finished quilts.

Binding Finished

For more about me and my minky demos, check out my website. Jenny Kae Quilts.

The quilt shown is my pattern, Tiger Eye. You can get more information or purchase the pattern here. Jenny Kae Quilts Pattern

Tiger Eye Quilt D

The minky fabric was graciously provided by Shannon Fabircs from their collection of Cuddle Precuts.