Almost Everything is Fixable

I am the President of Arapahoe County Quilters Guild.

Below is my message from our February newsletter:
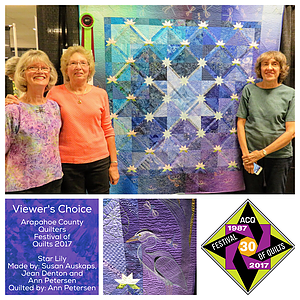
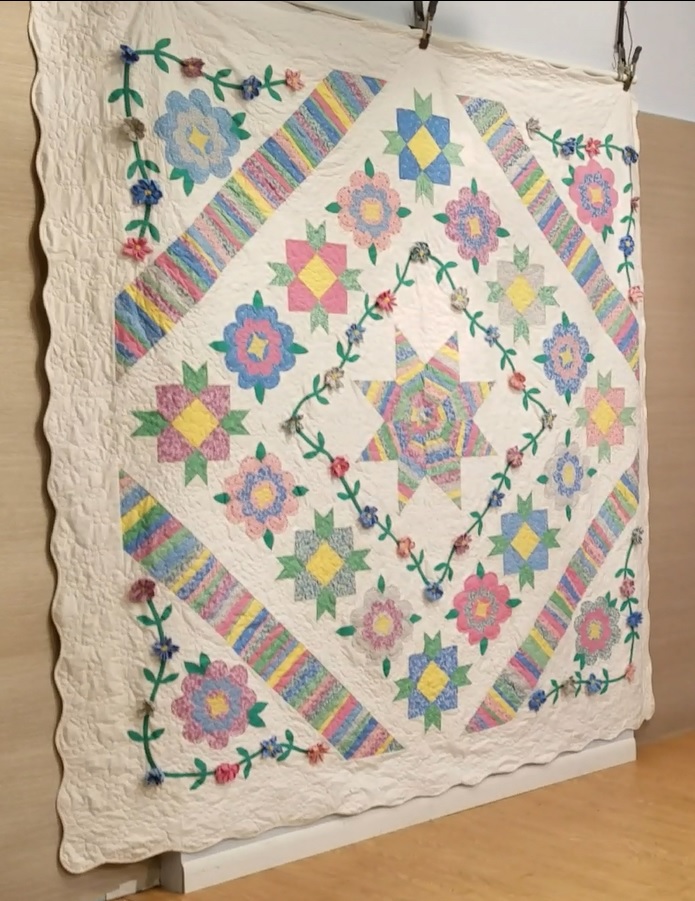
Ann Peterson with QuiltAt Festival of Quilts last year, I asked Ann Petersen what she would say to discouraged quilters.  As we stood in front of her group’s stunning entry, she told me how she started at ACQ, years ago.  Ann was both inspired and discouraged by the talent she saw.  She thought she could never do those things.  With teary eyes, she said, “After all these years I feel like I am finally there, like I can do now the things I dreamed of.”


As quilters, we want to be perfect, darn it!  Inspired by Amish quilts in the museum and masterpieces in the magazines, we grab our gear and race to the machine, only be devastated at the first mistake.  Remember, that amazing quilt hanging in the gallery is someone’s magnum opus.  It is their best work and represents years of trying, ripping out and trying again. Progress is the goal, not perfection.  Every project is a learning project.  Every project has something to teach you.

Susan Holbert Little Sister

Not one quilter is perfect.  I bet even the very best quilters we have here at ACQ – and we have several amazingly talented quilters –can point out their mistakes or where they had to fix a problem.  The skills truly come when you learn to fix those mistakes and try again. Almost everything in quilting is fixable.
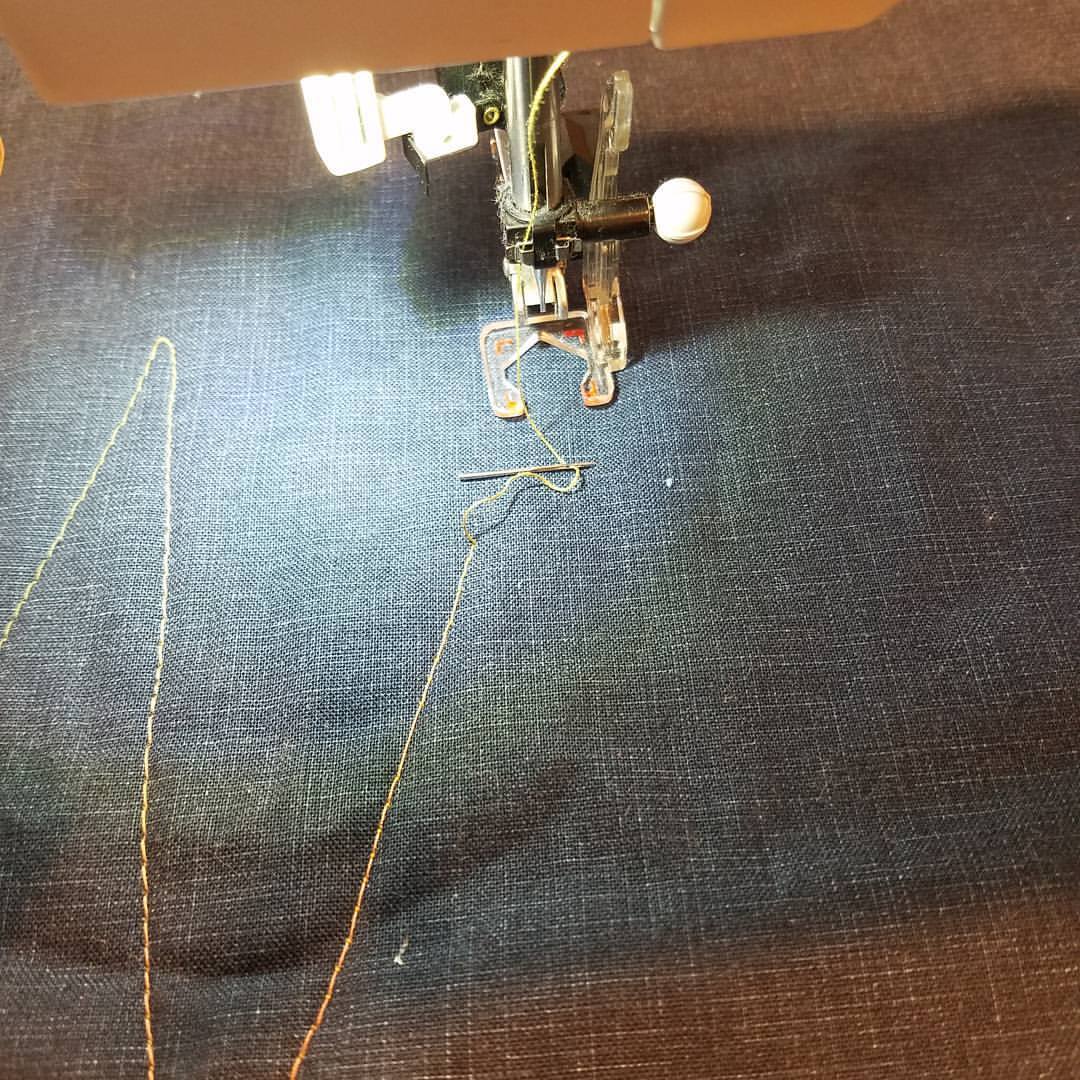
Broken needle


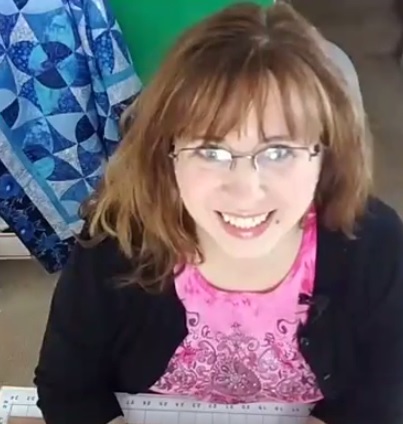
What if I make a mistake cutting the fabric? Been there, cut that.  I have cut fabric for Fons and Porter featured quilts and videos.  Talk about worry!  I was so nervous I felt like I might barf!  But the more I did it, the more confidence I gained.  Calm down, don’t rush yourself and read carefully.

Careful cutting

Keep in mind; we are not in a fabric famine.  With the resources online and in town, if you need to find more of the same fabric or very similar, the odds are ever in your favor.  Or, to put it another way, “Measure once.  Go buy more fabric.”

20150917_105211

What if I can’t piece it right?  Don’t fear the ripper.  Rip it out, try again.  Ask some quilters, watch some videos, and try again. Consider how else you can use it, like potholders or charity quilts. Or invent a new block!
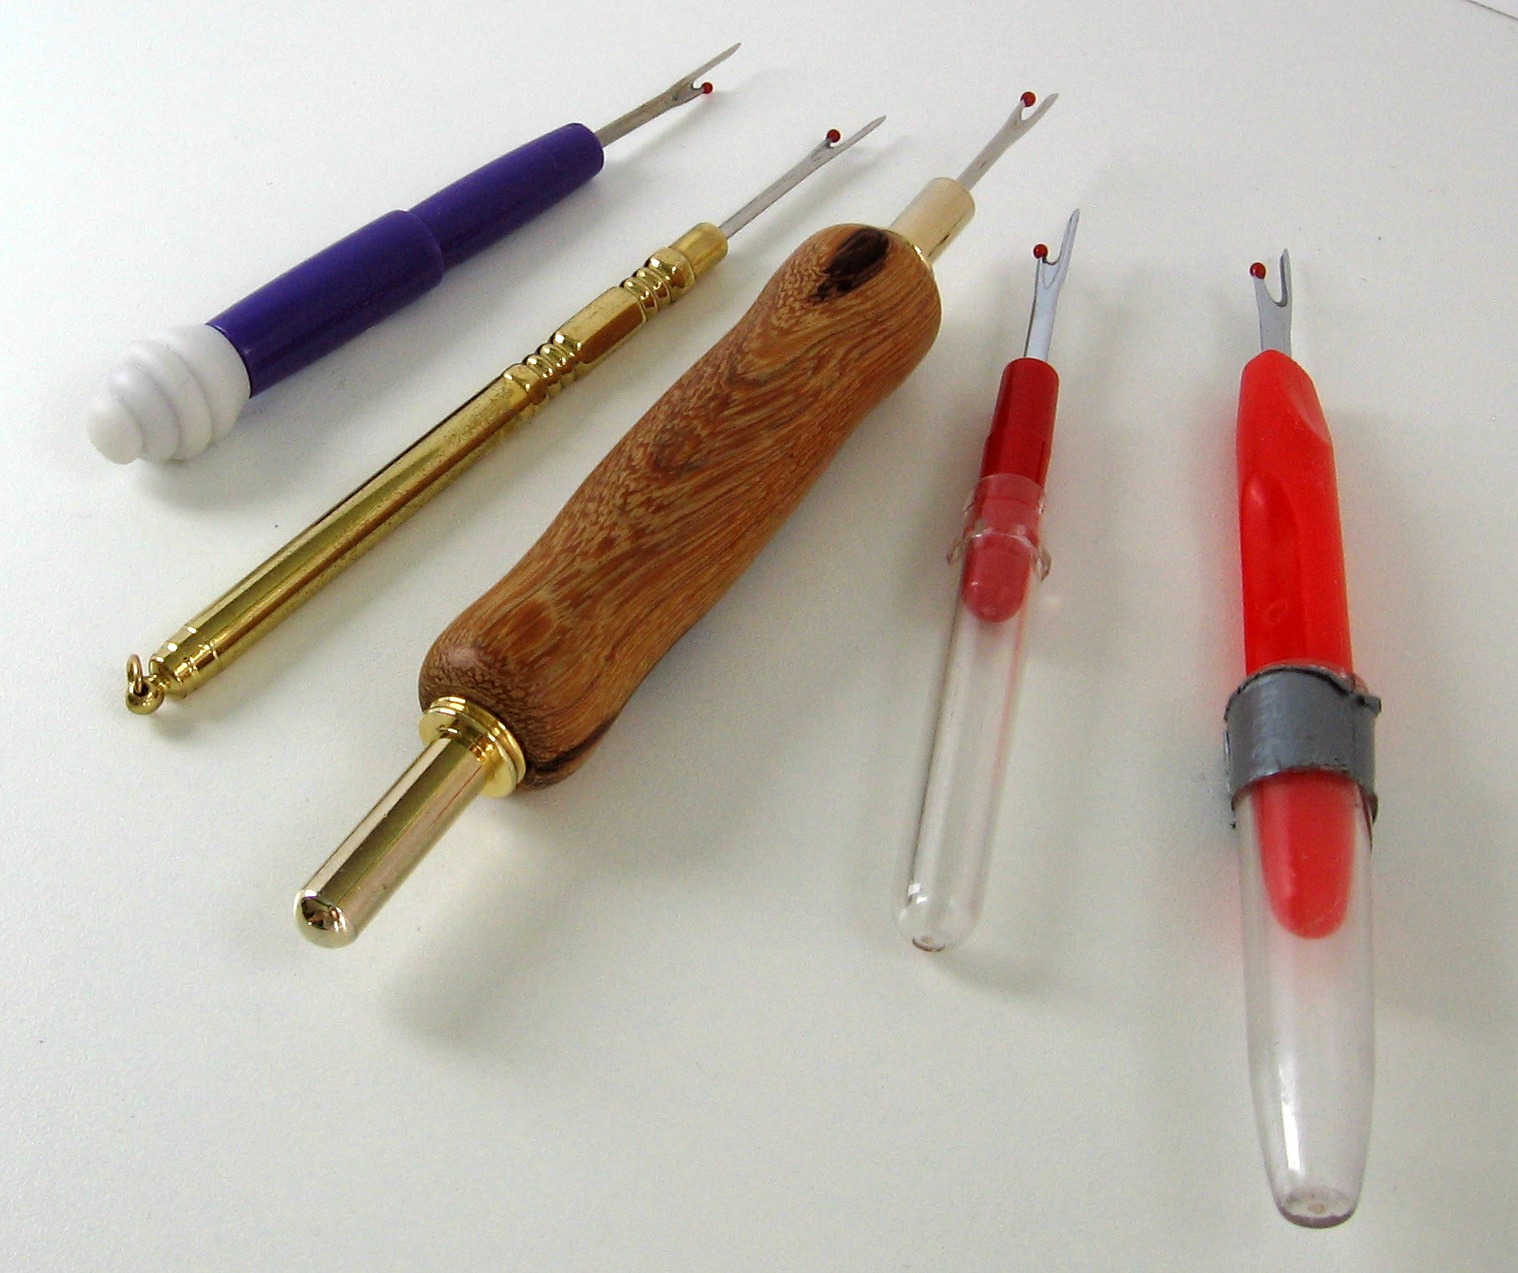
Seam Rippers


What if I can’t quilt it perfectly? Repetitio, repetitio, repetitio.  That is Latin for “Do it again.”  That is the only way to improve – practice, take classes, ask questions and do it again.
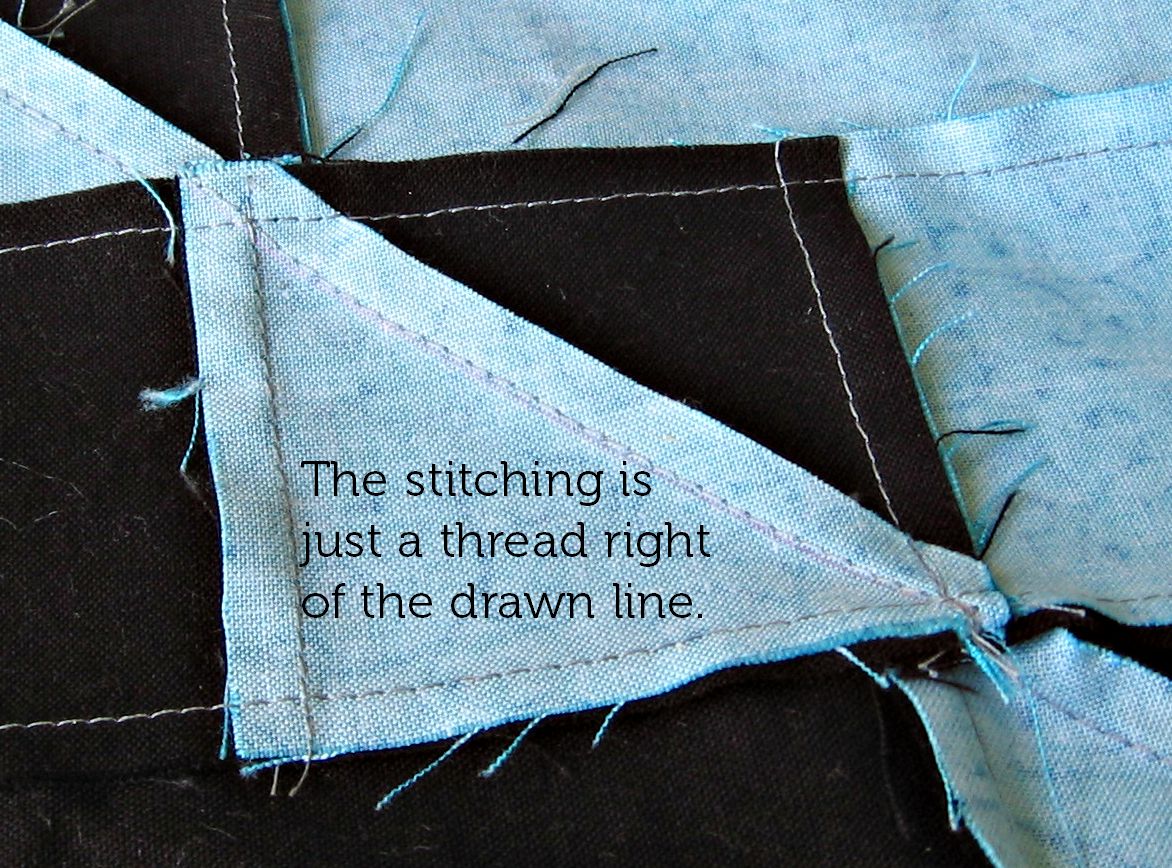
Stitch Right

This is one of the things I LOVE about quilting.  Make friends with your seam ripper.  Go easy on yourself.  It might not look like you originally planned but it can still be beautiful.  Almost everything in quilting is fixable.
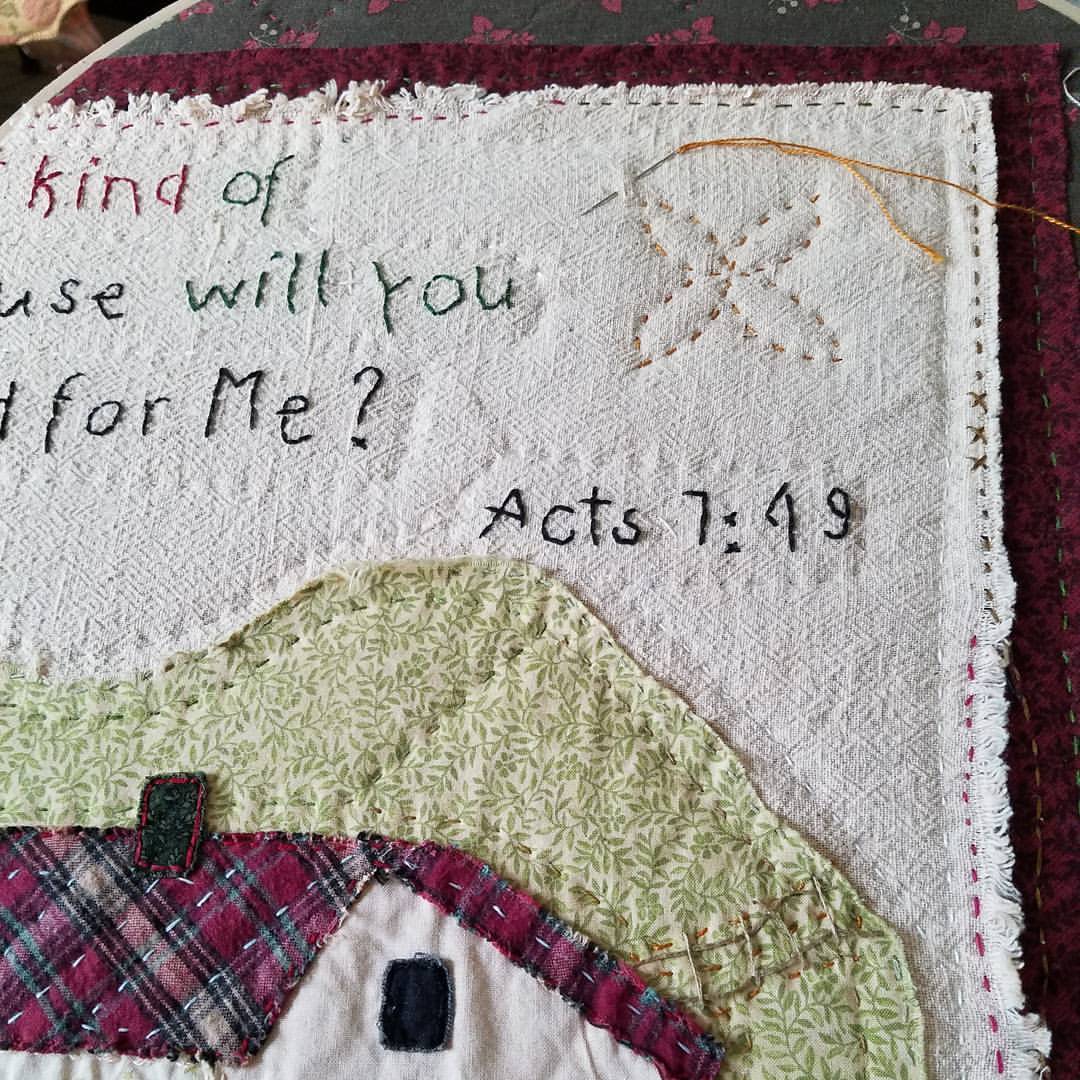
Hand quilting

What are your thoughts?

Jenny

P.S. If you enjoyed this post, share it with someone else.


The Art of Fabric and Color Selection – Skill One

I know you.  You stress about picking color.  You wander, dazed, around the fabric shop.  And you settle for kits because you never feel like your selections are “just right”.

You, my friend, are not alone.  In fact, this is the most-asked question, (besides binding, everyone asks about binding).

While I think some have an intuitive grasp of all things color, there are practical SKILLS you CAN learn and use on your very next project!

Skill One – Use Registration Marks


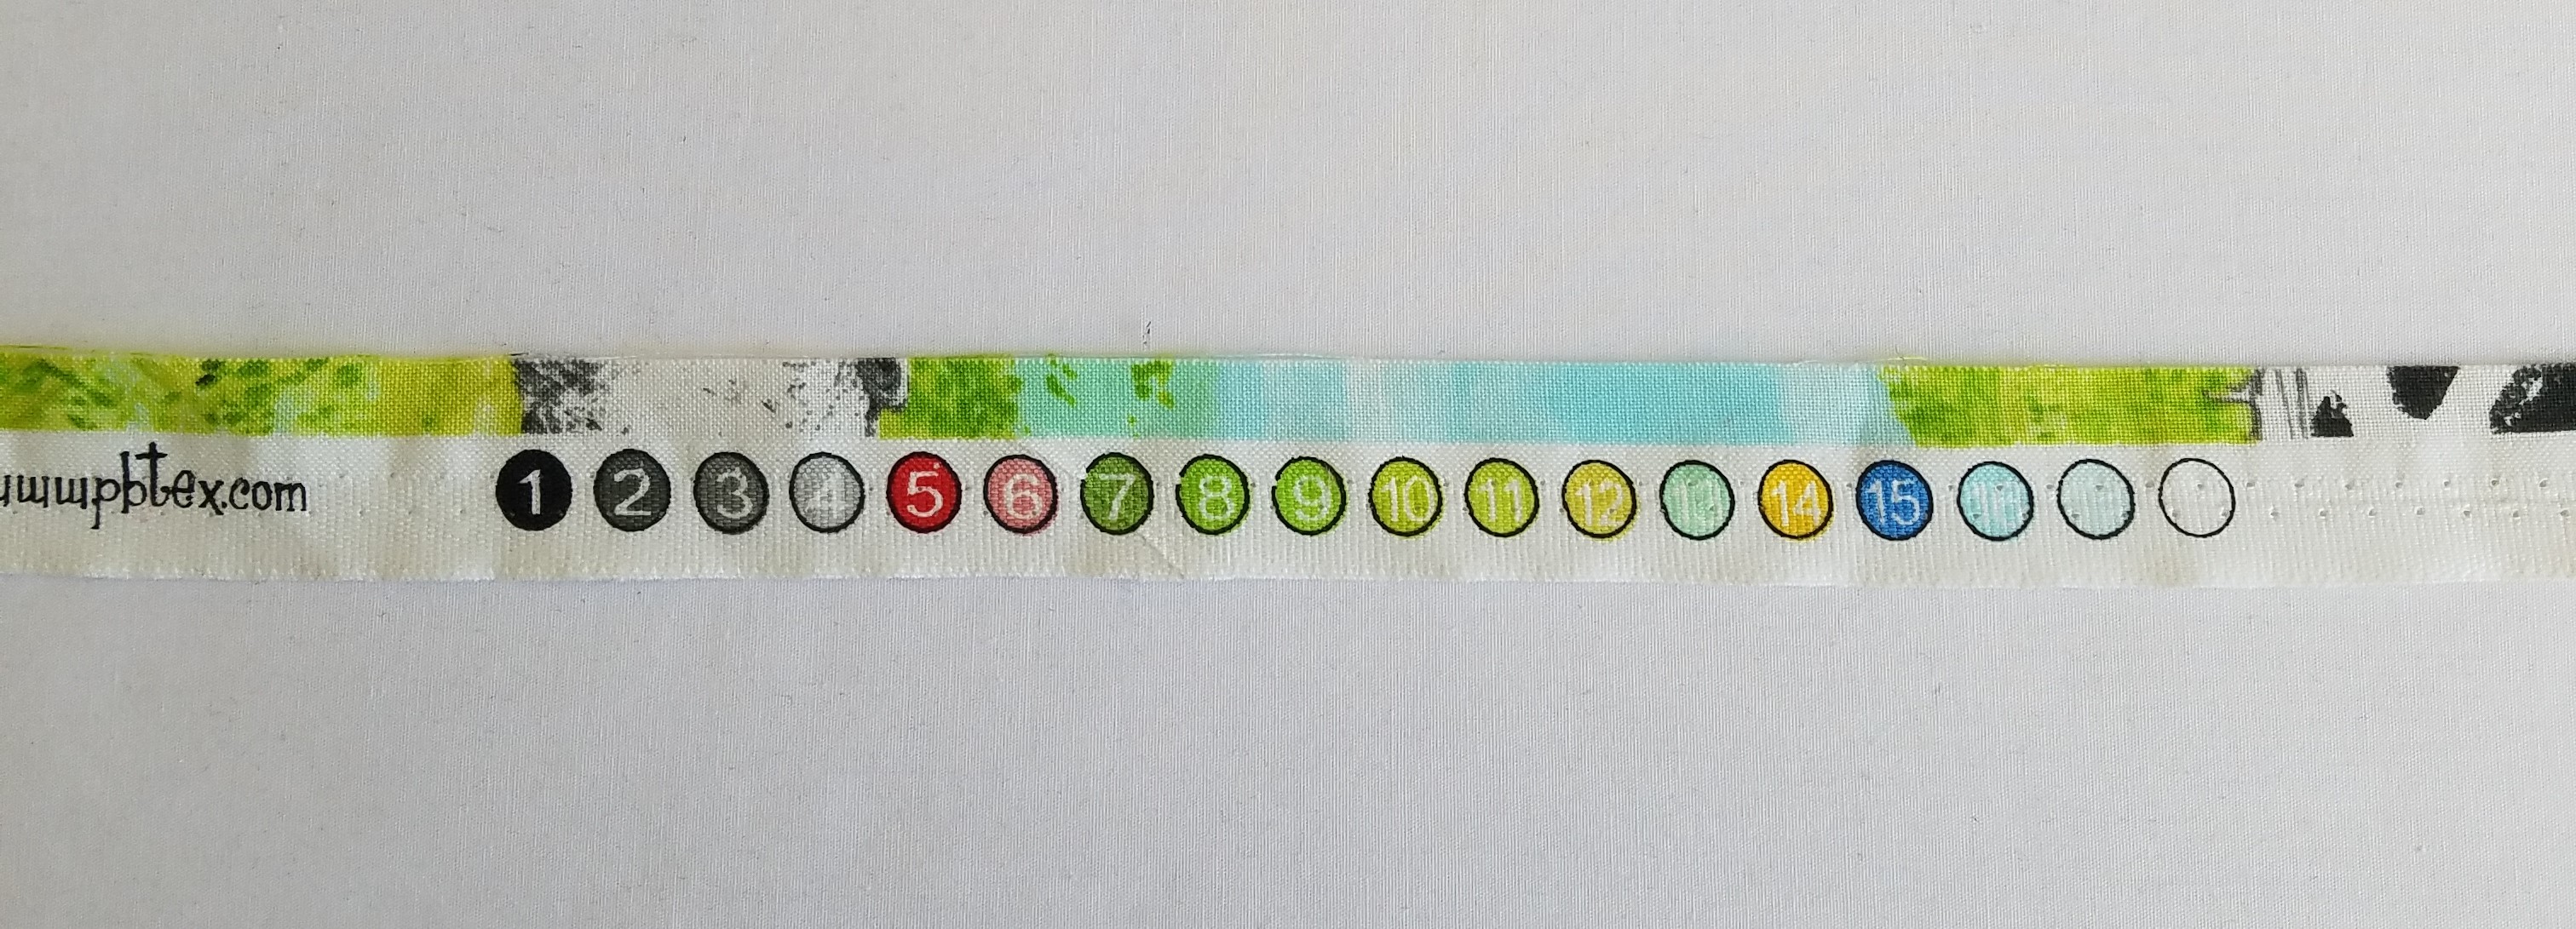
Registration Marks
Registration Marks – use them!

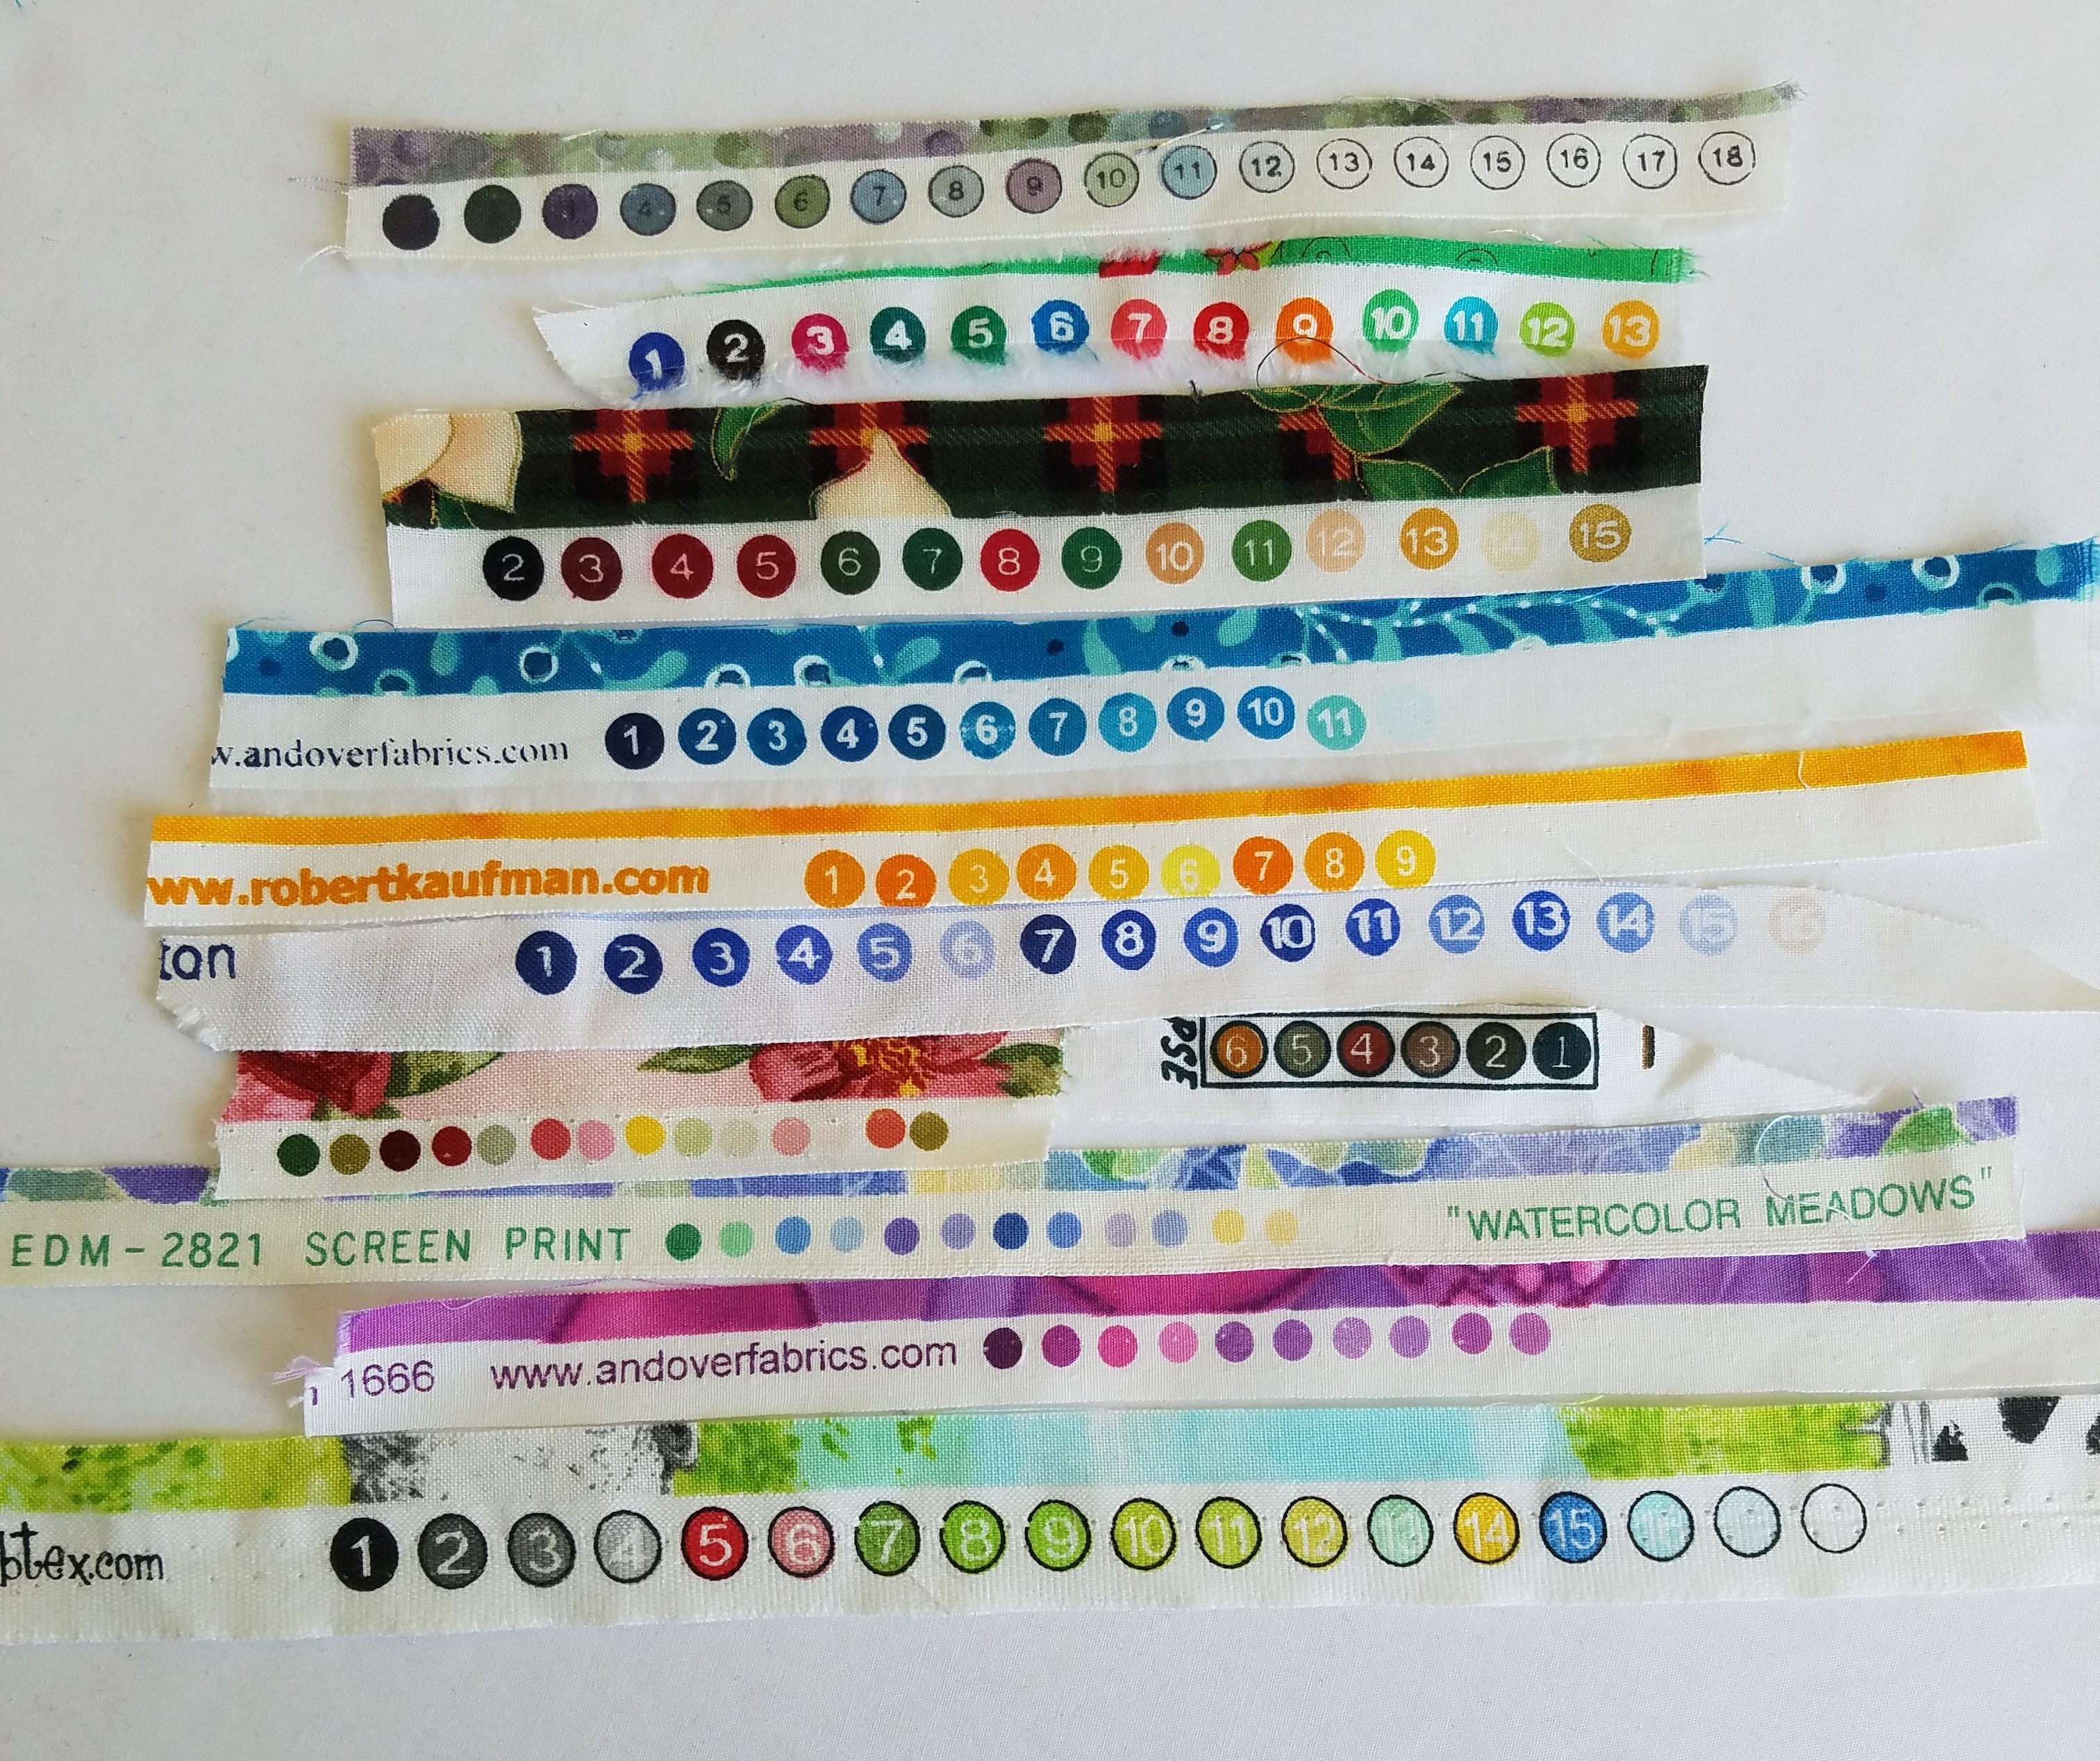
Registration marks are part of the manufacturing process.  The dots of the fabric are compared to the same dots on a key to make sure the colors are printing accurately.

Here is how this helps us…every color in the fabric is also in the registration marks!  You can use these marks as a guide to selecting fabric. Think of them are training wheels.

Skill One in action

Here are the registration marks for I Spy Moo!

Registration Marks (2)
Look at all the colors – black, greys, reds, greens, blues and yellows!

I chose to use grey, green, blue and yellow.

I Spy Moo! Returns close-up
Blue, grey, green and yellow worked well with the panel.

Here is the final product.

i-spy-moo
The registration marks are from the cow border fabric!  Moo!

I still use this skill when I need an exact match or more options.

A couple tips for registration marks.

1. Use the registration marks on a fabric you love.  Choose something which has already caught your eye.

2. You DO NOT need to use every color.  (I skipped on the red and kept it an accent but more on that another time.)

Ready to try it yourself?  Your homework – pick a fabric from your stash use the registration marks to select fabrics.  Don’t panic!  You don’t have to make the project, just practice the skill.  The more you do it, the better, and more confidant, you will become.

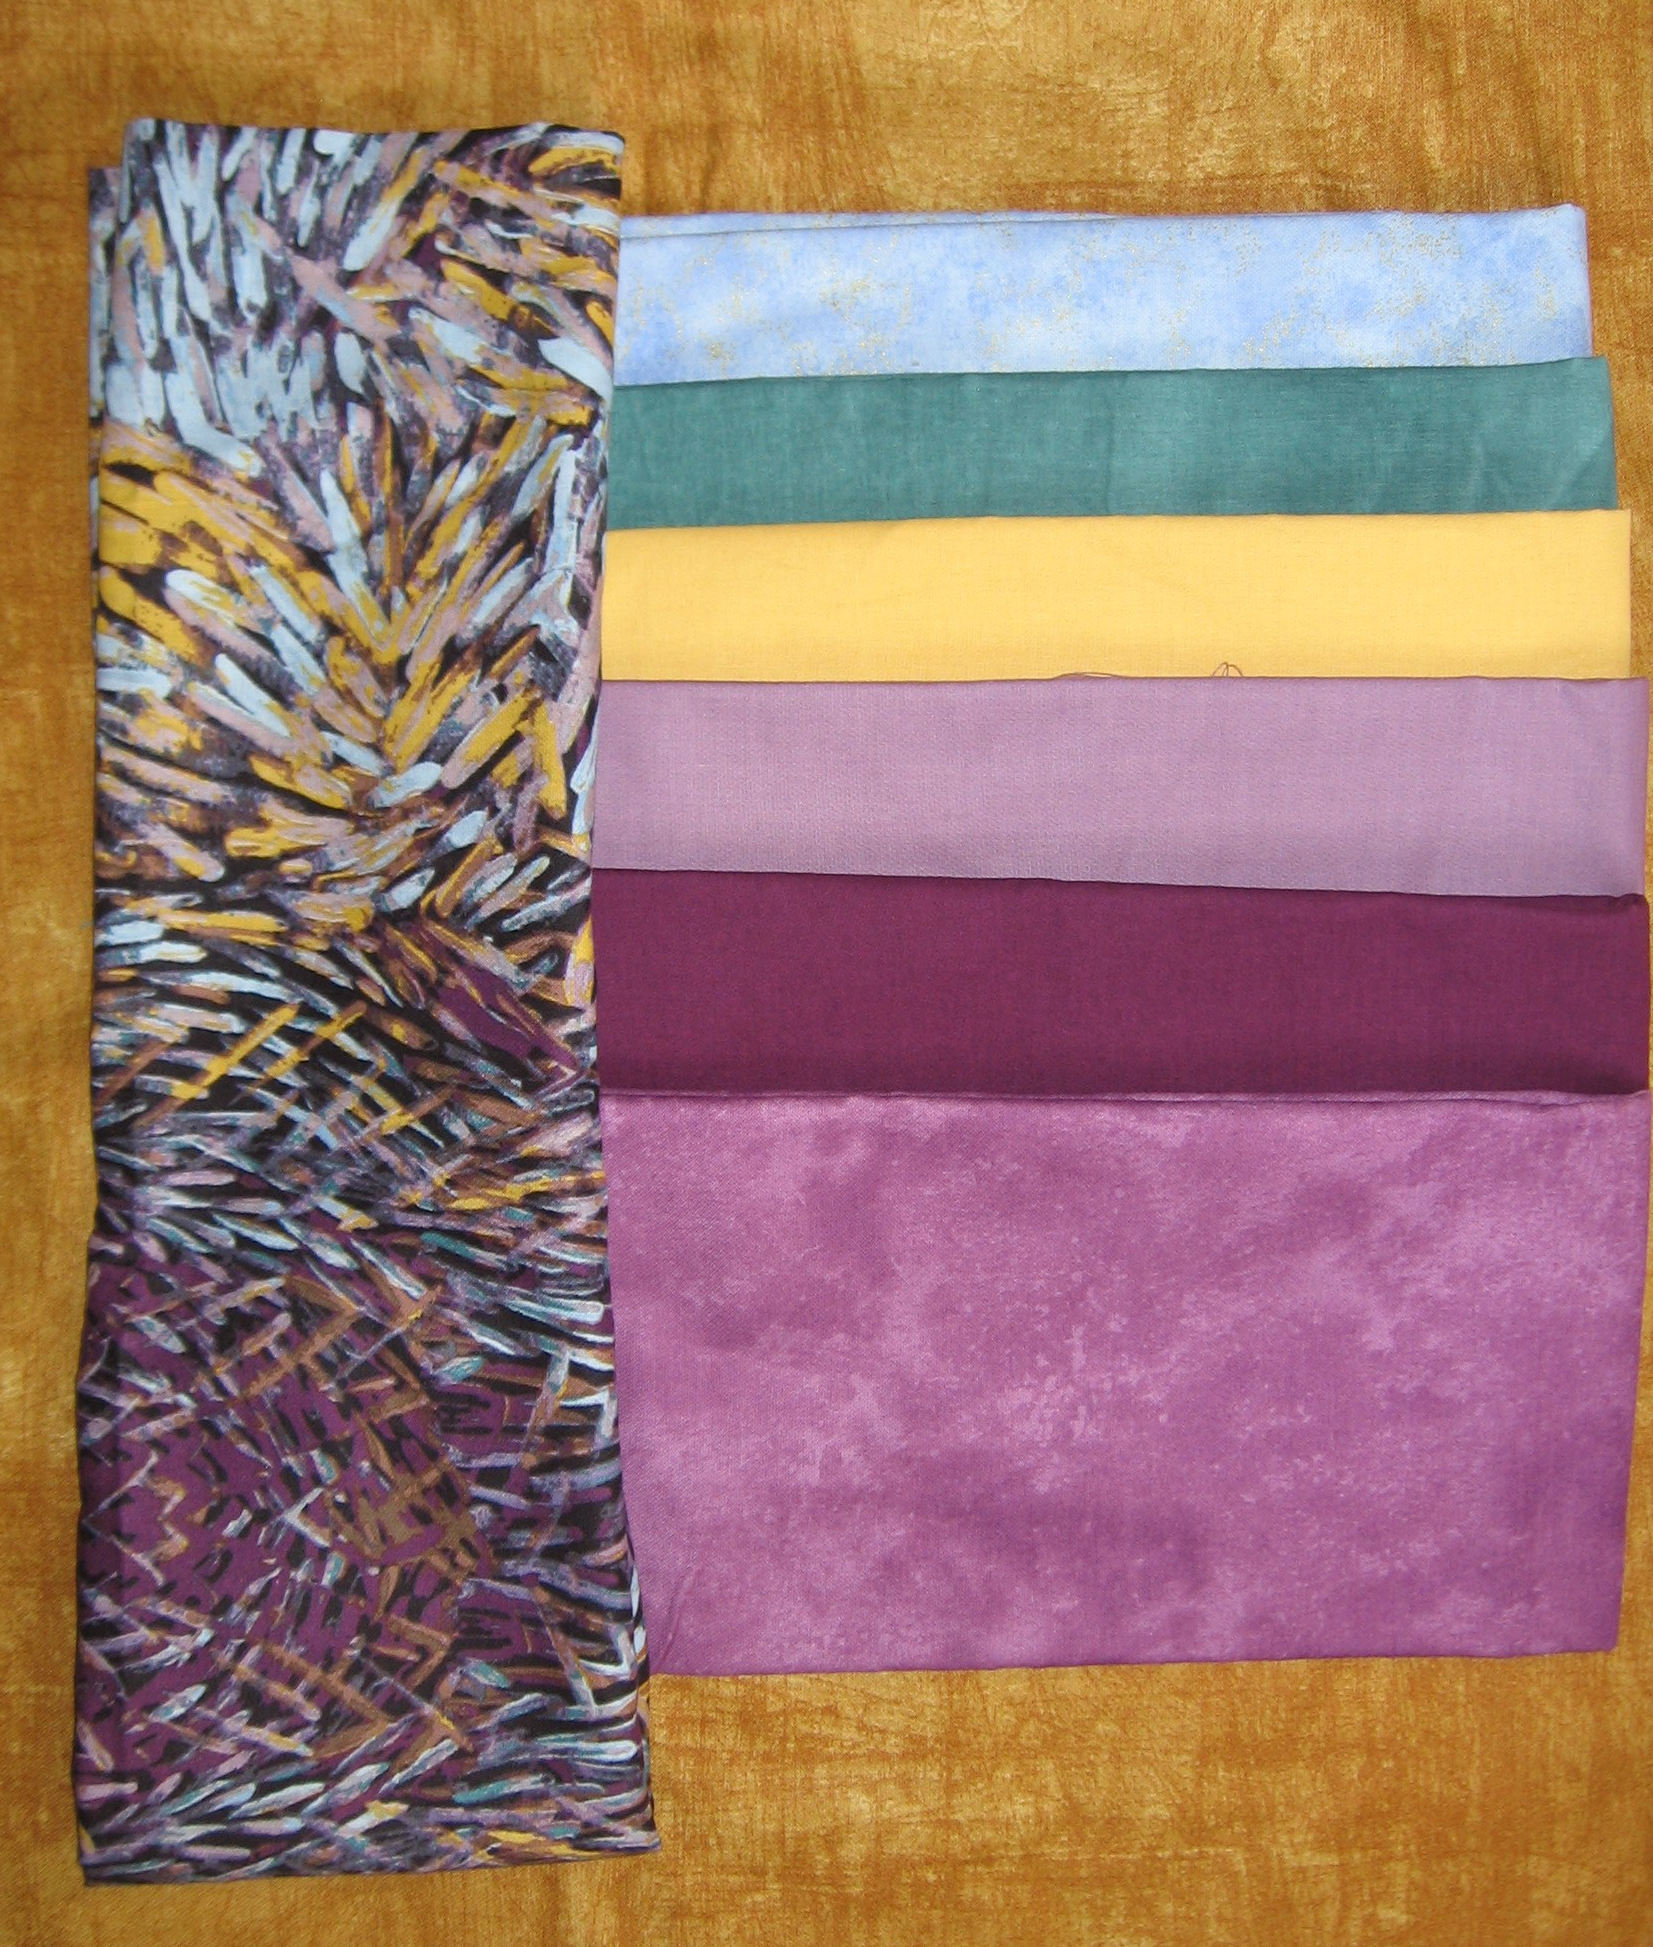
Moribana Palette
Post your homework on my Facebook page. I would LOVE that!

Come up with one you want to share?  Post pictures of your collections on my Facebook.  I can’t wait to see what you did!

See you next time!

Jenny Kae


Quiltmaker’s 100 Blocks Road Rally! Toot! Toot!

Welcome to your next stop on Quiltmaker’s 100 Blocks Road Rally Blog Tour.  Vrooooom!

Before we get to the block and a give-away, I have to tell you a funny story.  A few years ago, we were shopping for our first new car, a Mustang! (I love muscle cars!)  The salesman sat behind the wheel, giving me a tour of the car’s features.

“Now, if you look here, and go to this interface (because cars have interfaces now!)  and select Lighting, you can change the interior lighting colors.”

I blinked rapidly and my mouth dropped open as he scrolled through colors like Ice Blue, Emerald, Hot Pink, Deep Purple, finally selecting Orange.  I had NO idea such options could exist!

“Now, if you want…”. He kept talking but I could not hear him over the angles singing in my ears.  “Stop!” I said with tears in my eyes. “Just stop!  You had me at color.  You had me at color.”

Mustang Drive
On an afternoon drive with the Mustang.

It took actual facts and stats to convince my husband but we bought my dream car.  But this illustrates my passion for COLOR! (It also illustrates how much I love blue.) Ain’t it lovely? Sigh.

Mustang Comes Home
The Color-changing Mustang comes home.

This brings me to the block, which I LOVE because I love COLOR!

20170201_122818 (2)

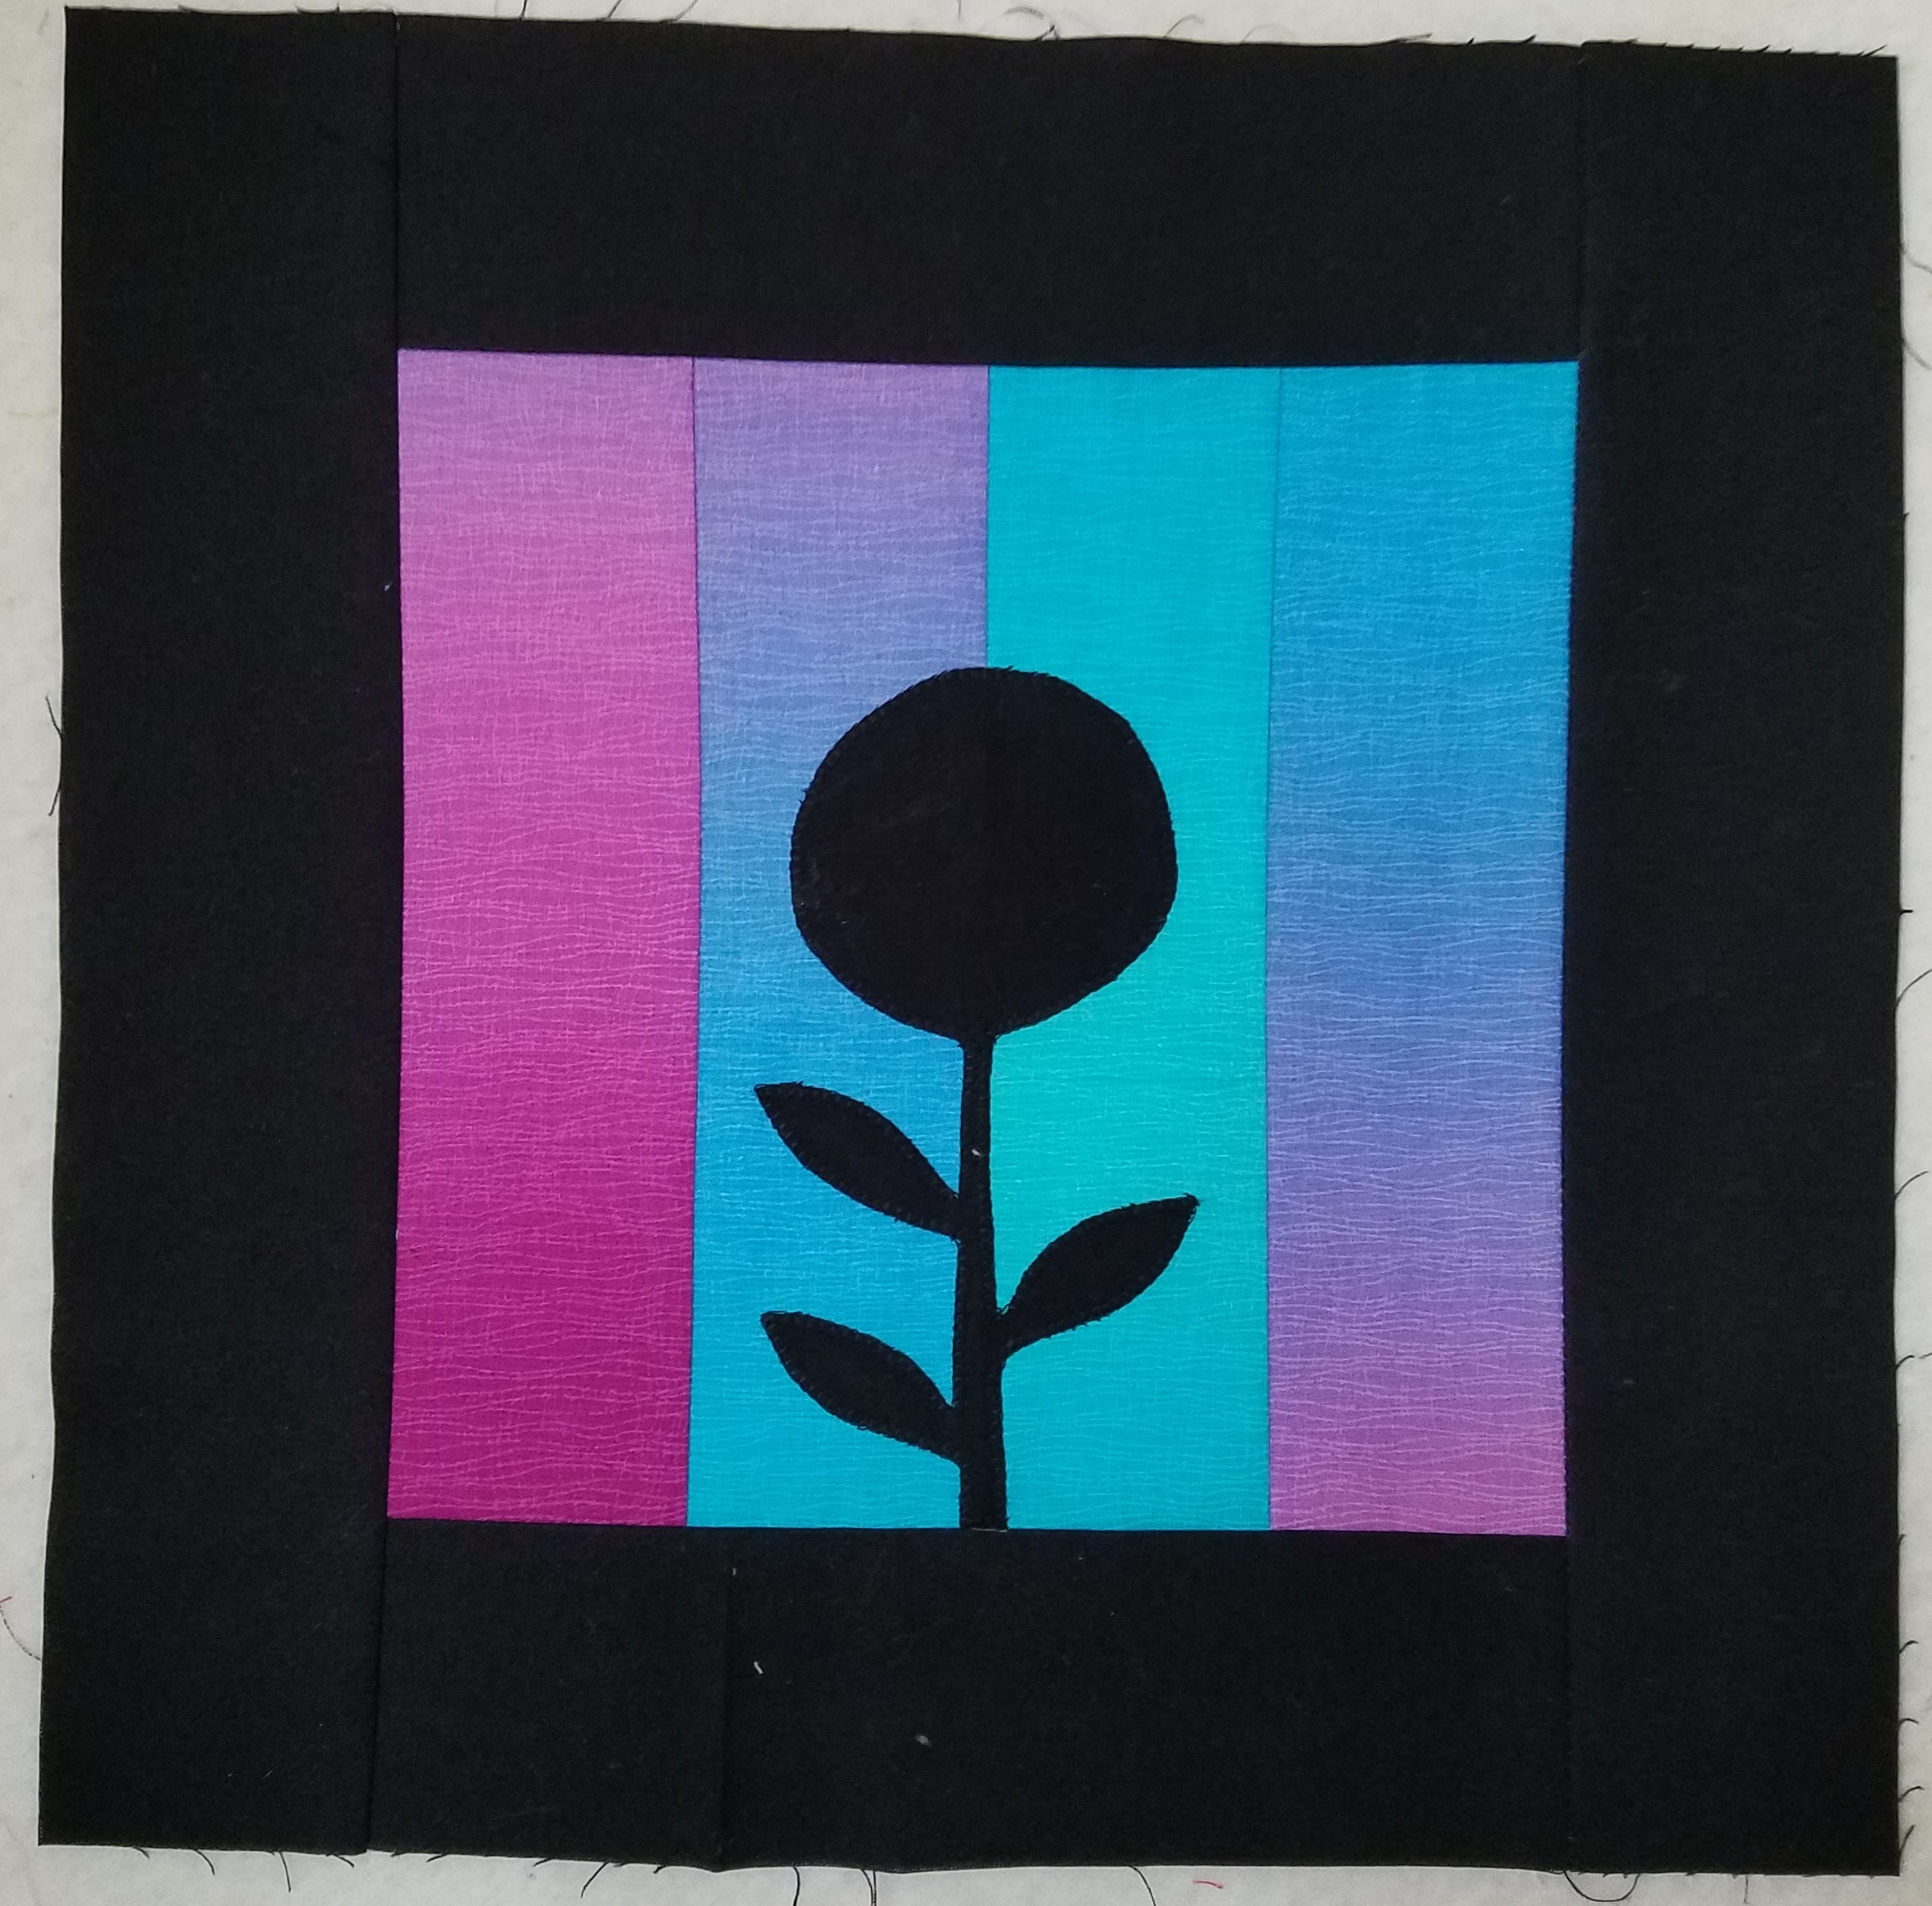
This block (#1545 on page 31) is made with ONE 2-1/2″ precut of Maywood Studio’s Ombre Gelato fabric collection and solid black.  It makes my heart flutter.

Another funny story.  I went into an LQS to buy a 6″ ruler, JUST the ruler.  I saw this entire fabric collection on the shelf…and left with TWO 2-1/2″ rolls, at least 3 yards and fat quarters for the whole shebang.  I could NOT help myself!  Embarrassing. Can you relate? #colorcukoo

20160827_134803[1]
Maywood Studios Gelato Ombre Fabric. This is half of what I brought home…
When I designed a block for Quiltmaker’s 100 Blocks issue (which in my mind is a “must have and keep forever” quilter’s resource), I wanted something that would be eye-catching and keep with my style. I also wanted to show the ombre color flow of the fabric.  I love the end result.

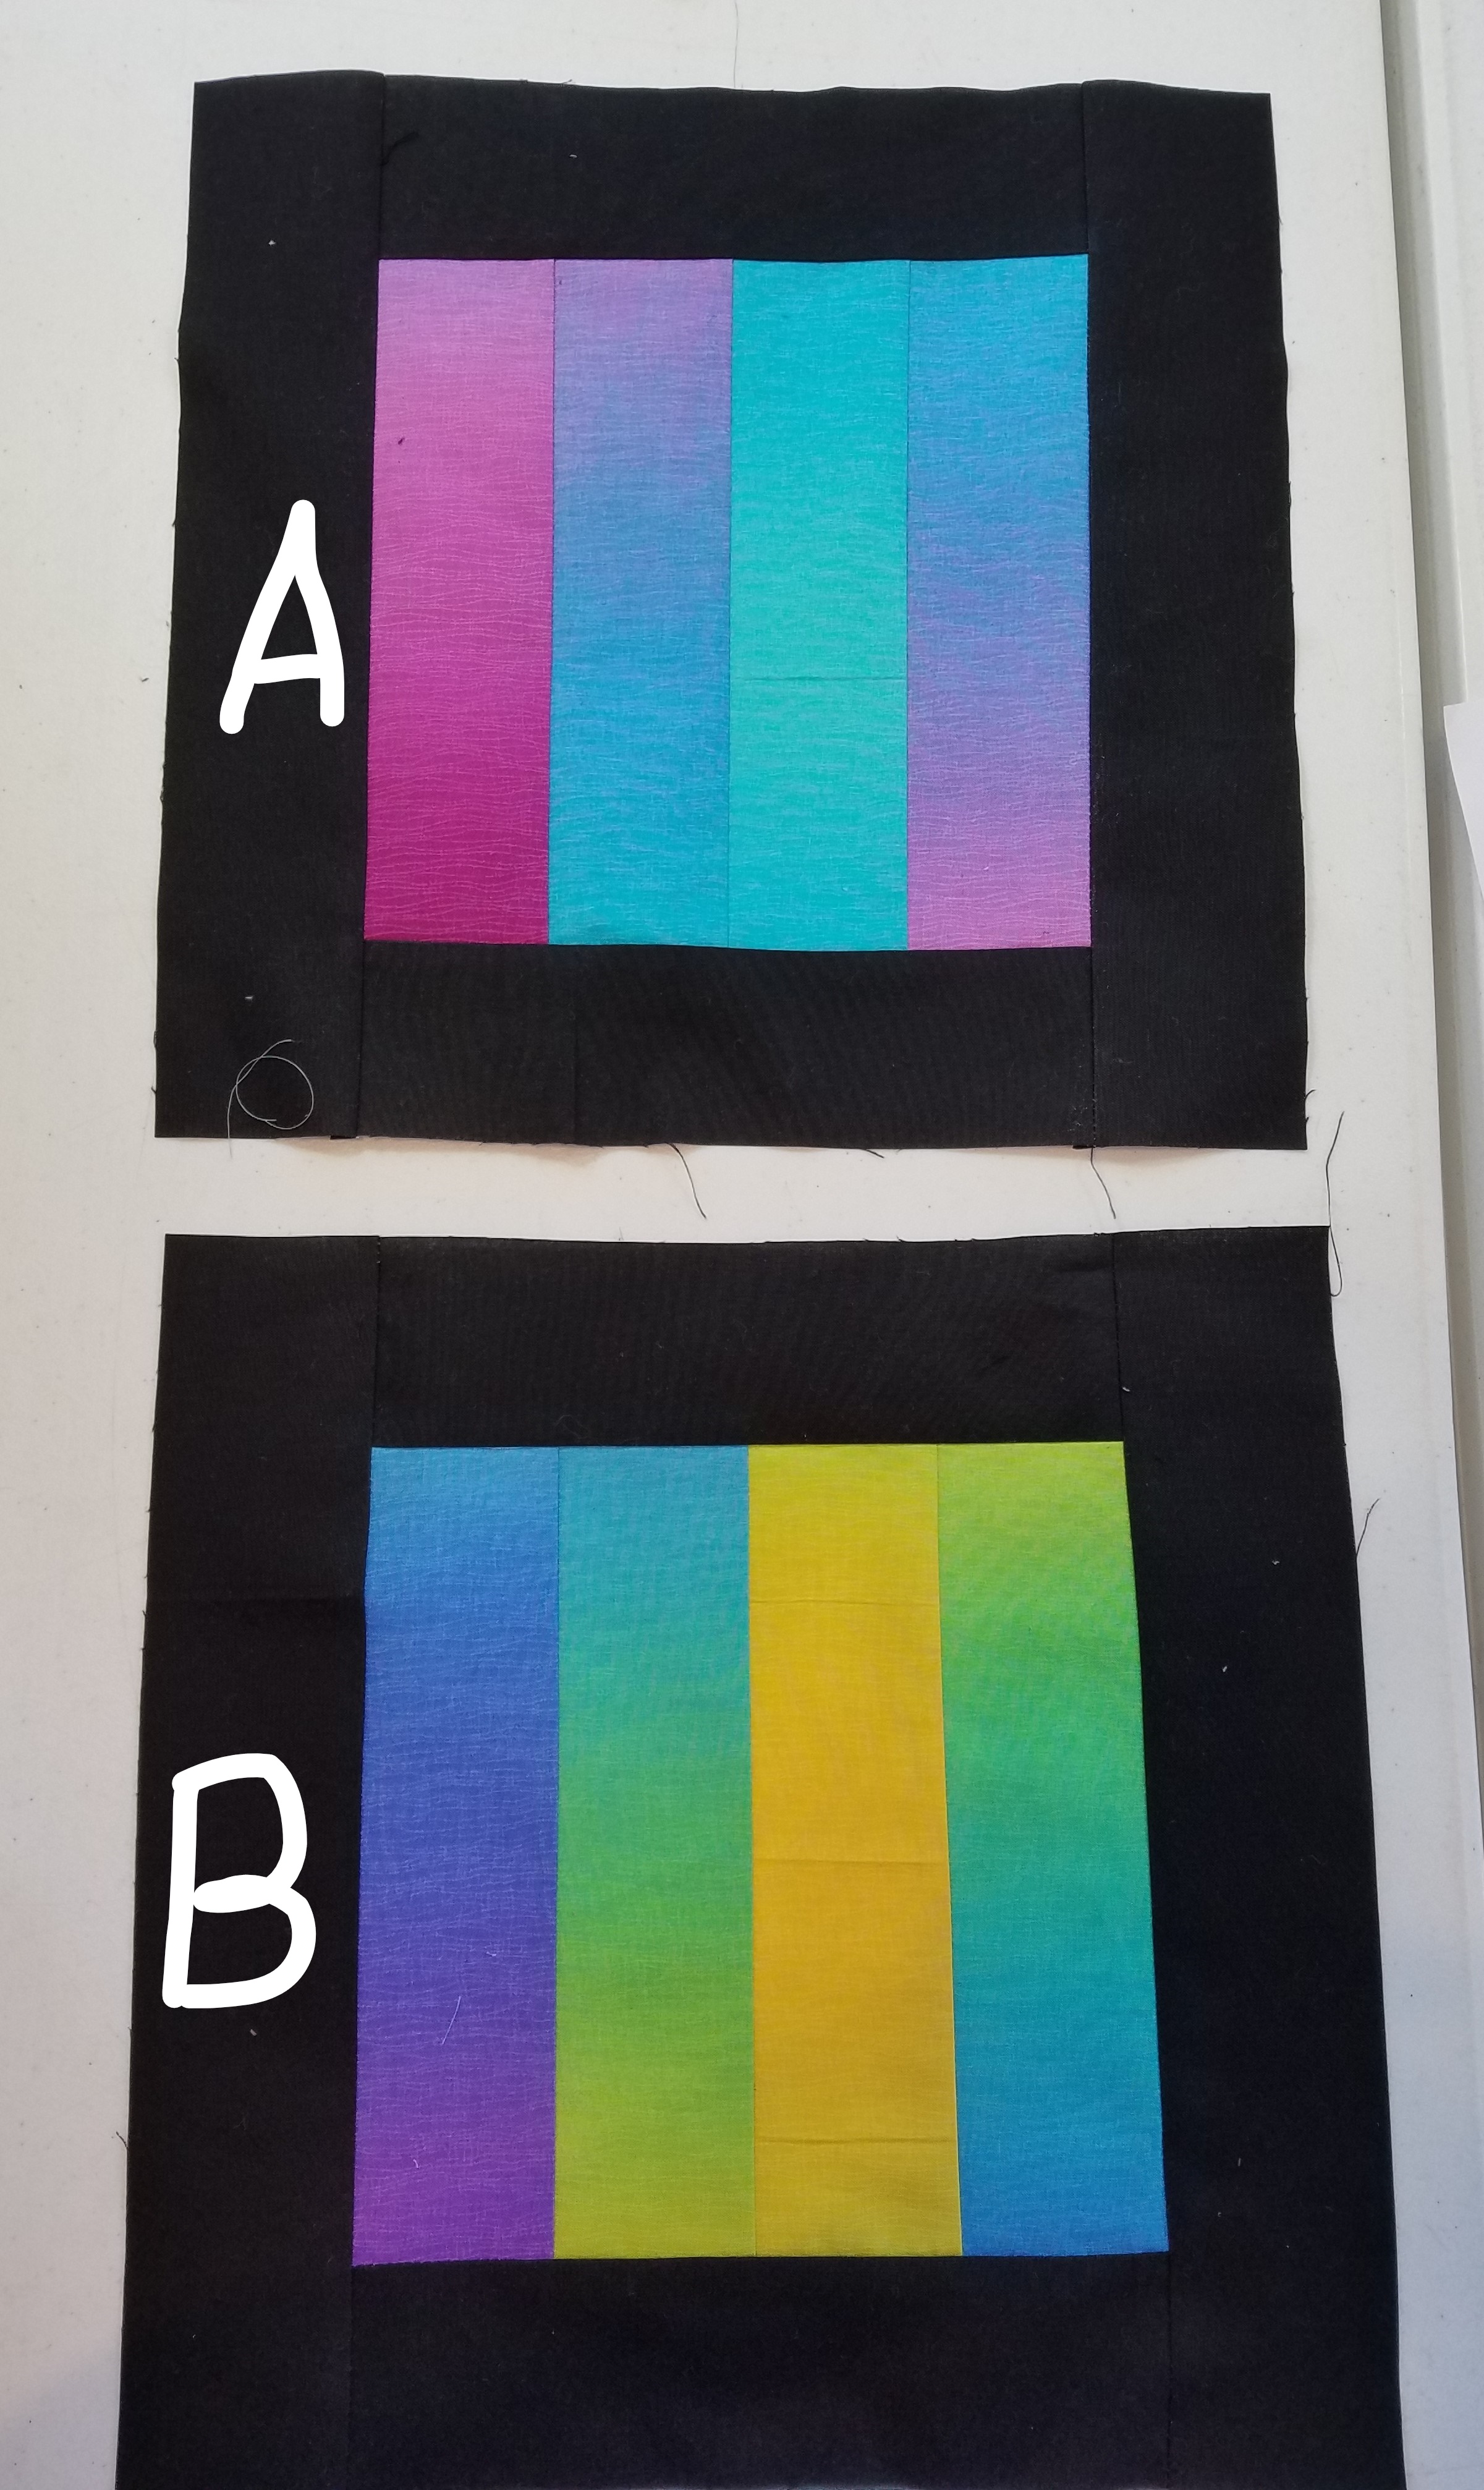
I auditioned a couple different colorways and had my tribe vote on which one to submit.  Which do you like better, A or B?

A or B
Which do you like better? Did I make the right choice?

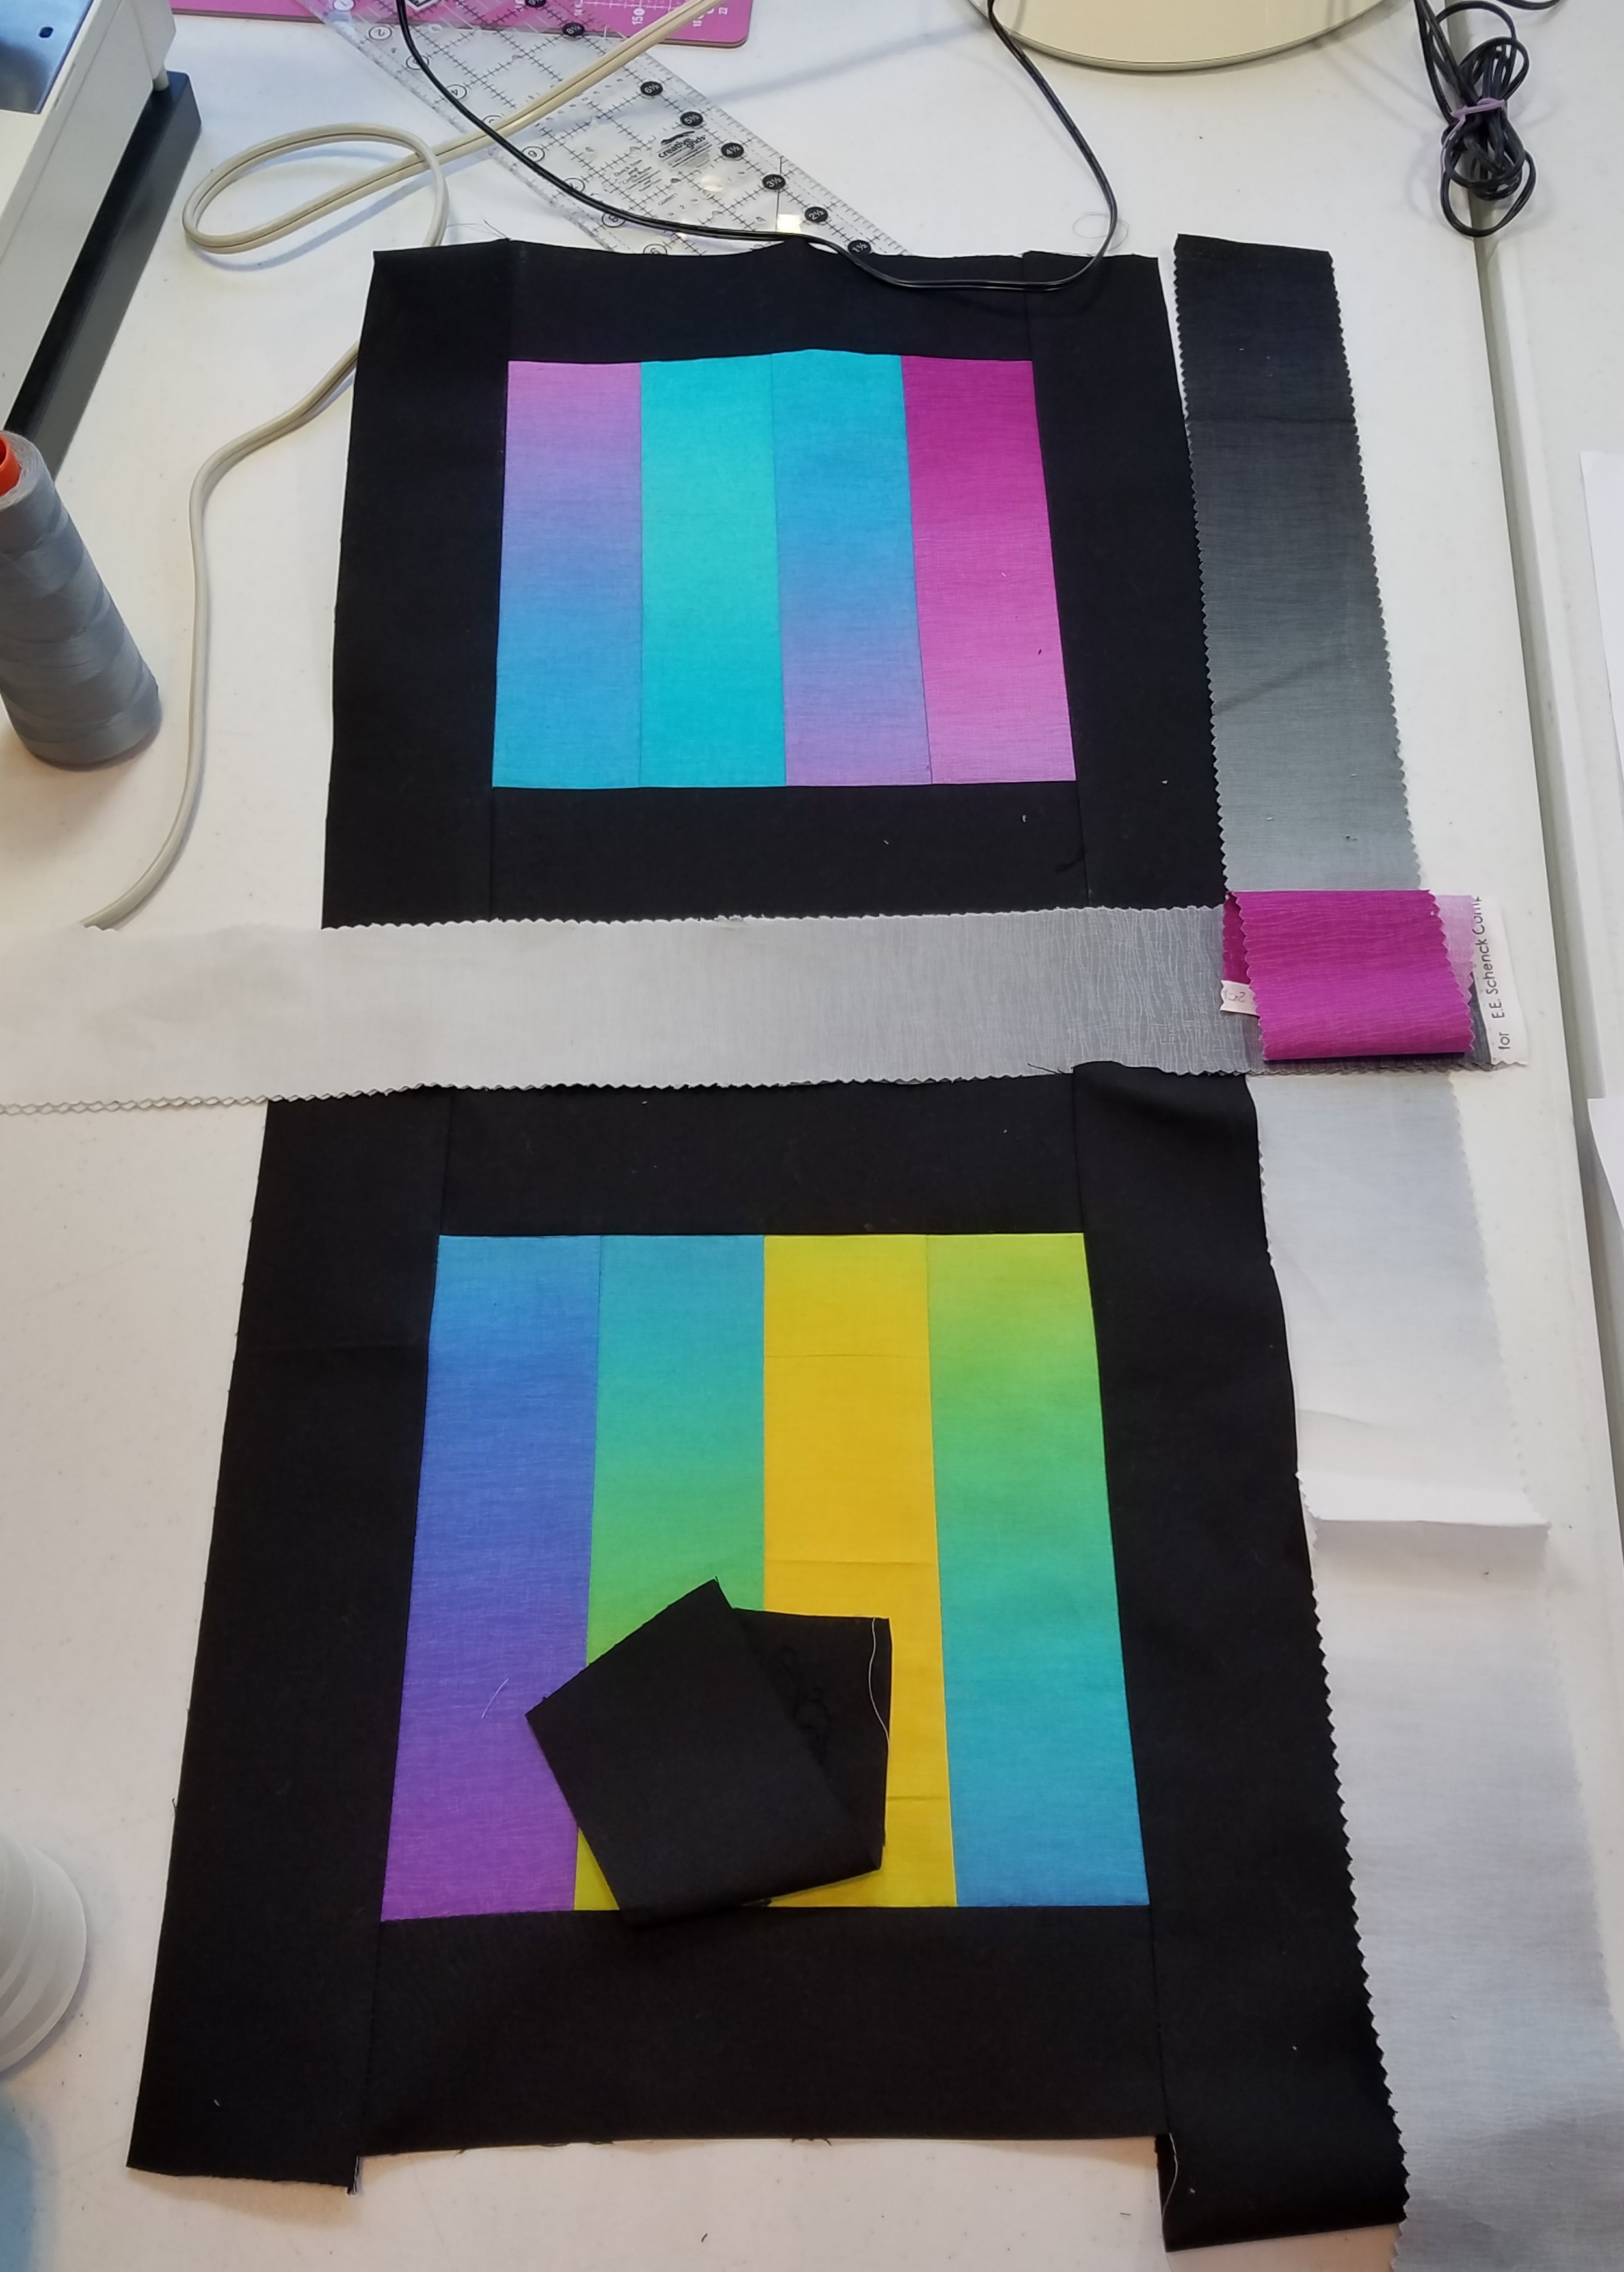
I am planning to make a quilt with several blocks.  Here is the start.  Very excited!  What do you think about the grey sashing and cornerstones?

Ombre Audition
Have I mentioned how much I LOVE color?

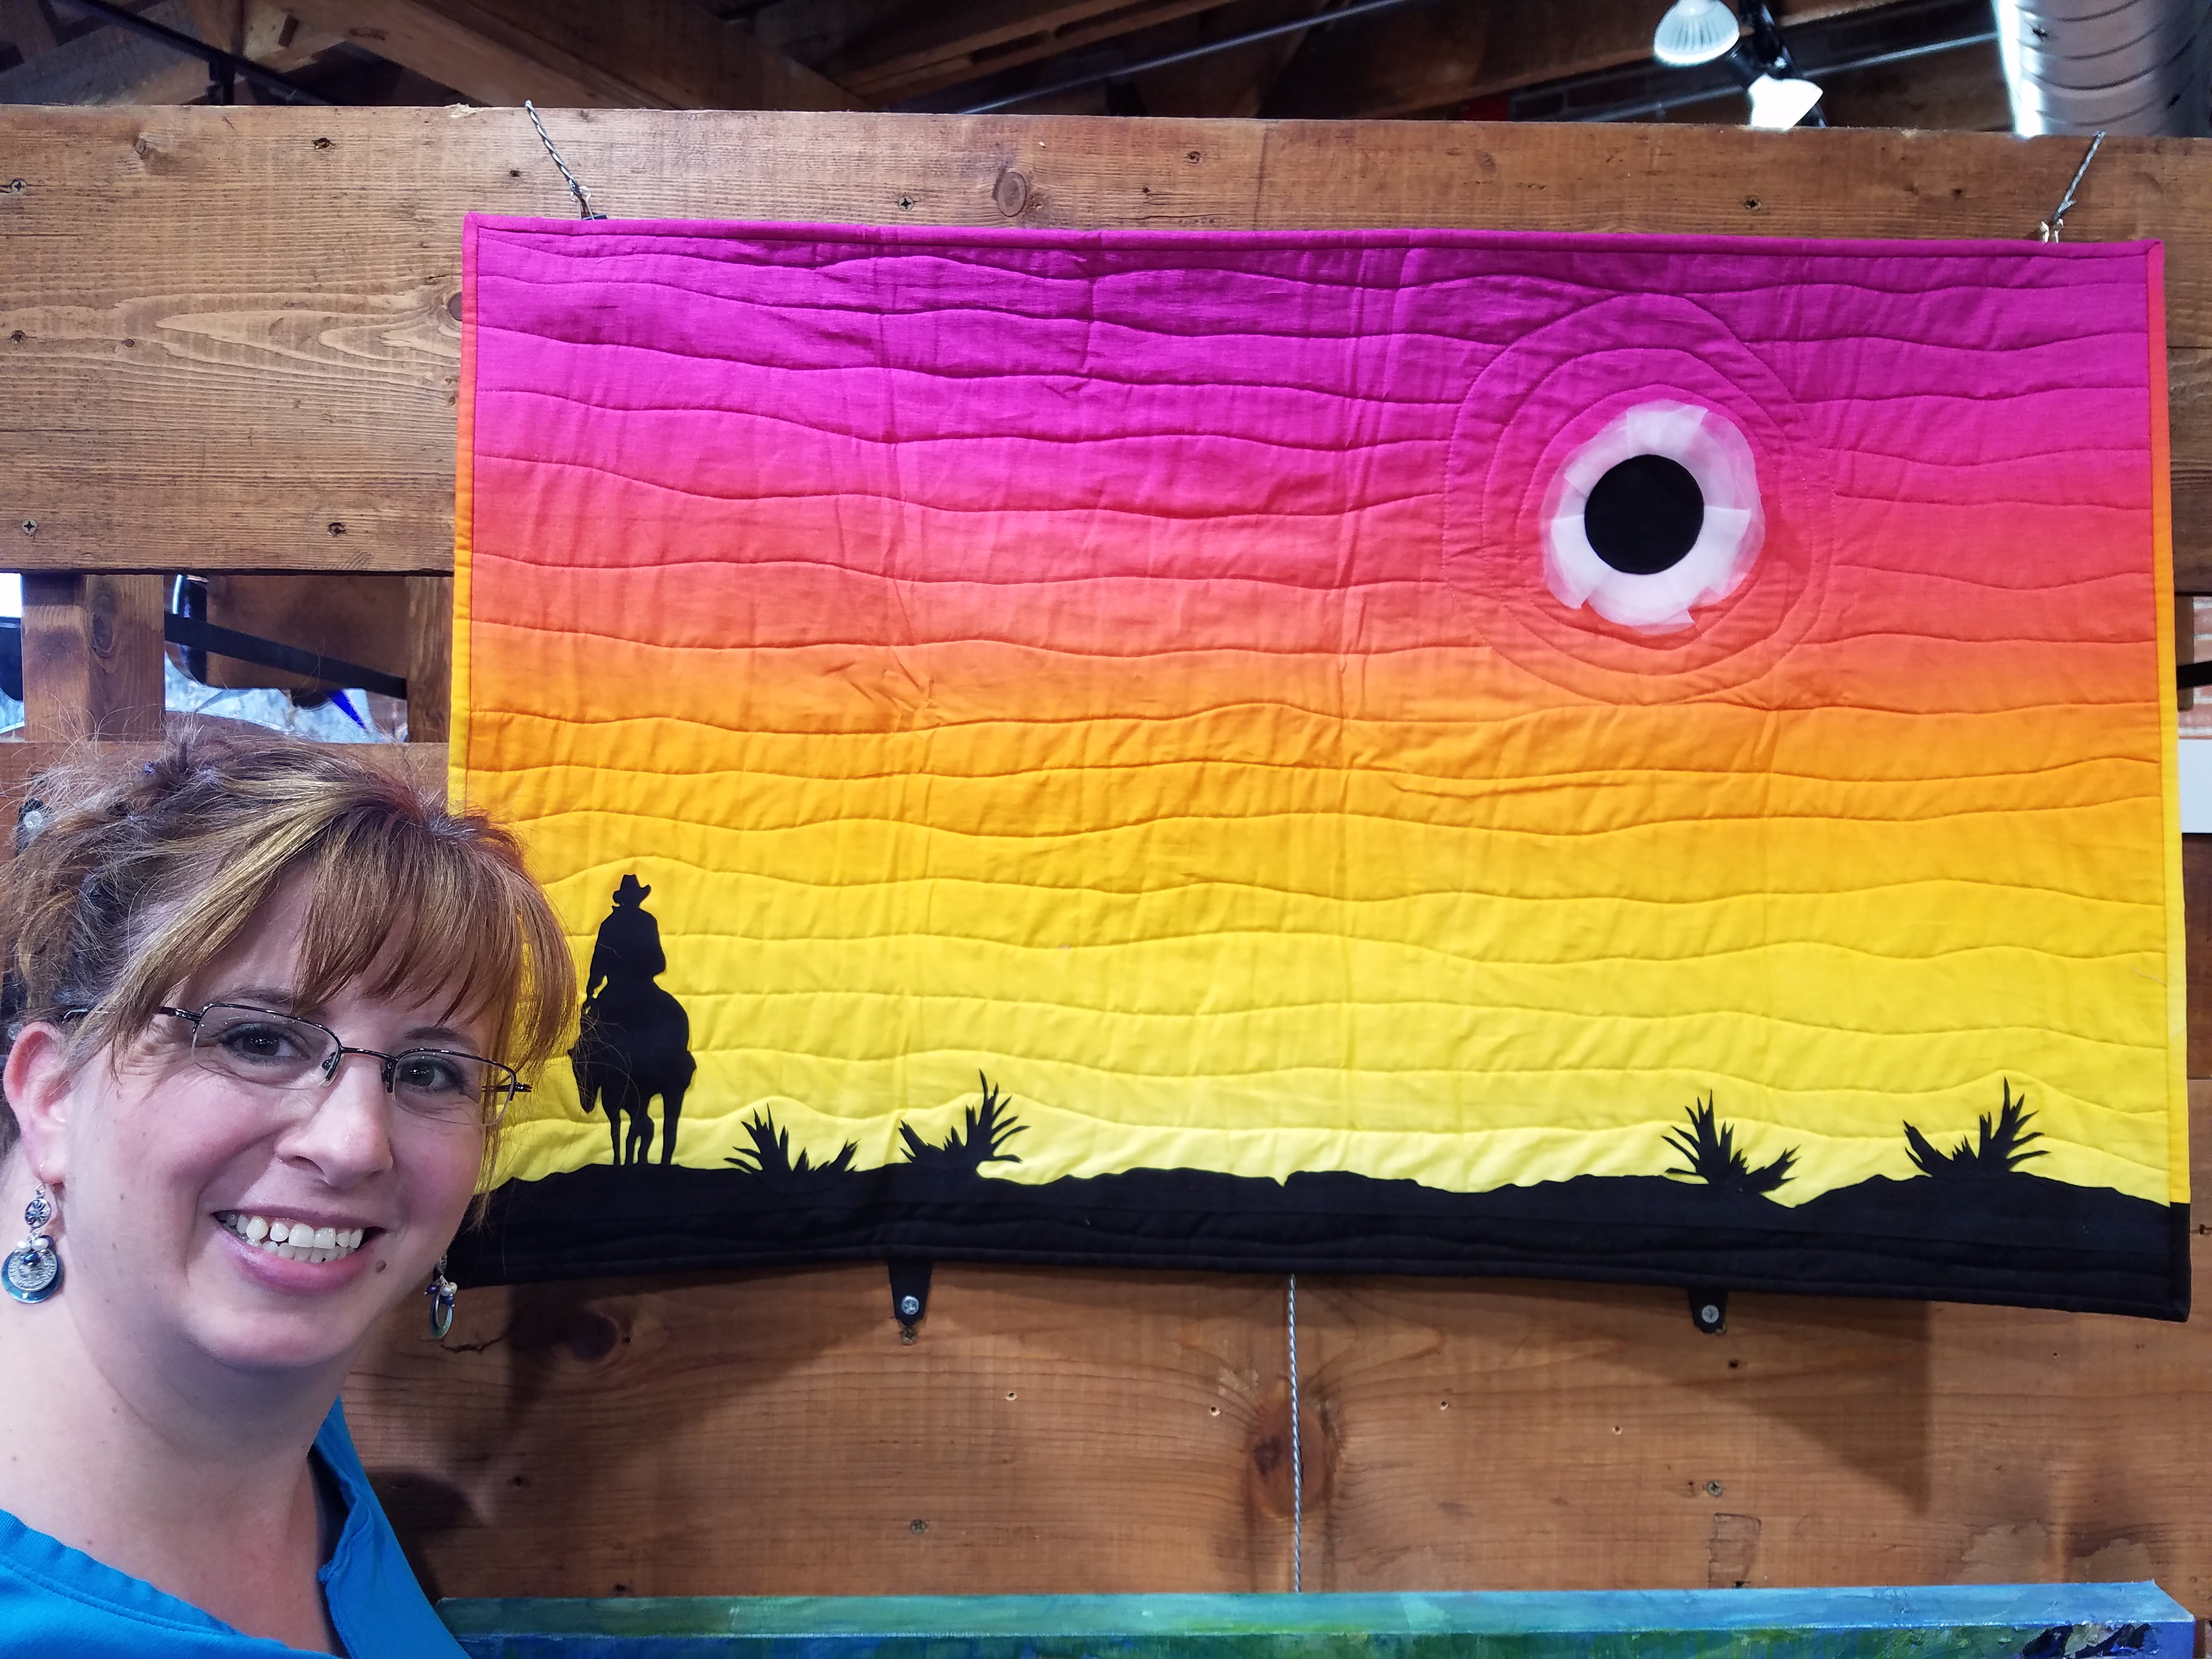
I used some of the yardage in my quilt, Road from Casper.  This quilt was in the Casper, Wyoming art gallery Art 321, during the Eclipse.  How cool was that?!?

Road from Casper

Now, you may be reading this blog, shaking your head, thinking about your struggles with color. You do not share my love affair.  Color and fabric are your enemies, and not your friends. You stick to kits because picking fabric is just painful.

“I ask for help and they say just pick what you like or they throw a color wheel at me, like THAT is supposed to help!”.  I hear you.  And I can help.

First, I have a pattern, Flowers in the Window, which is really a color workshop. It will guide you in how I select fabrics, one step at a time.

Jenny_Parks_FITW
Flowers In The Window Workshop pattern. I created these effects with 2-1/2″ squares!

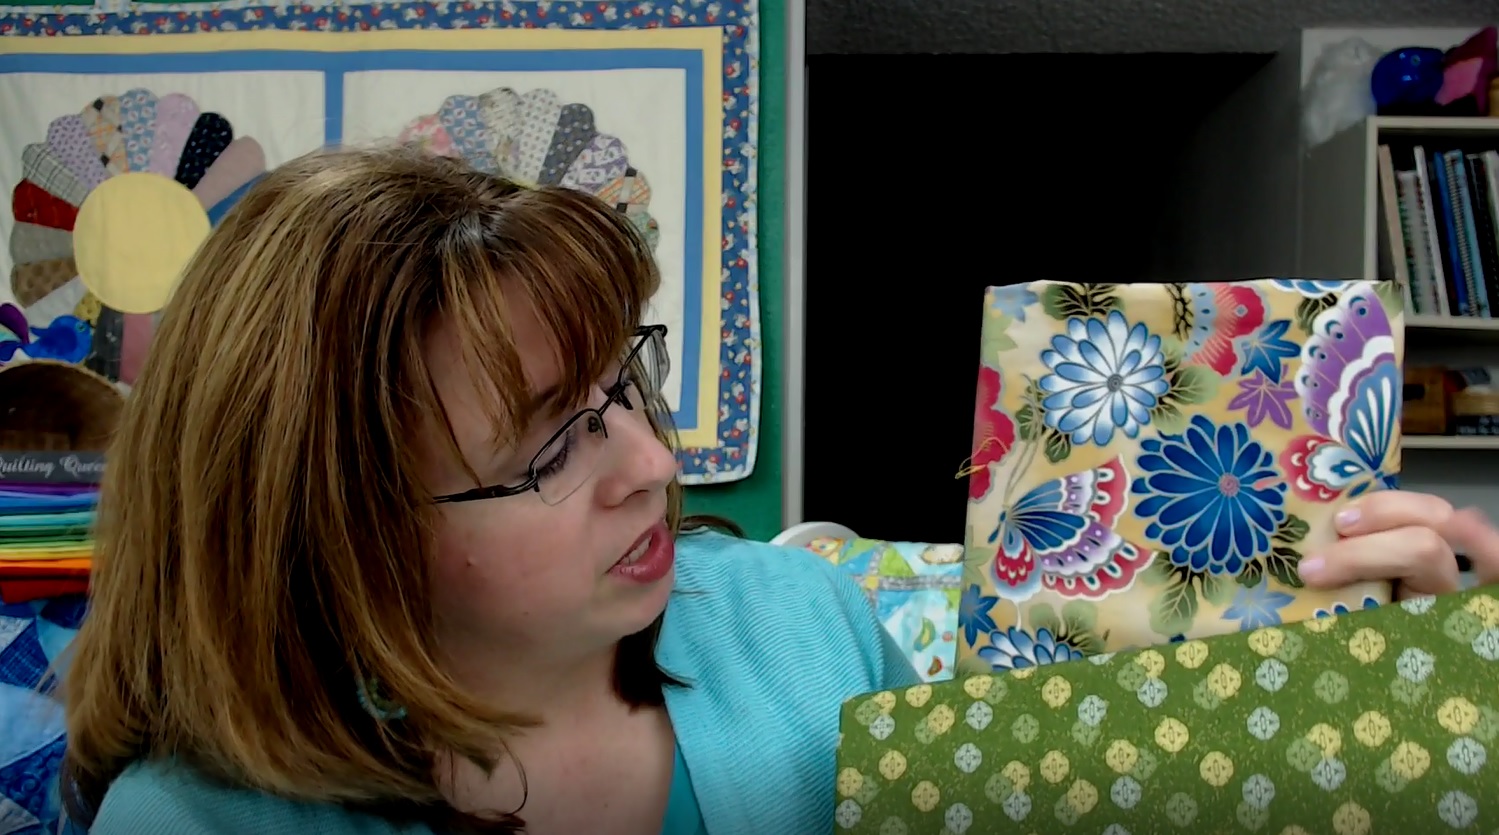
Second, check out my video Color-Courage for the Fabric-Phobic.  In it, I share more tips for selecting color and fabric for quilts.

Color Courage

Third, subscribe to my newsletter and blog.  I have a series coming up that deals EXACTLY with these color issues. You will also be first to know where I am teaching, my latest videos and newest patterns.  Bonus!

Forth, bring me to your town!  Color is one of my key passions and I LOVE to share the tricks I have learned.  When your guild or shop is looking for an encouraging, entertaining and knowledgeable teacher, pick me! Ooooo pick me!

And NOW… the GIVEWAY! Woot! Woot! Two lucky folks will win a copy of Quiltmaker’s 100 Blocks AND their choice of one of my patterns.  (Head over to my shop to pick which one you want to win!)  To enter, leave a comment or question in the comment section below. Be creative and tell me your thoughts. I will chose two random answers and post the winners on my blog on November 21, 2107.

Thanks!  See you next time!

Jenny Kae

P.S.  What’s your vote, A or B?


Going to Nebraska!

Nebraska Bound!

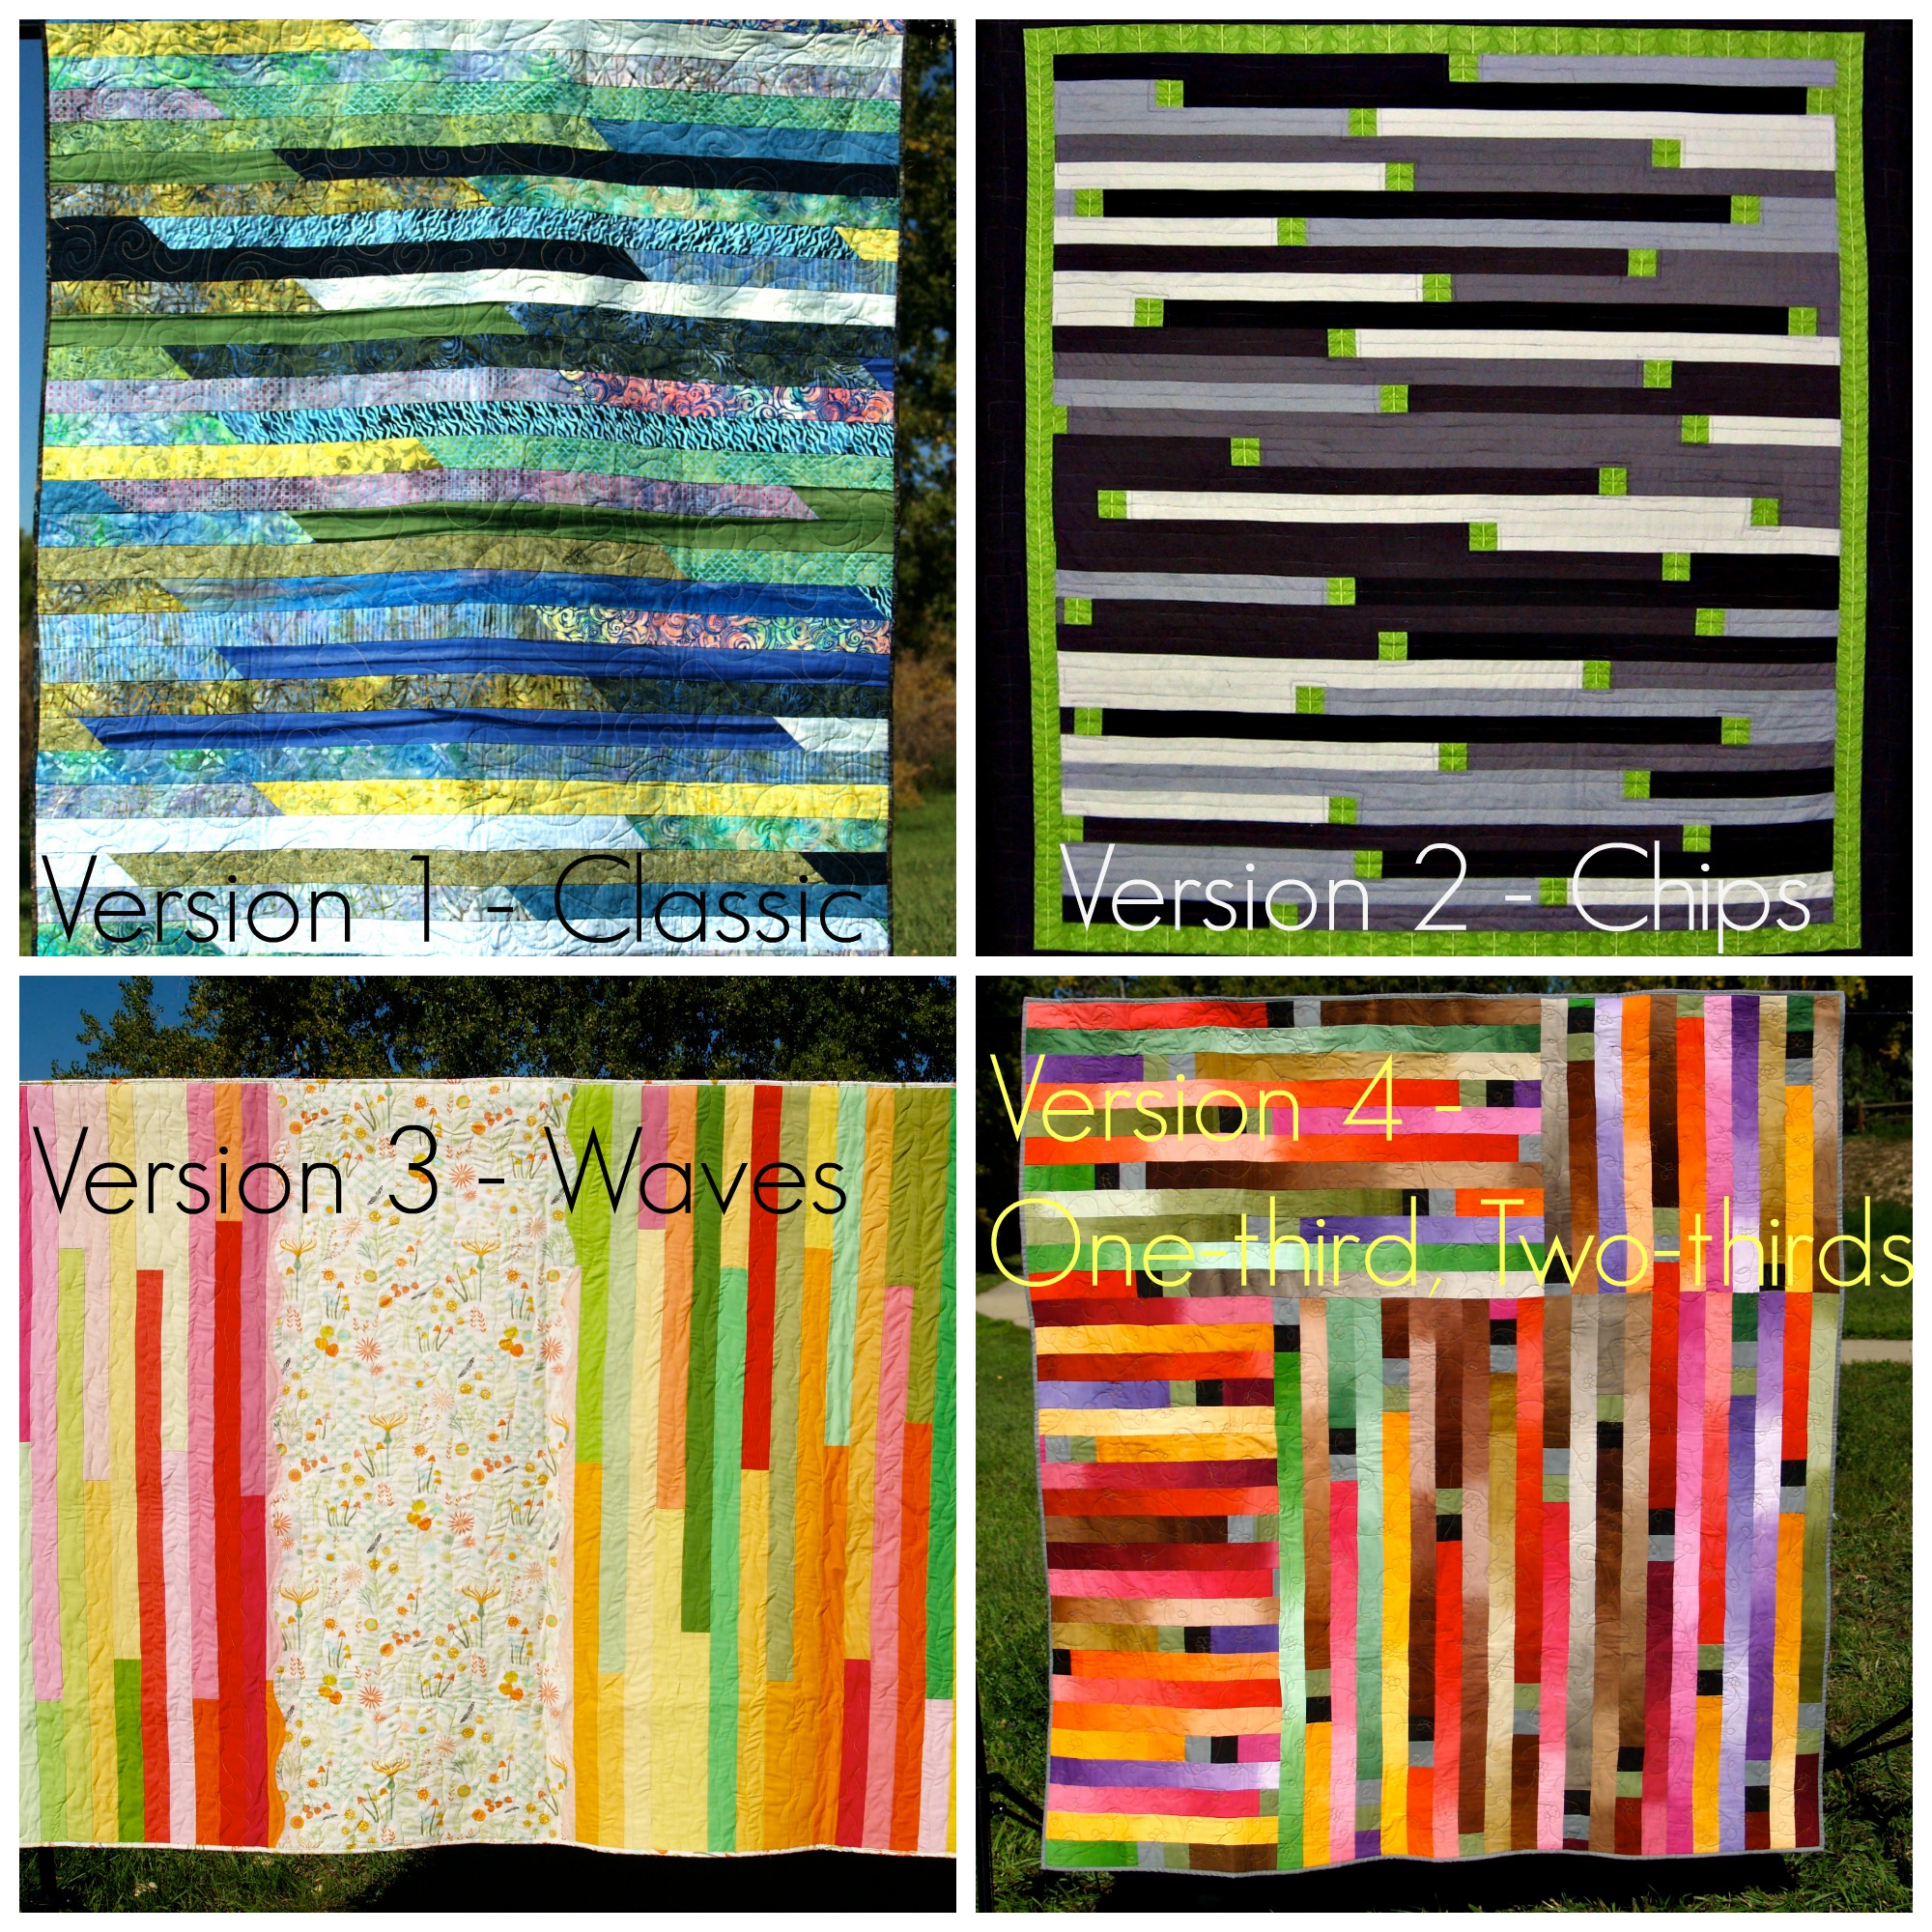
This Sunday, October 22nd, I will be in Broken Bow, Nebraska, teaching my version of a Jelly-roll race, 4 Ways to 1600.

It will be at The Quilting Shack,  from 1 to 6pm at 518 East South East Street, Broken Bow, Neb. 68822.  Call (308) 872-6221 for tickets.

4 Ways College B

Some quilts require careful measuring, cutting and piecing.  This is not that quilt. This quilt is crazy fast, super creative and addictingly beautiful!  The classic top takes less than an hour, seriously.  If you have coils of 2 1/2” pre-cuts scattered around your sewing room, this class is for you.  If you are a beginning quilter and need to practice stitching a 1/4 seam, this is the class for you.  If you need to make quilt tops, quickly, this is the class for you.  Included are instructions of all four versions. Pick your version, grab your friends and join the fun.

Trunk show – Every Quilt is a Learning Quilts

On Monday, October 23rd, I will give a trunk show for Custer’s Last Stitch.  They meet around 6pm at the Tumbleweed Cafe 850 East South E. Street in Broken Bow.

Trunk Show Pic

Every Quilt is a Learning Quilt: Every quilt project, whether a triumph or a disaster, has something to teach you. I share several of  quilts, the things that went right, the ones that went oh-so-wrong, and what they taught me.

If you are in the area, I would love to meet you!

Thanks for joining me.  I’ll see you next time!

Jenny Kae

P.S.  Share this with any quilters in Nebraska or others who you think might want this information.


Three Pins Perfect

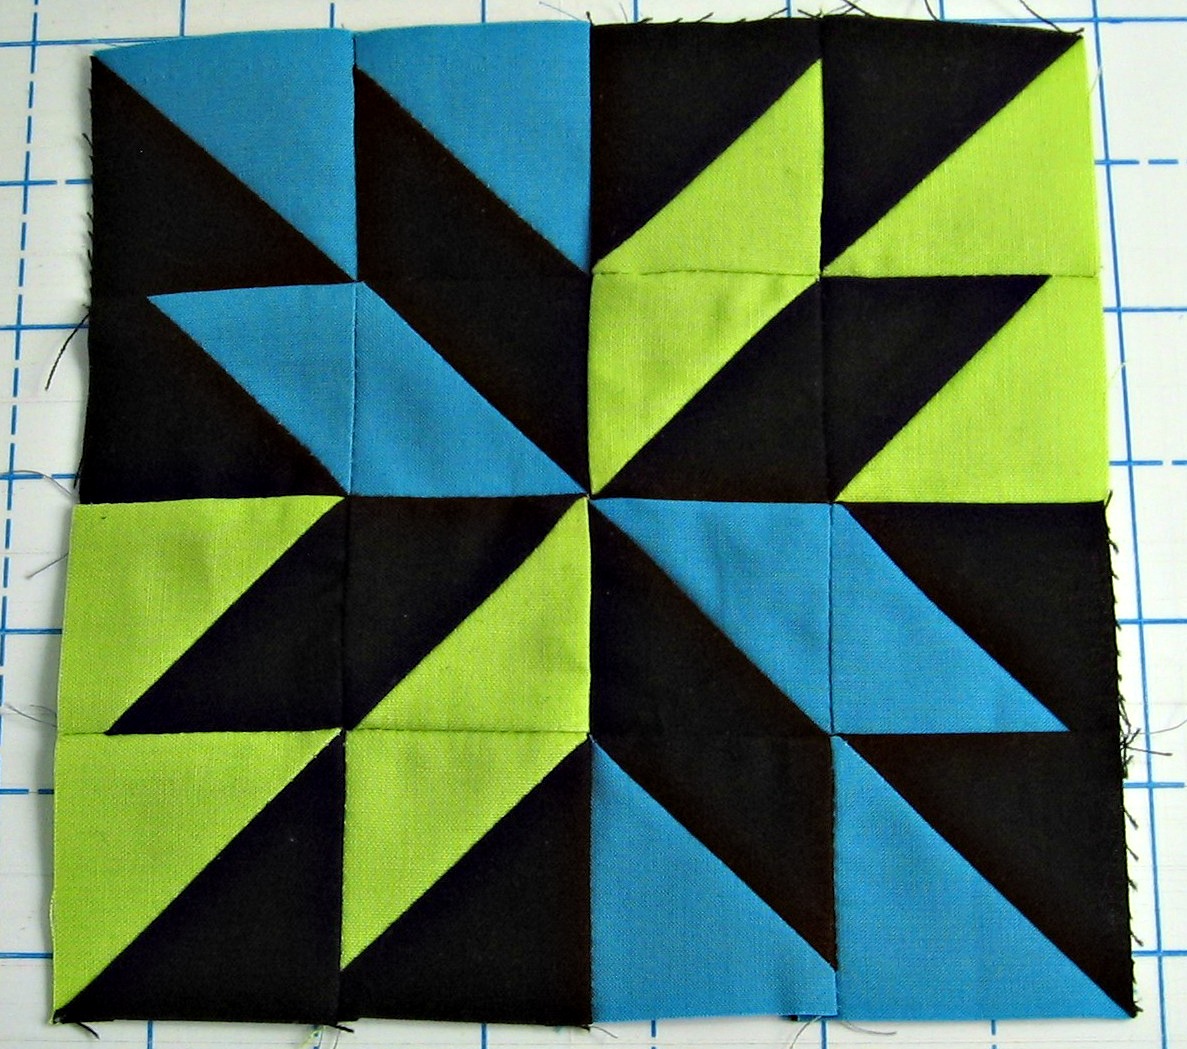
My favorite star is the Lemoyne Star.  It is so striking.  I have made several, over the years.  3-Pin 07

Matching the points is tricky.  And triangles without points are, well, pointless.

This is my technique for matching points – Three Pins Perfect.Layout Star

Before we start, keep in this in mind.  Matching the points is more important than the 1/4″ seam allowance.  If your 1/4″ is not perfect, now is not the time to worry about it.


3-Pin 01Step 1. Put a pin through the exact place you want the patches to meet. EXACTLY.  An addition visual clue, it is usually where the threads cross.
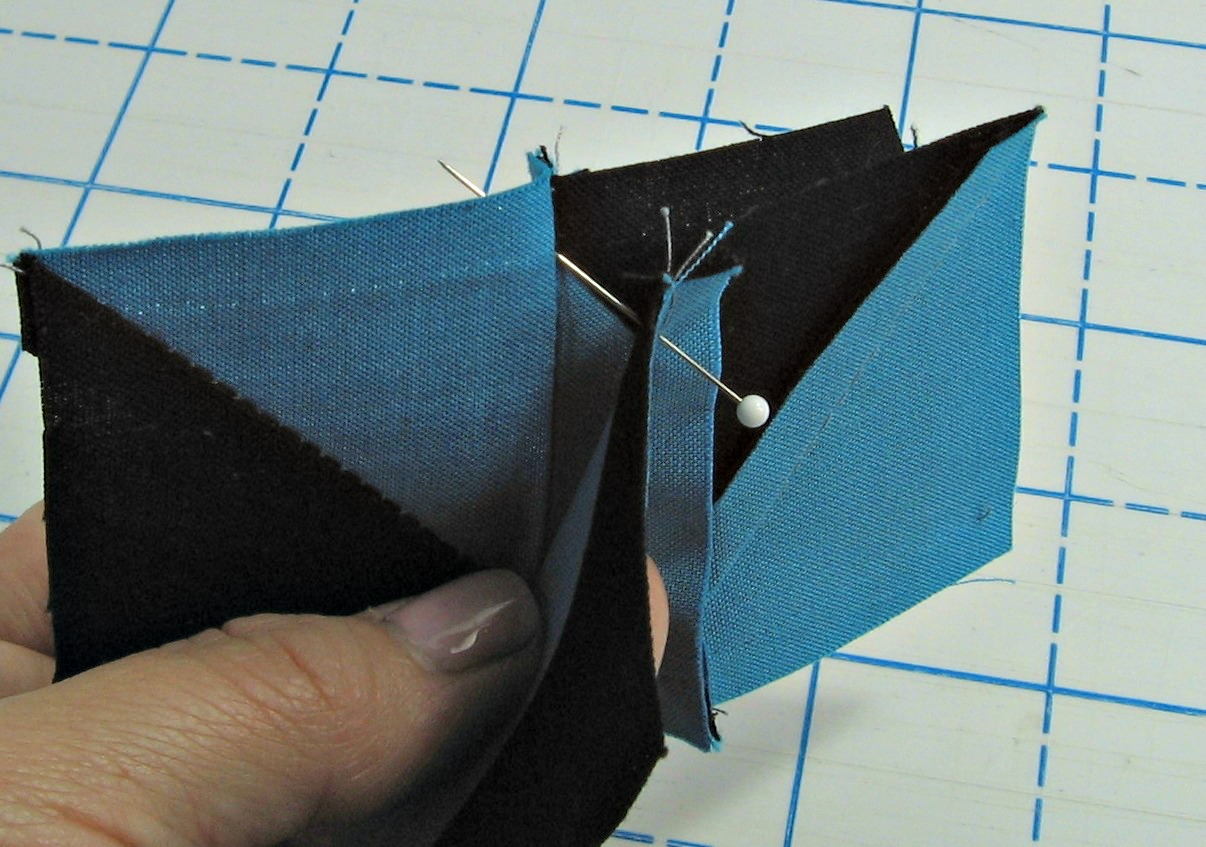


3-Pin 02Step 2.  Put a pin through the other unit, right sides together, in EXACTLY the place they need to meet.
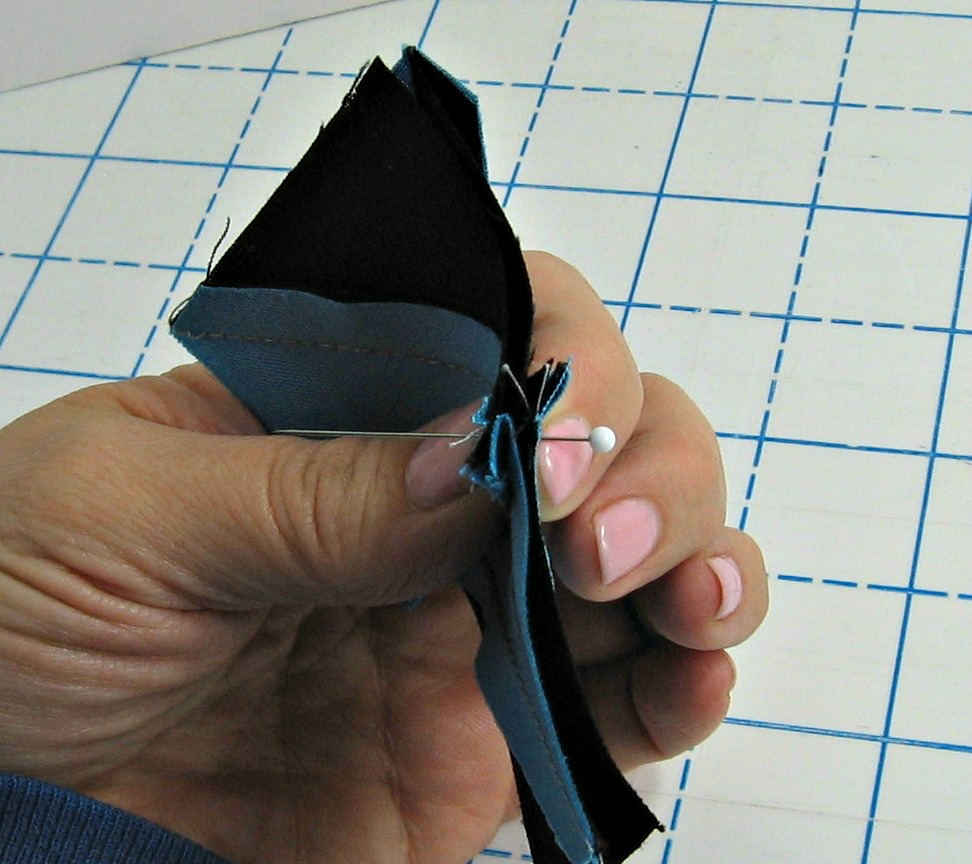
Notice how the pin is straight out at this point!


3-Pin 03Step 3.  Snuggle the two units together.  Adjust the pin to keep it straight.
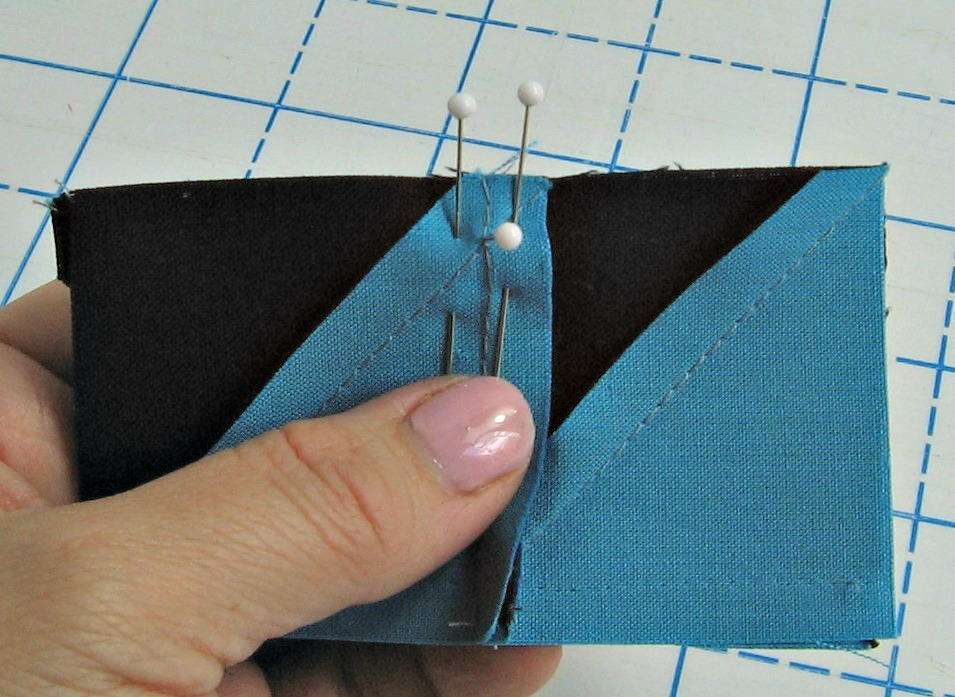
You may find your seam allowances are not great.  Don’t focus on that now.  Matching up will go a long way to correct that error.


3-Pin 04 Step 4.  Put a pin in one side, through both units and the seam allowance.  Put one on the other side.
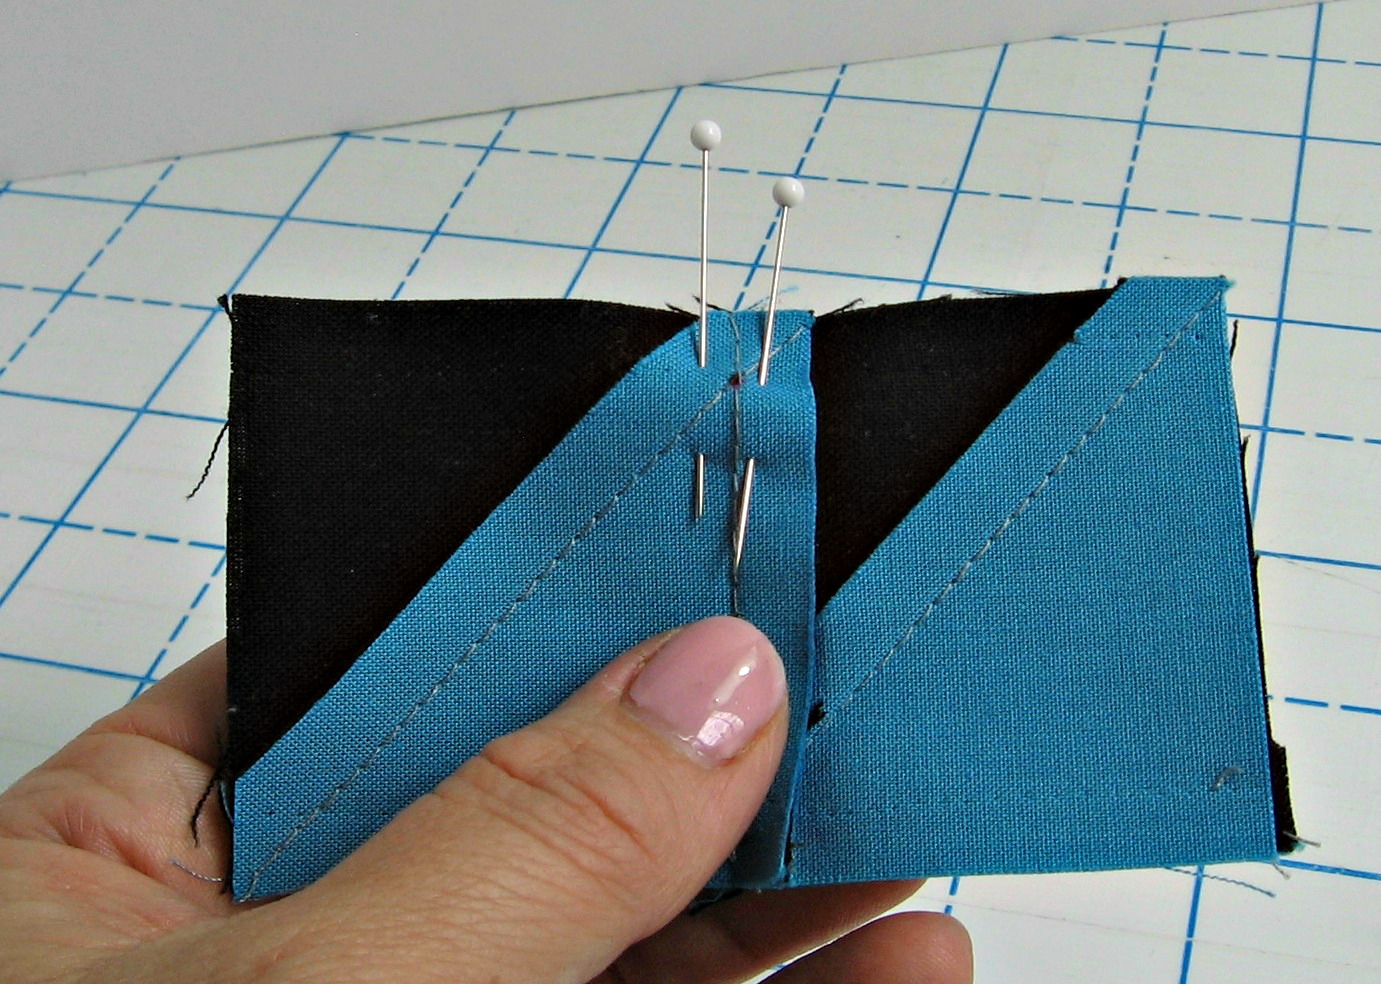
Be sure to keep the first pin perpendicular to the units.


3-Pin 05Step 5.  Remove the first pin.  I drew a dot on there so you could see it clearly.
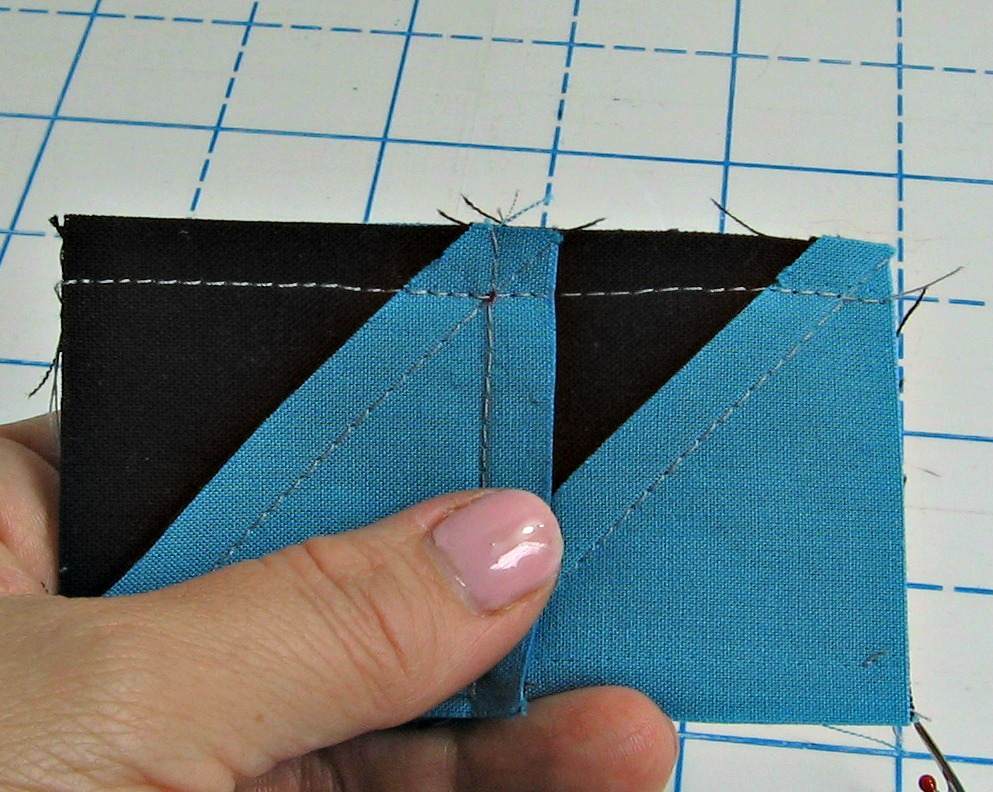
Sometimes your pins will fight against you.  My pins are extra-fine glass-head pins.  They glide in easily and don’t pull or distort the fabric.  Love these pins!


3-Pin 06Step 6.  Sew the units together, removing the pins as you sew.
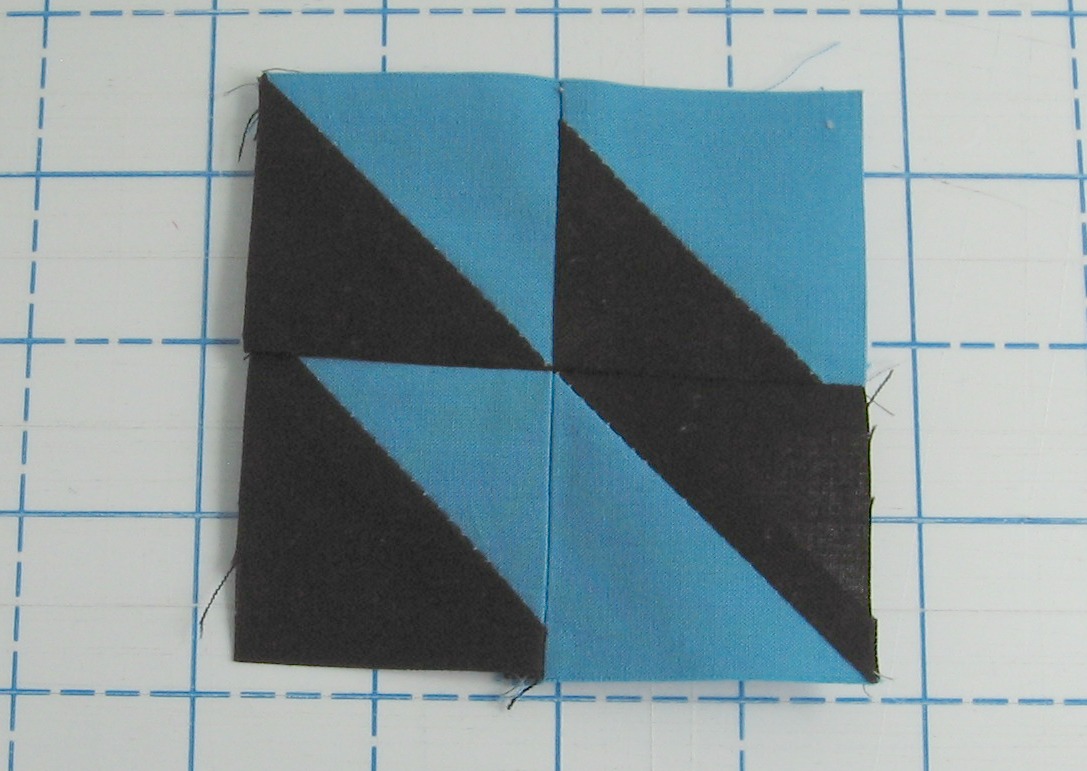
X marks the spot!  Where your threads cross is where the point is.  Even if you have to adjust your seam allowance, if you hit the X, you nailed it!


3-Pin 08Ta-da!

Be sure to press well.


3-Pin 07


Thanks for reading.  I hope this has been helpful.  Give it a try!


Until next time,

Jenny Kae

P.S.  I love your pictures, comments and questions.  Feel free to post in the comment section.


Where the Binding Ends

I recently taught a webinar for Craft U on Machine Quilt Binding.  I received a few questions about how I end my bindings by “making a pocket”. So let me show ten steps to make the pocket for your binding.

Stitch the pocket


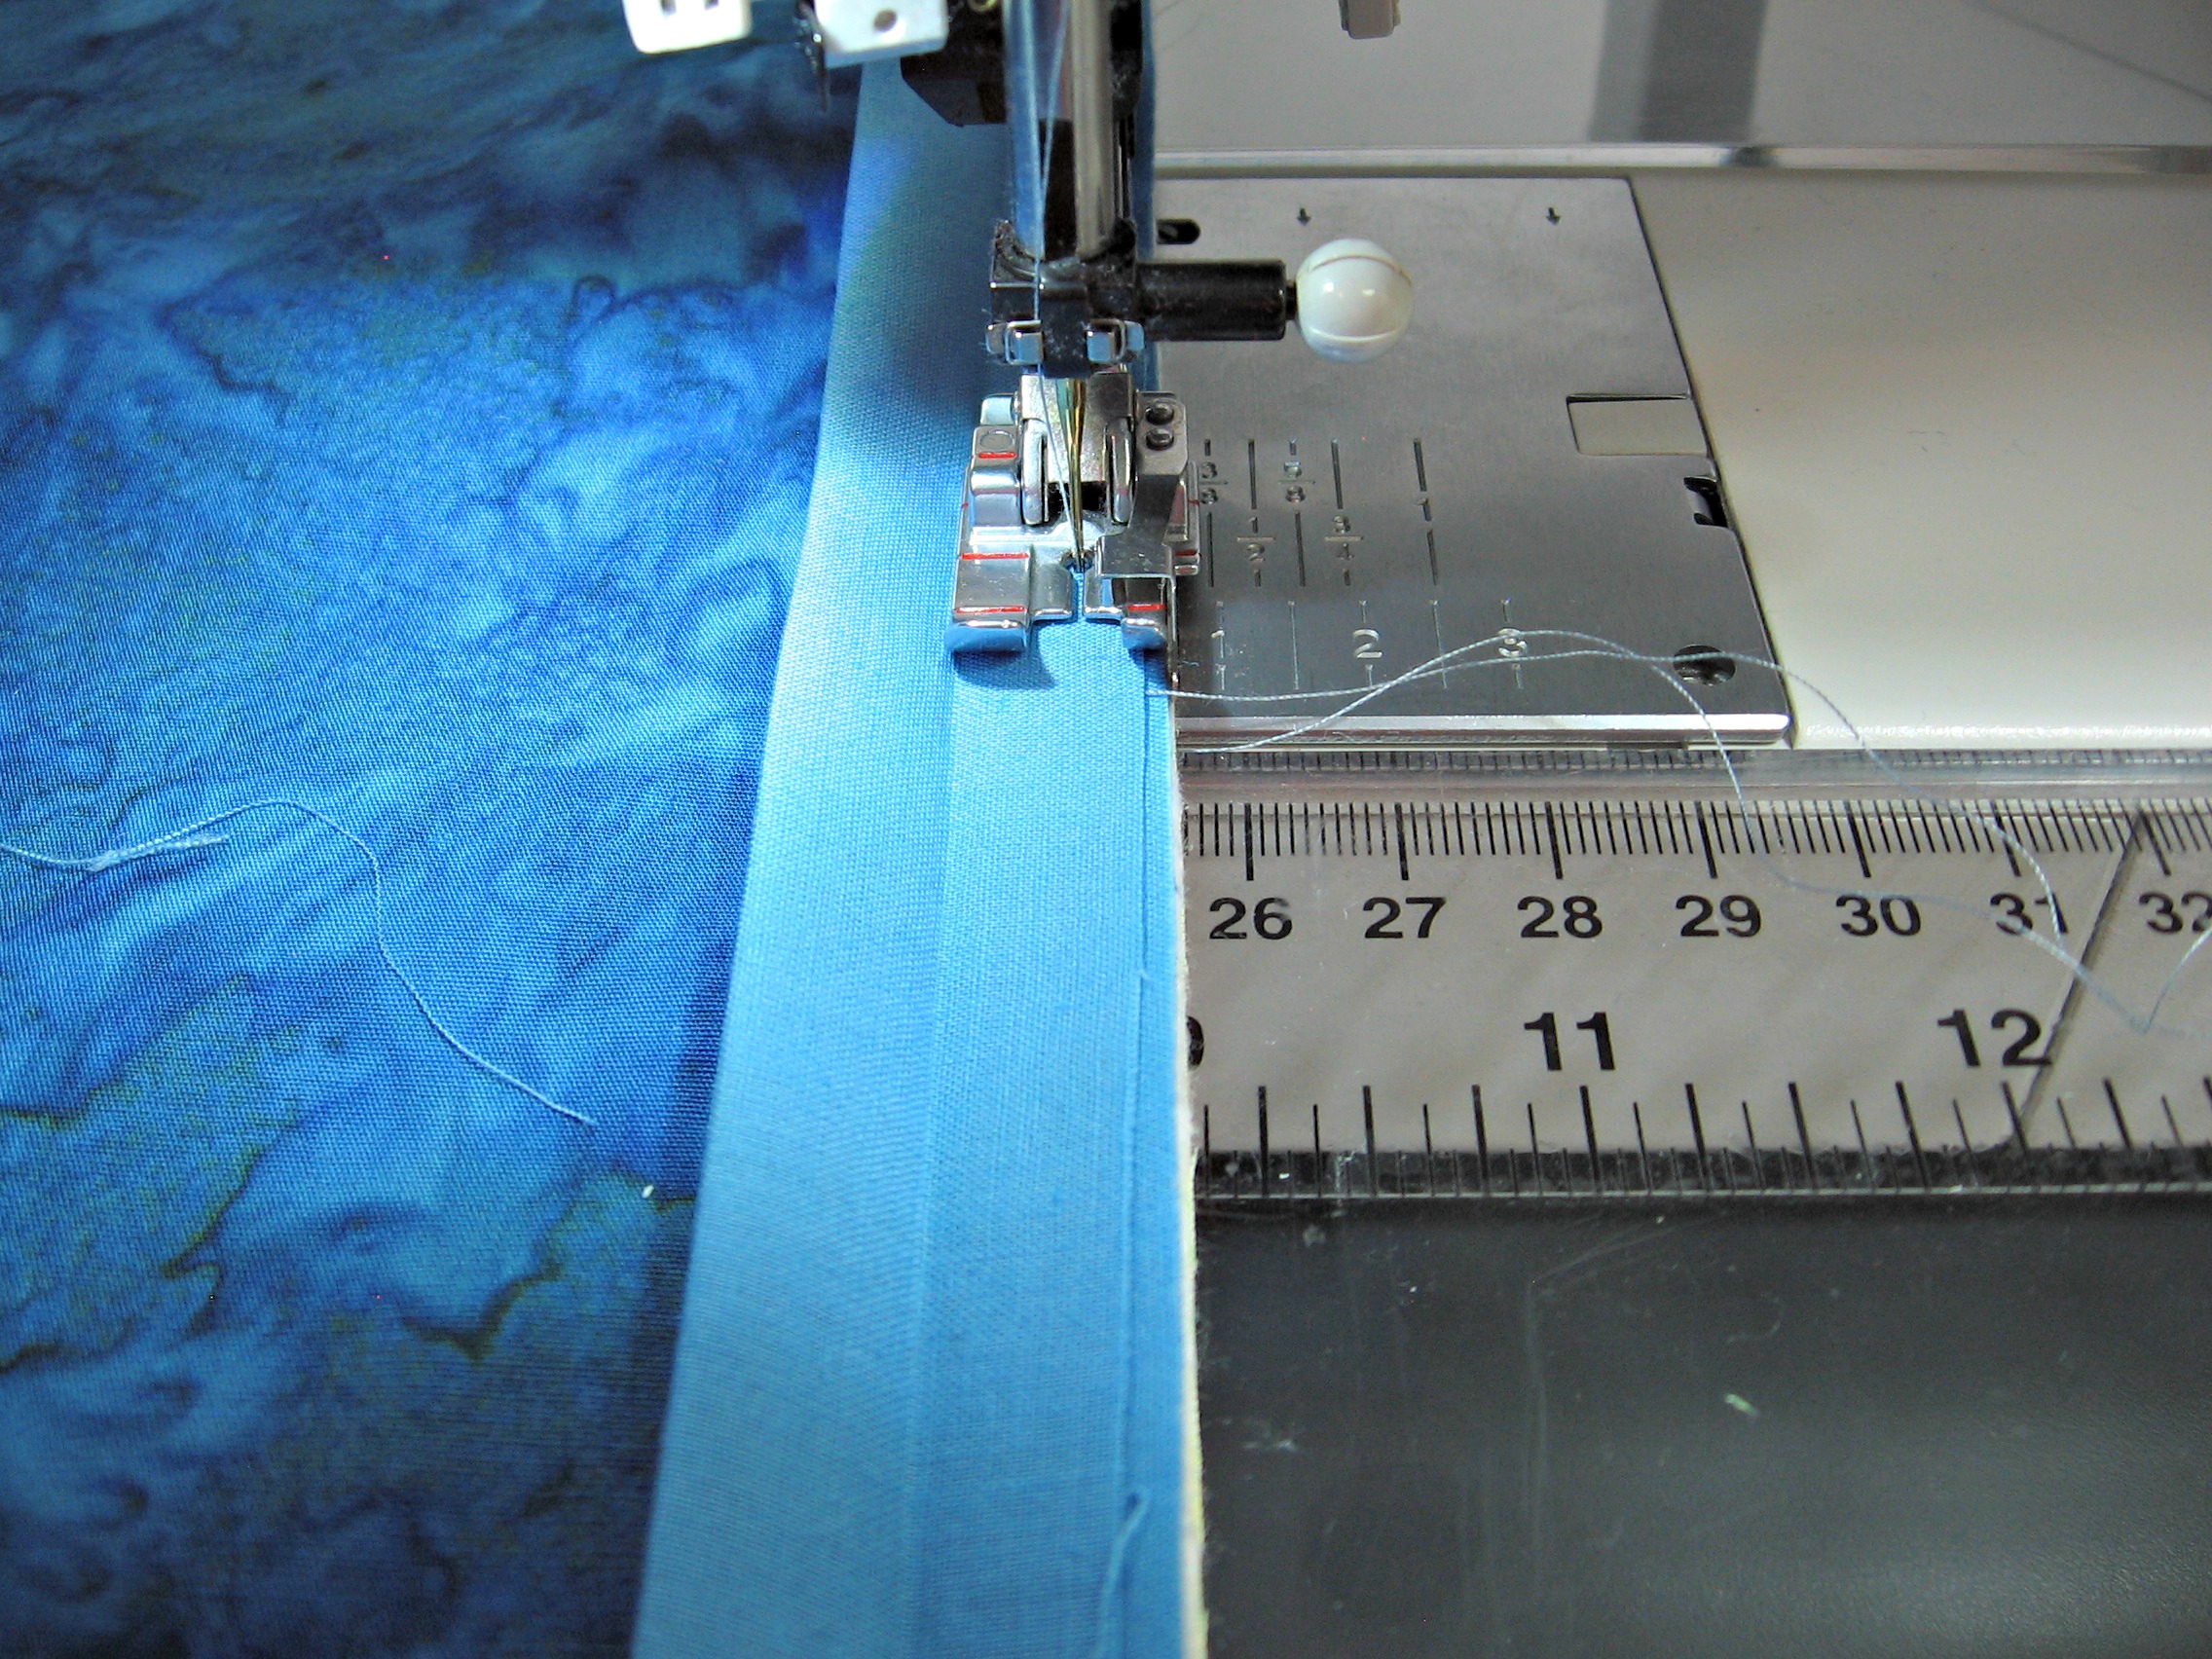
Step 1.  Open the binding and lay it on the edge of the quilt sandwich.

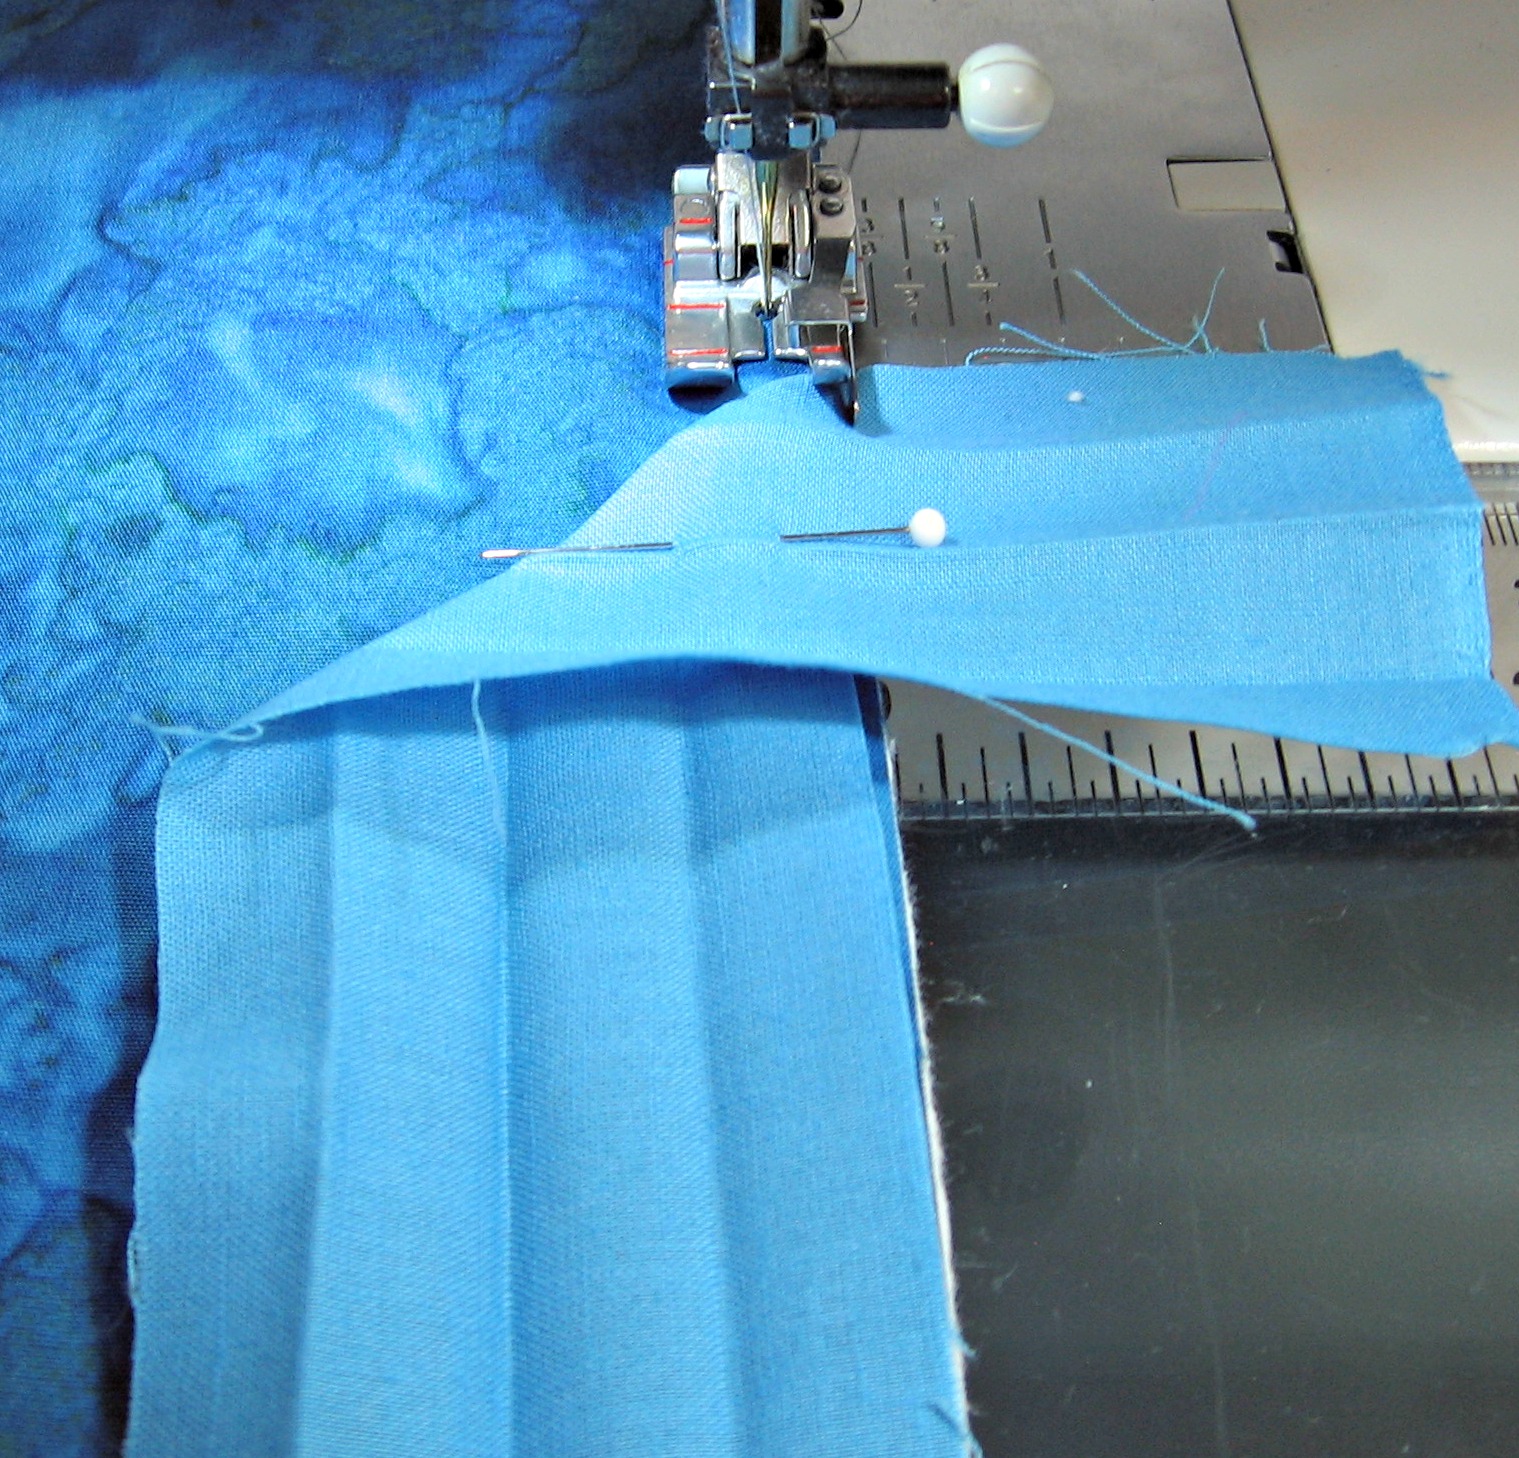
Step 2. Fold the top inch or two down at a 45 degree angle.


8 to 10 inches


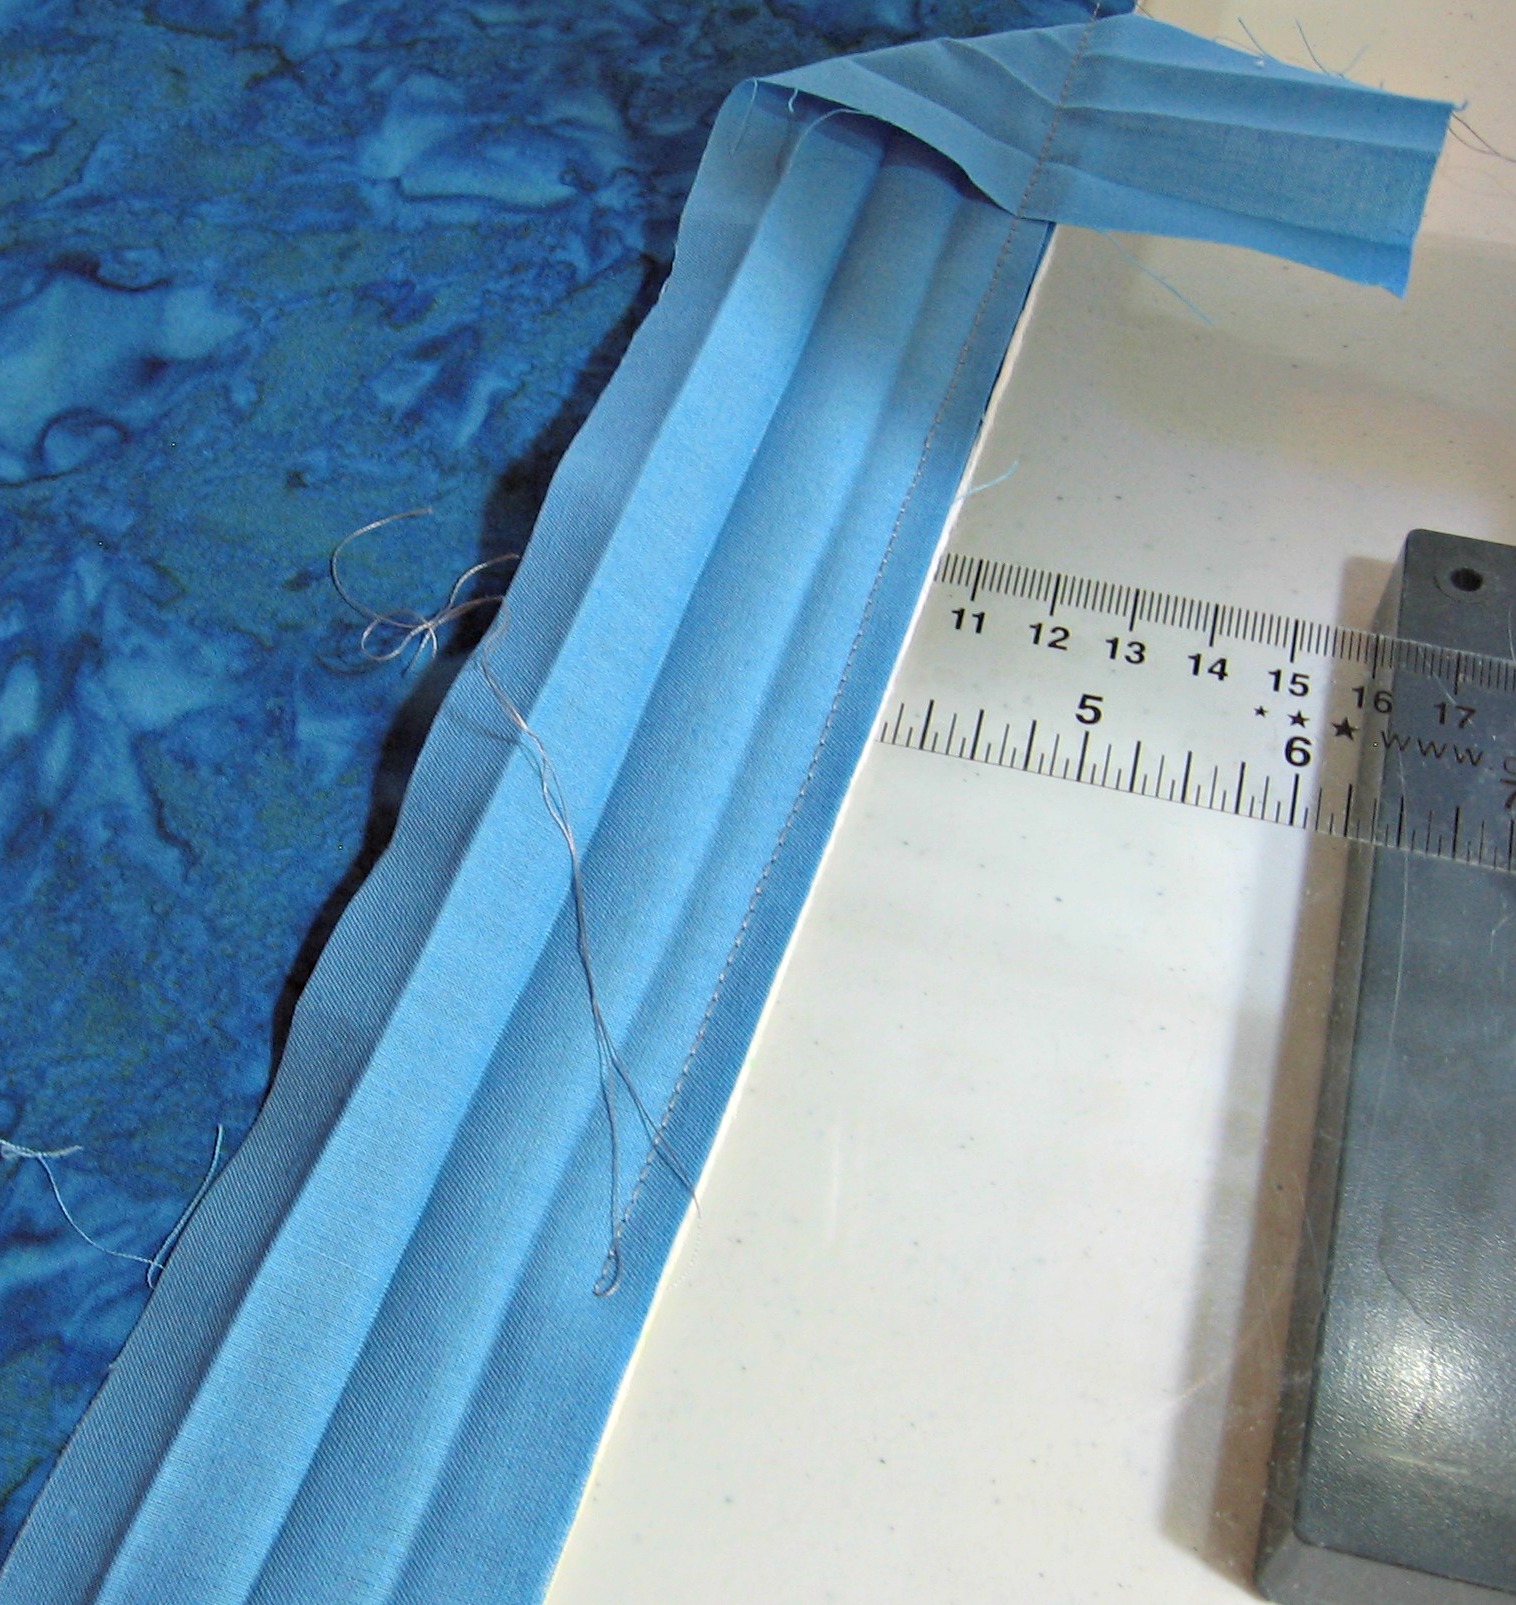
Step 3. Sew down for about 8 inches. Leave a thread tail, if possible.


Start again


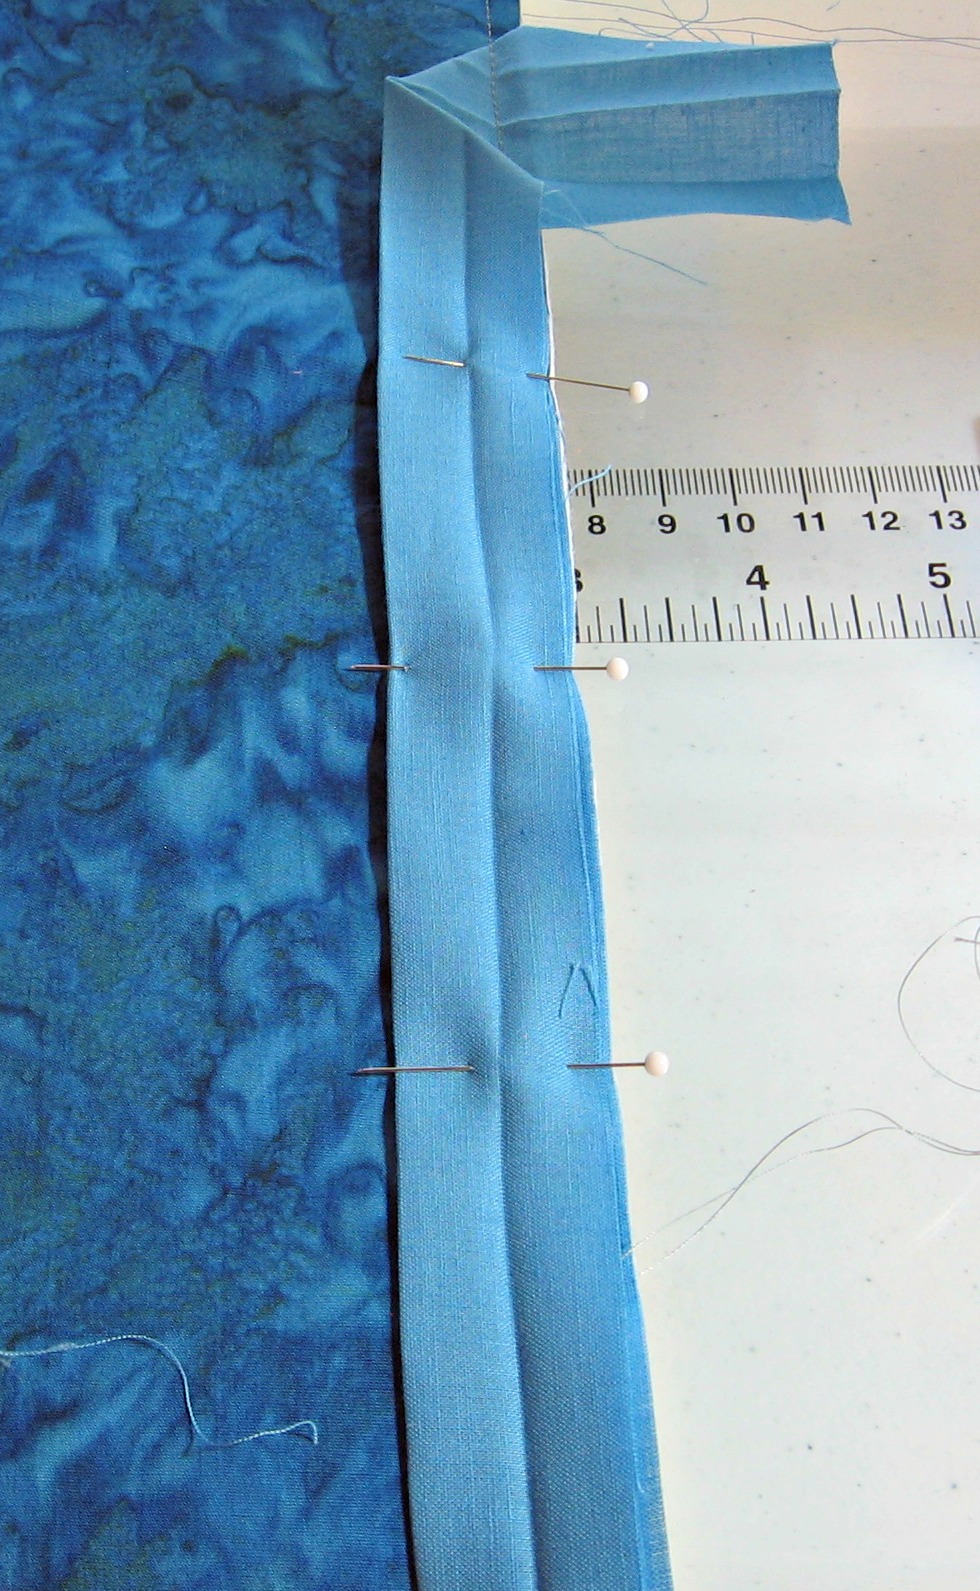
Step 4. Fold the binding once.


Start sewing above tails


Step 5. Start sewing about an inch above where you stopped before.  The thread tails offer a good visual indicator.


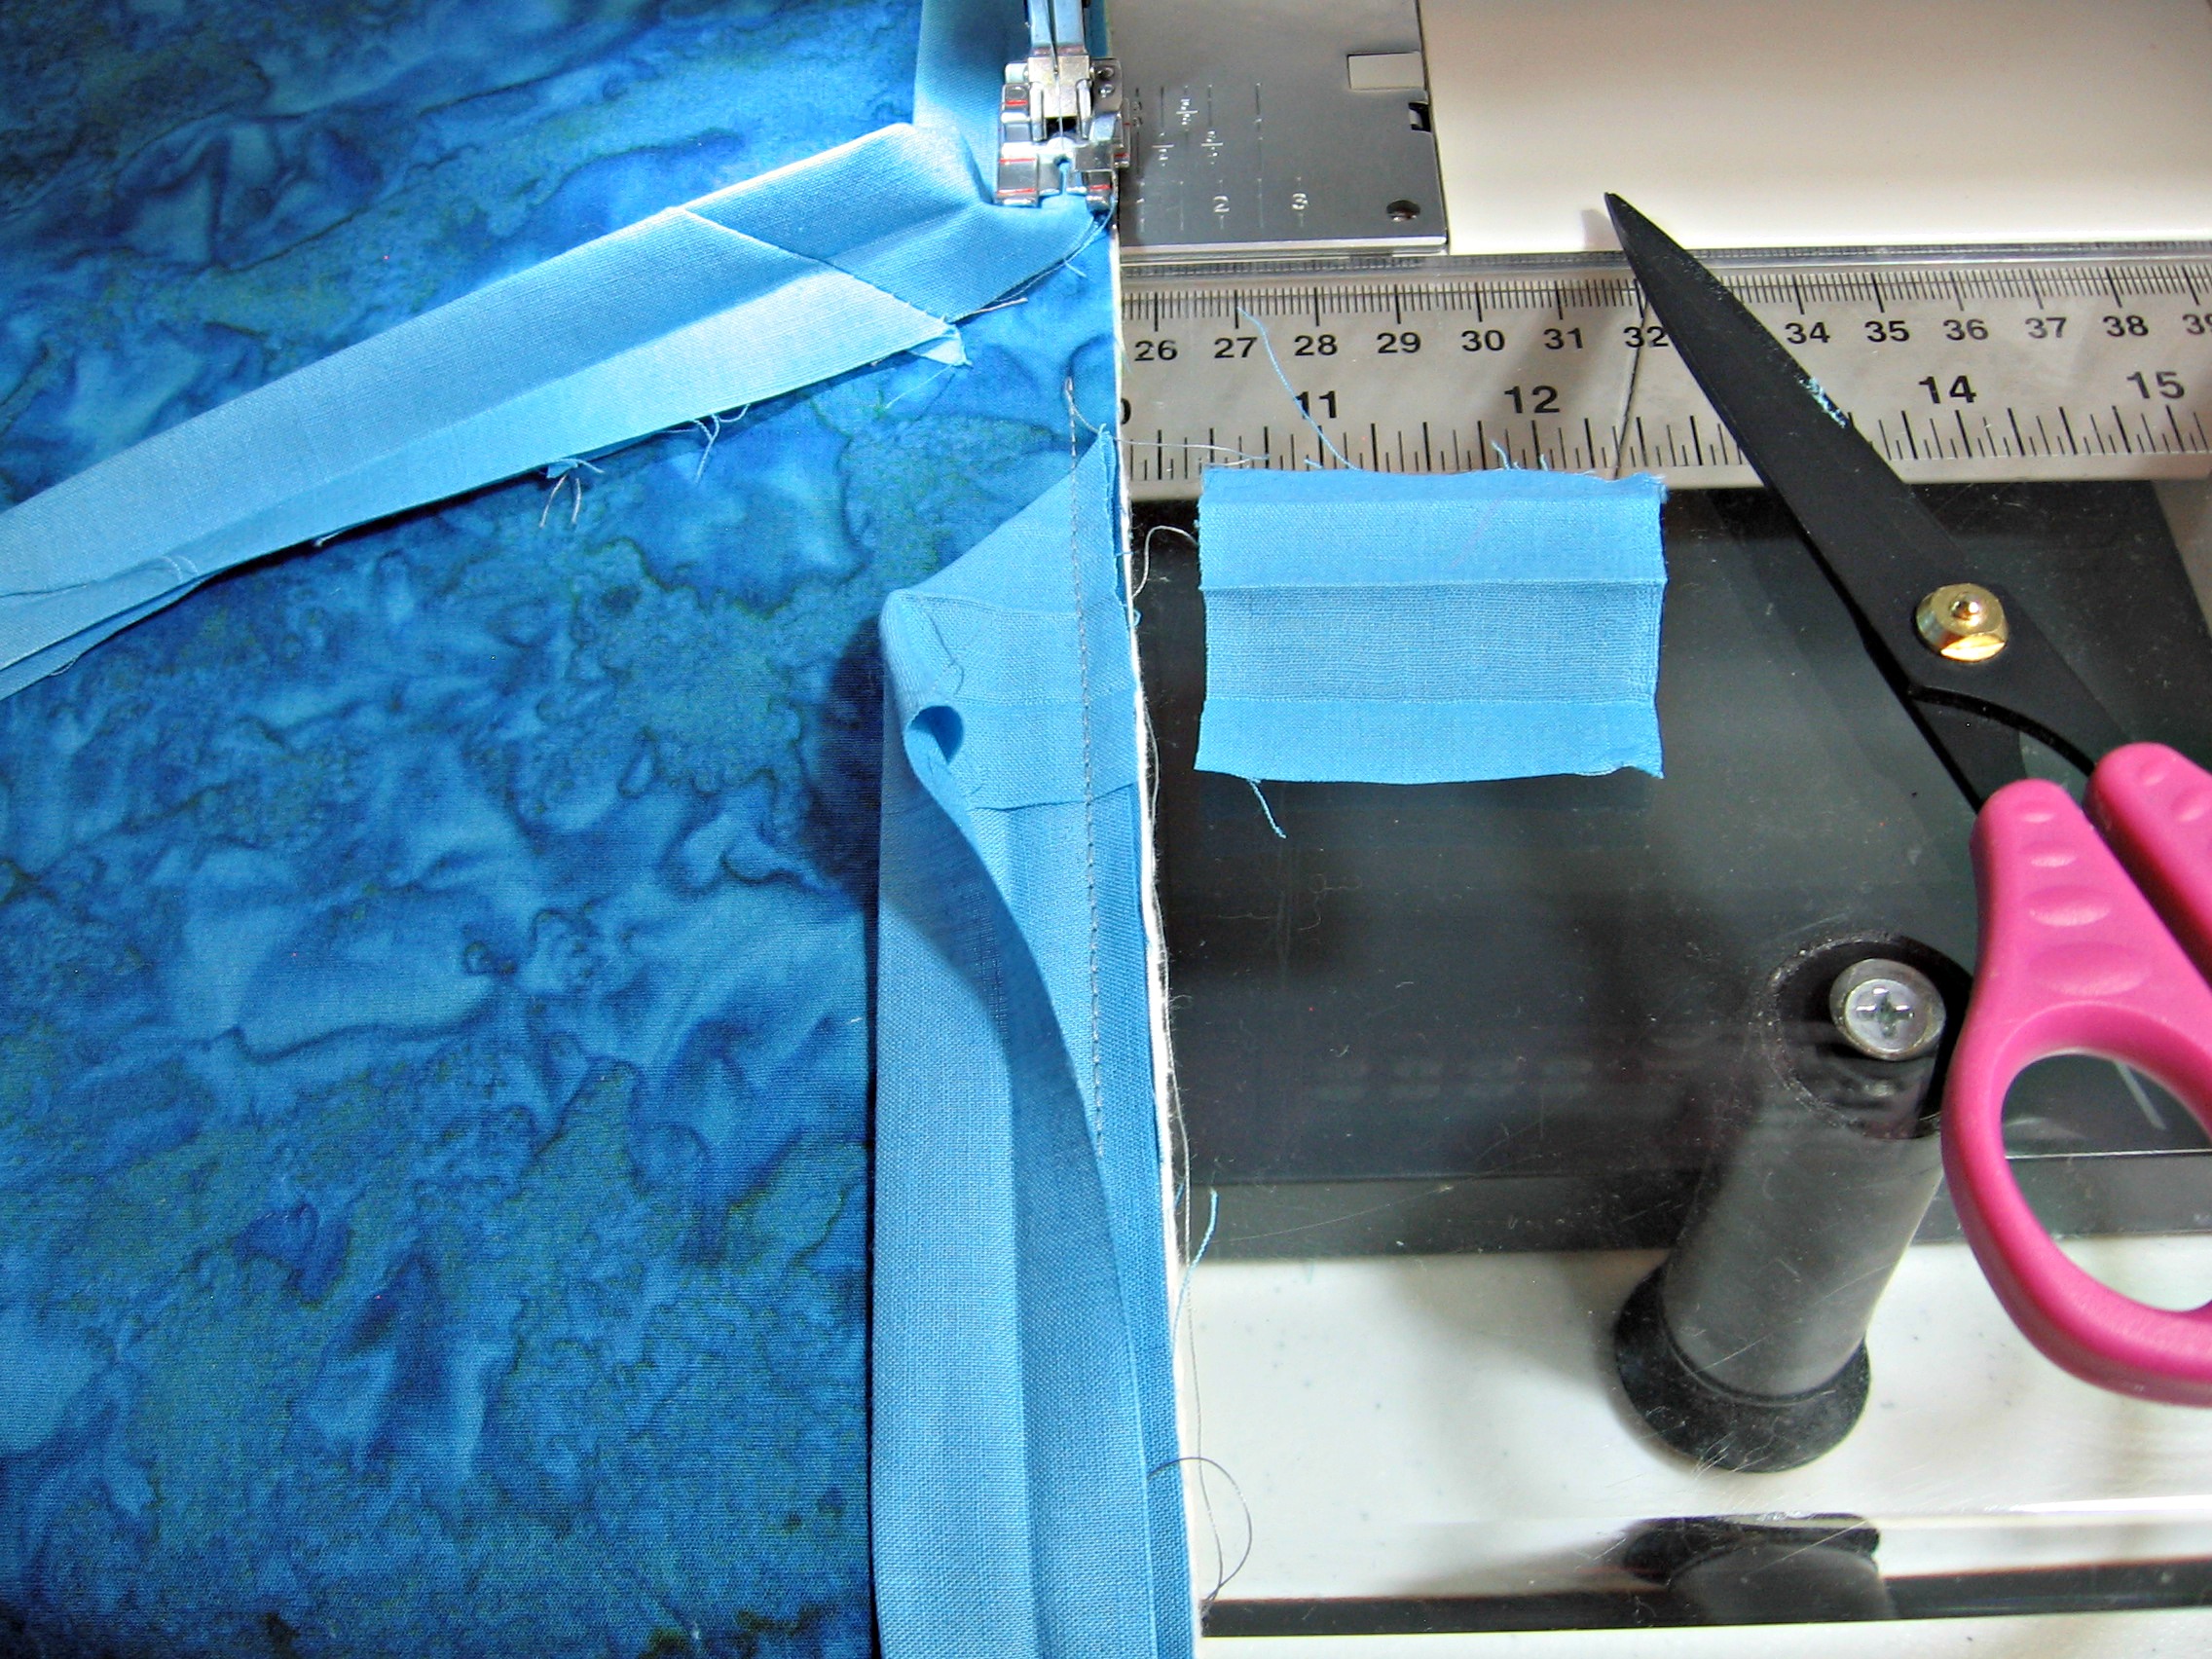
Trim End


Step 6.  Sew around all four sides until you are about four inches from where you started.

Step 7. Clip off the end that is hanging off the edge of the quilt.


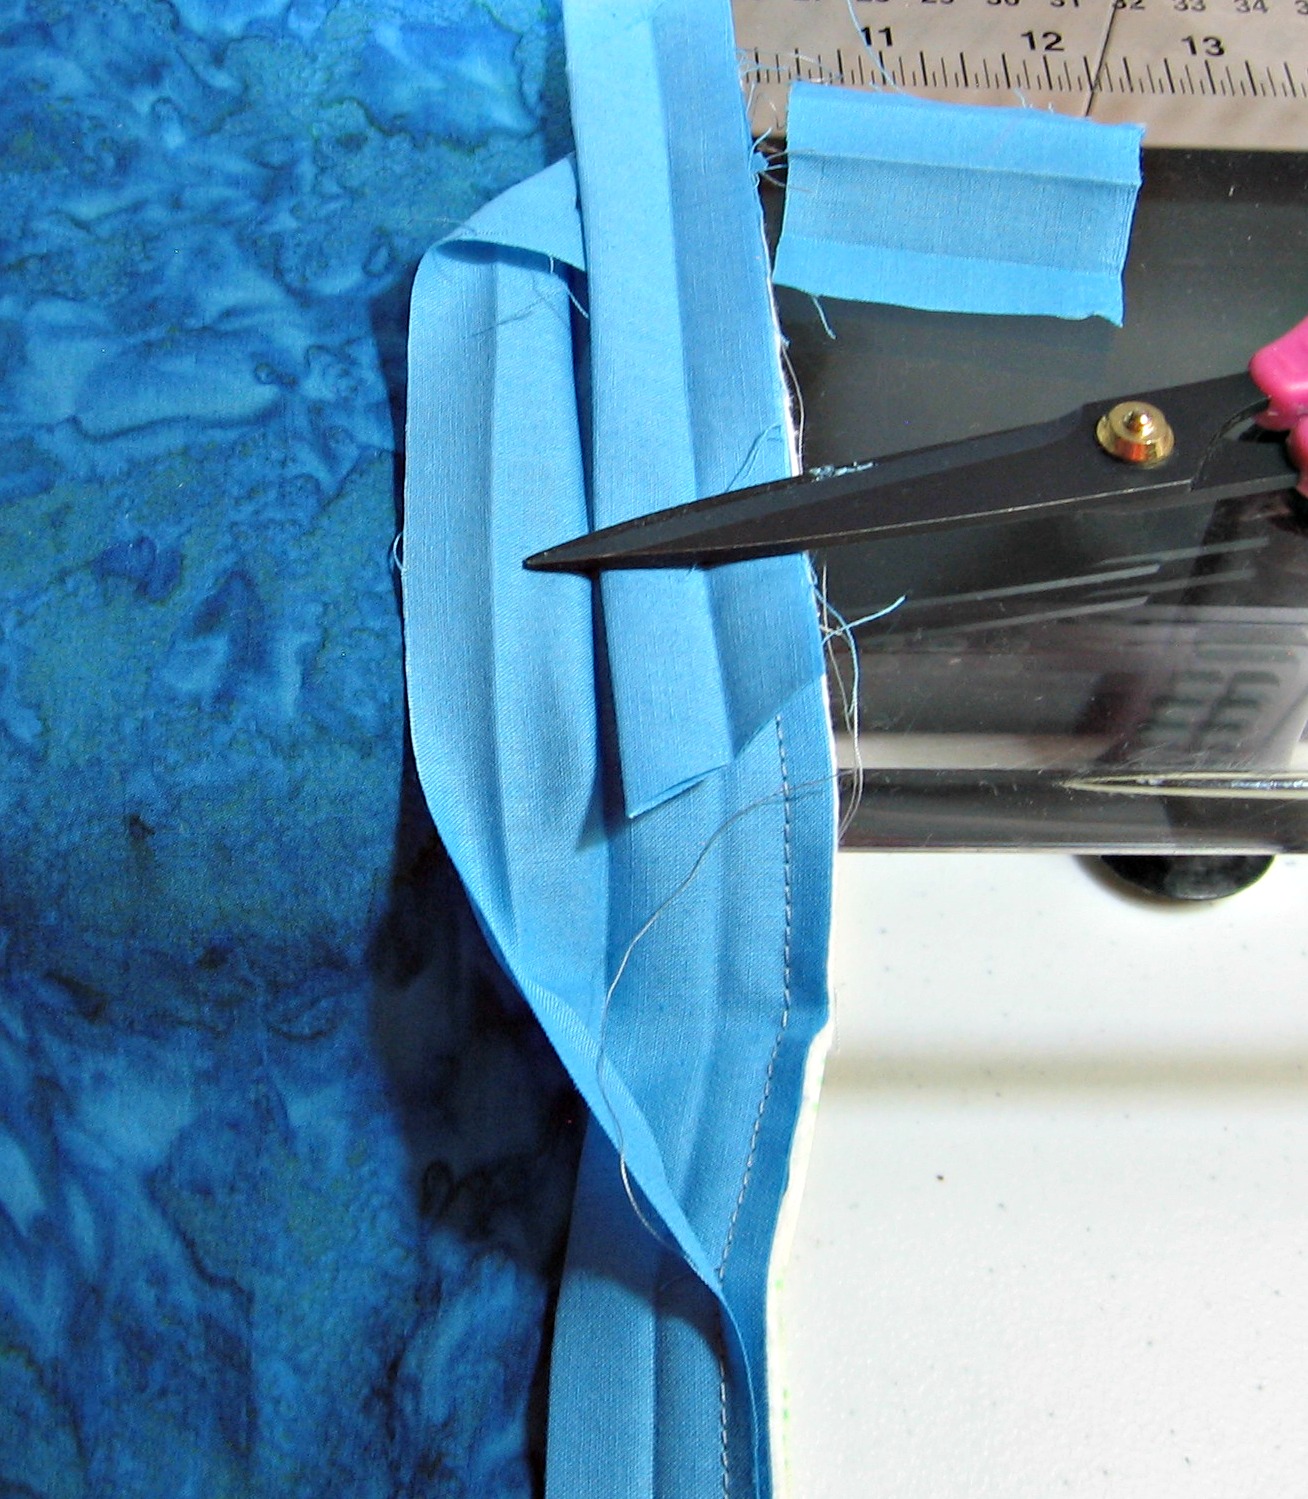
Trim at 45 Degrees


Step 8. Trim the binding, at a 45 degree angle, so it ends half way between the top fold and where you started stitching again.


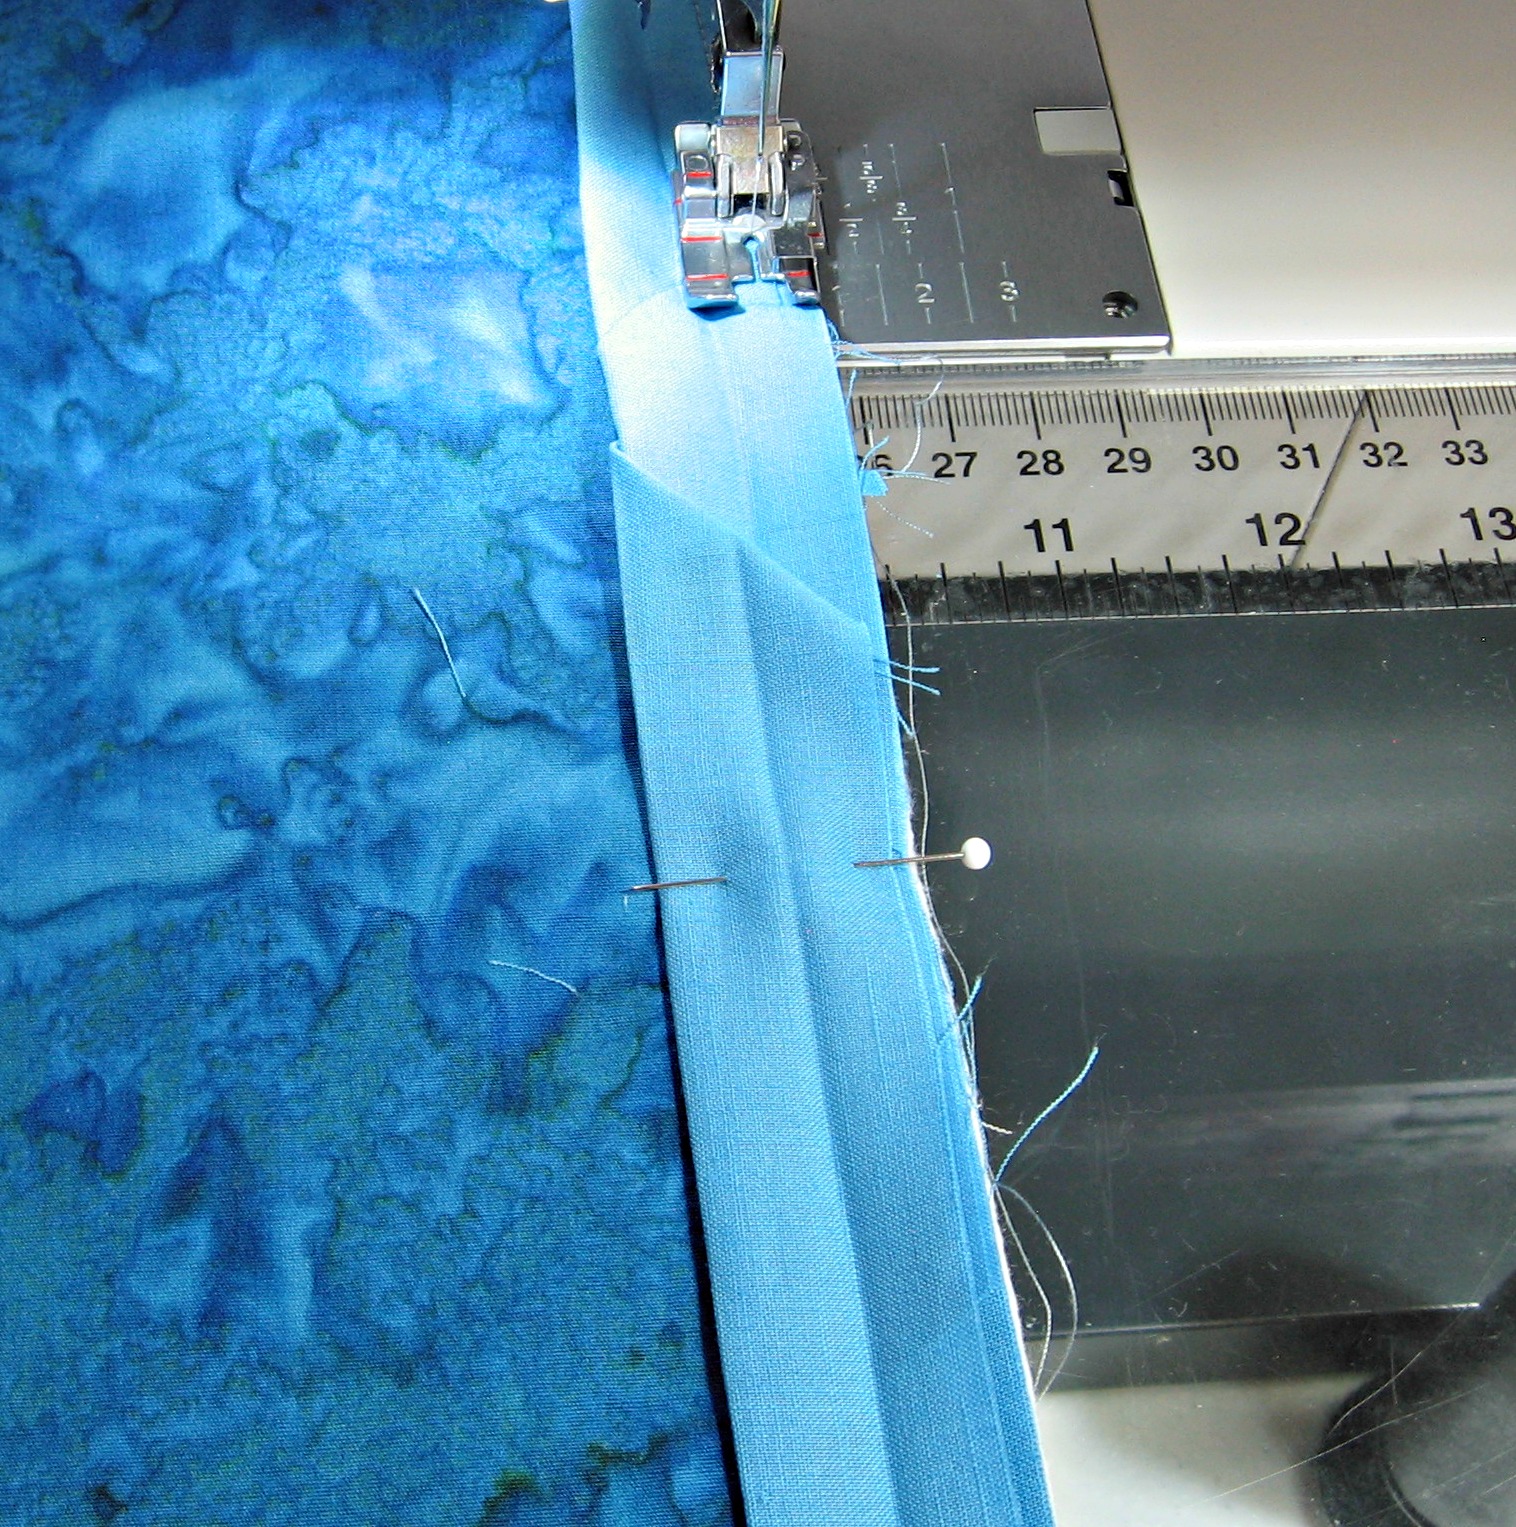
Stitch Pocket Closed


Step 9. Tuck the binding inside and fold close.


Step 10. Stitch down just past the thread tails and knot the end.


Regardless of how I bind my quilts, I have found that making a pocket is neat, fairly intuitive and requires no additional tools!

Test this technique using a simple project, like a potholder, orphan patch or FMQ practice pieces.

Good luck!

Jenny

P.S. I love to see pictures of finished stuff.

Bordering on Insanity!

My filmed studio tour was less than stellar.  There were funny popping noises, and not the good kind of funny either.  So I recorded a version 2.0.  You can watch it here.  Let me know what you think.

20160629_145024

Ruby’s Garden was the quilt I was teaching about.  Ain’t she a beauty?

Ruby's Garden

This weeks live stream topic is “Bordering On Insanity!”  I will answer your questions about how to add borders to a quilt.  Borders that are not wavy, curved or, horrors, ruffled!

Tune in on my Facebook page, Wednesday at 6pm MDT and we will sort it all out!

IMG_20160611_094942

And, just in case, have you gotten your free pattern?  I mean, not trying to nag but it IS free? When you sign up for my email, I will send you the free pattern.  And if you are already a subscriber, check my newsletter and get your free pattern.  Just my thank-you for subscribing.

How Many Circles

That’s all for now.  Please join the Ask Jenny Kae live stream on Facebook.  See you next time.

Thanks,

Jenny

I’ve Got your Backstage Pass, Baby!

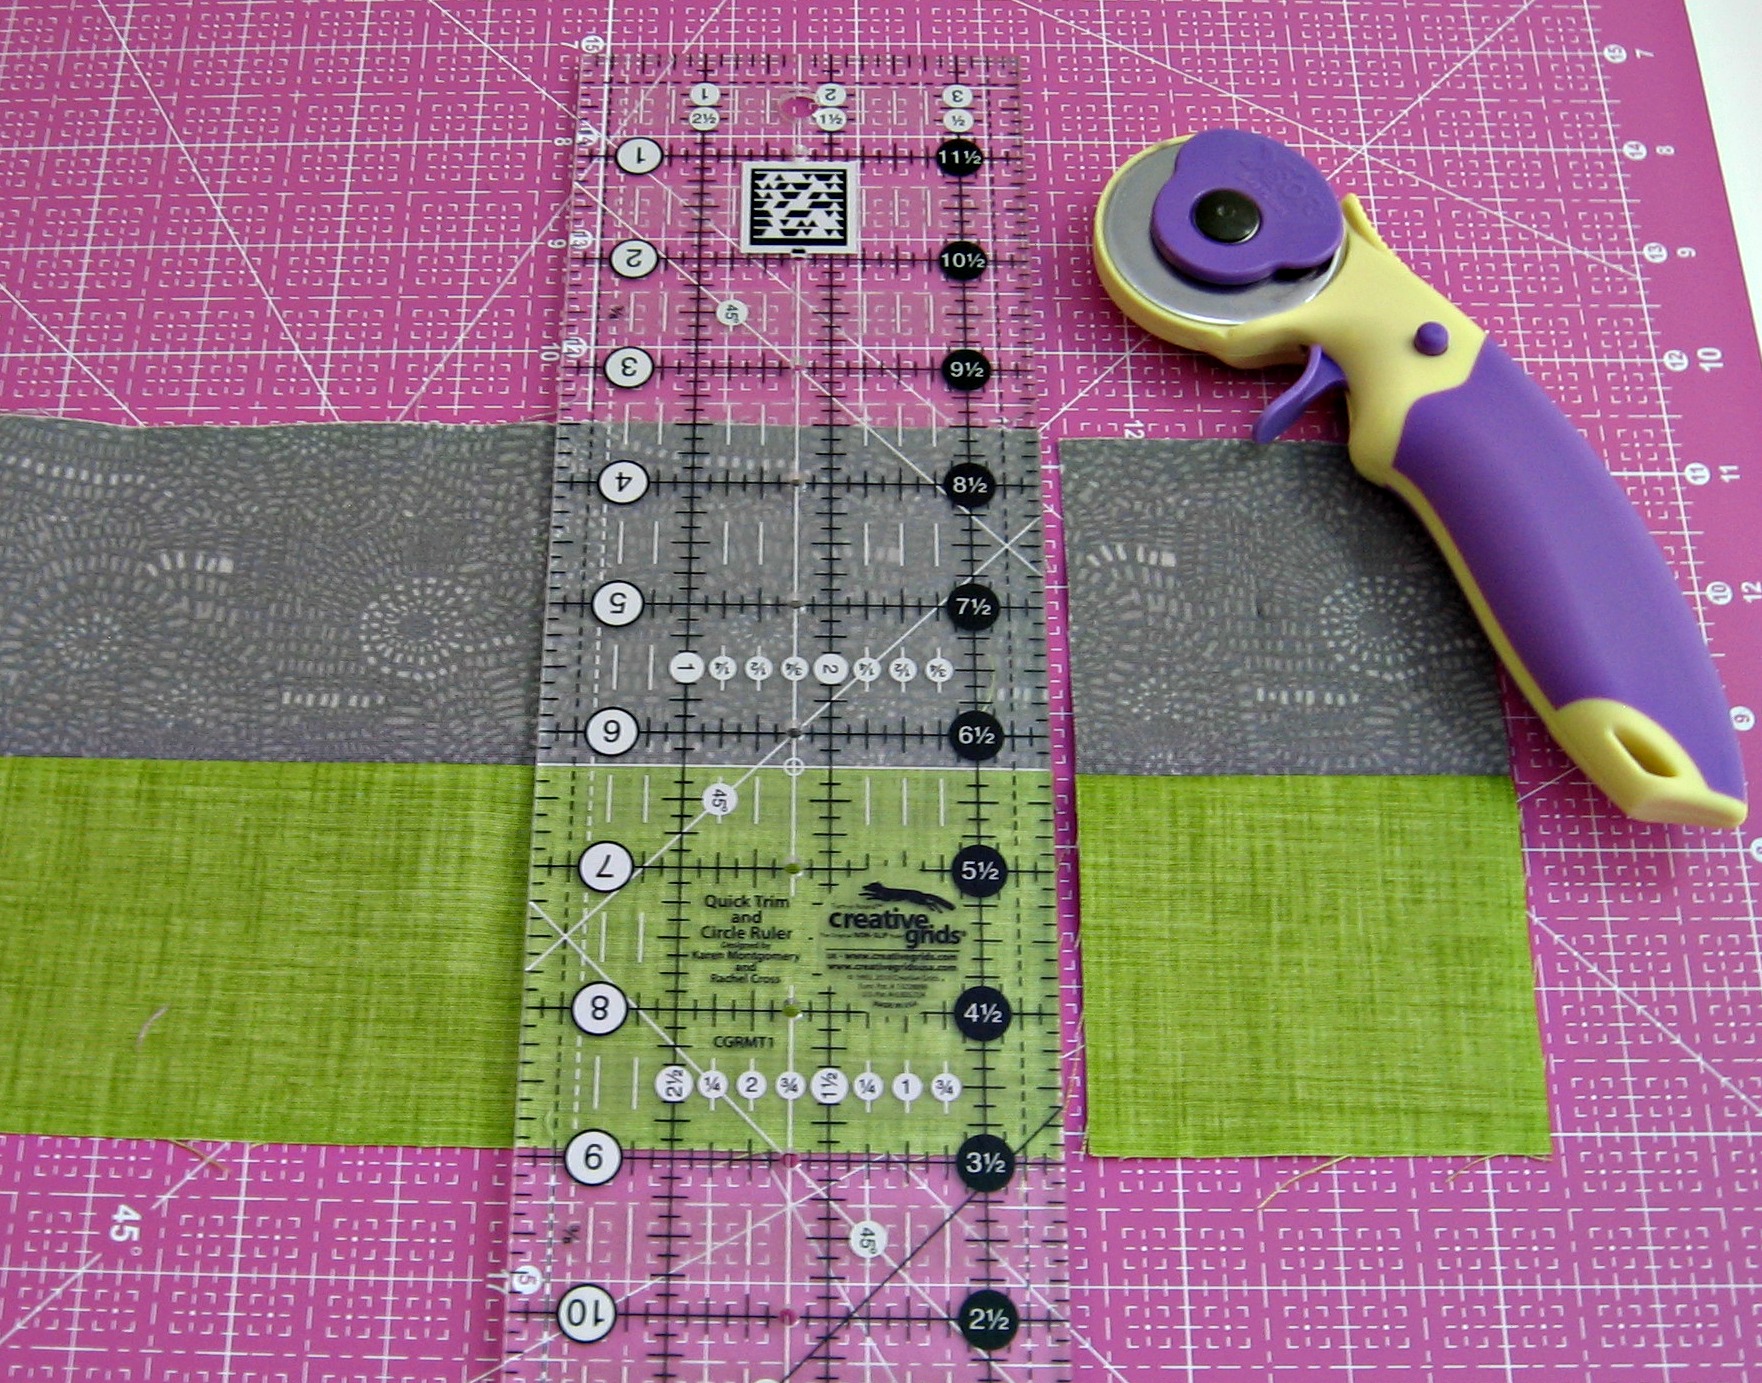
Last week on my live stream on Facebook, my topic was all about cutting. I talked on typical equipment issues you can have with the blade, the ruler, the mat and the table.  I also shared about issues related to operator error (Who me? Never!) and how you can do a better job with every cut. Click here to watch the whole video.

Live Rotary Cutting

On Wednesday, June 28th, I will be “semi-live”.  I am filming myself and will broadcast at the usual time 6pm MDT.  And we are going BACKSTAGE, baby!  Woo hoo!

20160316_122801

Join me Wednesday to watch and chime in with your questions.

IMG_20160611_094942

Remember to watch, like subscribe and share!

See you there,

Jenny

P.S. Did you get your free pattern yet? Visit my website to find out how!


Live Stream Today

Quick reminder, join me live on Facebook at 6pm MDT every Wednesday.  (Hey! that’s TODAY.)  The topic is “Rotary Cutting, What am I doing Wrong?”

Strip Cut

I know you have questions. Come get some answers.

Facebookad2_big

Don’t forget to get my free pattern, just for signing up for my newsletter.  Click here and you are on your way!

See you tonight,

Jenny Kae

Hey, Jenny. I have a Question…

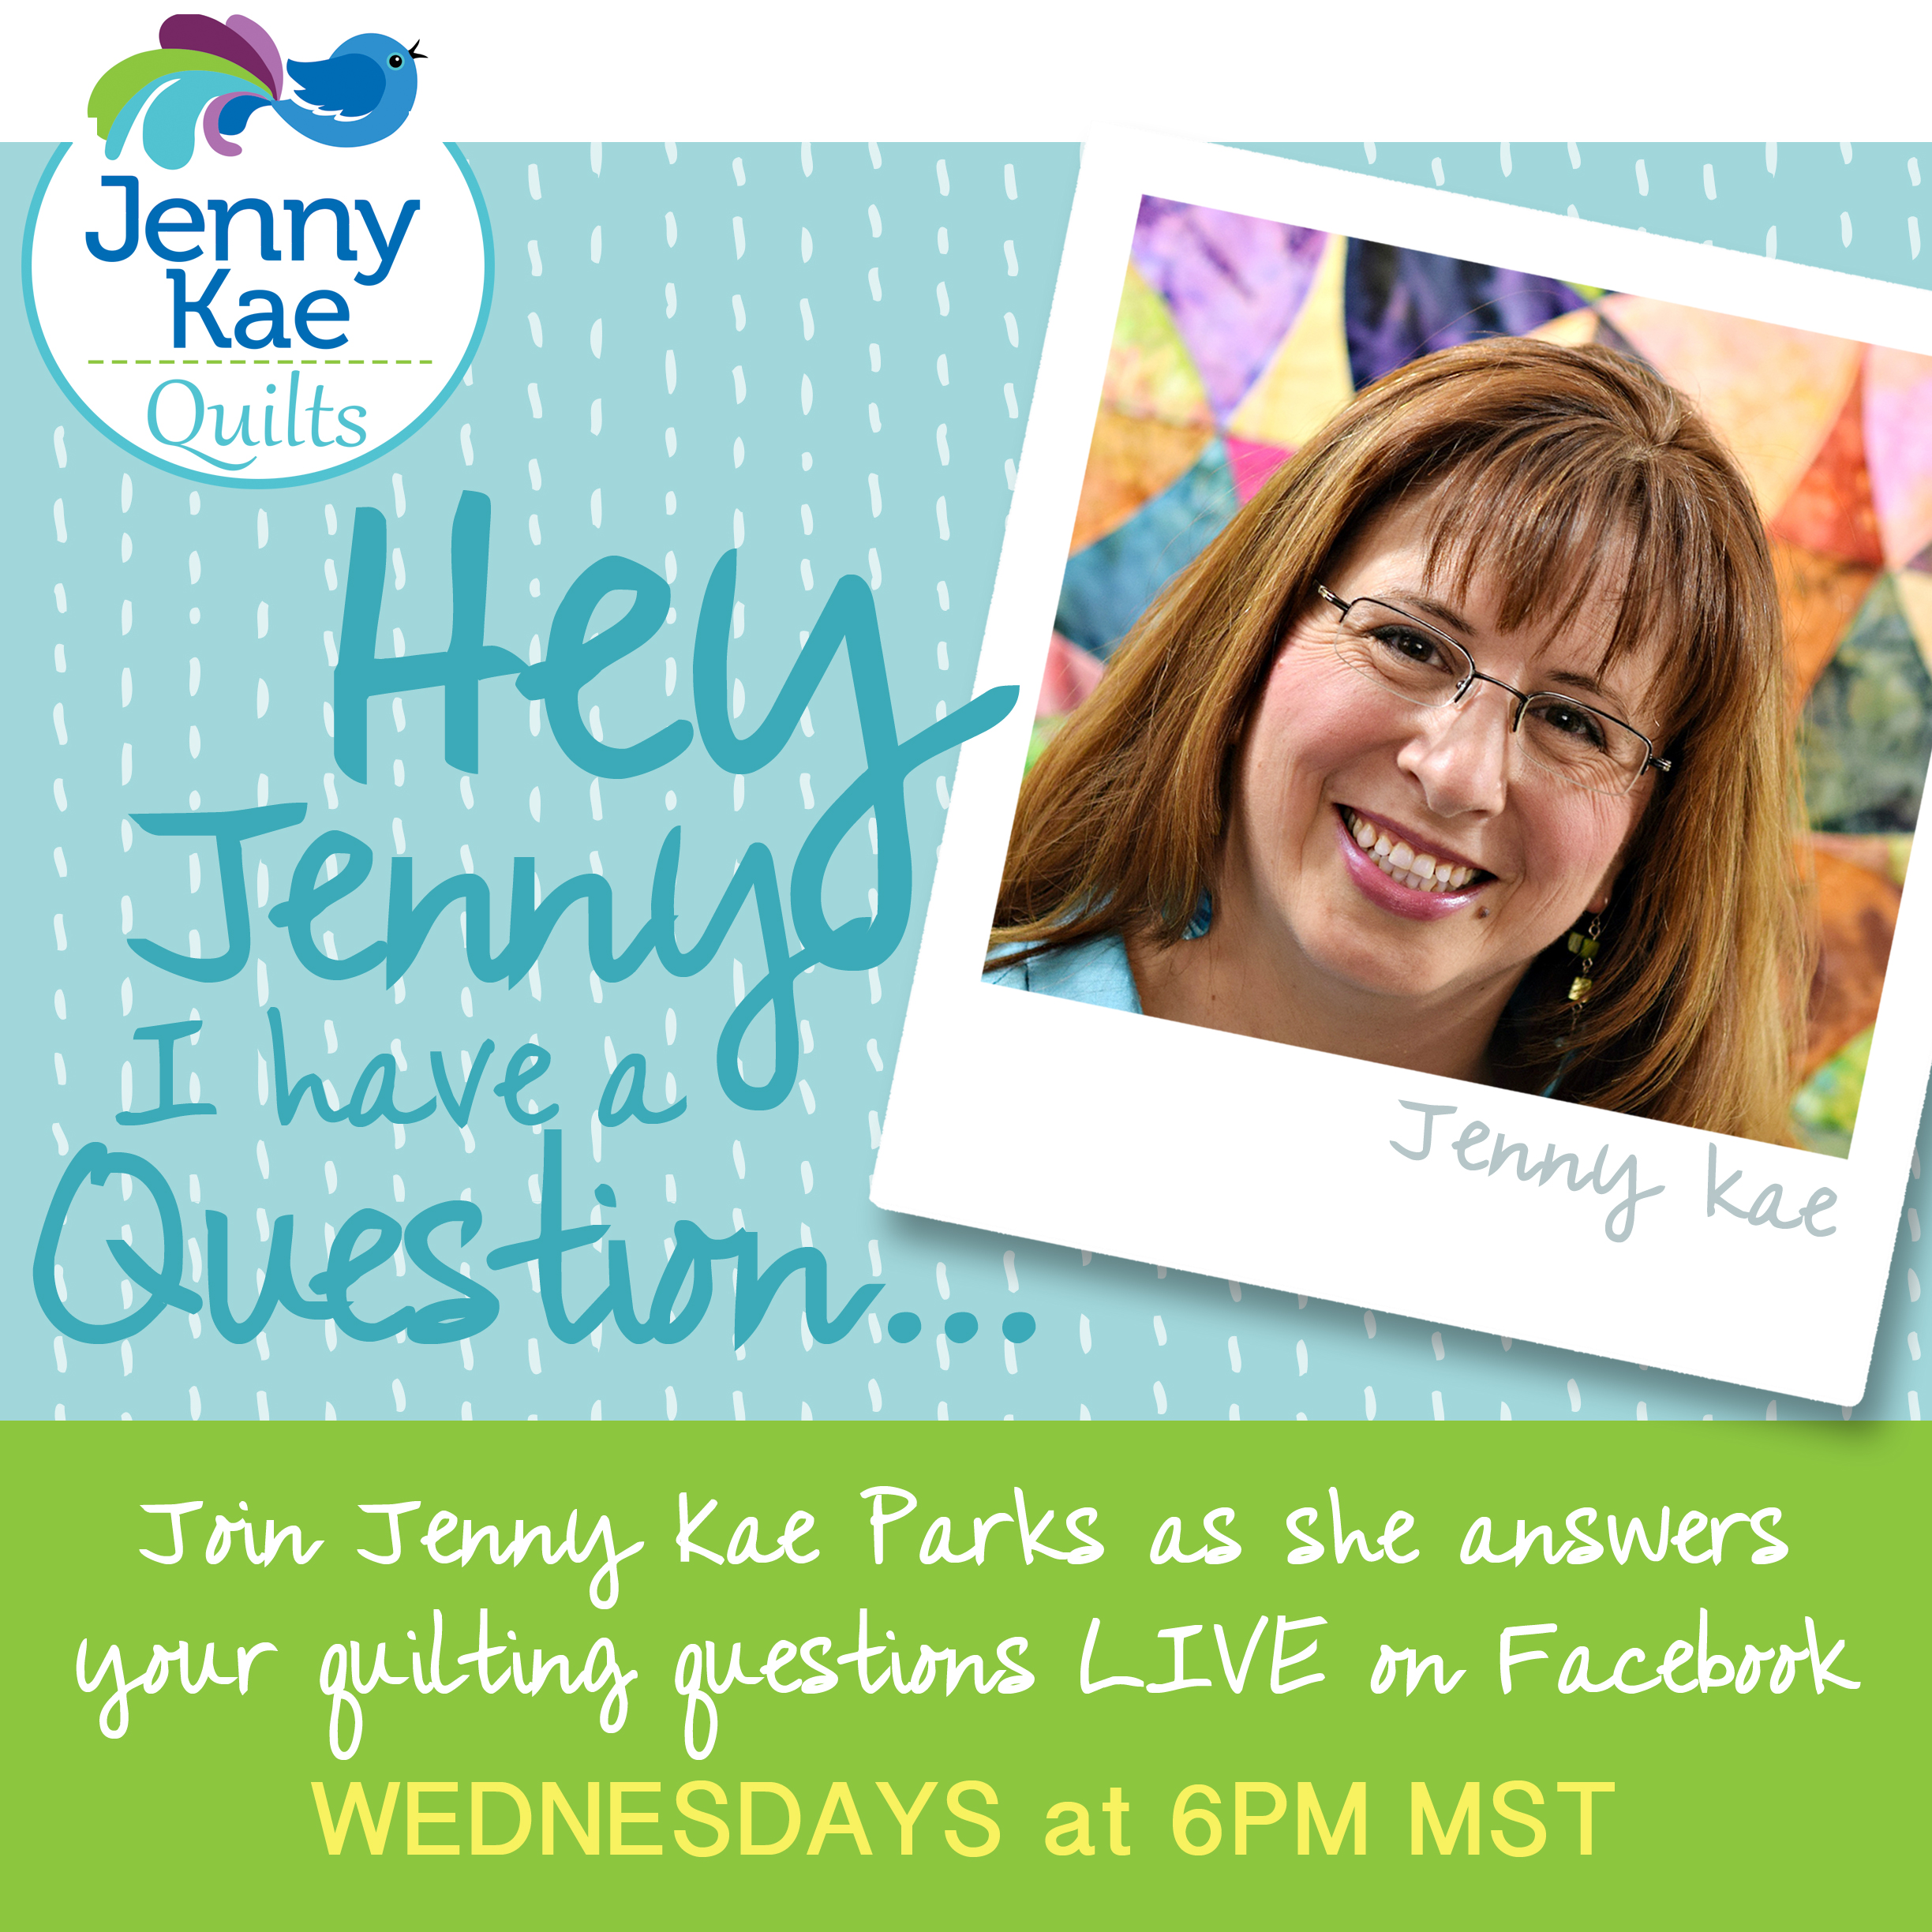
Last Wednesday was my live stream debut!  It went pretty well.  I talked about pre-washing fabric or not pre-washing, why or why not.  If you missed it, here is a link.

Live Stream 01

The next live streaming on Facebook is Wednesday 6pm MST.  The topic will be “Rotary Cutting – What Am I Doing Wrong?”.  Can’t cut straight? Ruler sliding? Trouble with consistent sizes?  Have no fear!  We will trouble-shoot the entire process.  So get your questions ready and join me!

Strip Cut

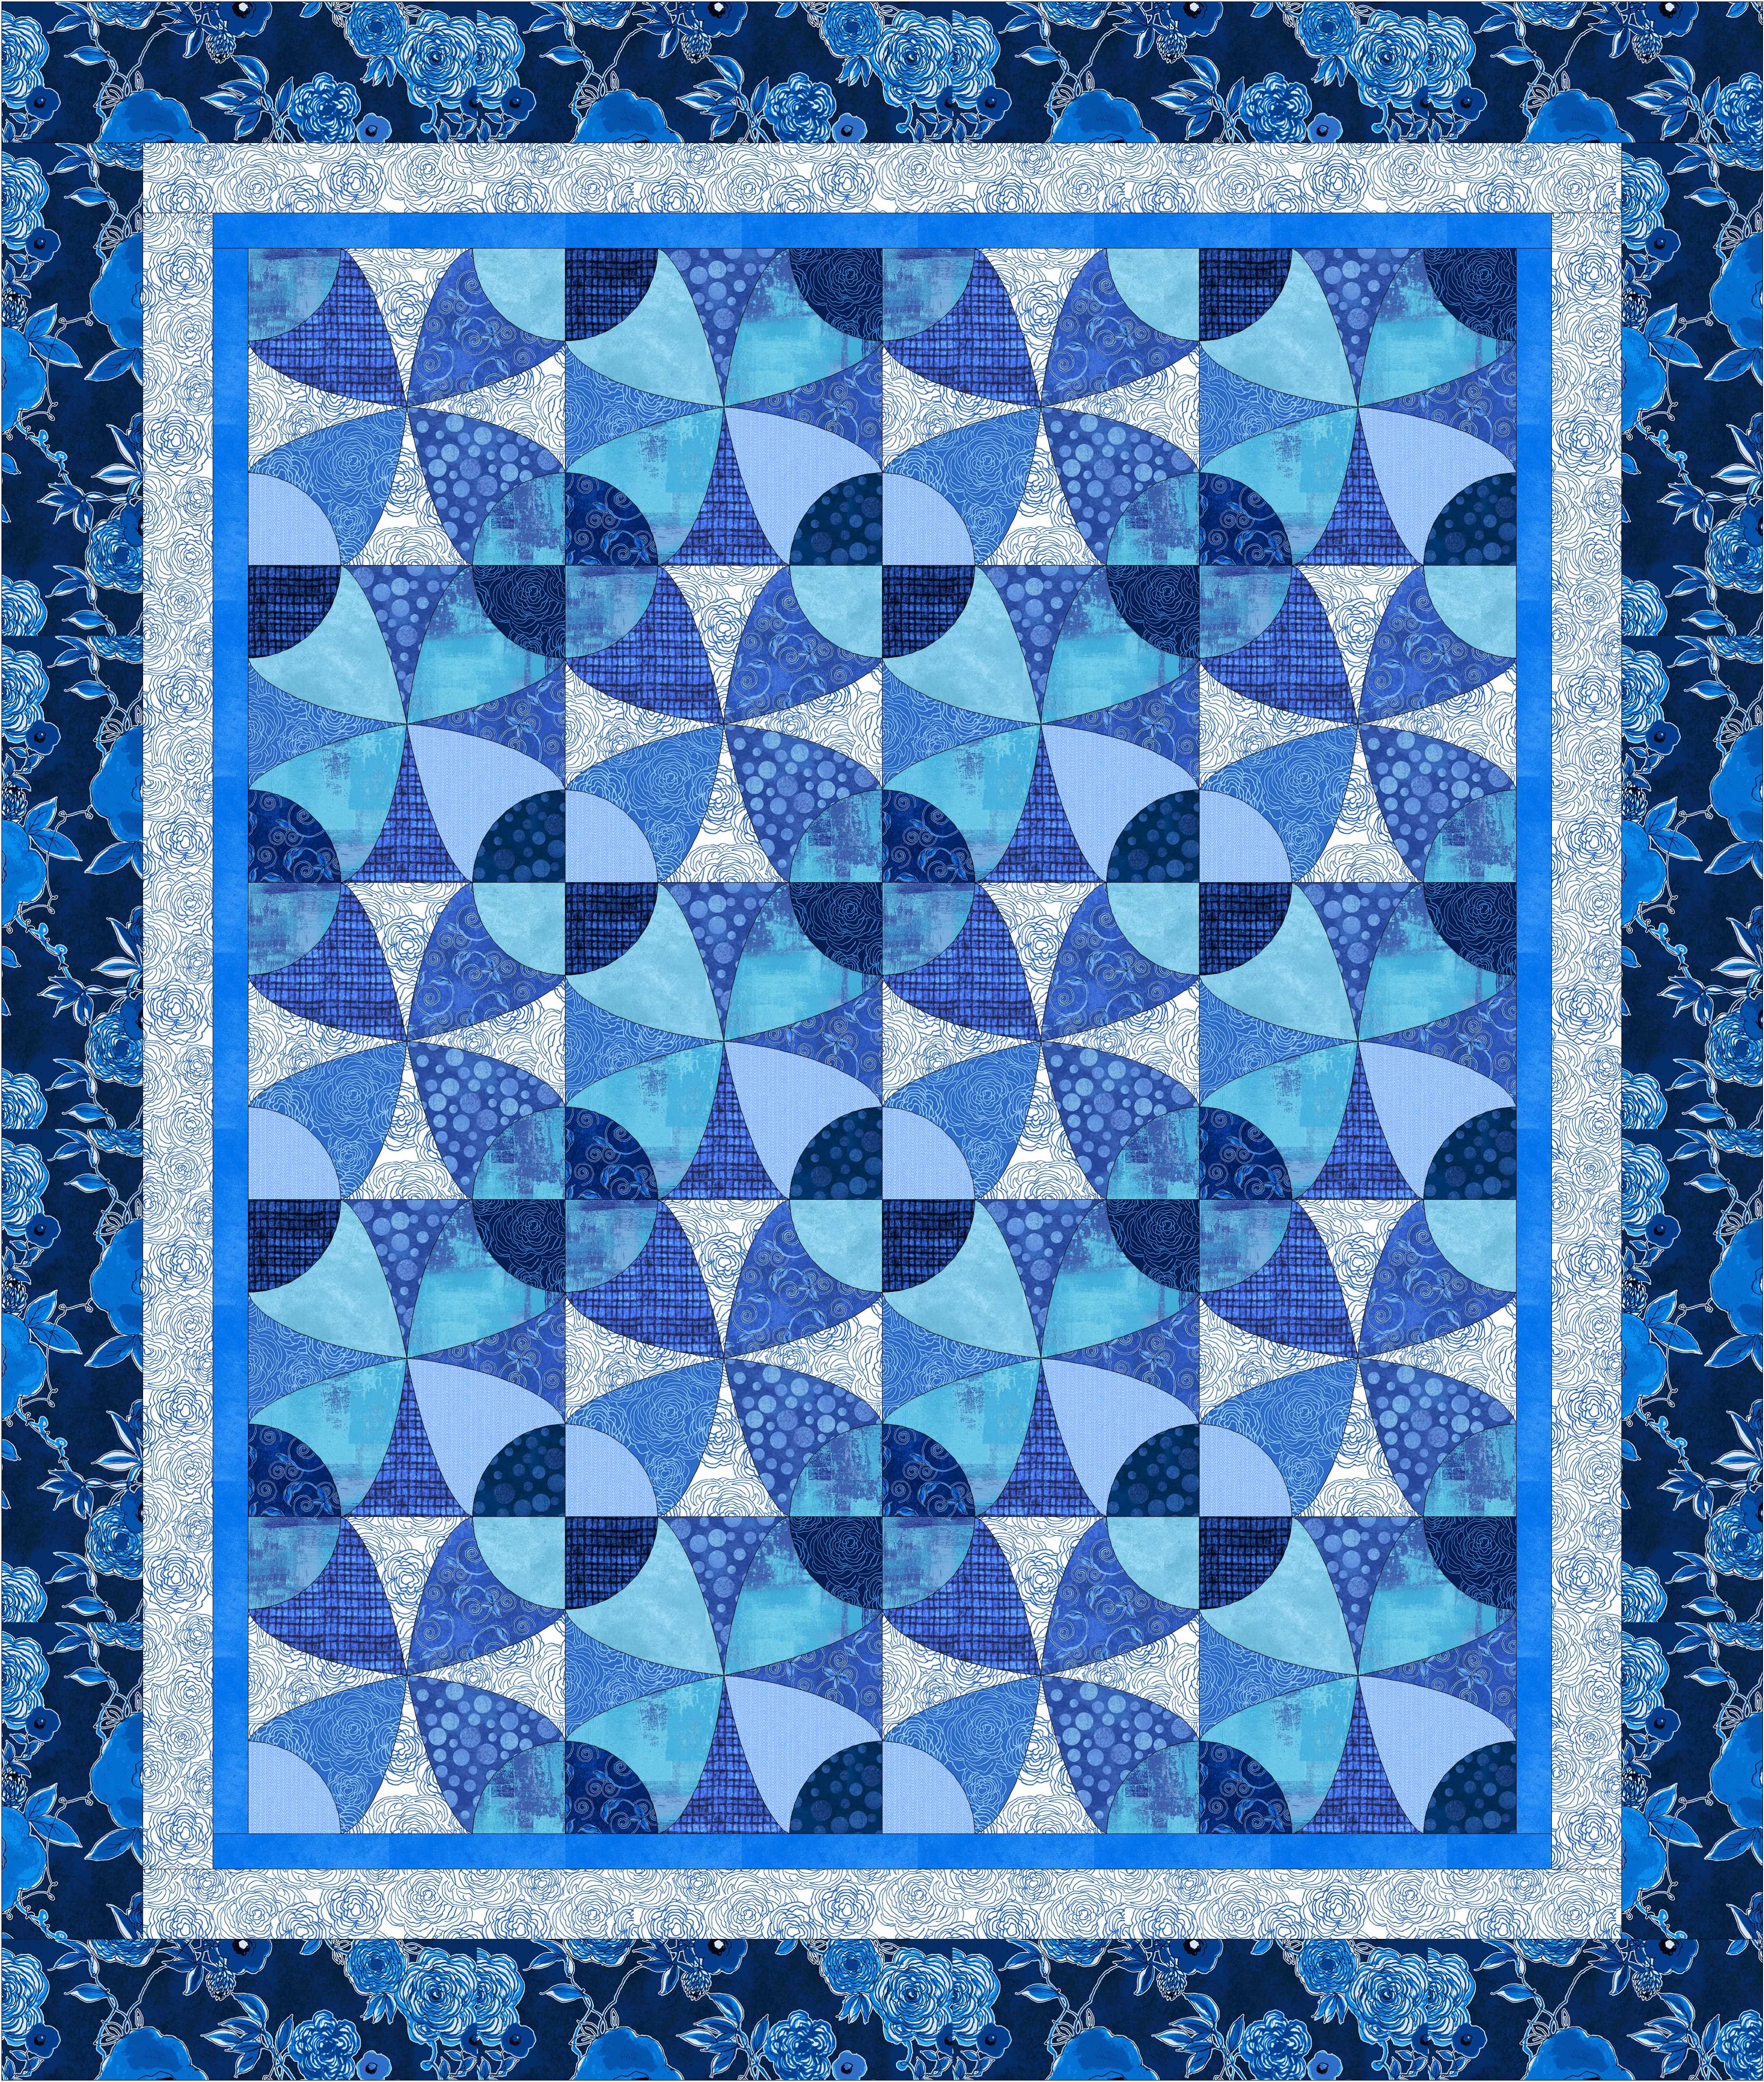
Did you get your free pattern?  No?!?  Go straight to Jenny Kae Quilts.  Do not pass Go.  Do not collect $100.  When you sign up for my newsletter, as a thank-you, I will email you my pattern, “How Many Circles?” free!  Now, who don’t like  a little bit of free?

How Many Circles

If you already signed up, then you can follow the directions in last week’s email and get your free copy too!  Woo Hoo!

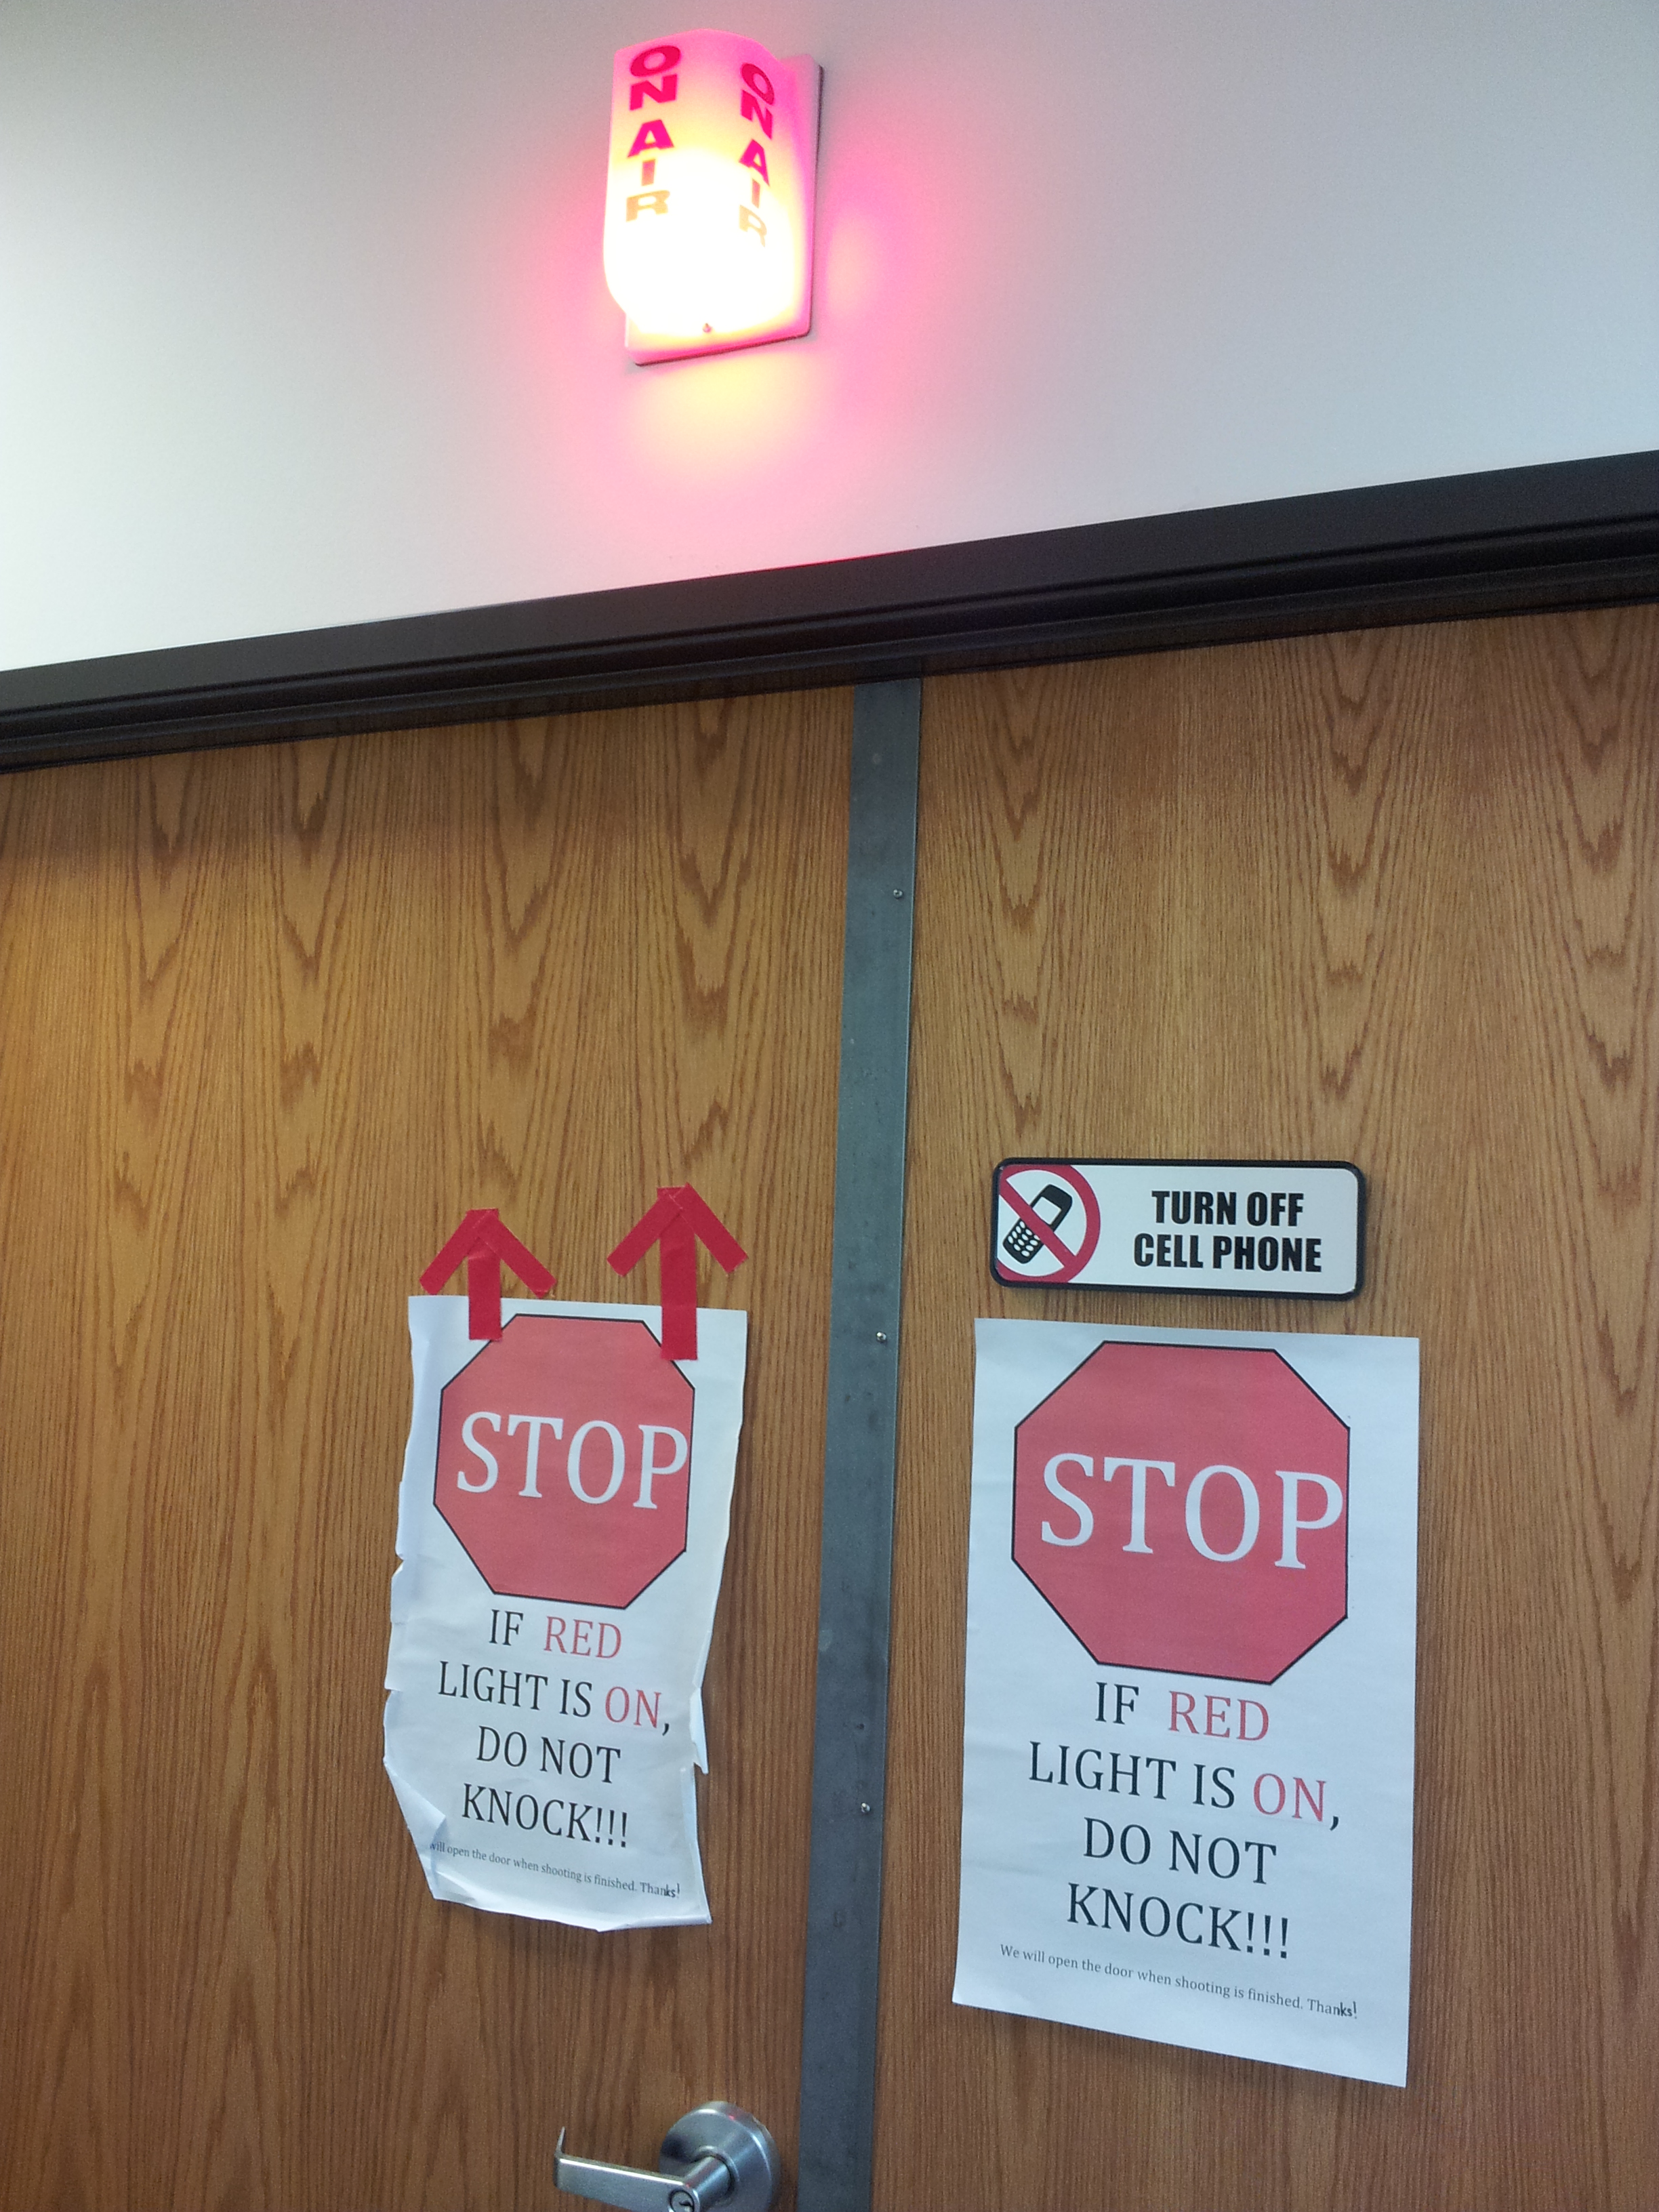
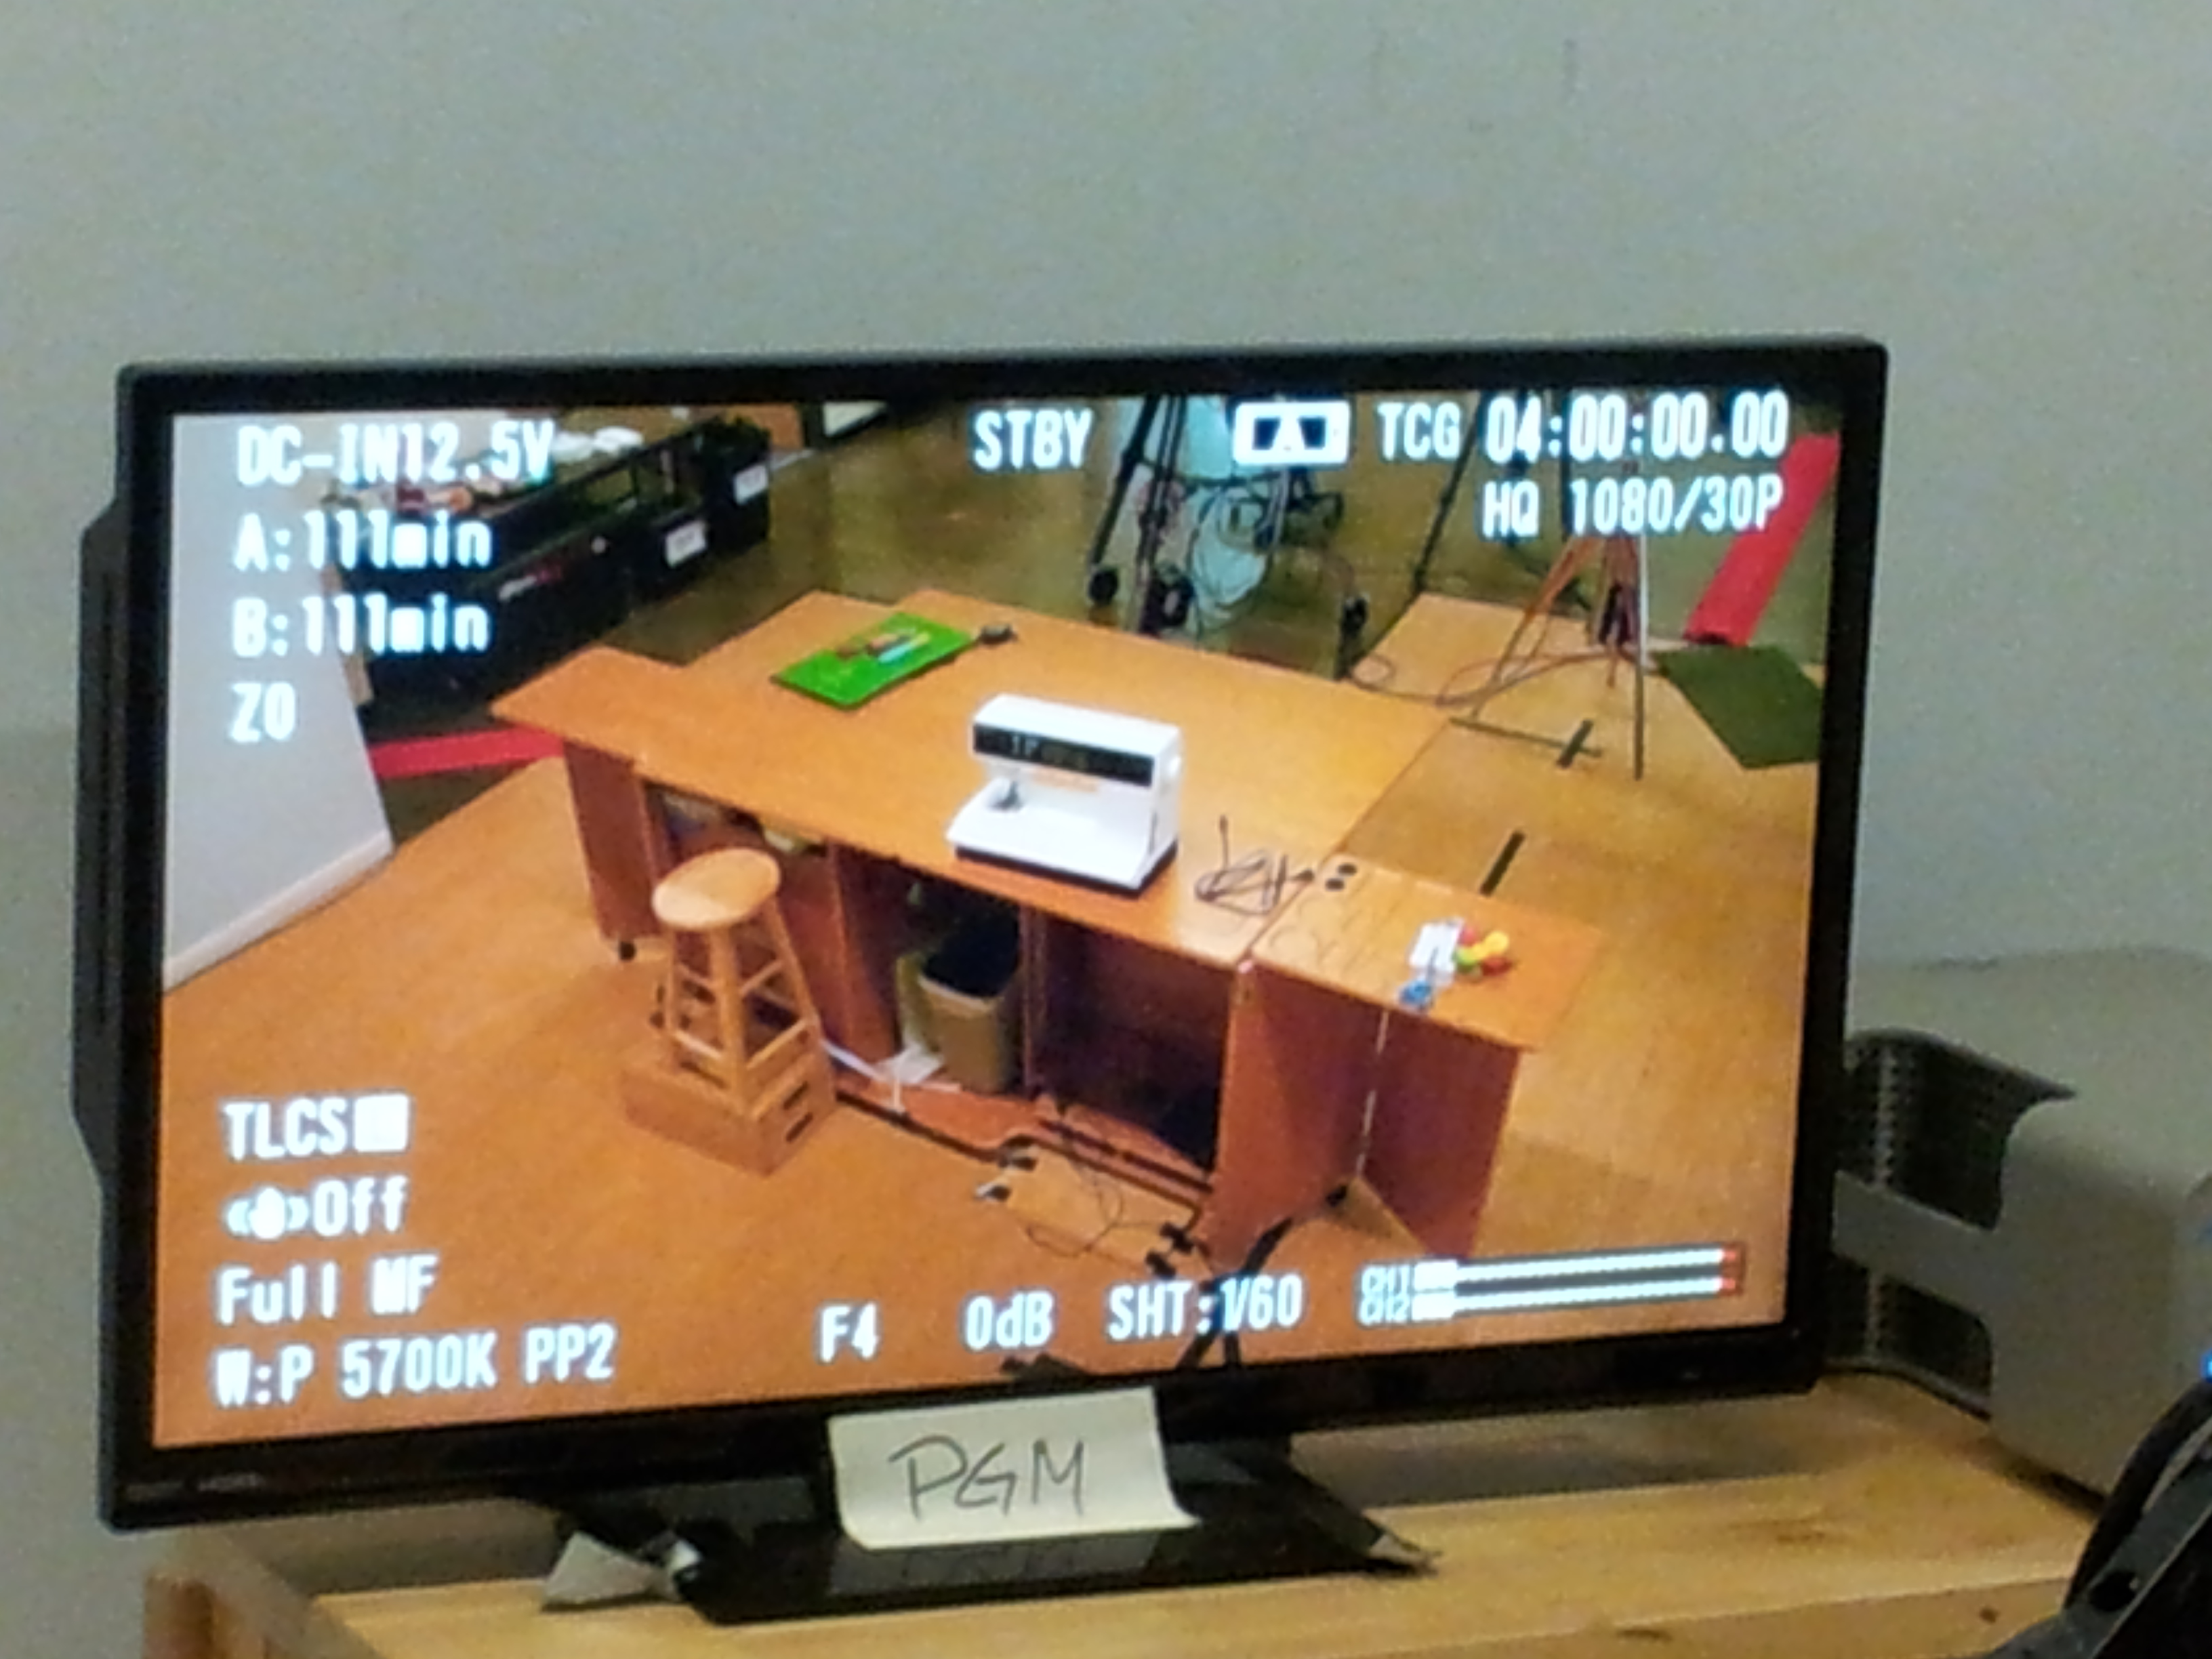
Next week I will be back in the studio filming for Fons and Porter.  Ever wonder what it is like backstage?  I hope to give you a peek behind the scenes!

20160205_081703

Join me live this Wednesday on Facebook at 6pm MST.  I would love to hear from you.

Facebookad2_big

Until next time,

Jenny Kae