No matter what techniques you try, what foot you use, or how many pins! This tip will make it better every time. I promise.
My best tip is starch.
“Starch?!? Who has the time for that, Jenny?!?”
I never used to because I didn’t see the point. It seemed like an antiquated step we modern quilters didn’t need to take.

I was wrong. You may have tried starch before and think “what is the big deal?”. Before I tell you WHY I was wrong, I want to tell you HOW to starch. Then I will explain why it is a big deal.
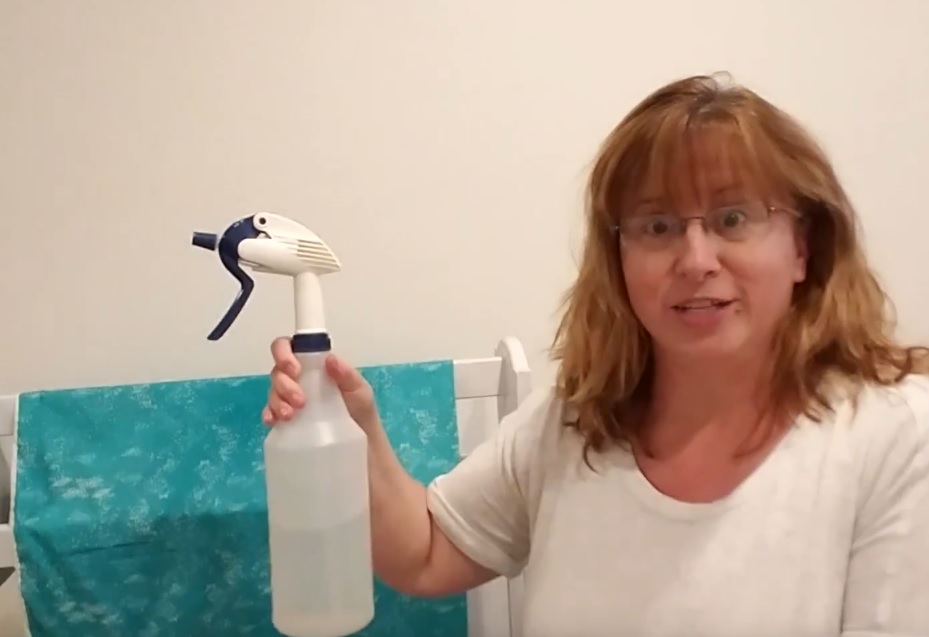
Our fore-quilters washed laundry every week. One day was Wash Day. The next day was Pressing Day. To prepare for pressing, they sprinkled the damp fabric with starch, rolled it up and while it was still damp, they ironed it.
When I read that in Little House on the Prairie, it was a light bulb moment. “What if I tried that with quilting? Would it make a difference?”
I tried it and it is brilliant!
Step 1. Wet the fabric. I am serious about water. Spray all of the fabric. You want it “ready for the dryer” kind of wet.
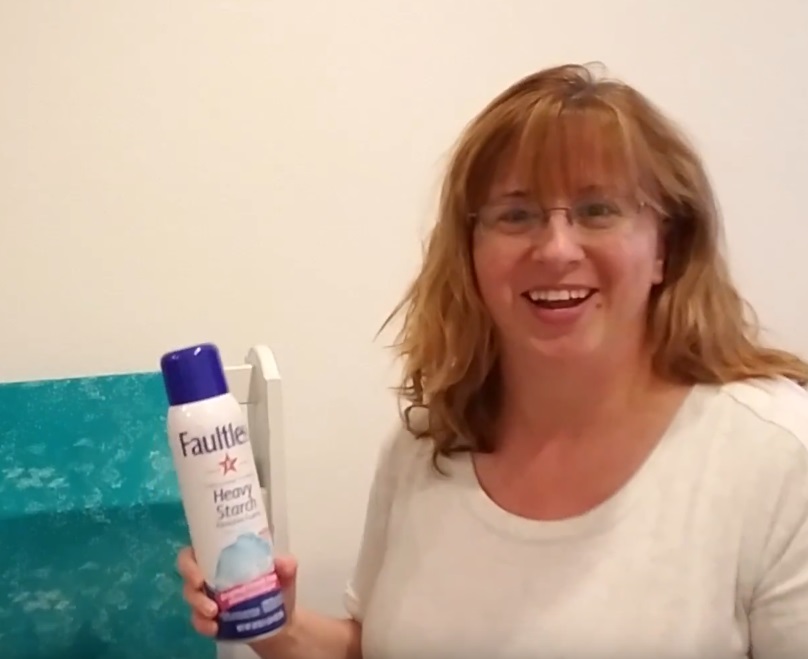
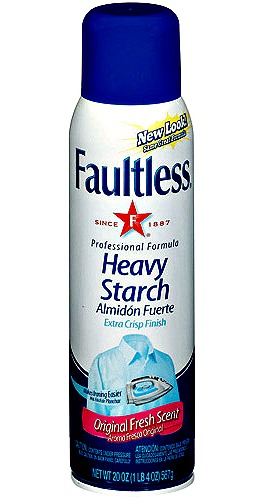
Step 2. Spray starch. Cover that fabric with starchie goodness! This is not the time to be skimpy. I have tried all kinds of starches but Faultless Spray Starch is my go-to. It is my favorite for several reasons: It works beautifully, it is inexpensive, it is easy to buy in the middle of the night before an am deadline, it can be shipped to you in a 12-count box, and, again, if you follow this method, it works beautifully.
Step 3. Let the starch soak into the fabric. If you press too soon, before the starch has permeated the fabric, you will get white flakes of starch, yuck. Go organize your scraps or something.
Step 4. Time to press. Using a super hot iron, carefully press the still-damp fabric one section at a time. If you do it right, you will see steam rise from where you are pressing. Don’t move the fabric too quickly. Make sure it is pretty dry or you will add wrinkles. And no one wants that!
Now for the WHY! Properly starched fabric will feel different in your hand. It will feel stiffer and more crisp. So much so, I like to say it can walk to the cutting table! It will not easily distort and it will press beautifully. Crisp seams, no distortion and beautifully pressed are the qualities we want in curved piecing.
No matter HOW you do curved piecing, properly starched fabric is WHAT to do it with. It will be better every time. I promise.
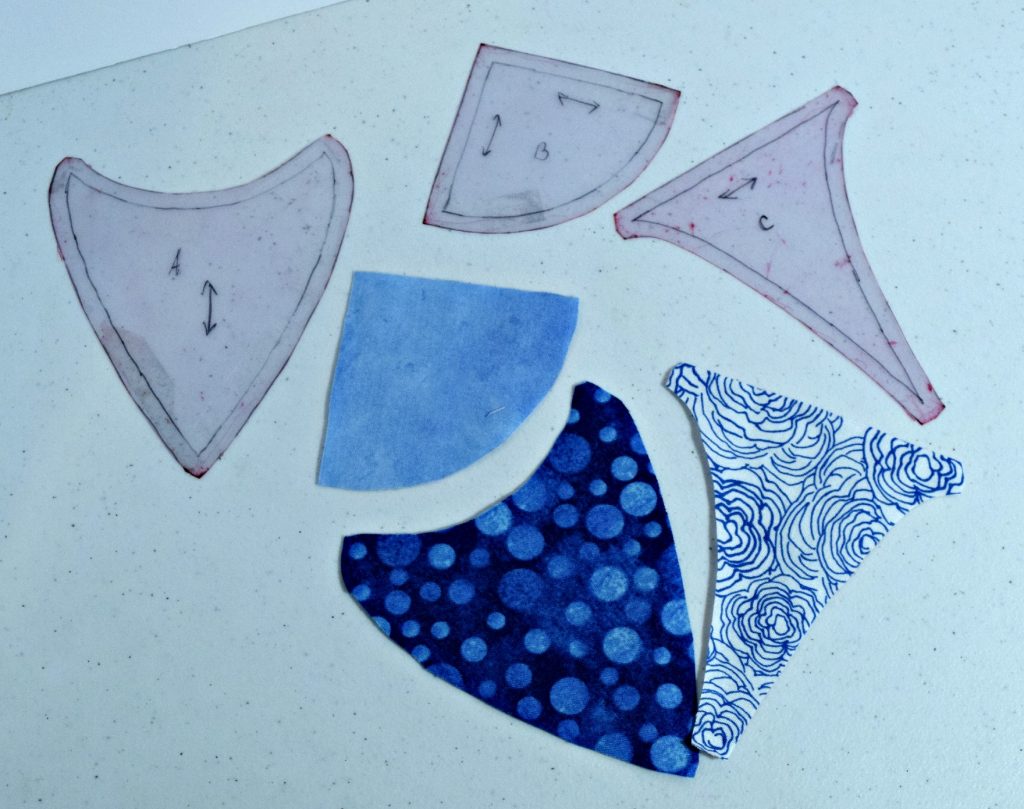
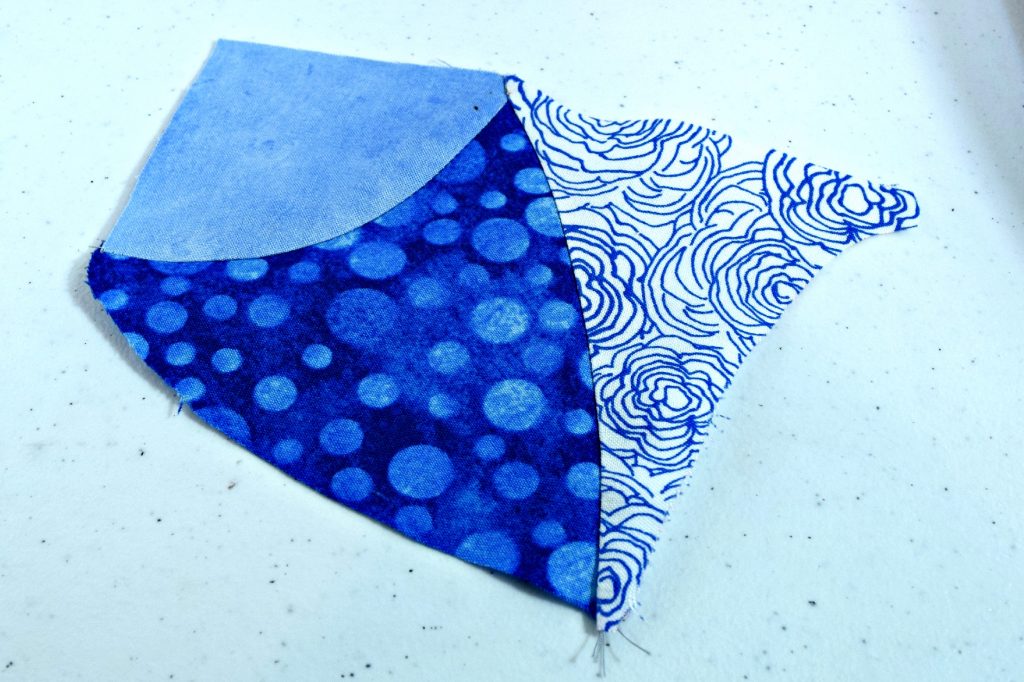
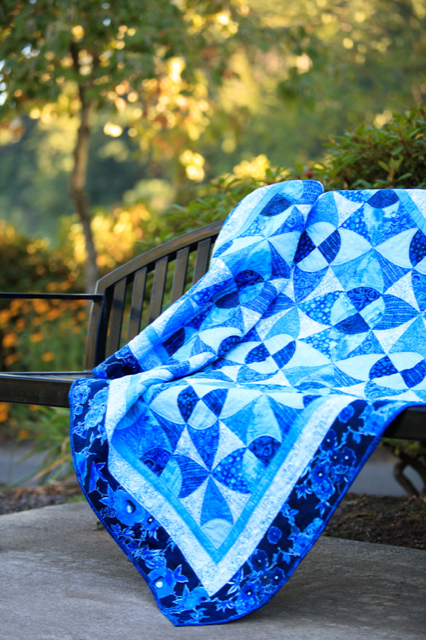
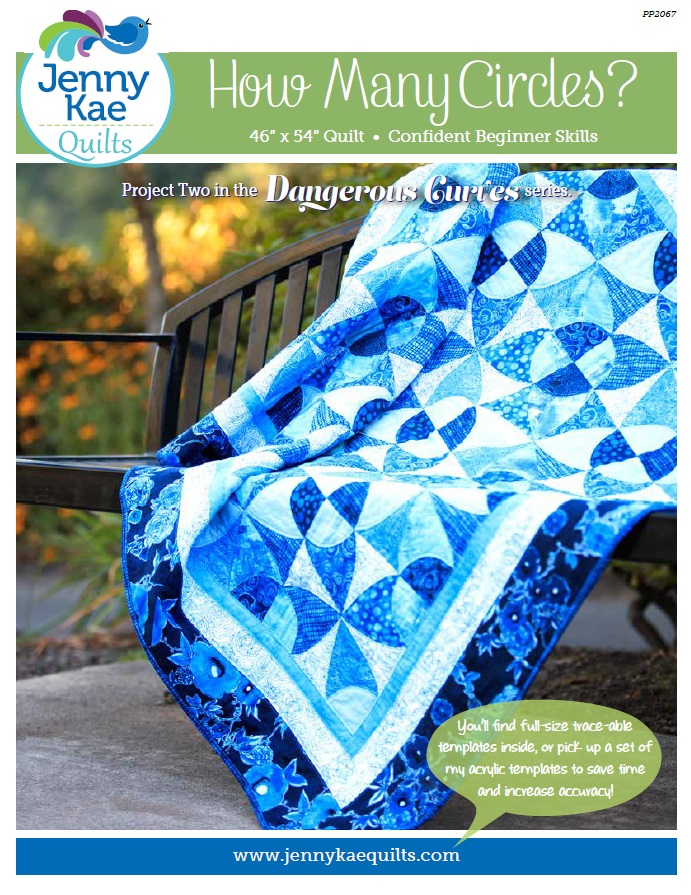
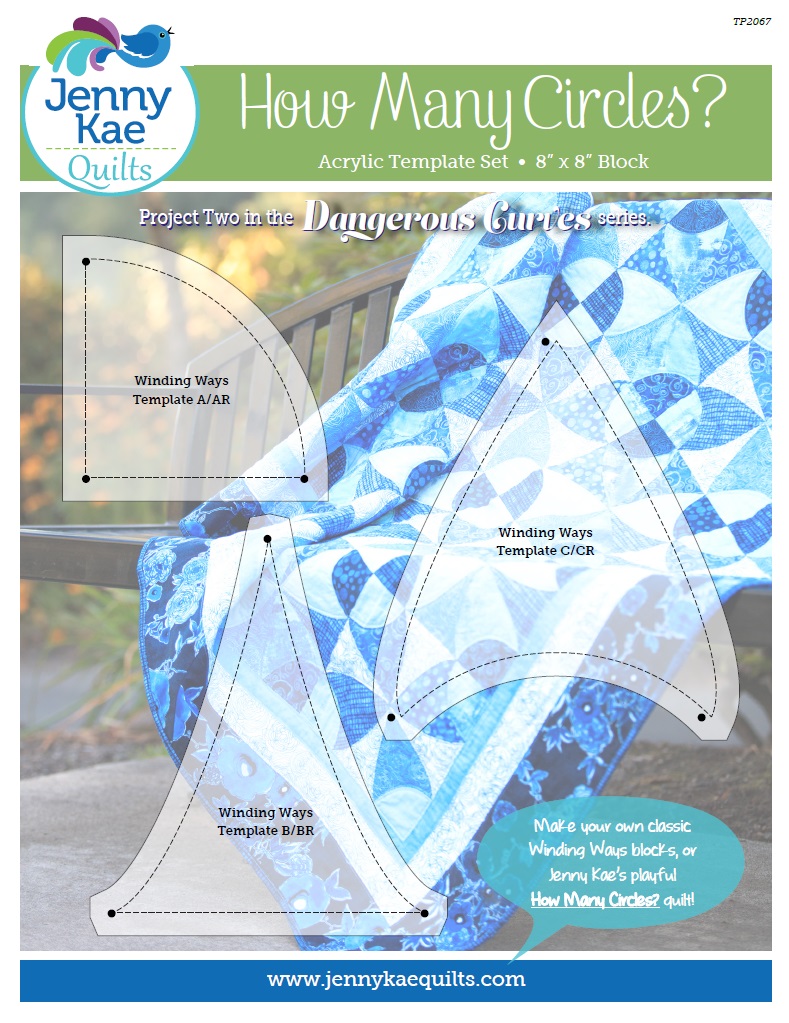
Check out How Many Circles, my latest pattern in the Dangerous Curves series. It has this tip and plenty more. If you have tried curved piecing, with less-than-glorious blocks, this is the pattern for you. You CAN do it and get GREAT results.
Thanks for reading,
Jenny Kae
P.S. If you want to see my two step-by-step videos on this subject, click Part 1 and Part 2.


