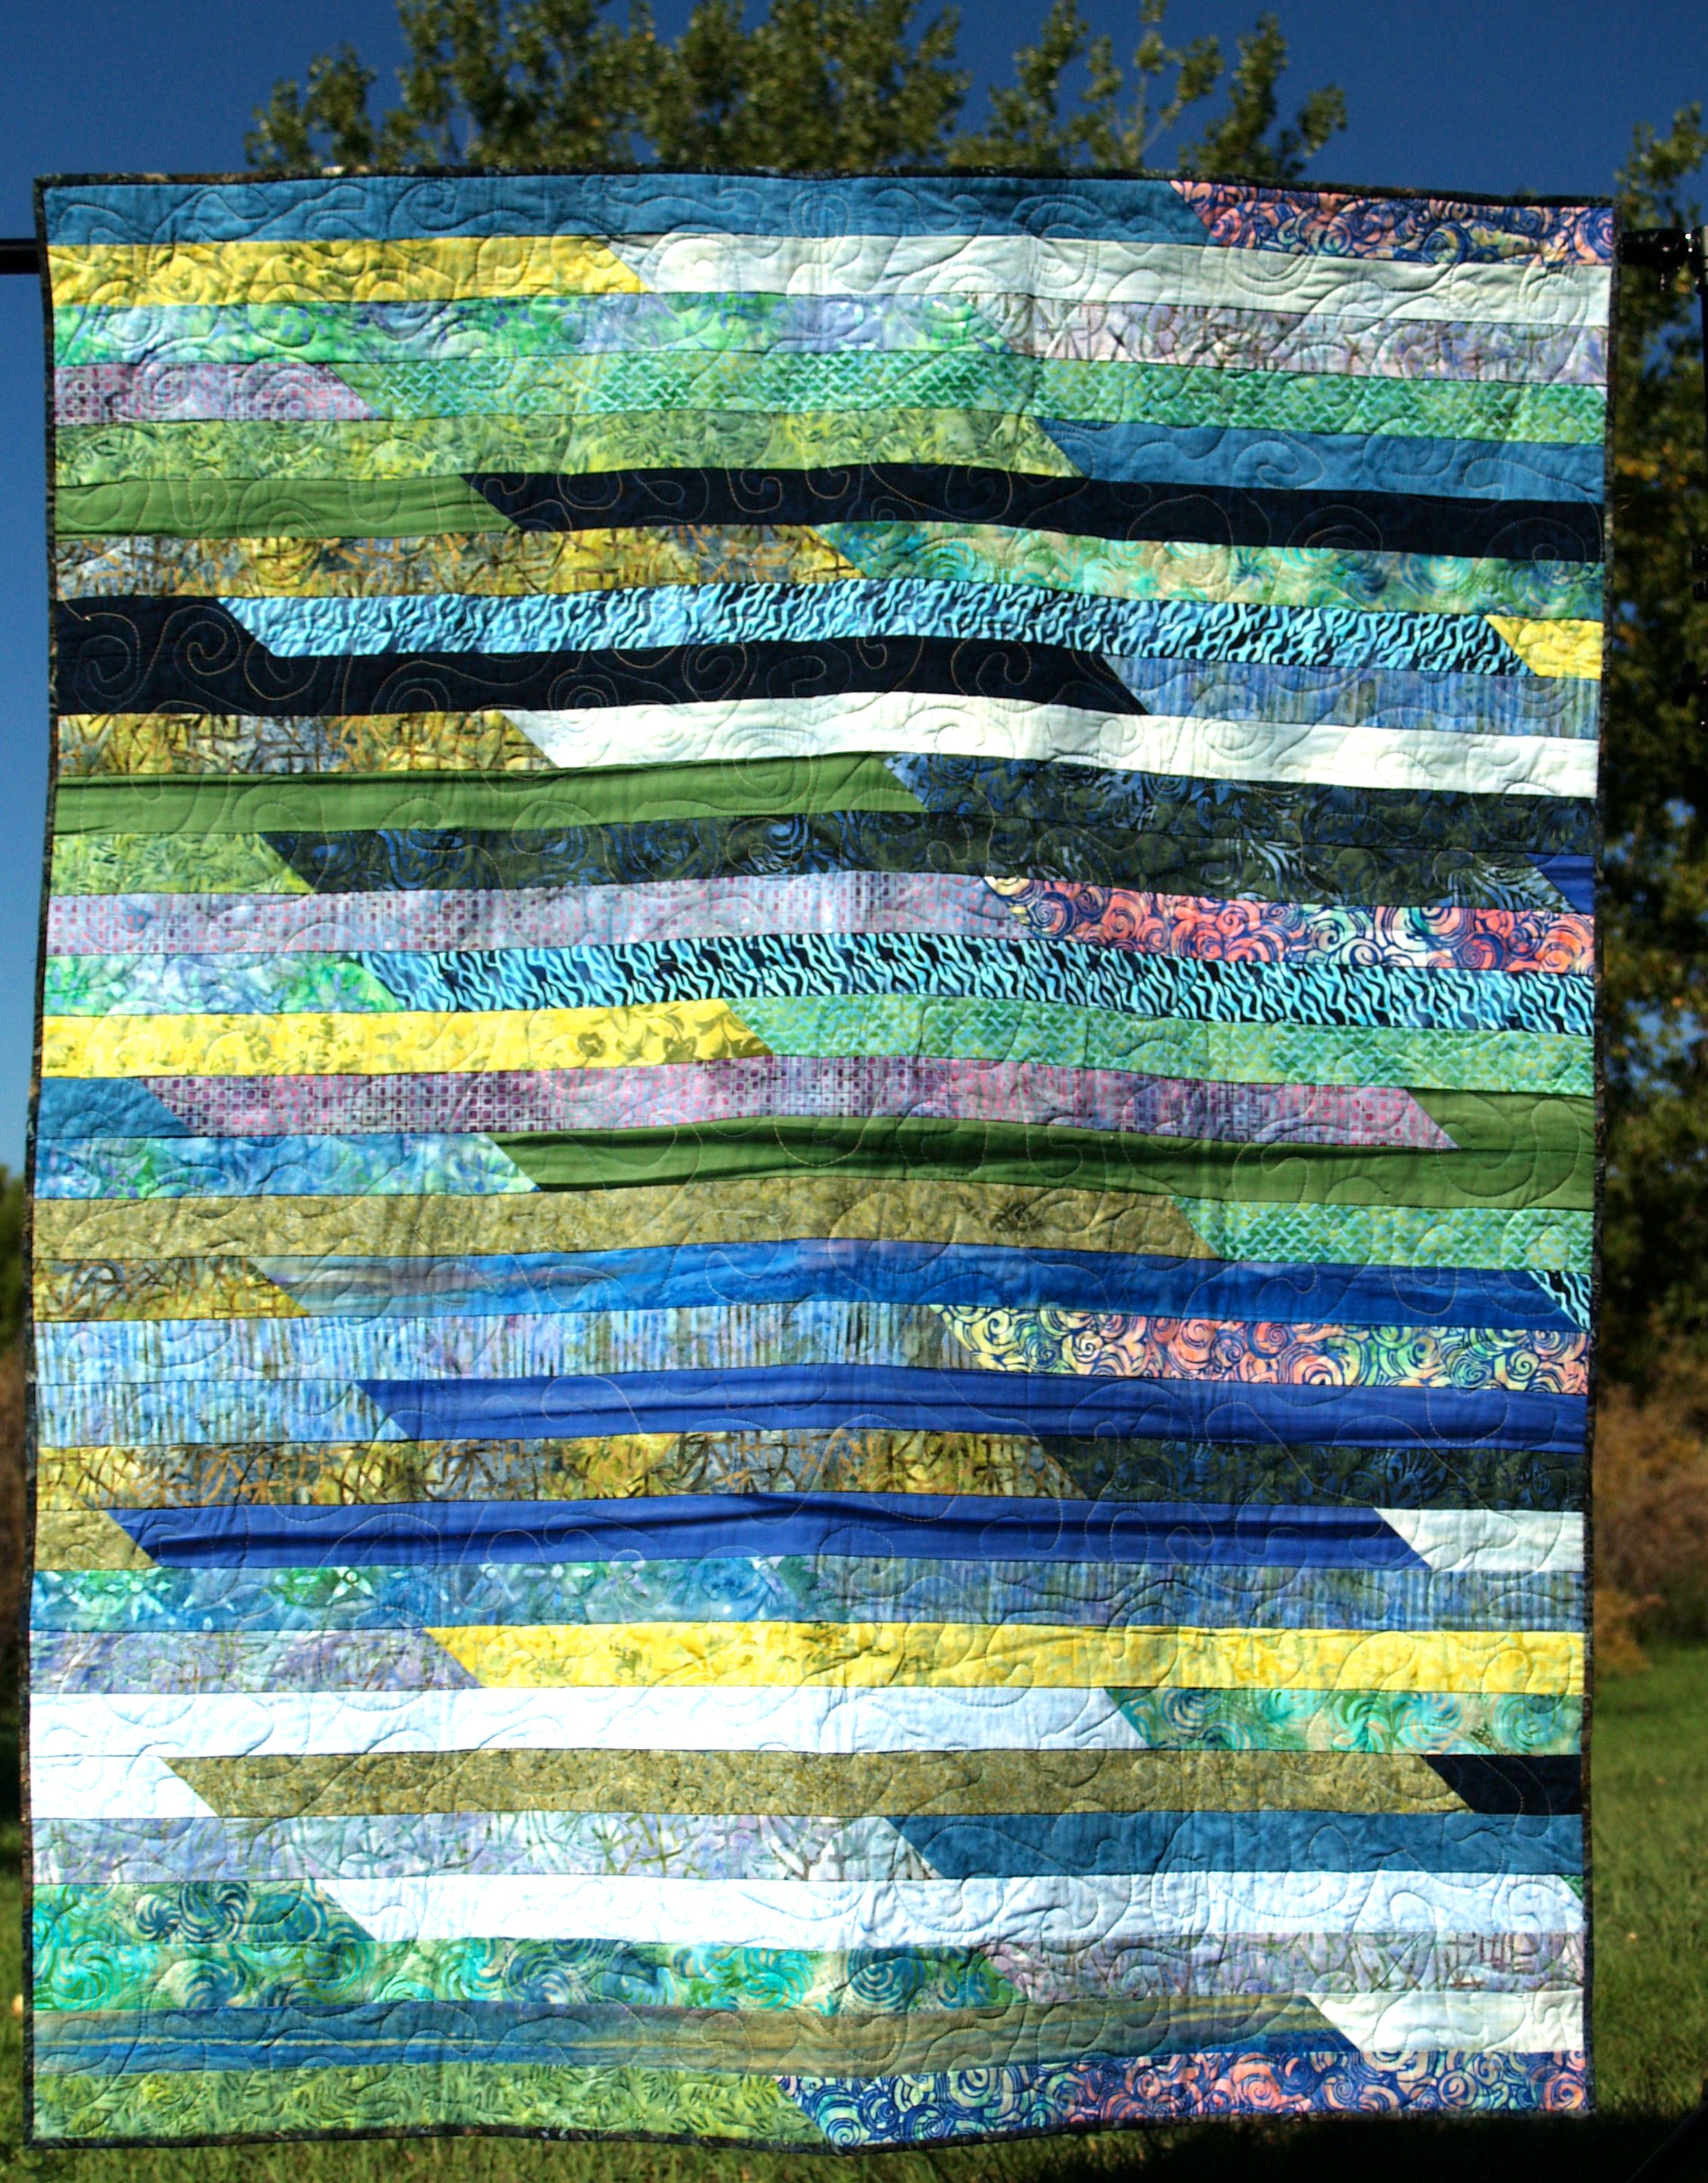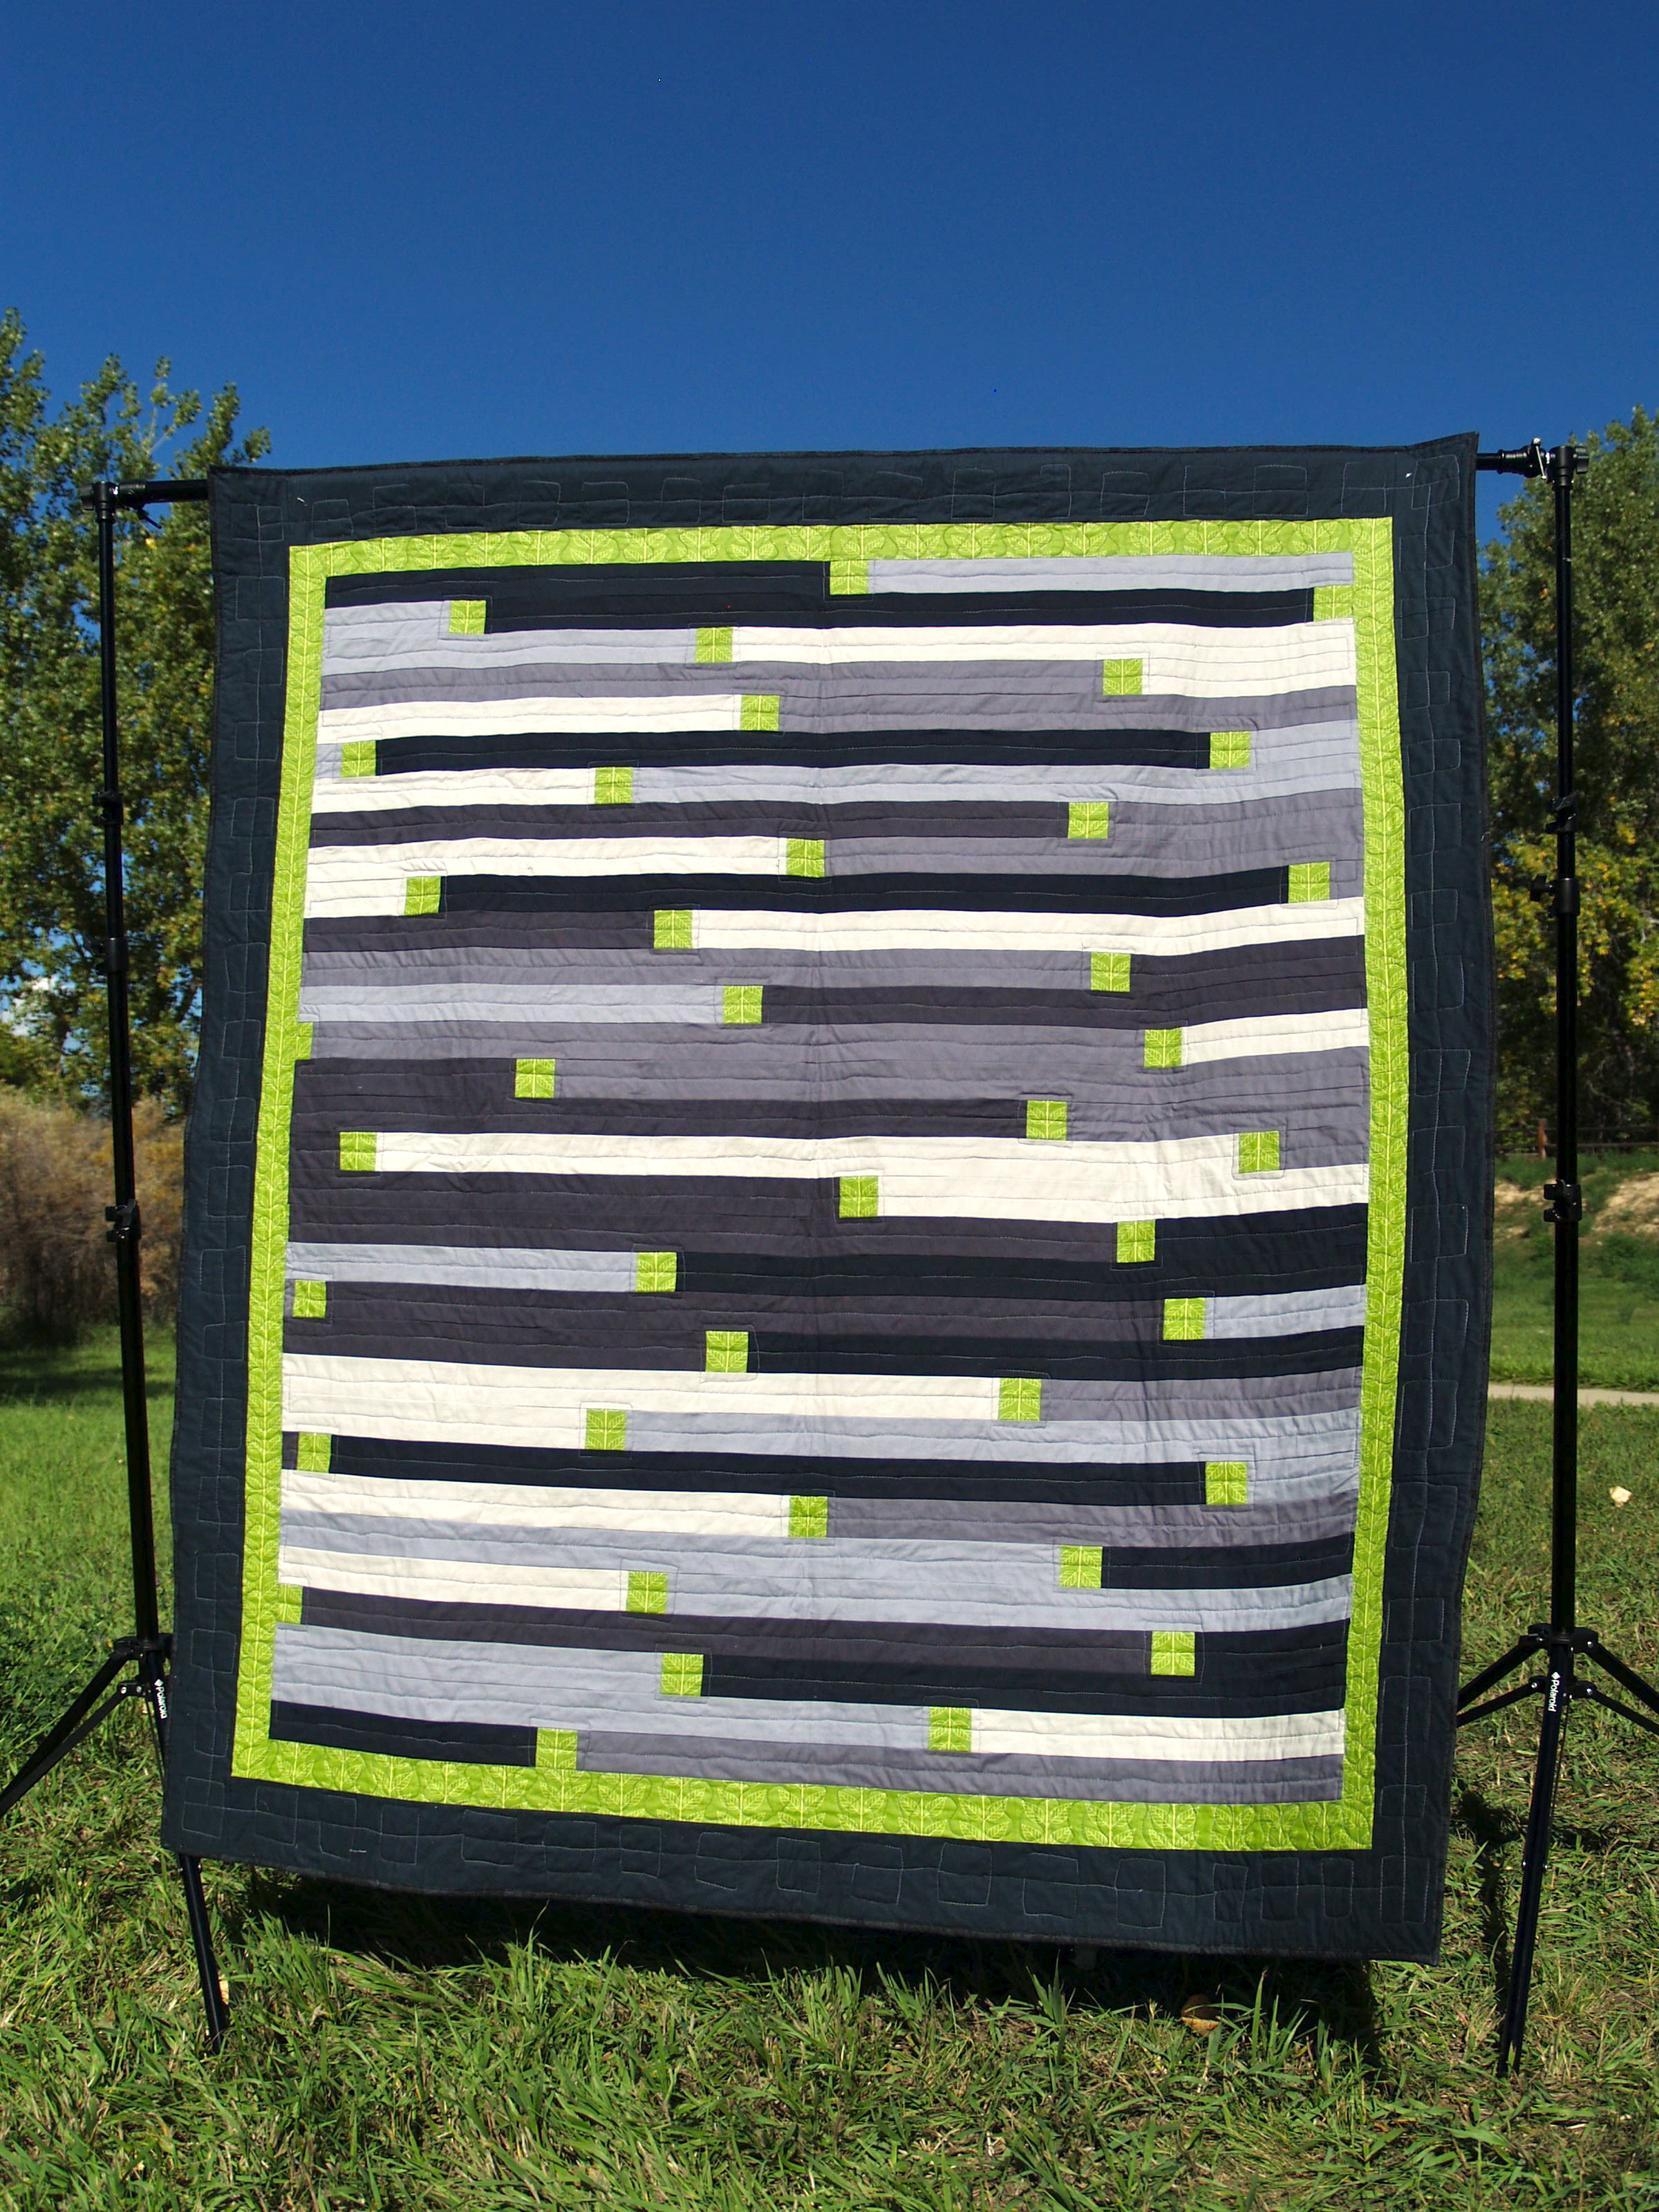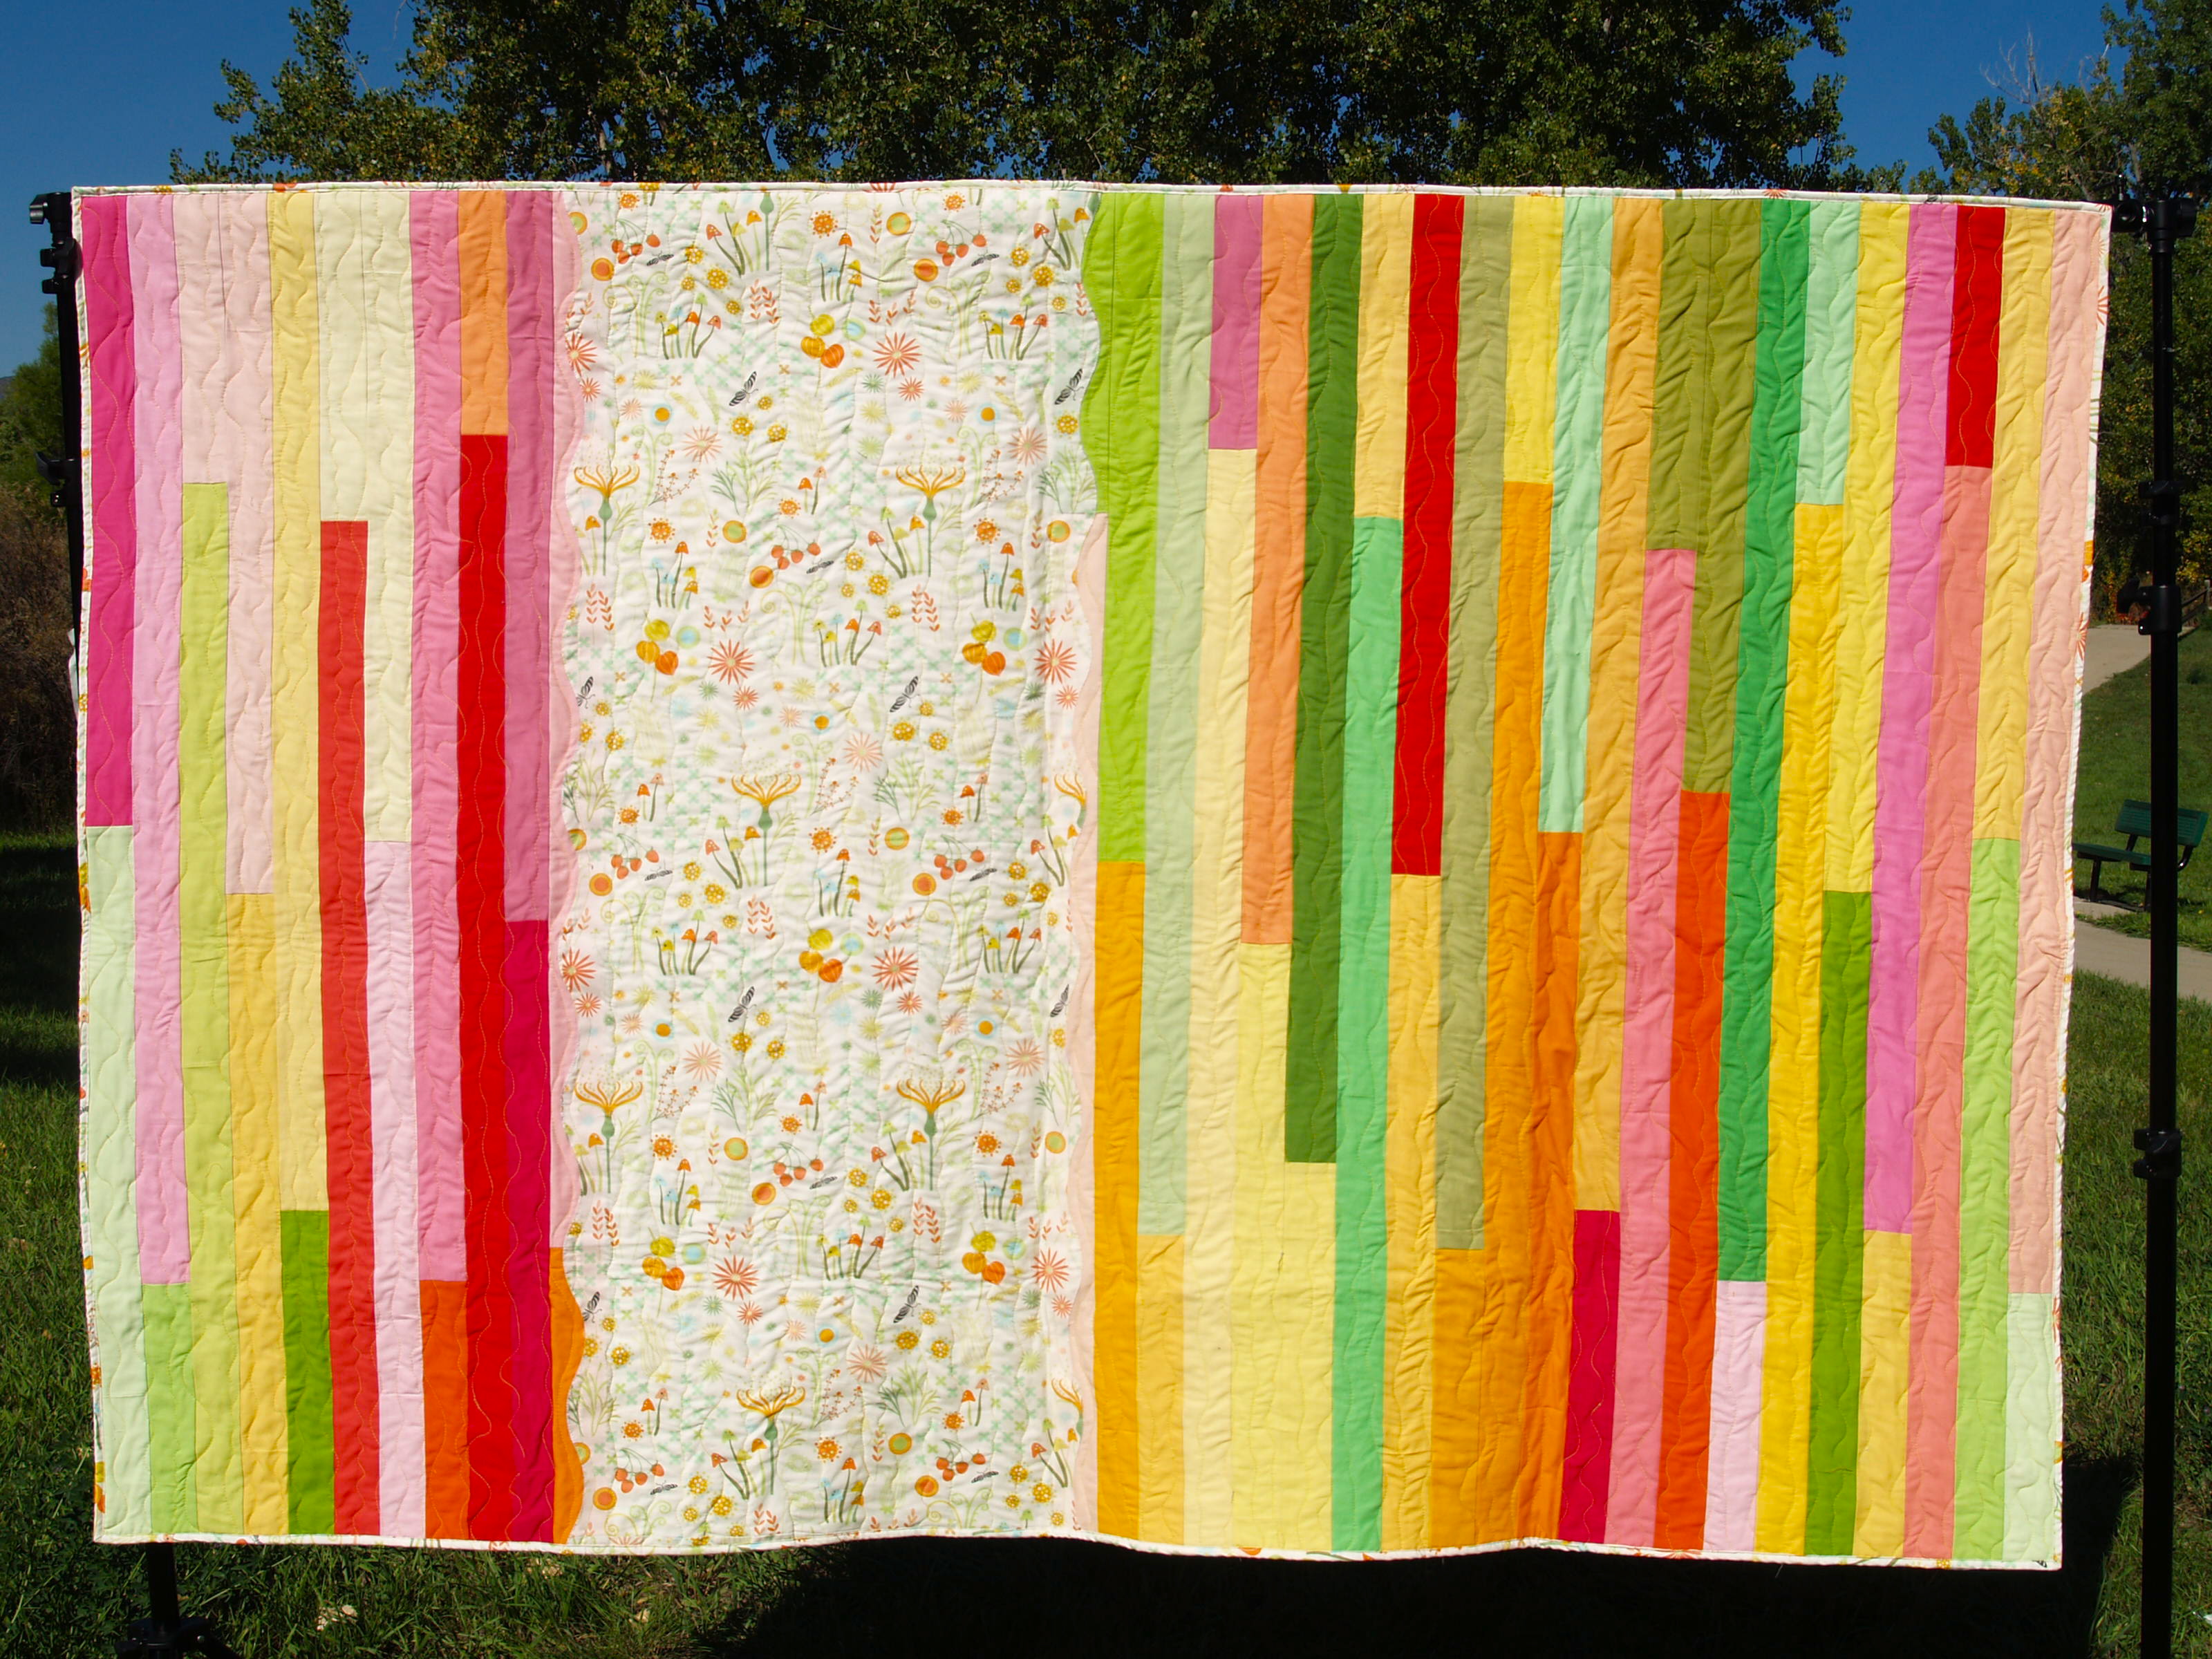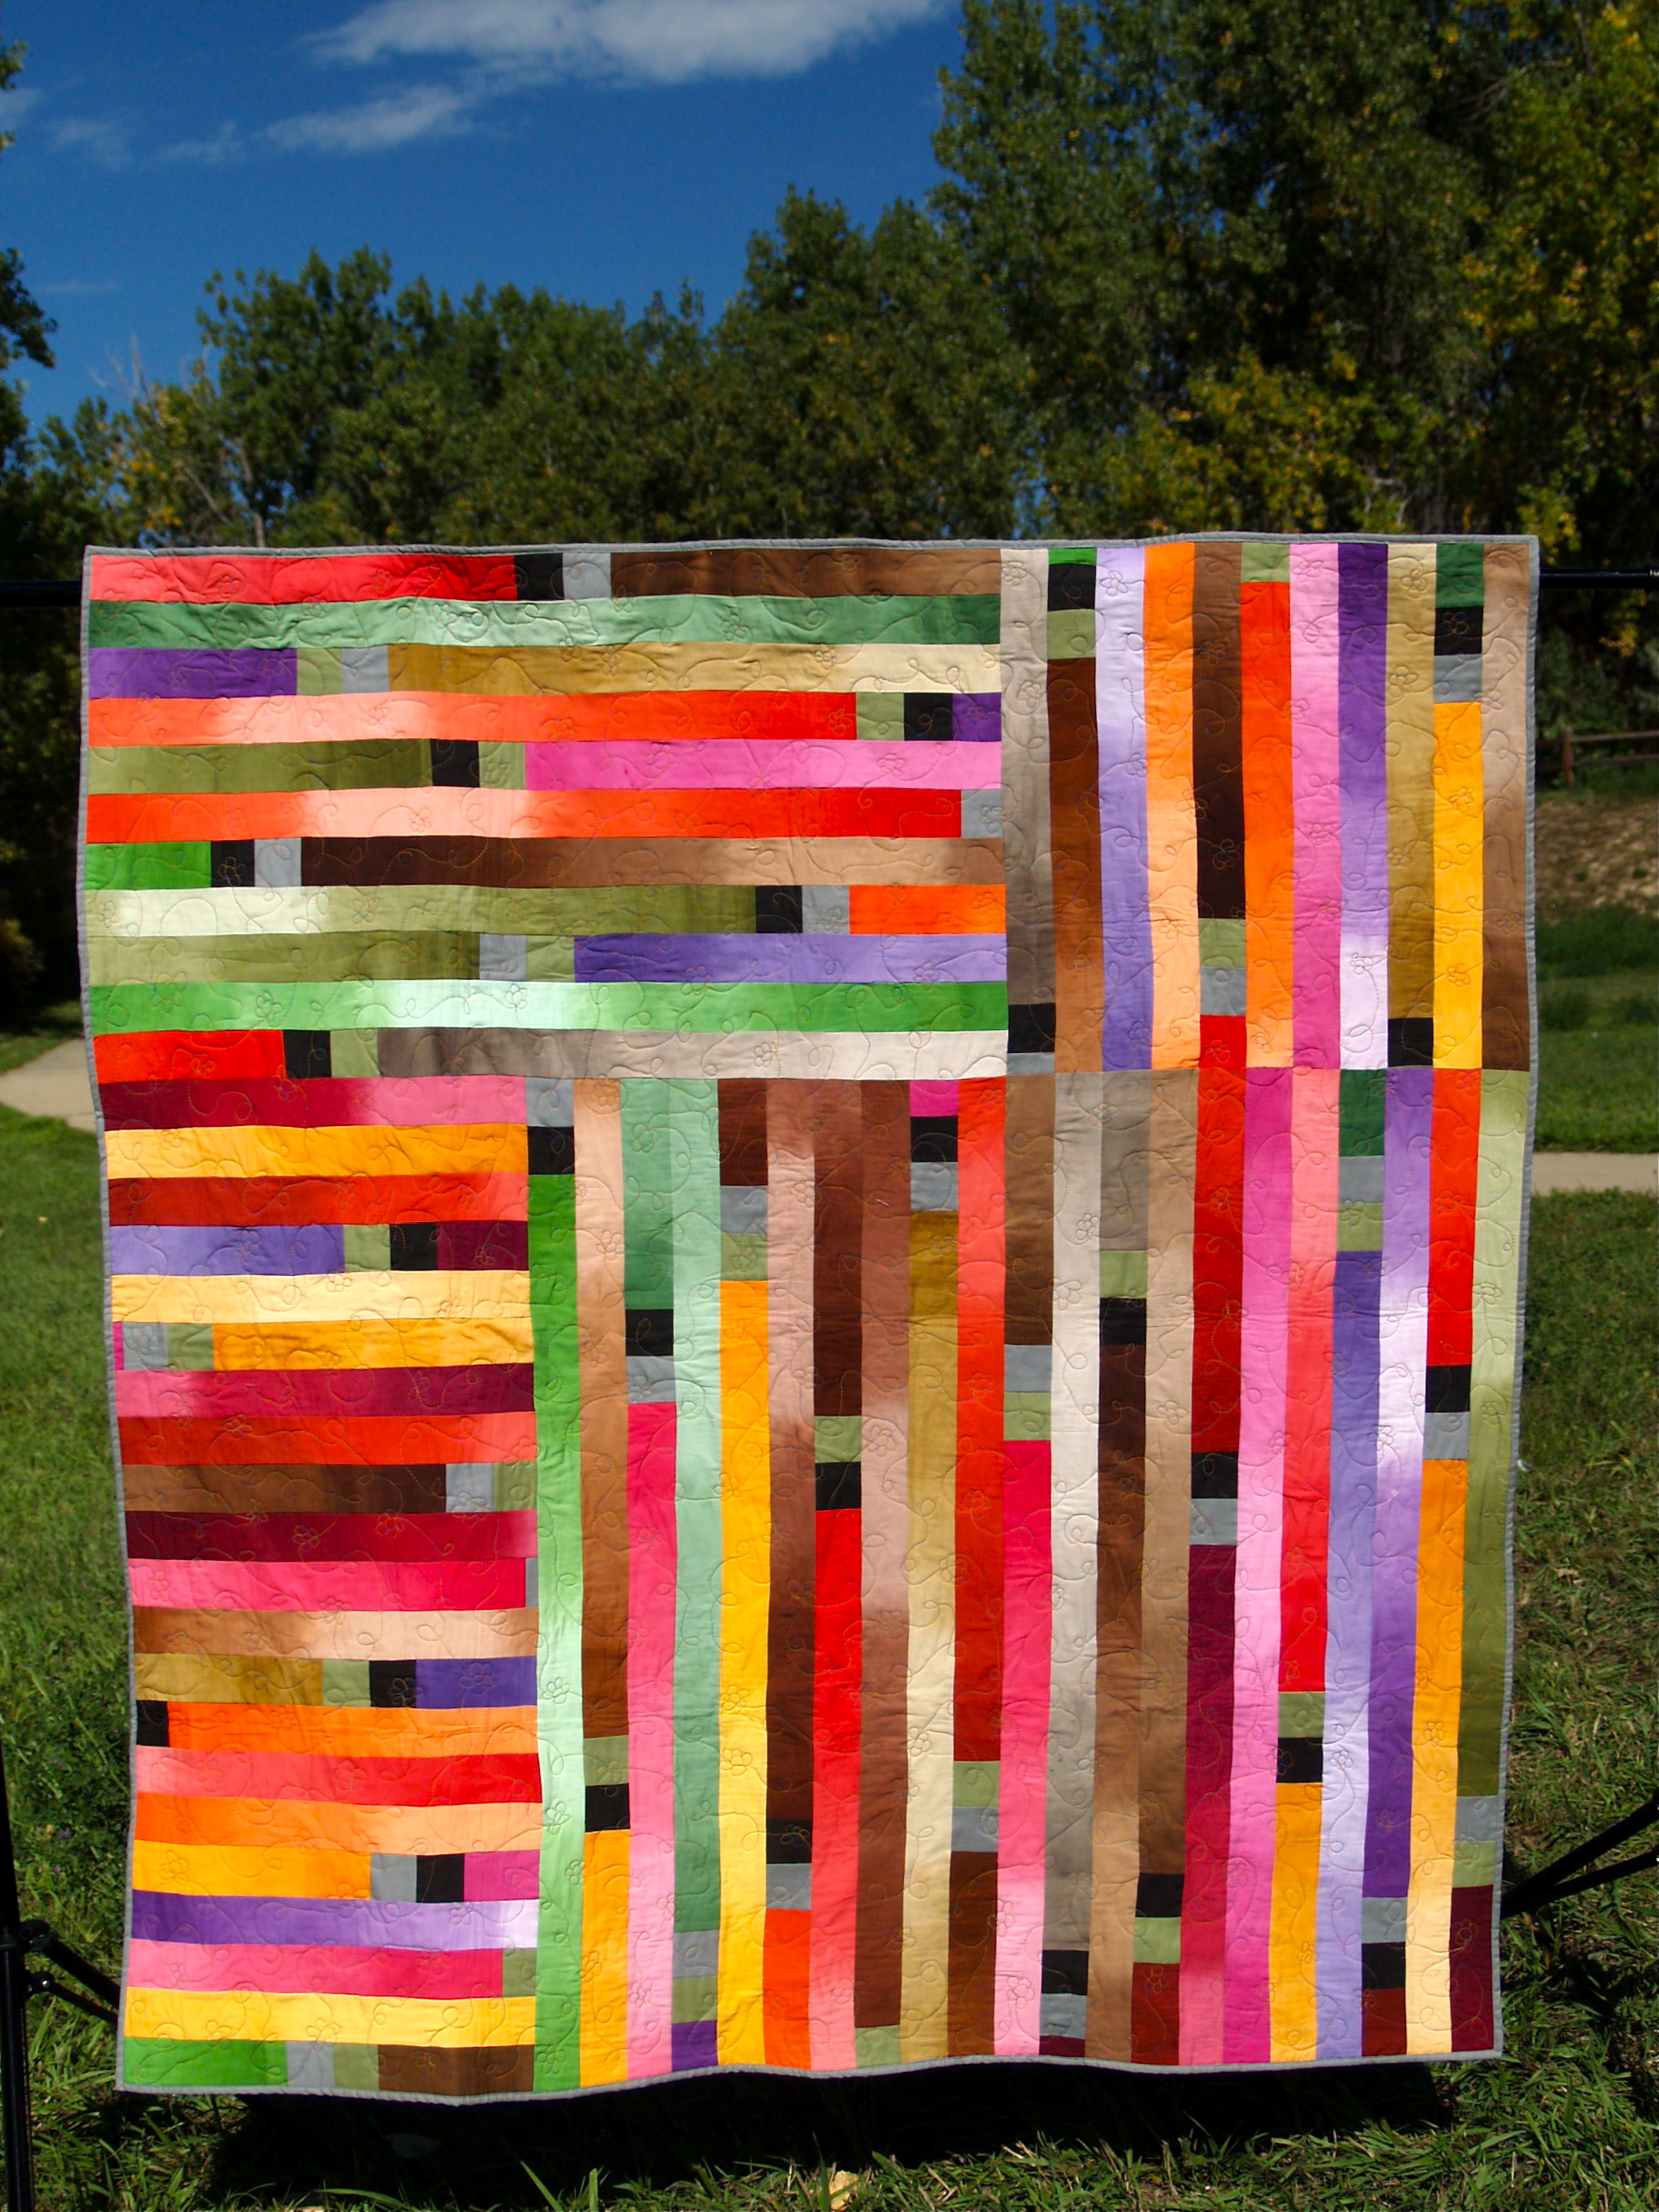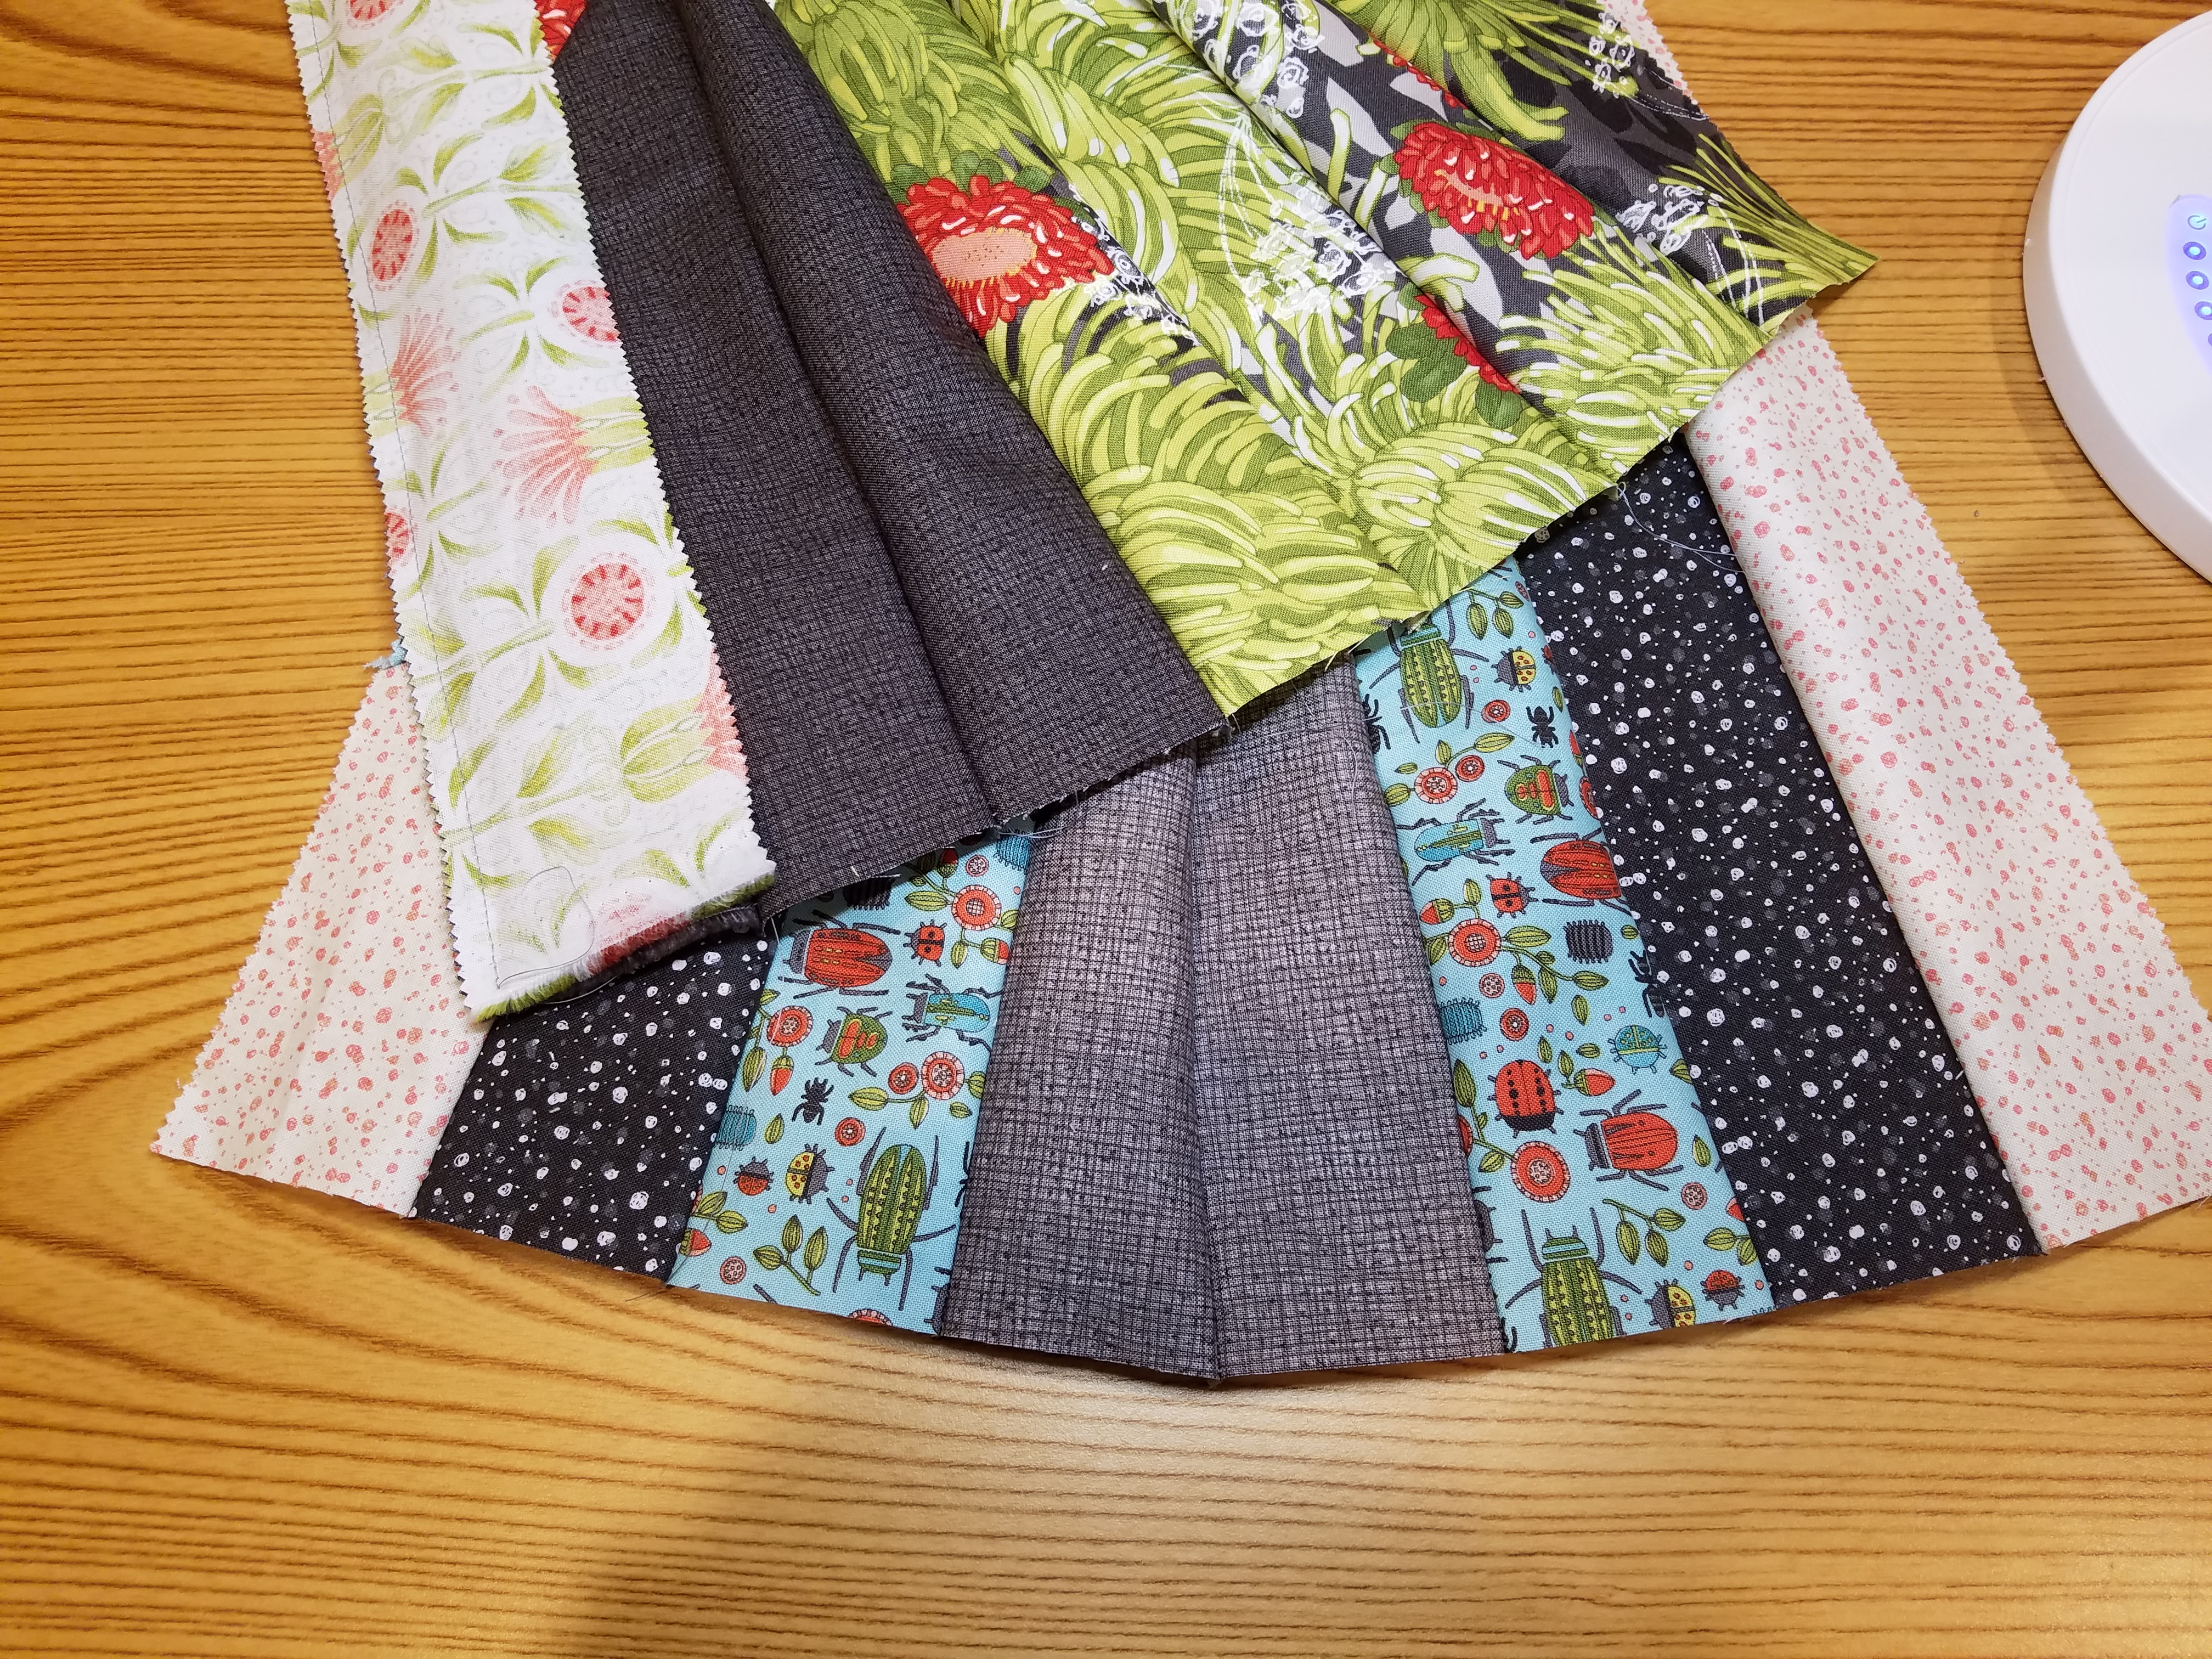
I am sure you have seen them. The quilts that are all stripes. I find them fascinating! You have no idea where the fabric will end up. And I LOVE how crazy-fast they are to make, like just an hour! Seriously! Crazy!
I call my version 1600 because the piecing method gives you a strip about 1600″ long. And because the term “Jelly Roll Race” belongs to Missouri Star Quilt Company who are the brilliant creators of this quilt. And also because the term “Jelly Roll” (aka 2-1/2″ strip sets) belongs to Moda, the inventors of pre-cuts (aka fabric bait).
I have a designed a few different versions.
But let’s get to basics and learn how to make the regular quilt.
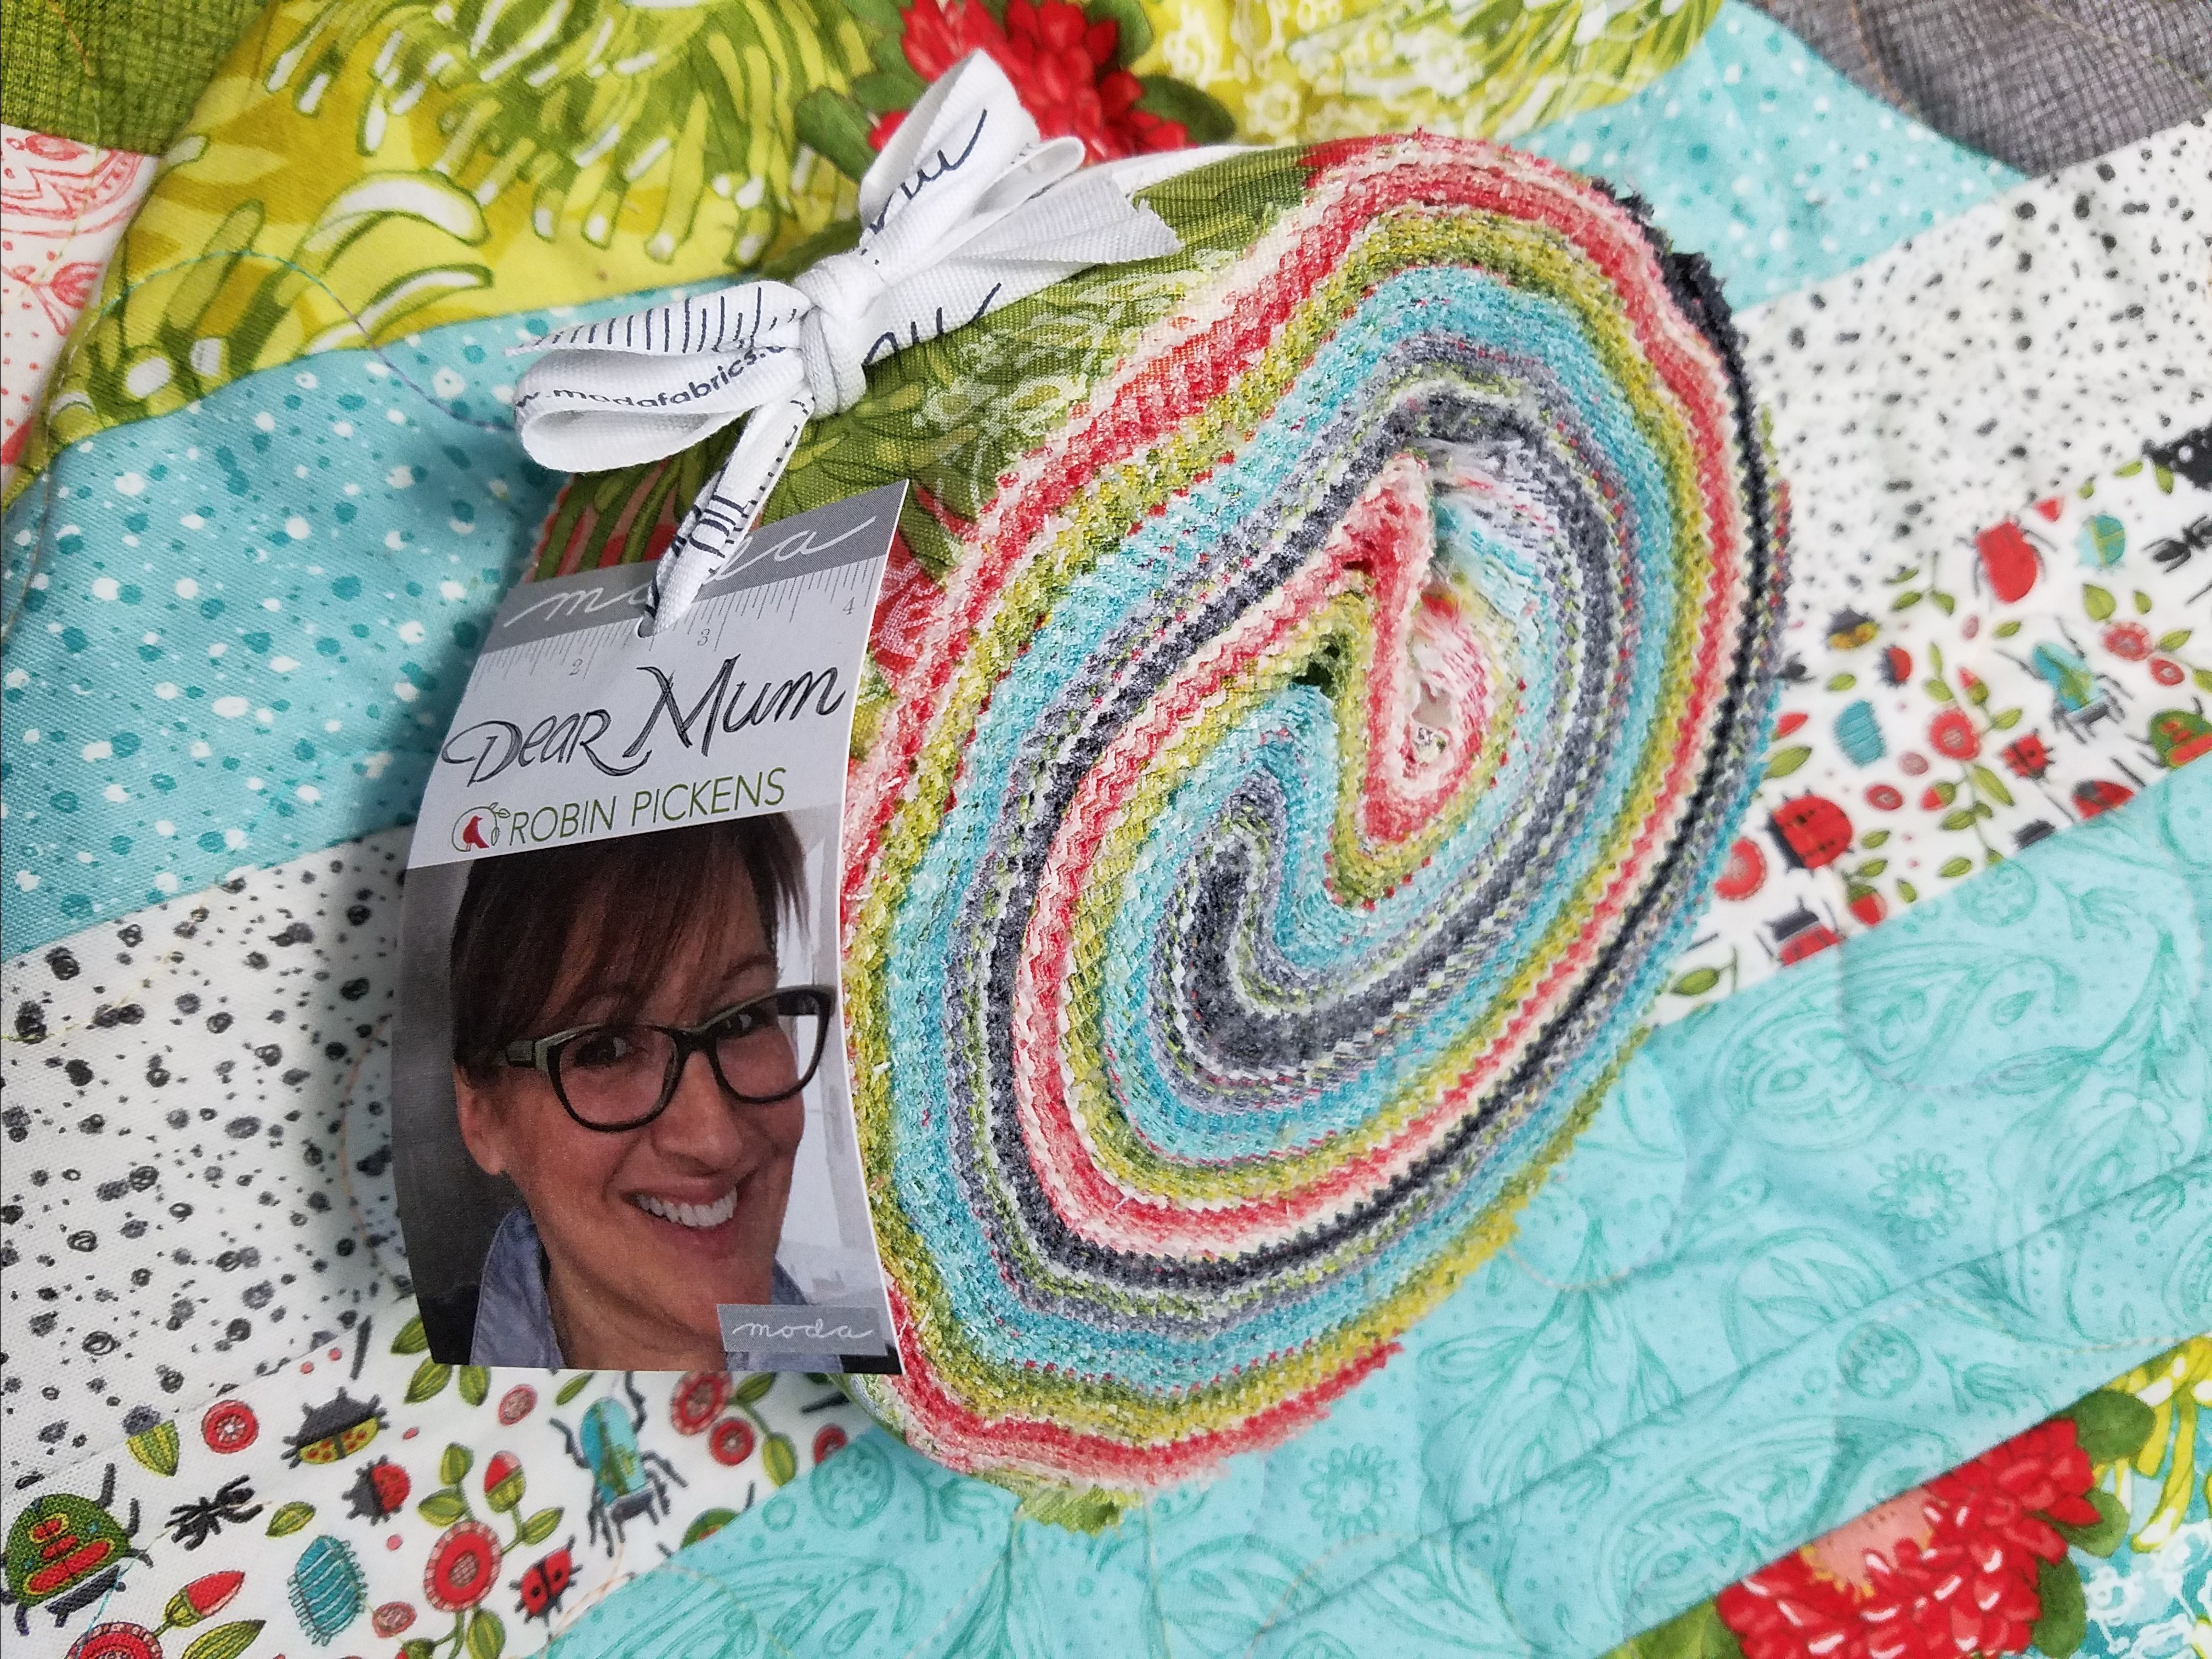
Supplies needed – 40 2-1/2″ strips, sewing machine, scissors, a friend to cheer you on, and Flight of the Valkyries playing in the background.
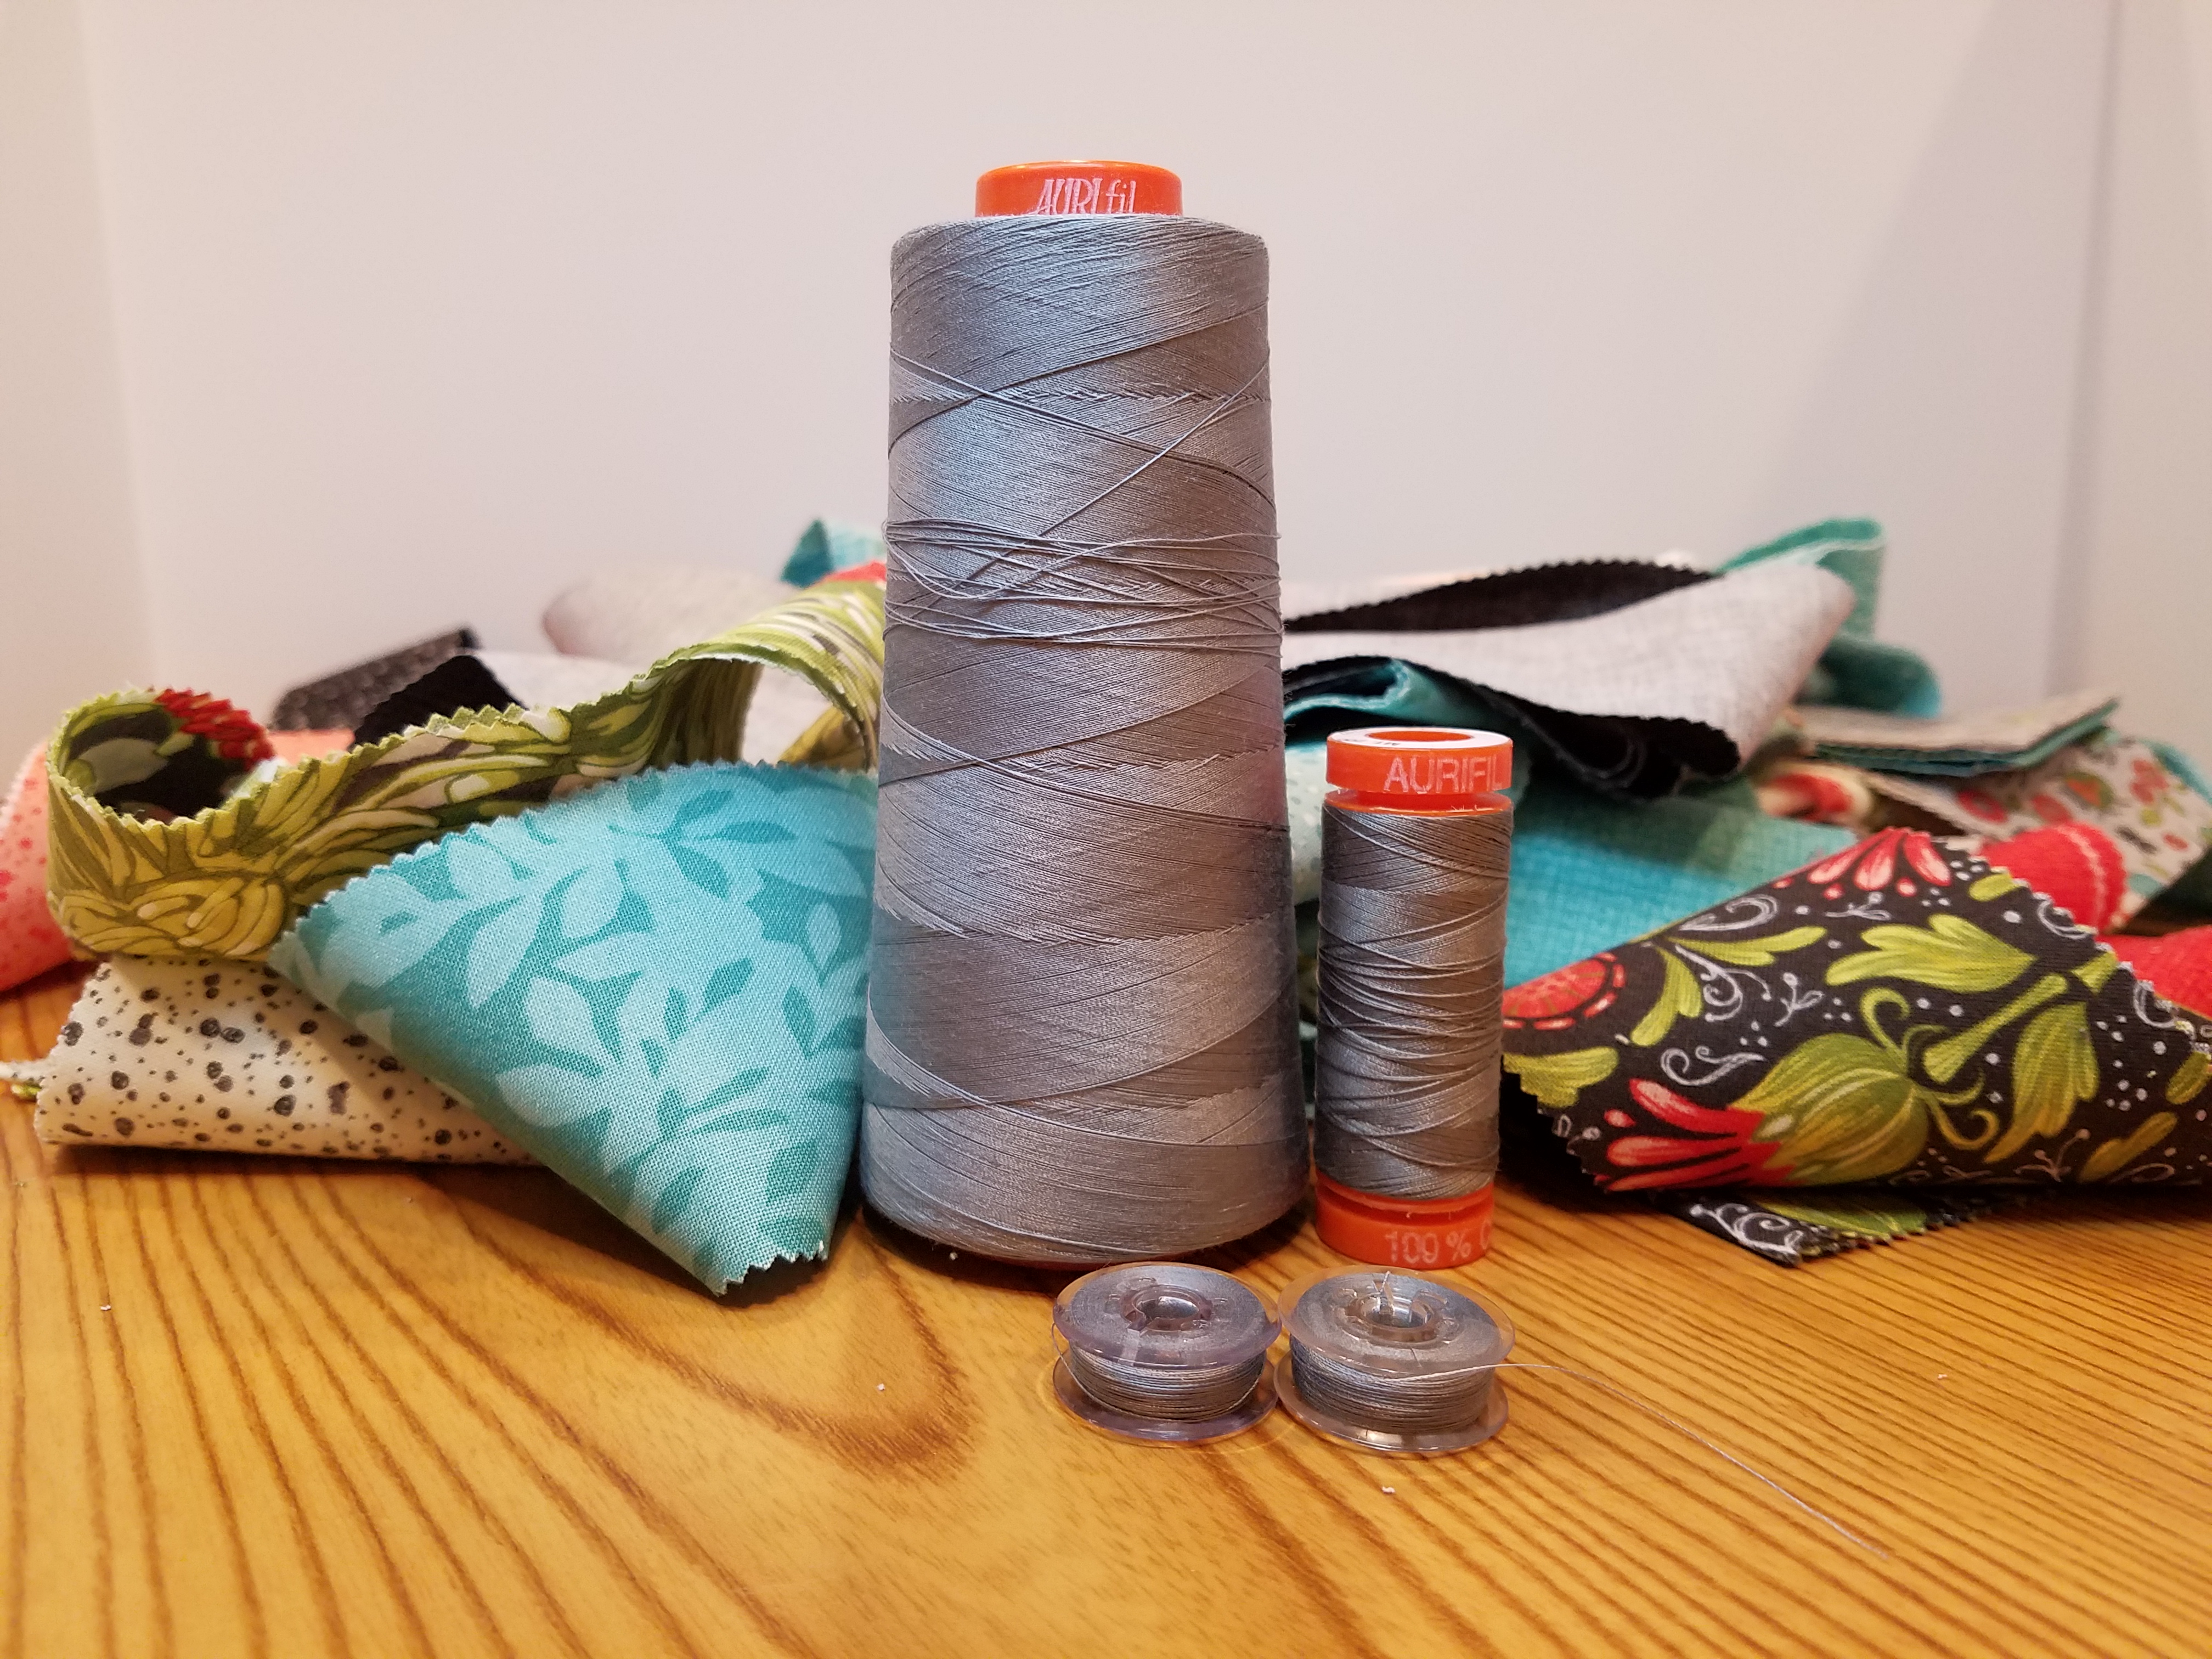
I also start with two or three bobbins, ready to go. And I use Aurifil because, well , I love Aurifil. For my complete thread philosophy, see this post
1. Make a pile.
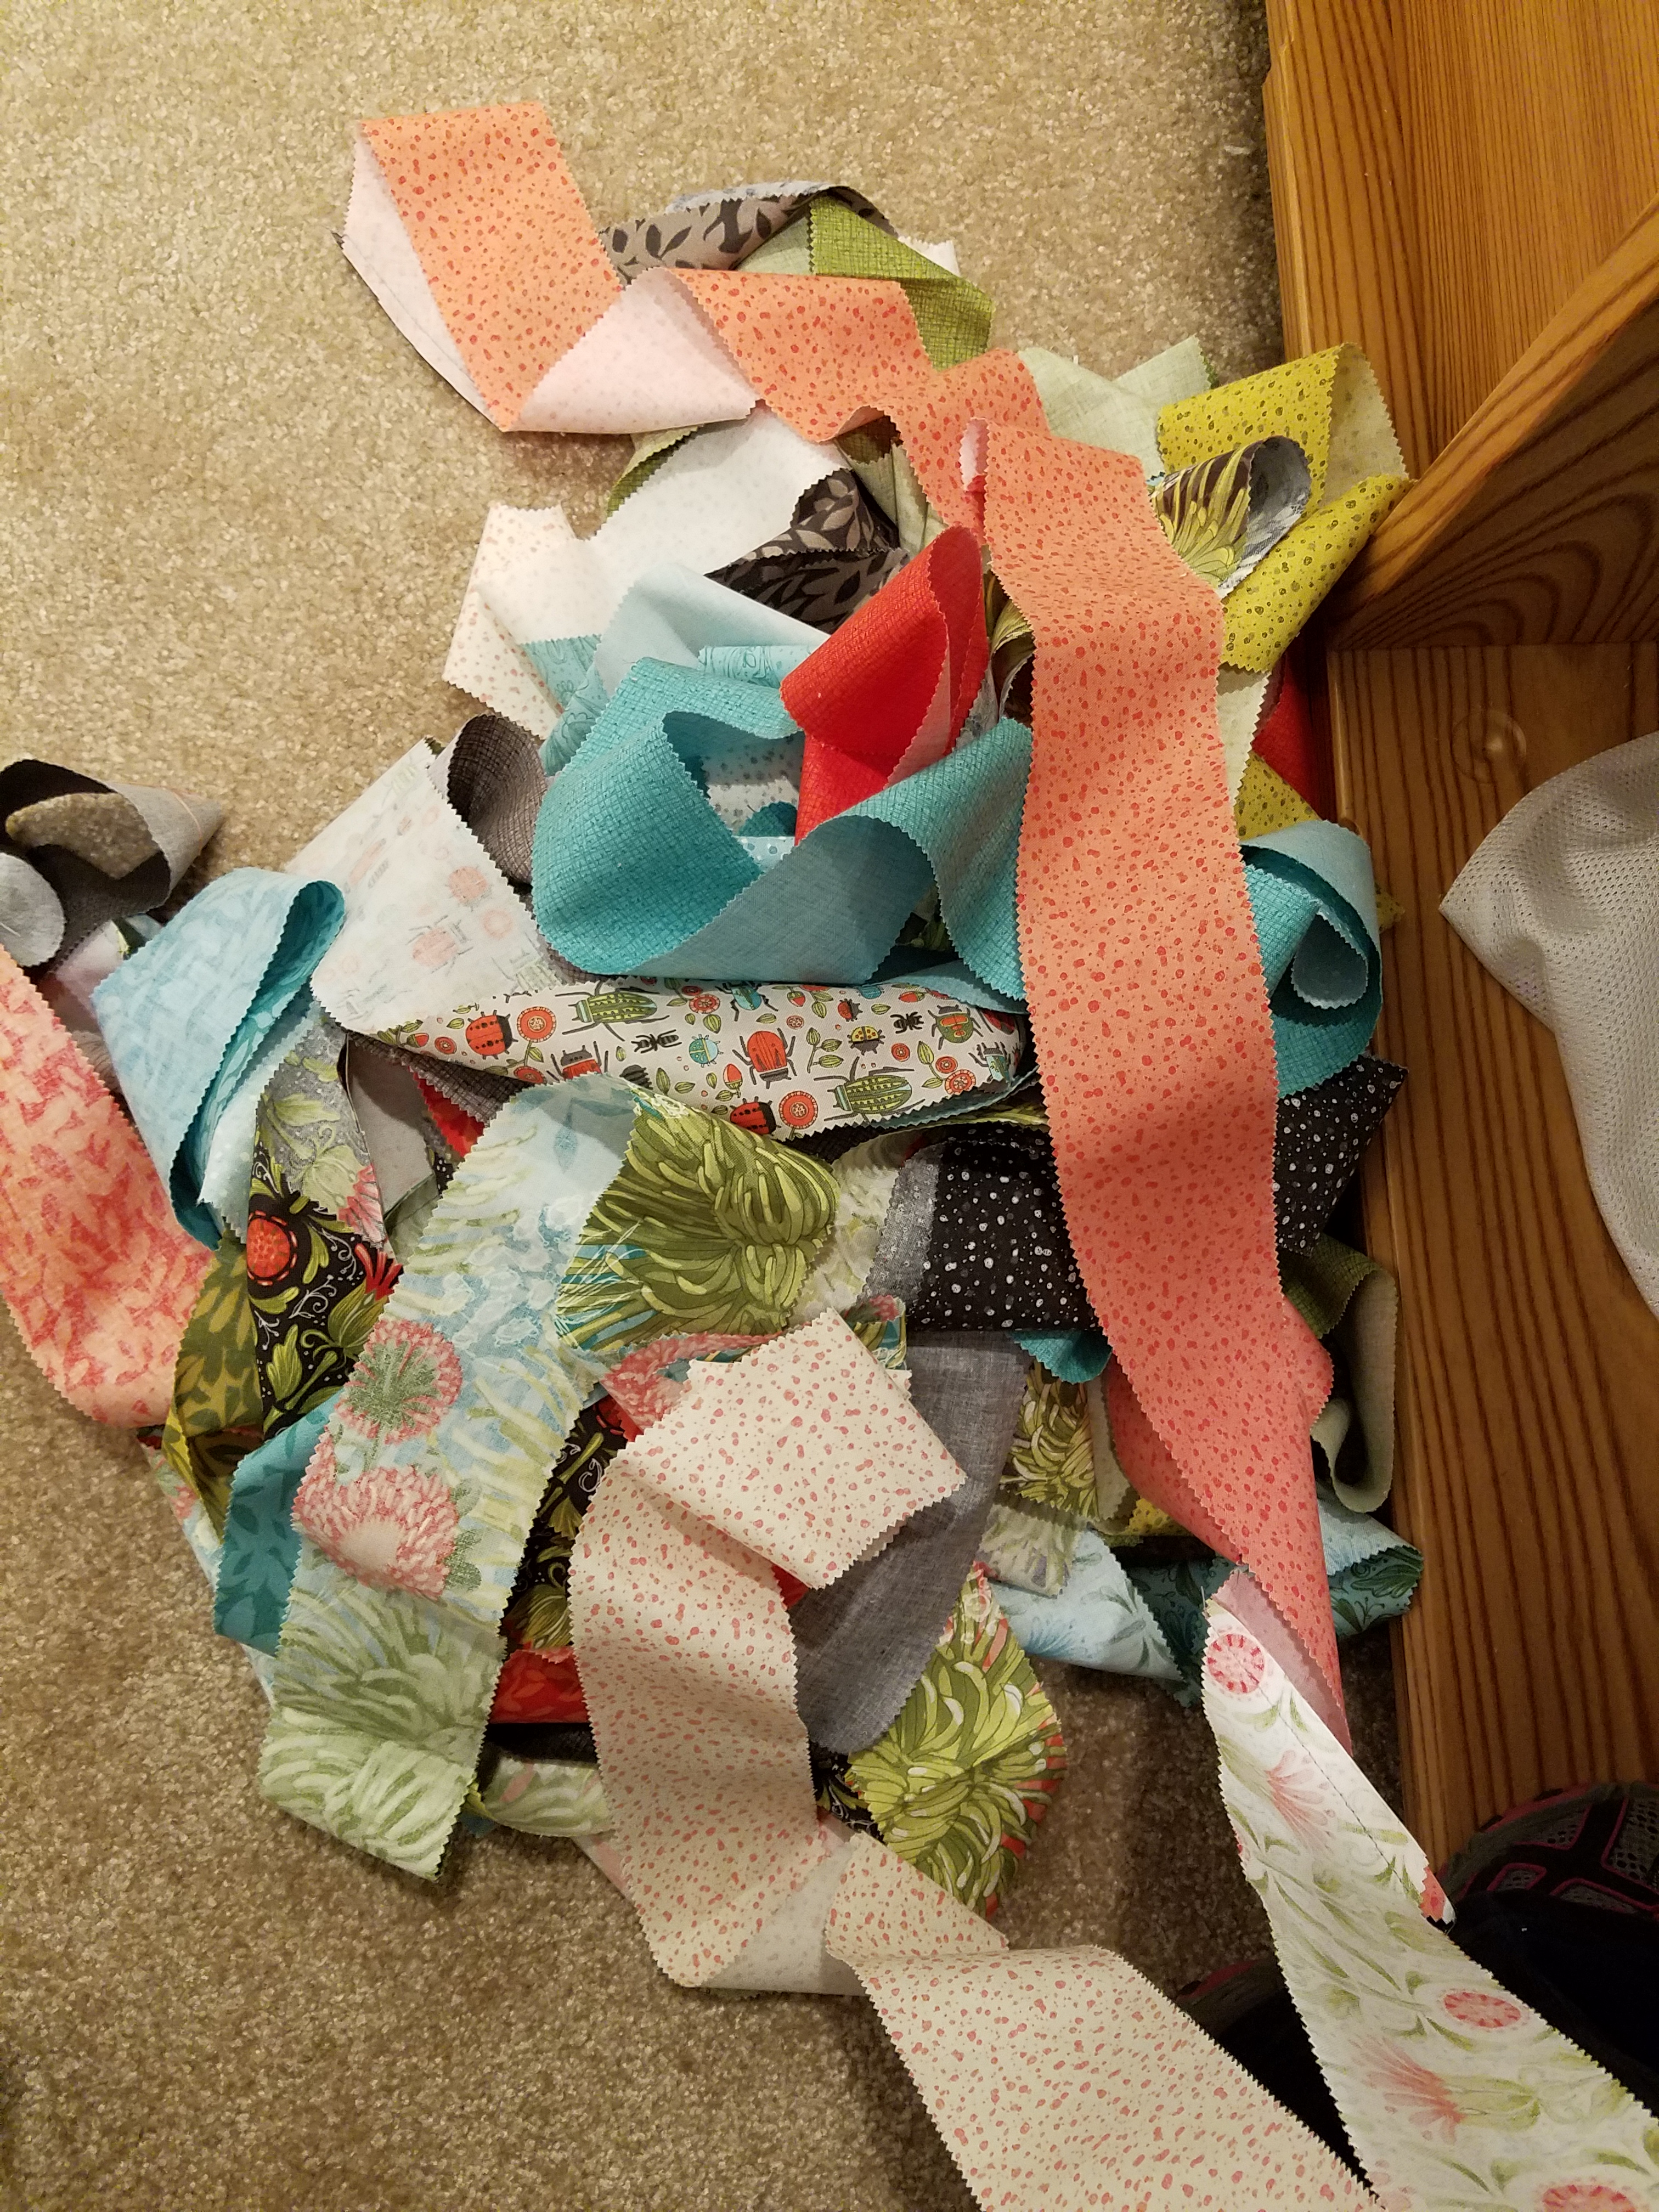
Don’t be fancy or organized. Those things take time. This quilt is all about SPEED!
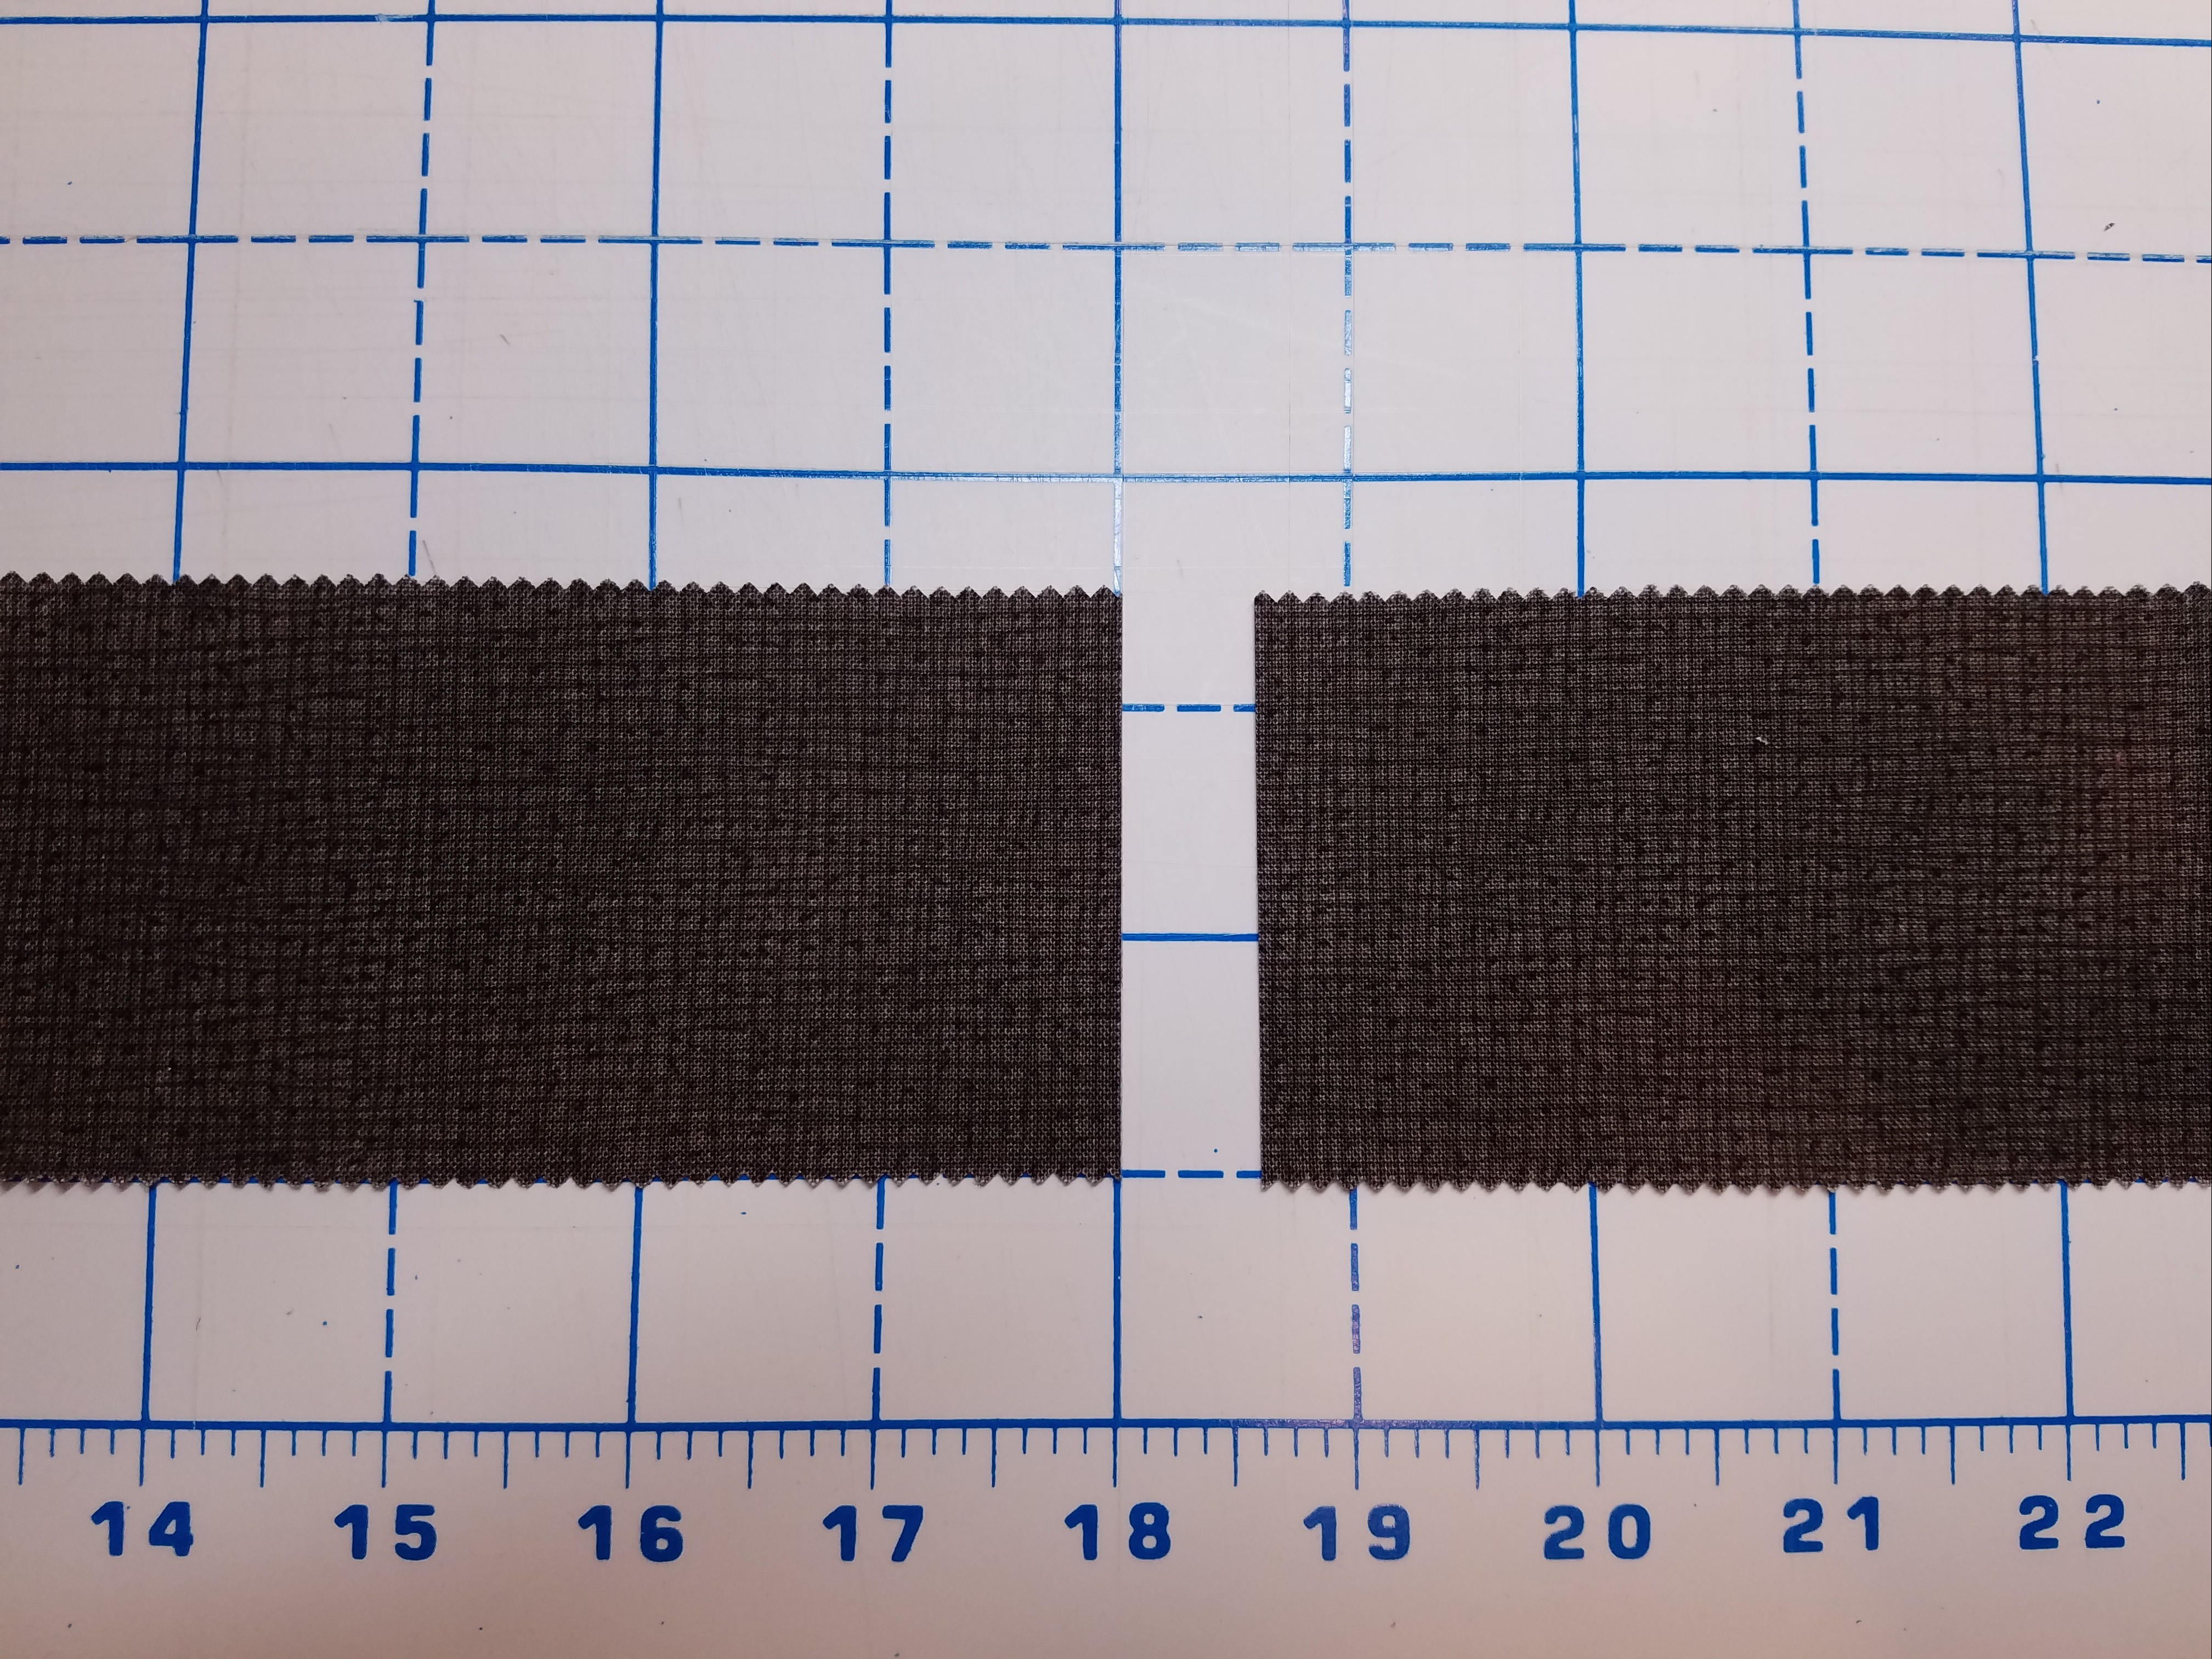
2. Select your least favorite colored strip. Cut off 18″ and save it for another project. We do this so the strips will NOT be even stripes.
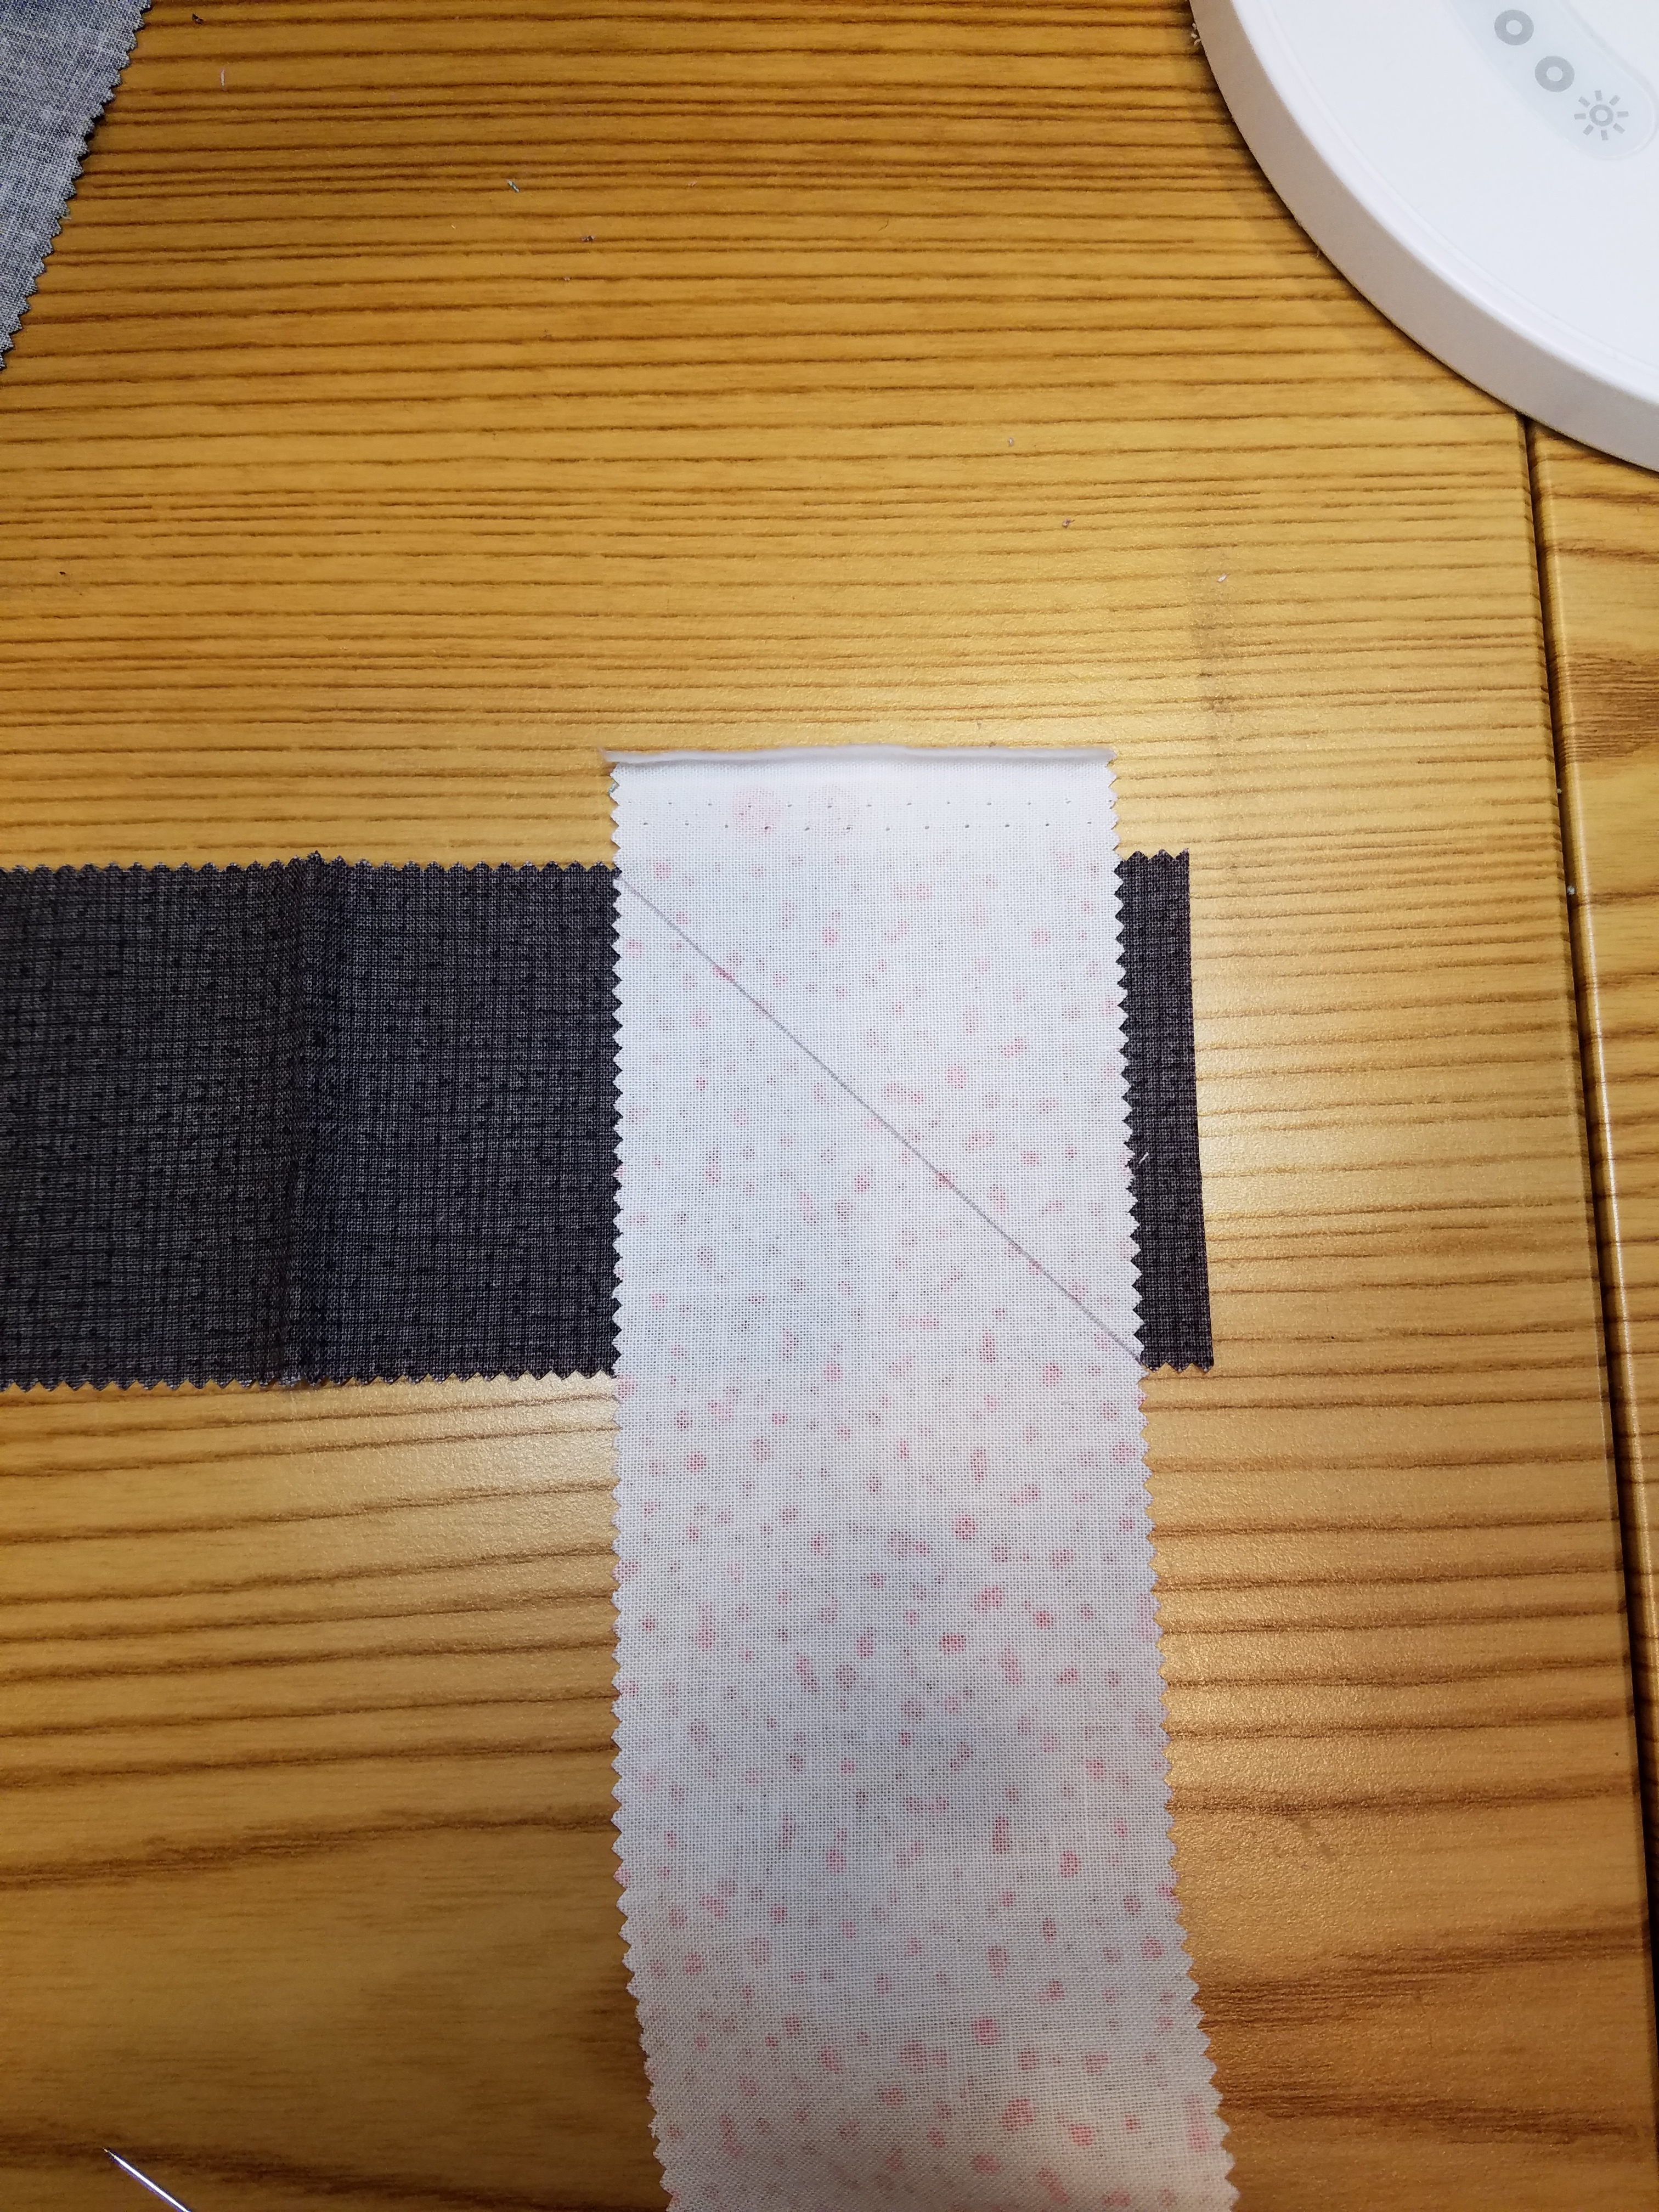
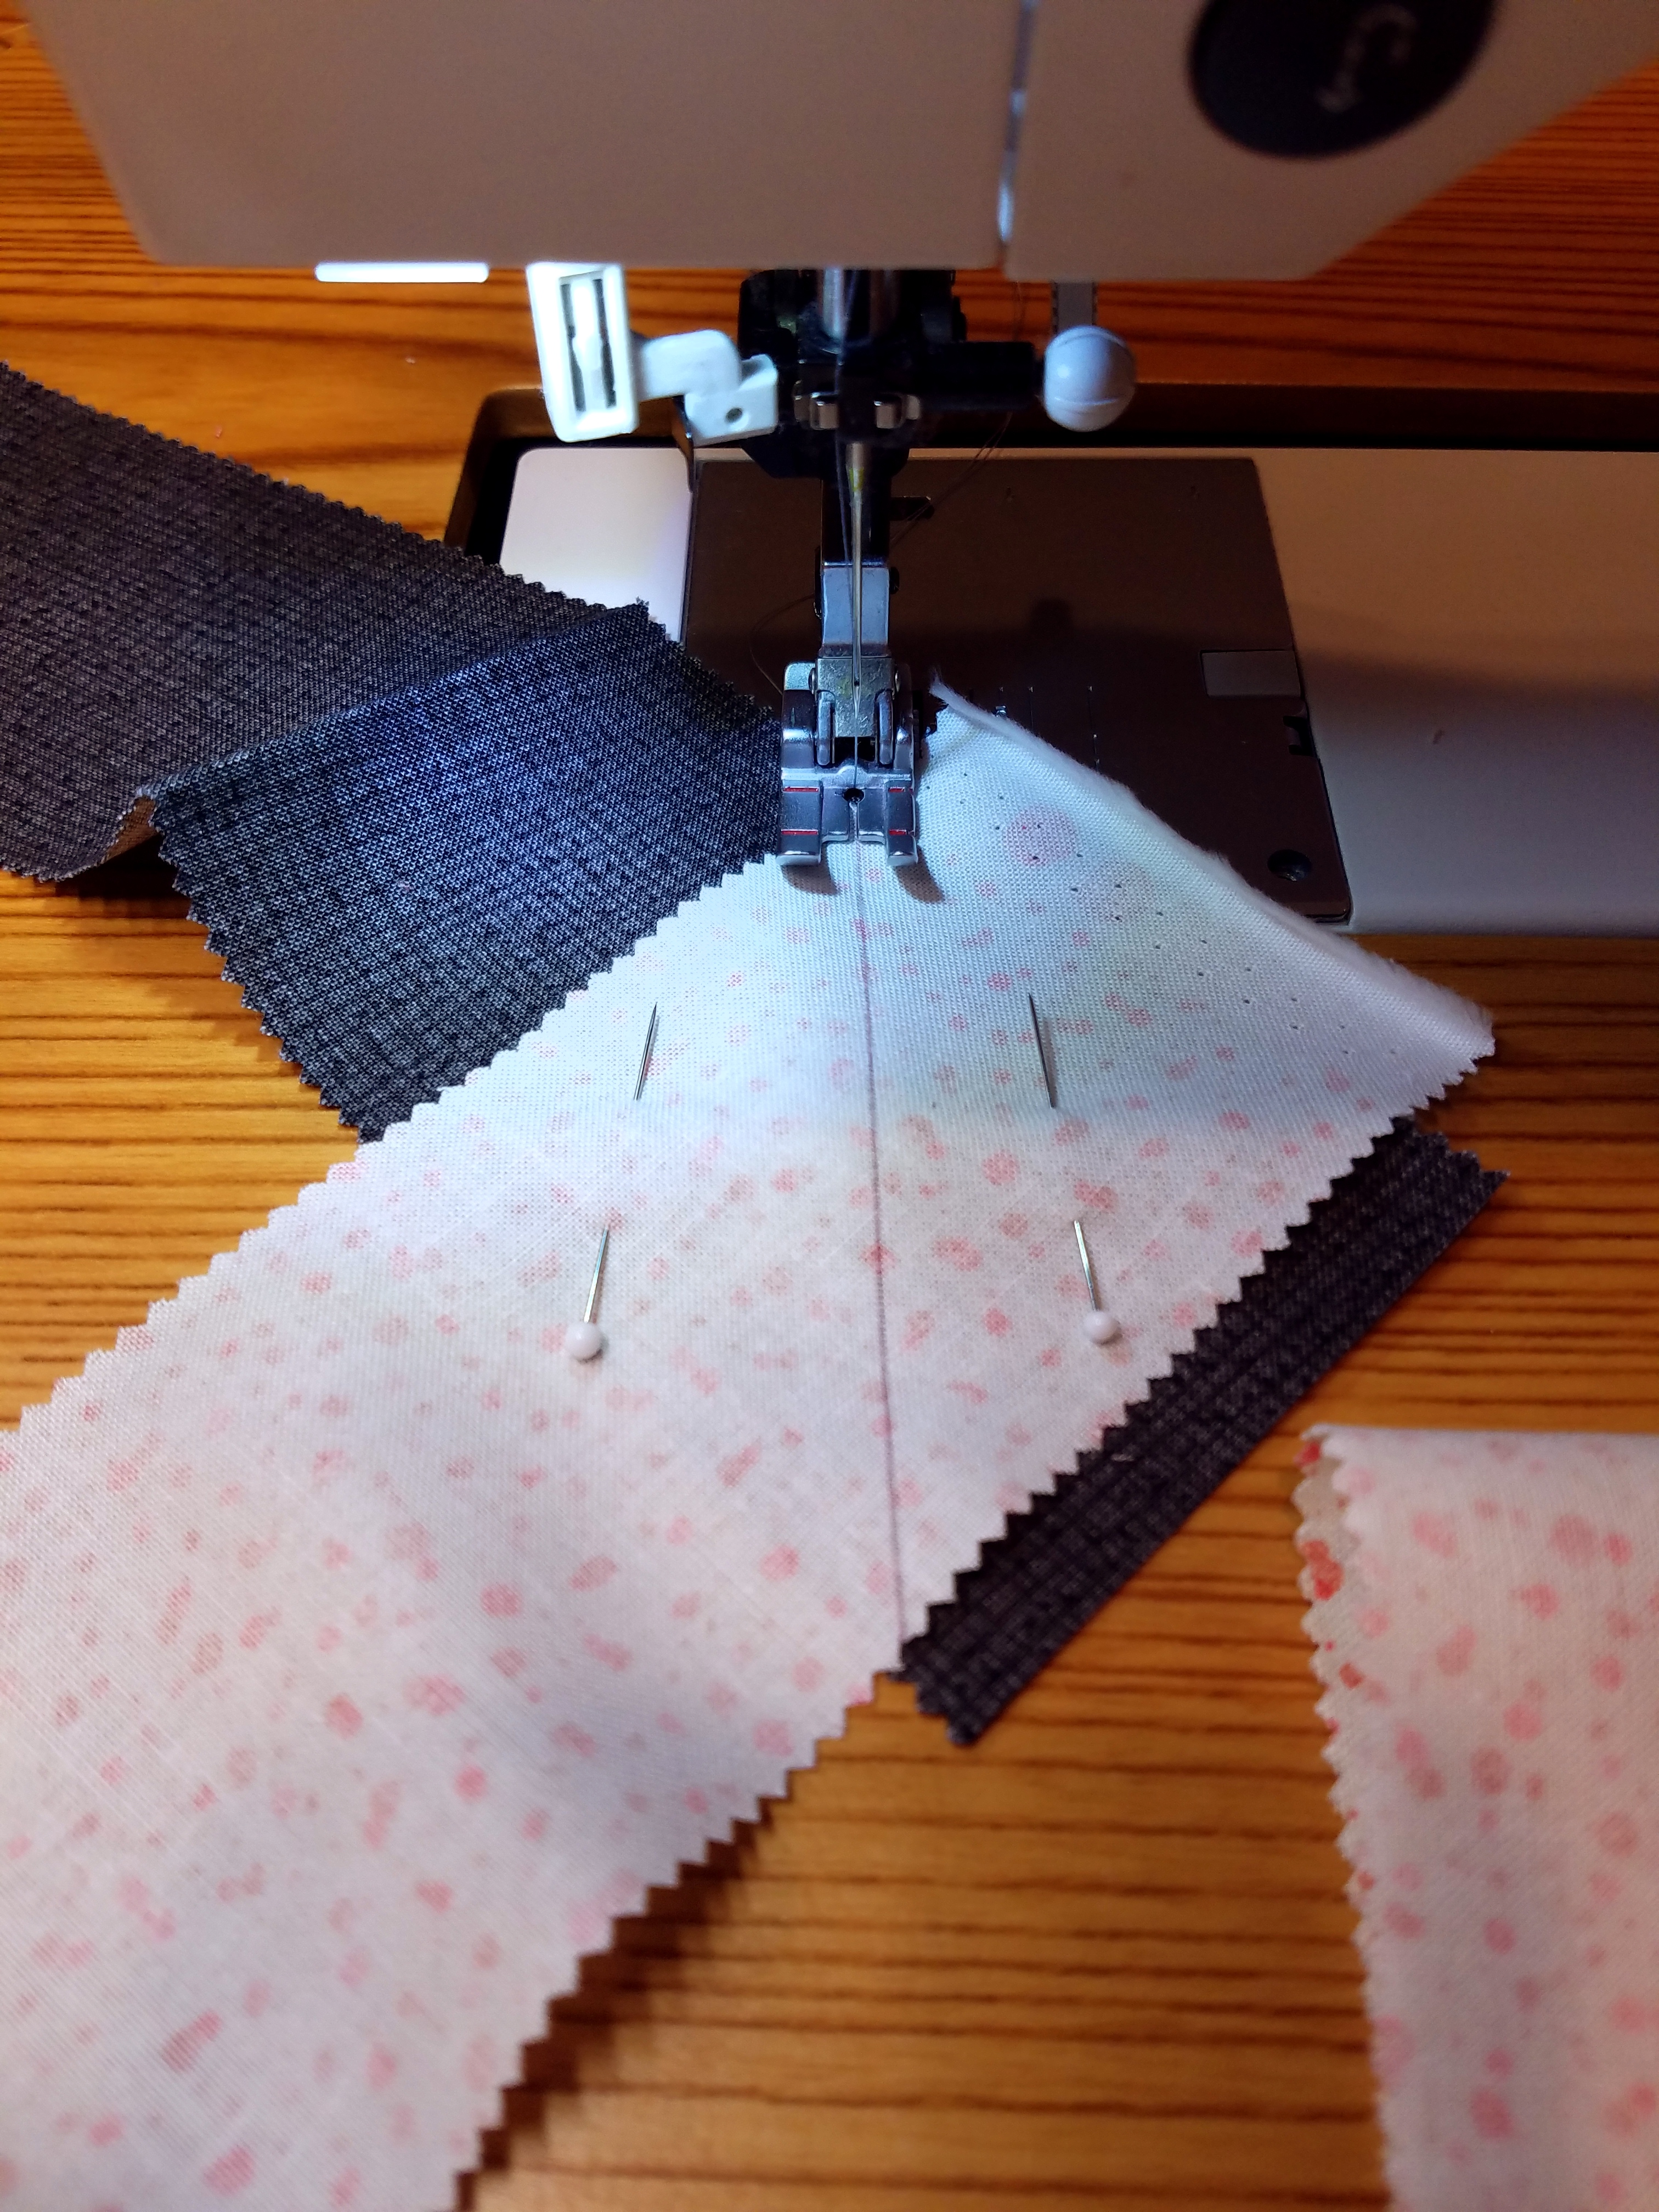
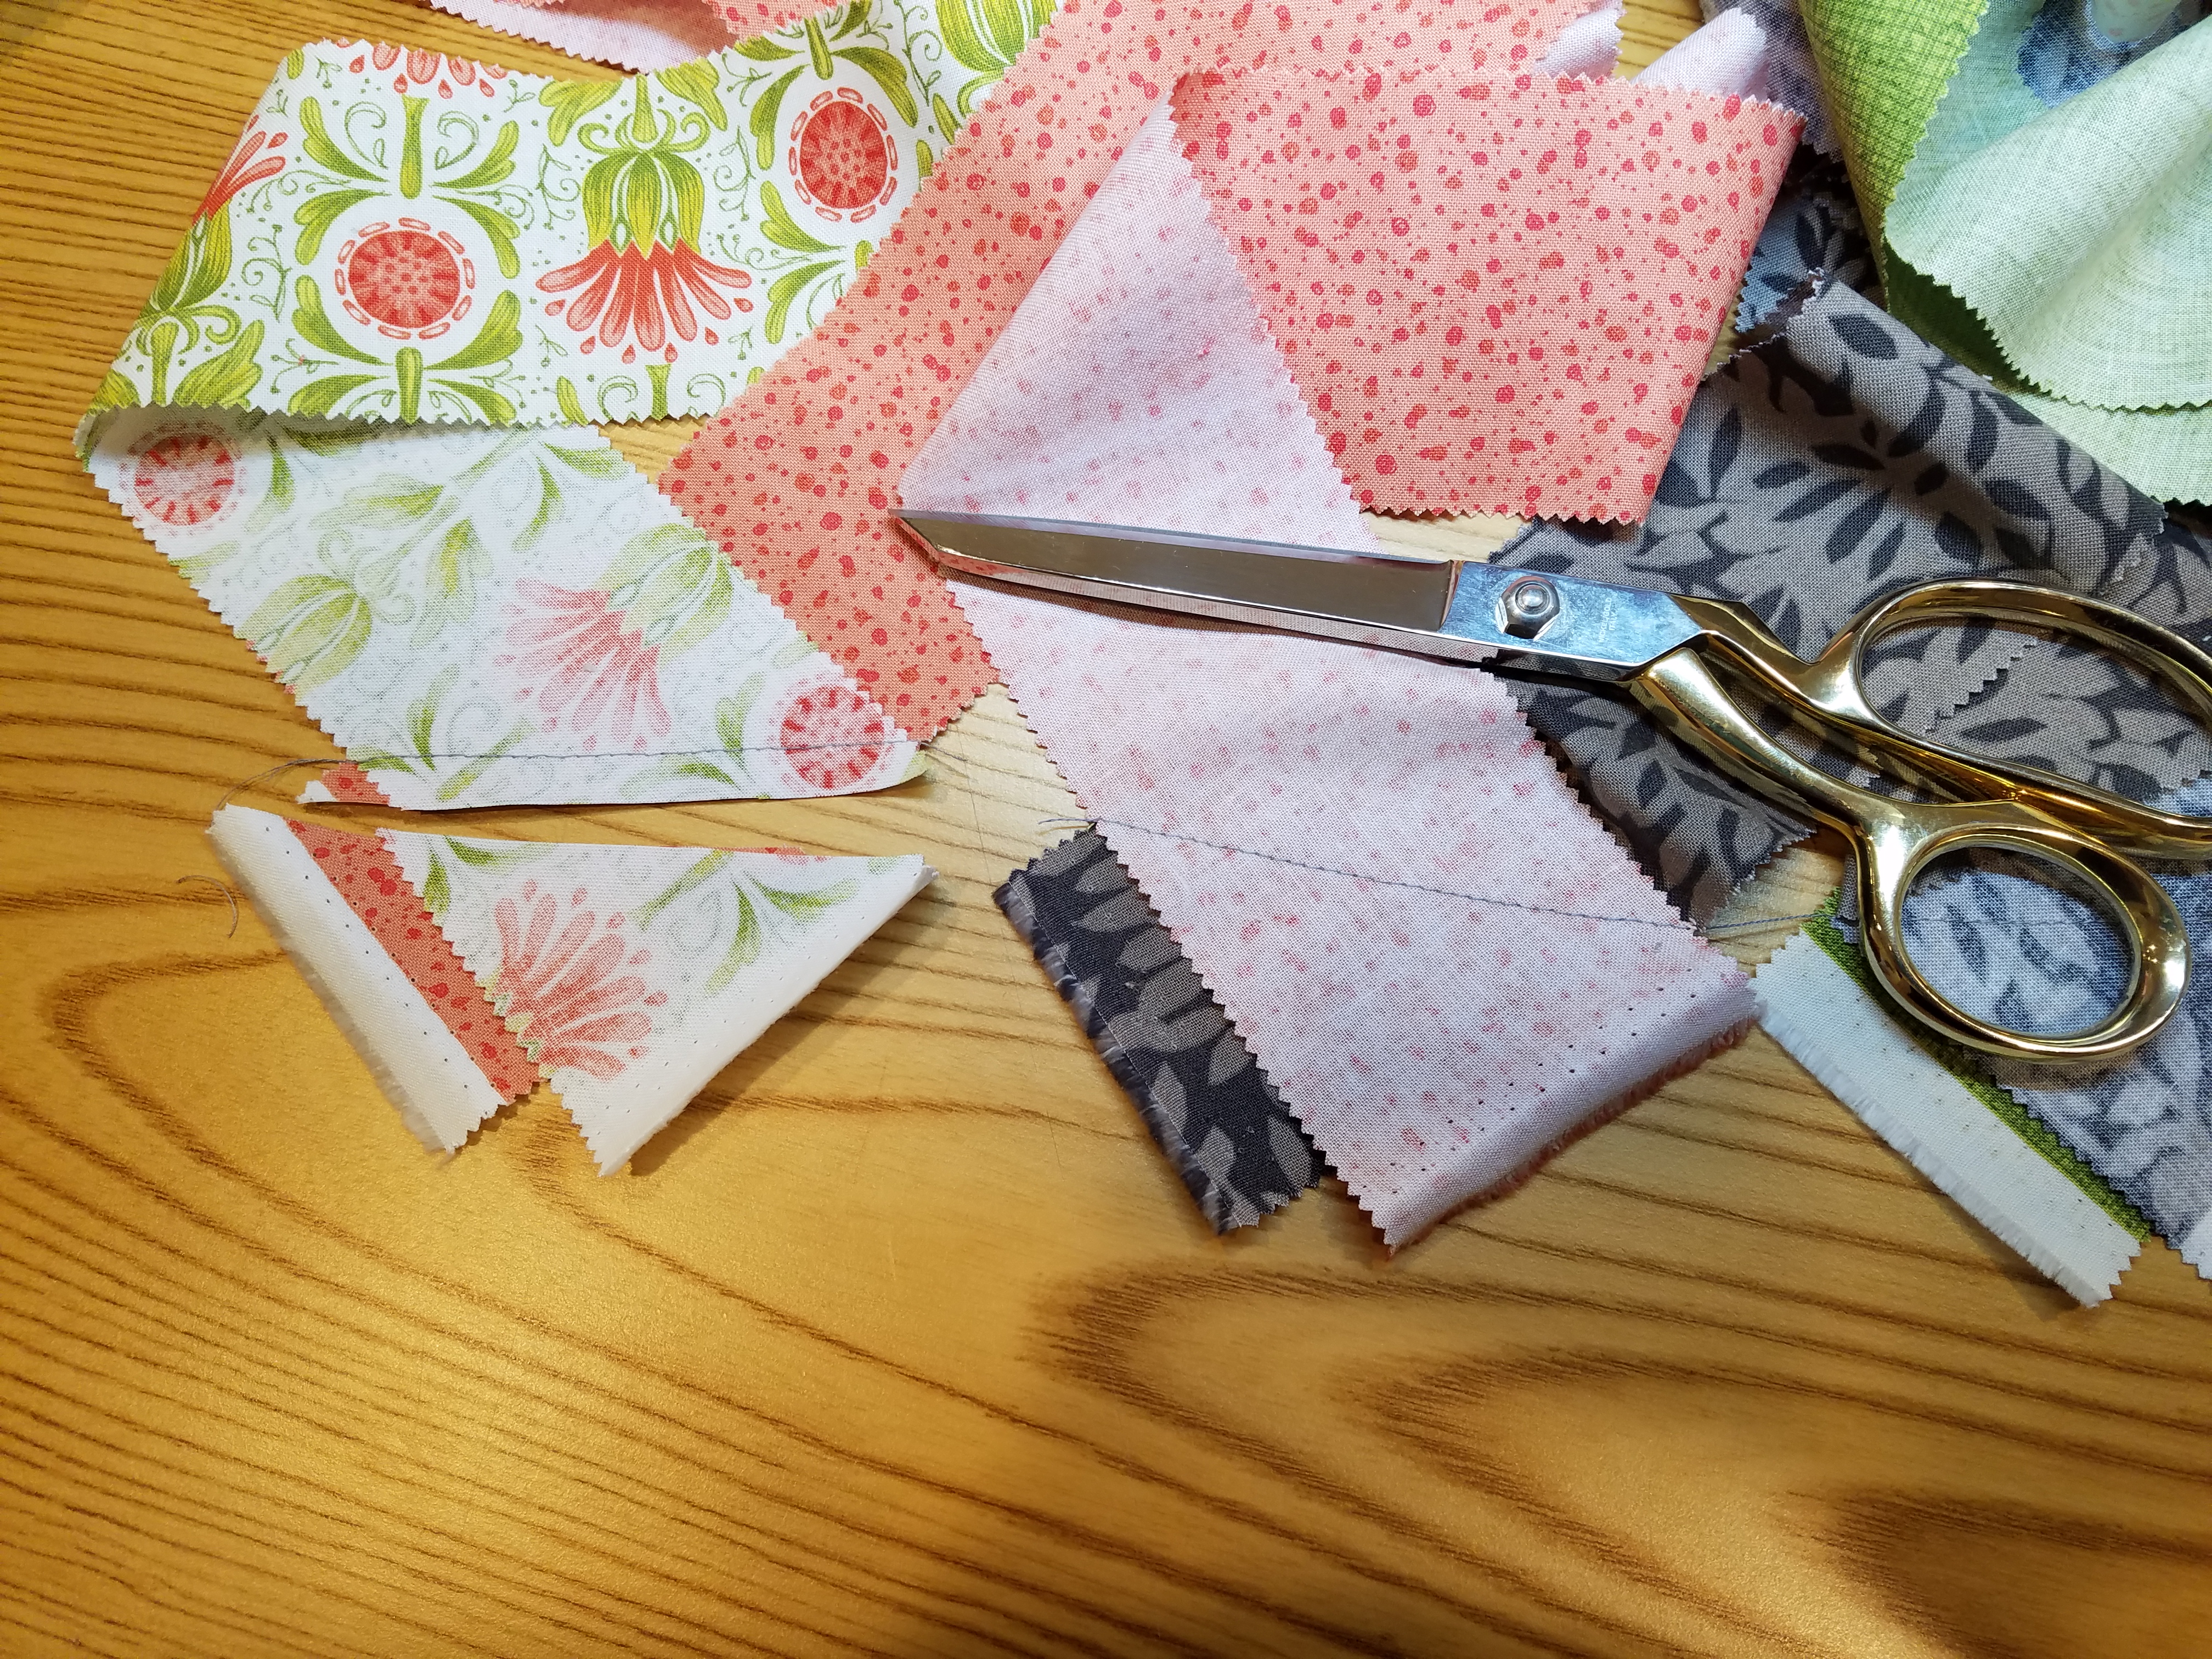
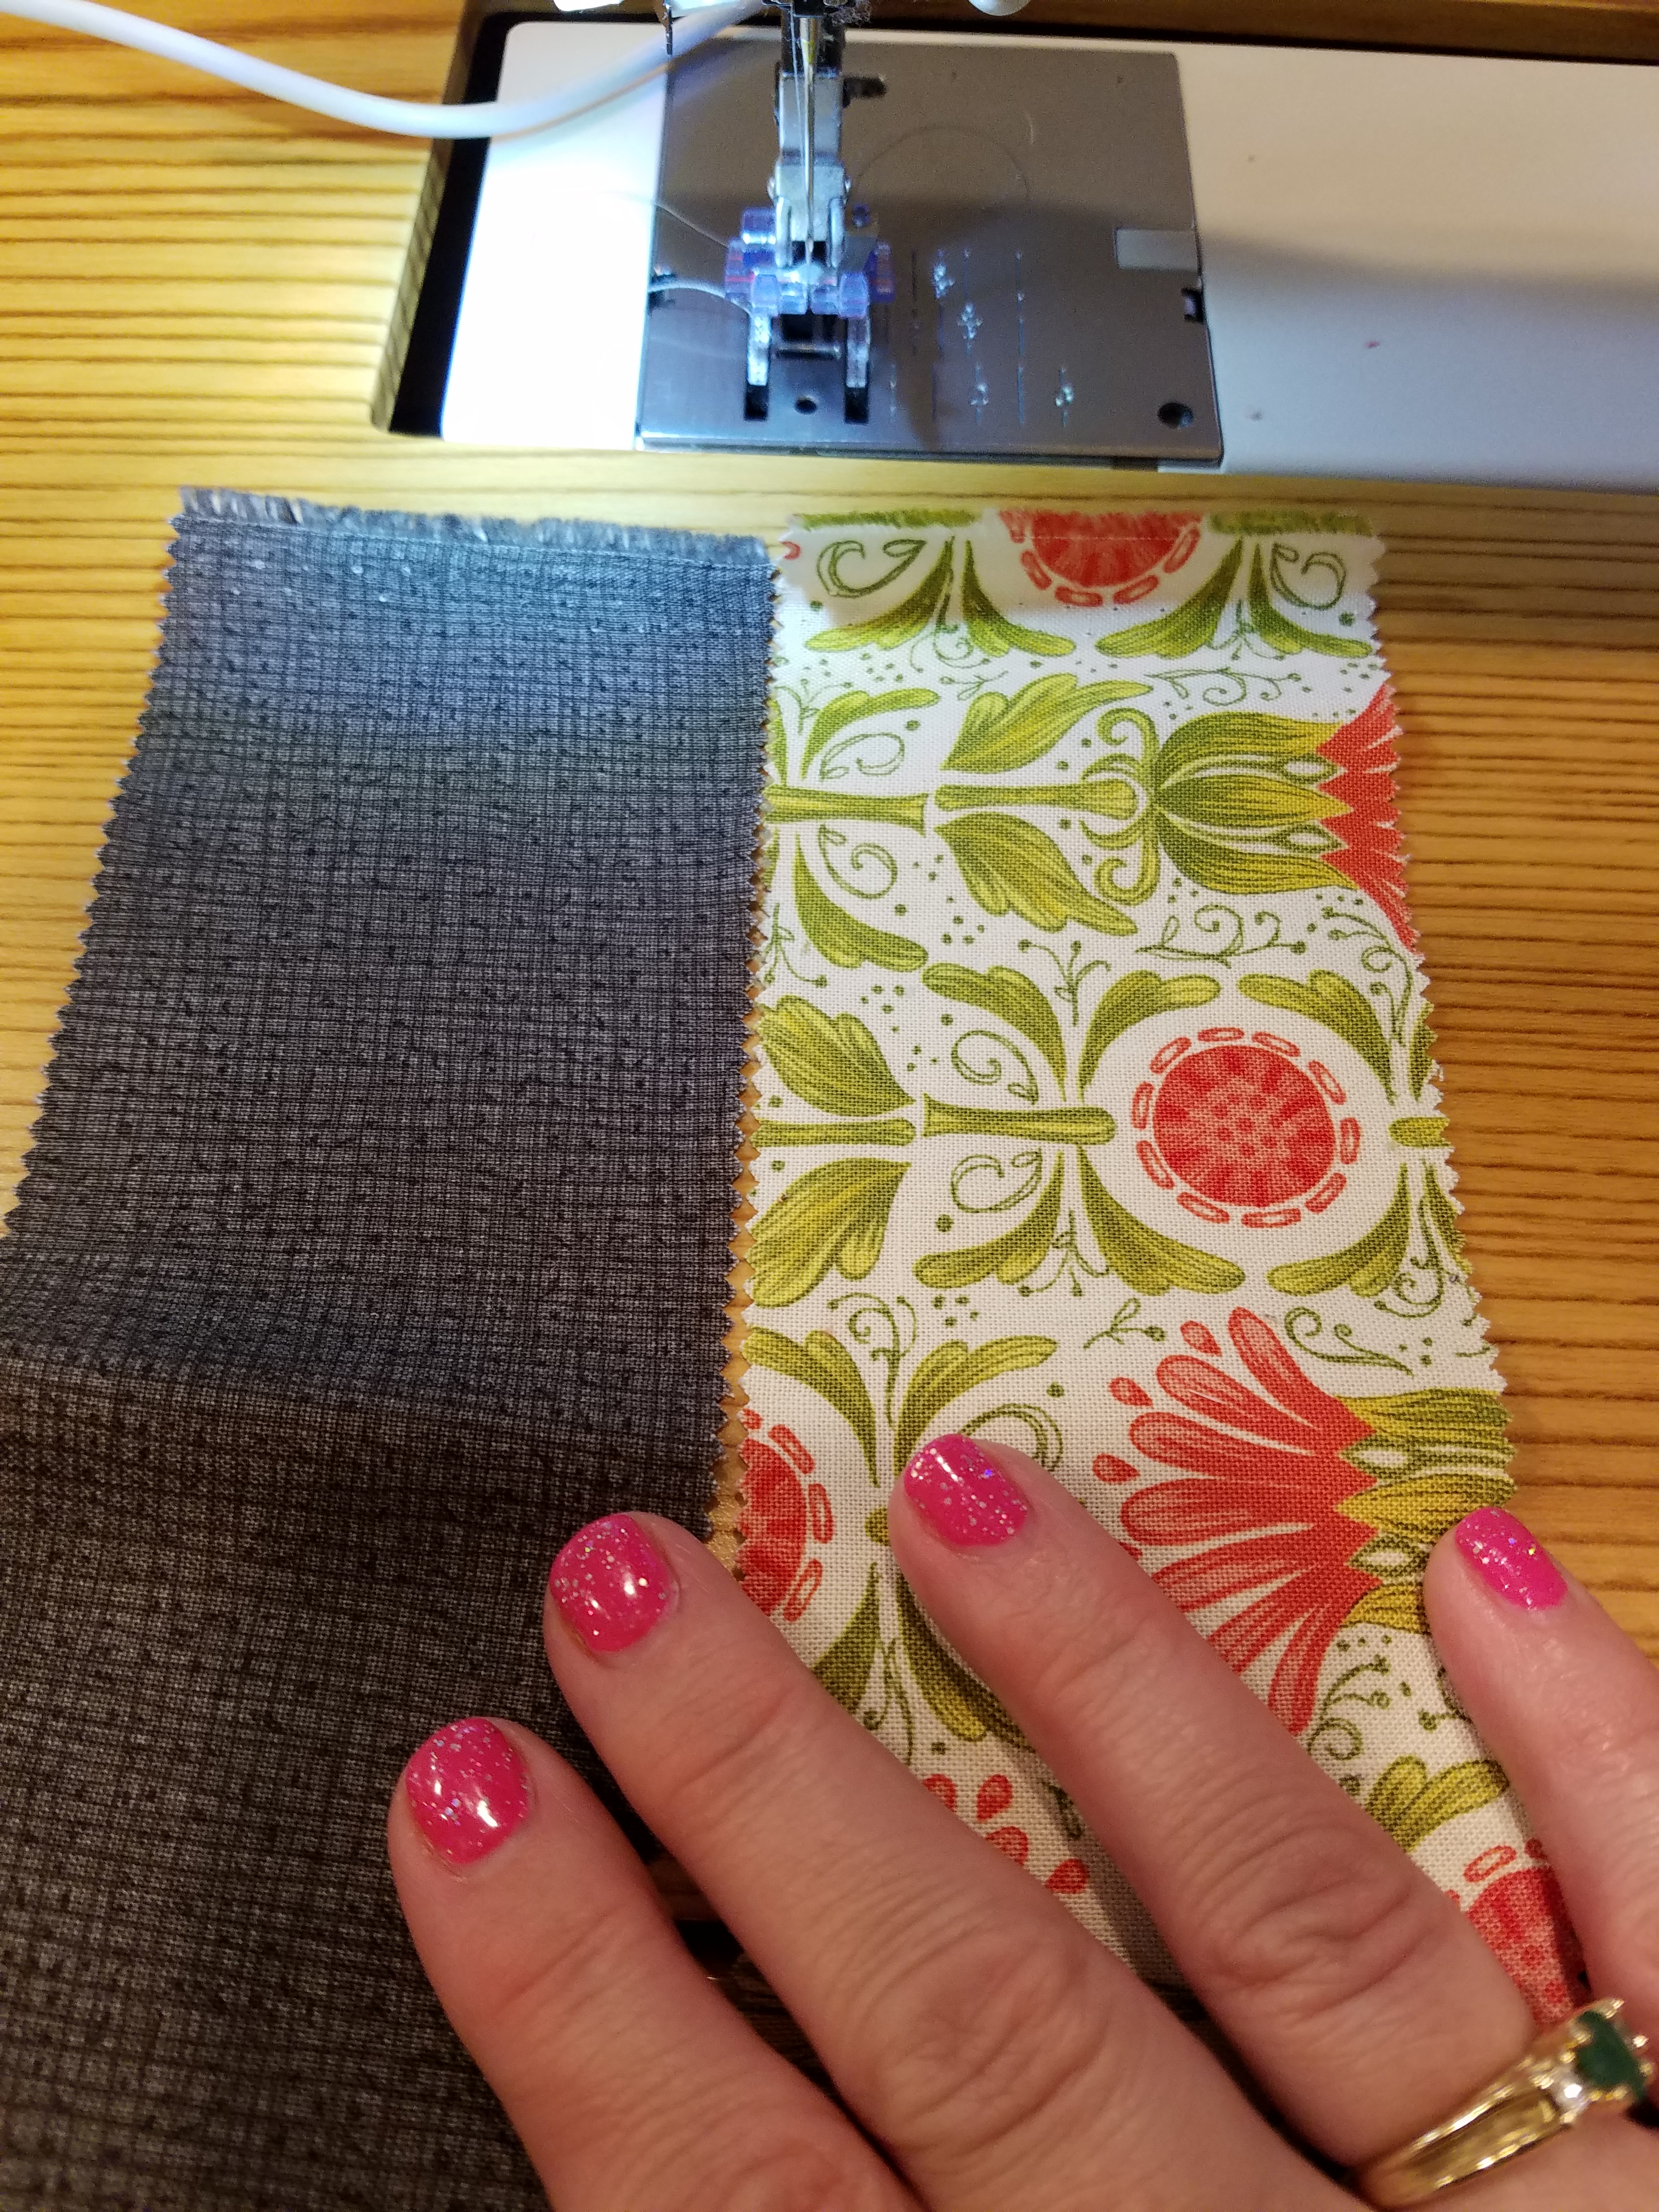
3. Prepare the first strip. Use the same piecing method that we use for binding, at a 45 degree angle. Place the first strip on the table, right side up. Place the strip you want to add on top, right sides together. Stitch from the upper left to the lower right. Draw a line if you feel the need. Pin to your level of comfort.
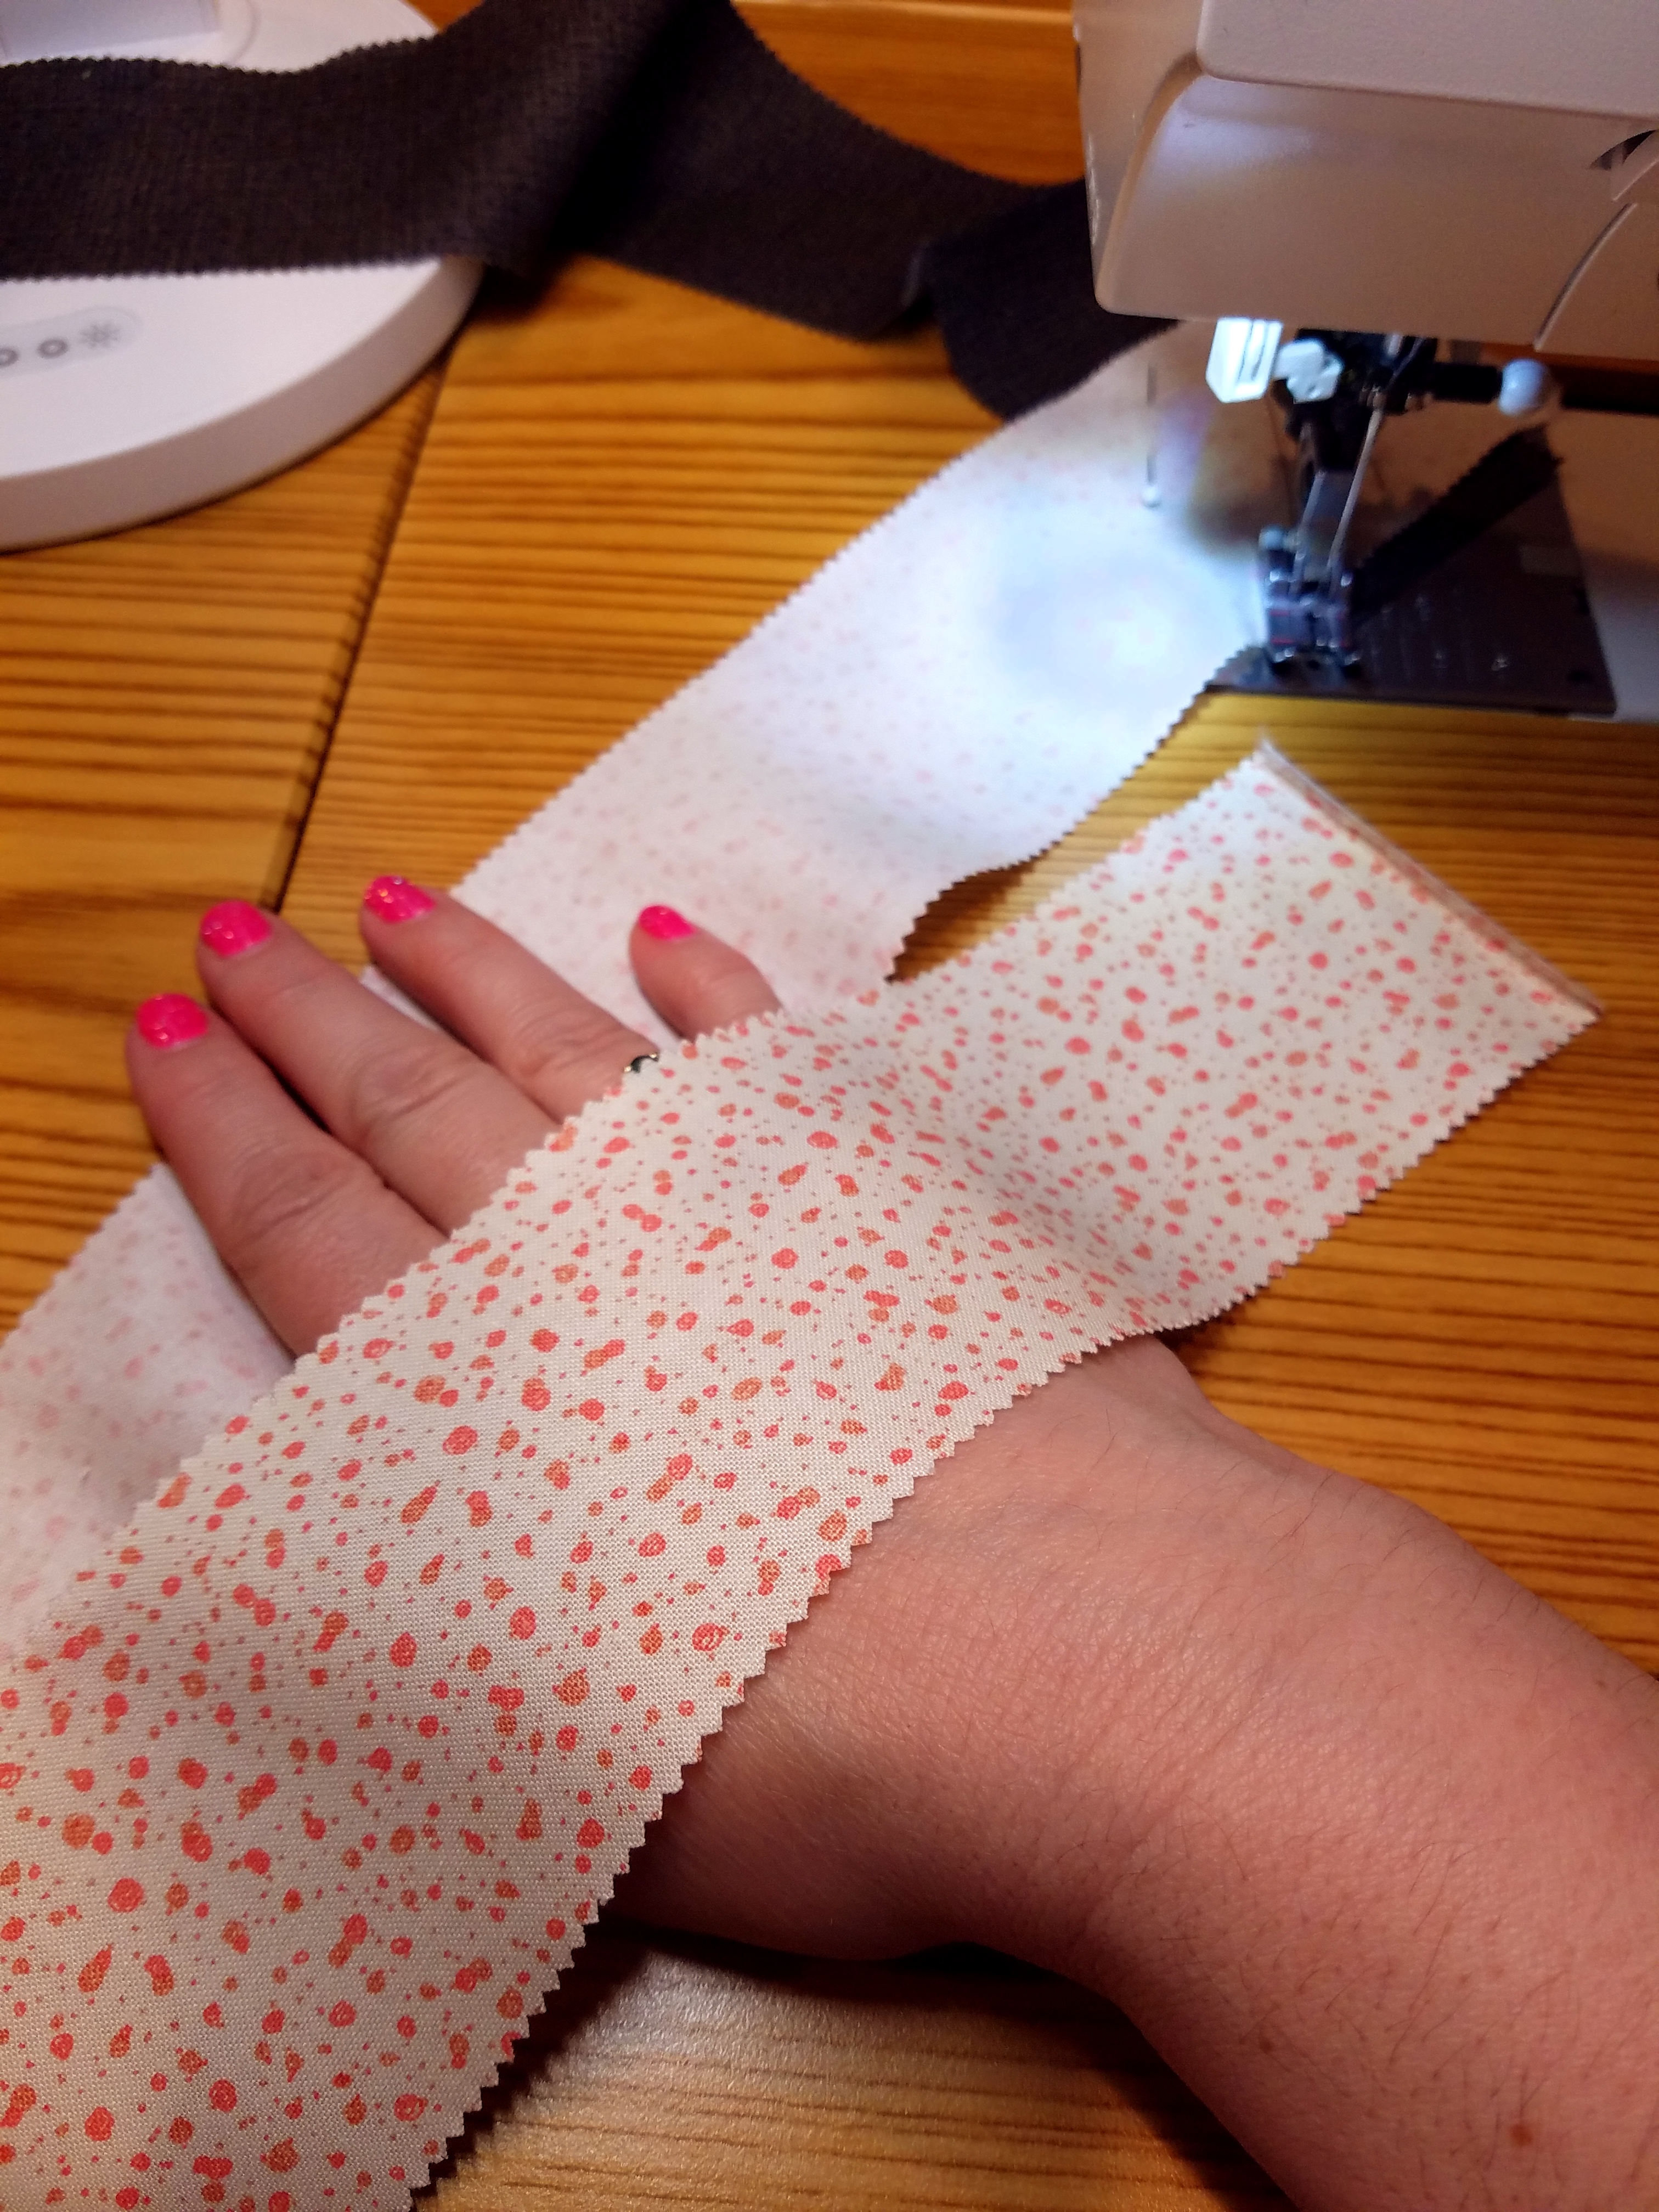
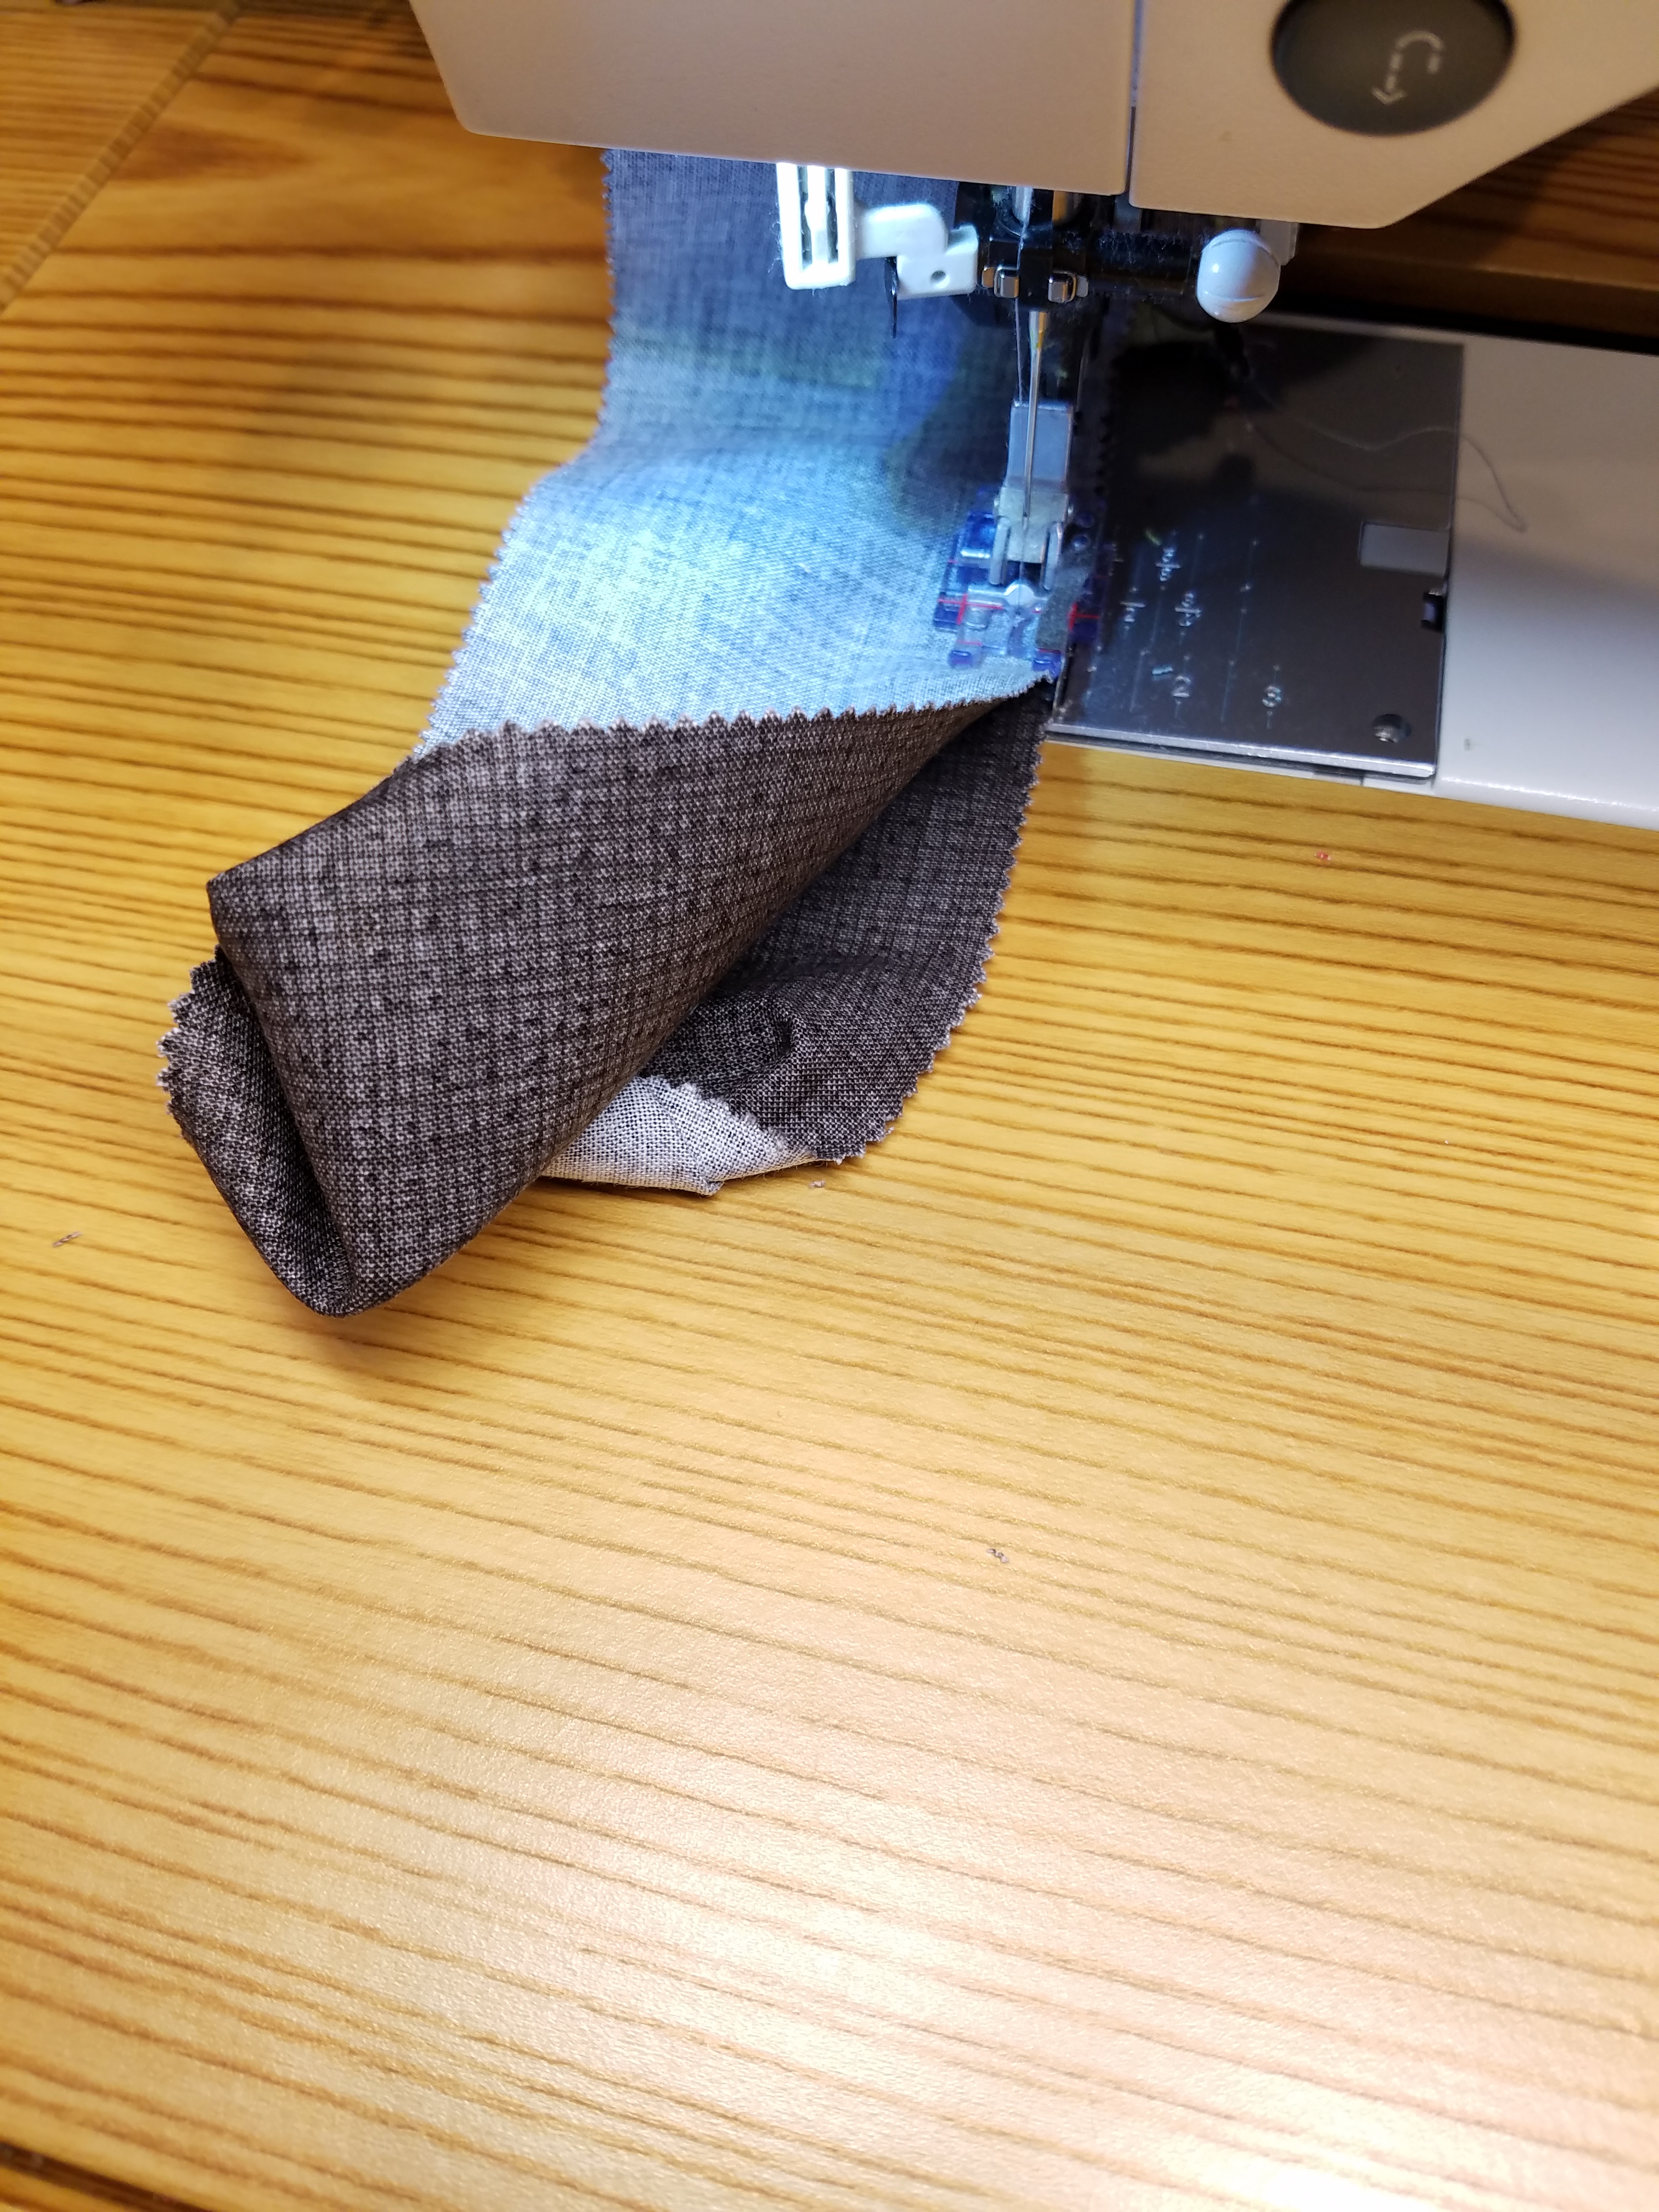
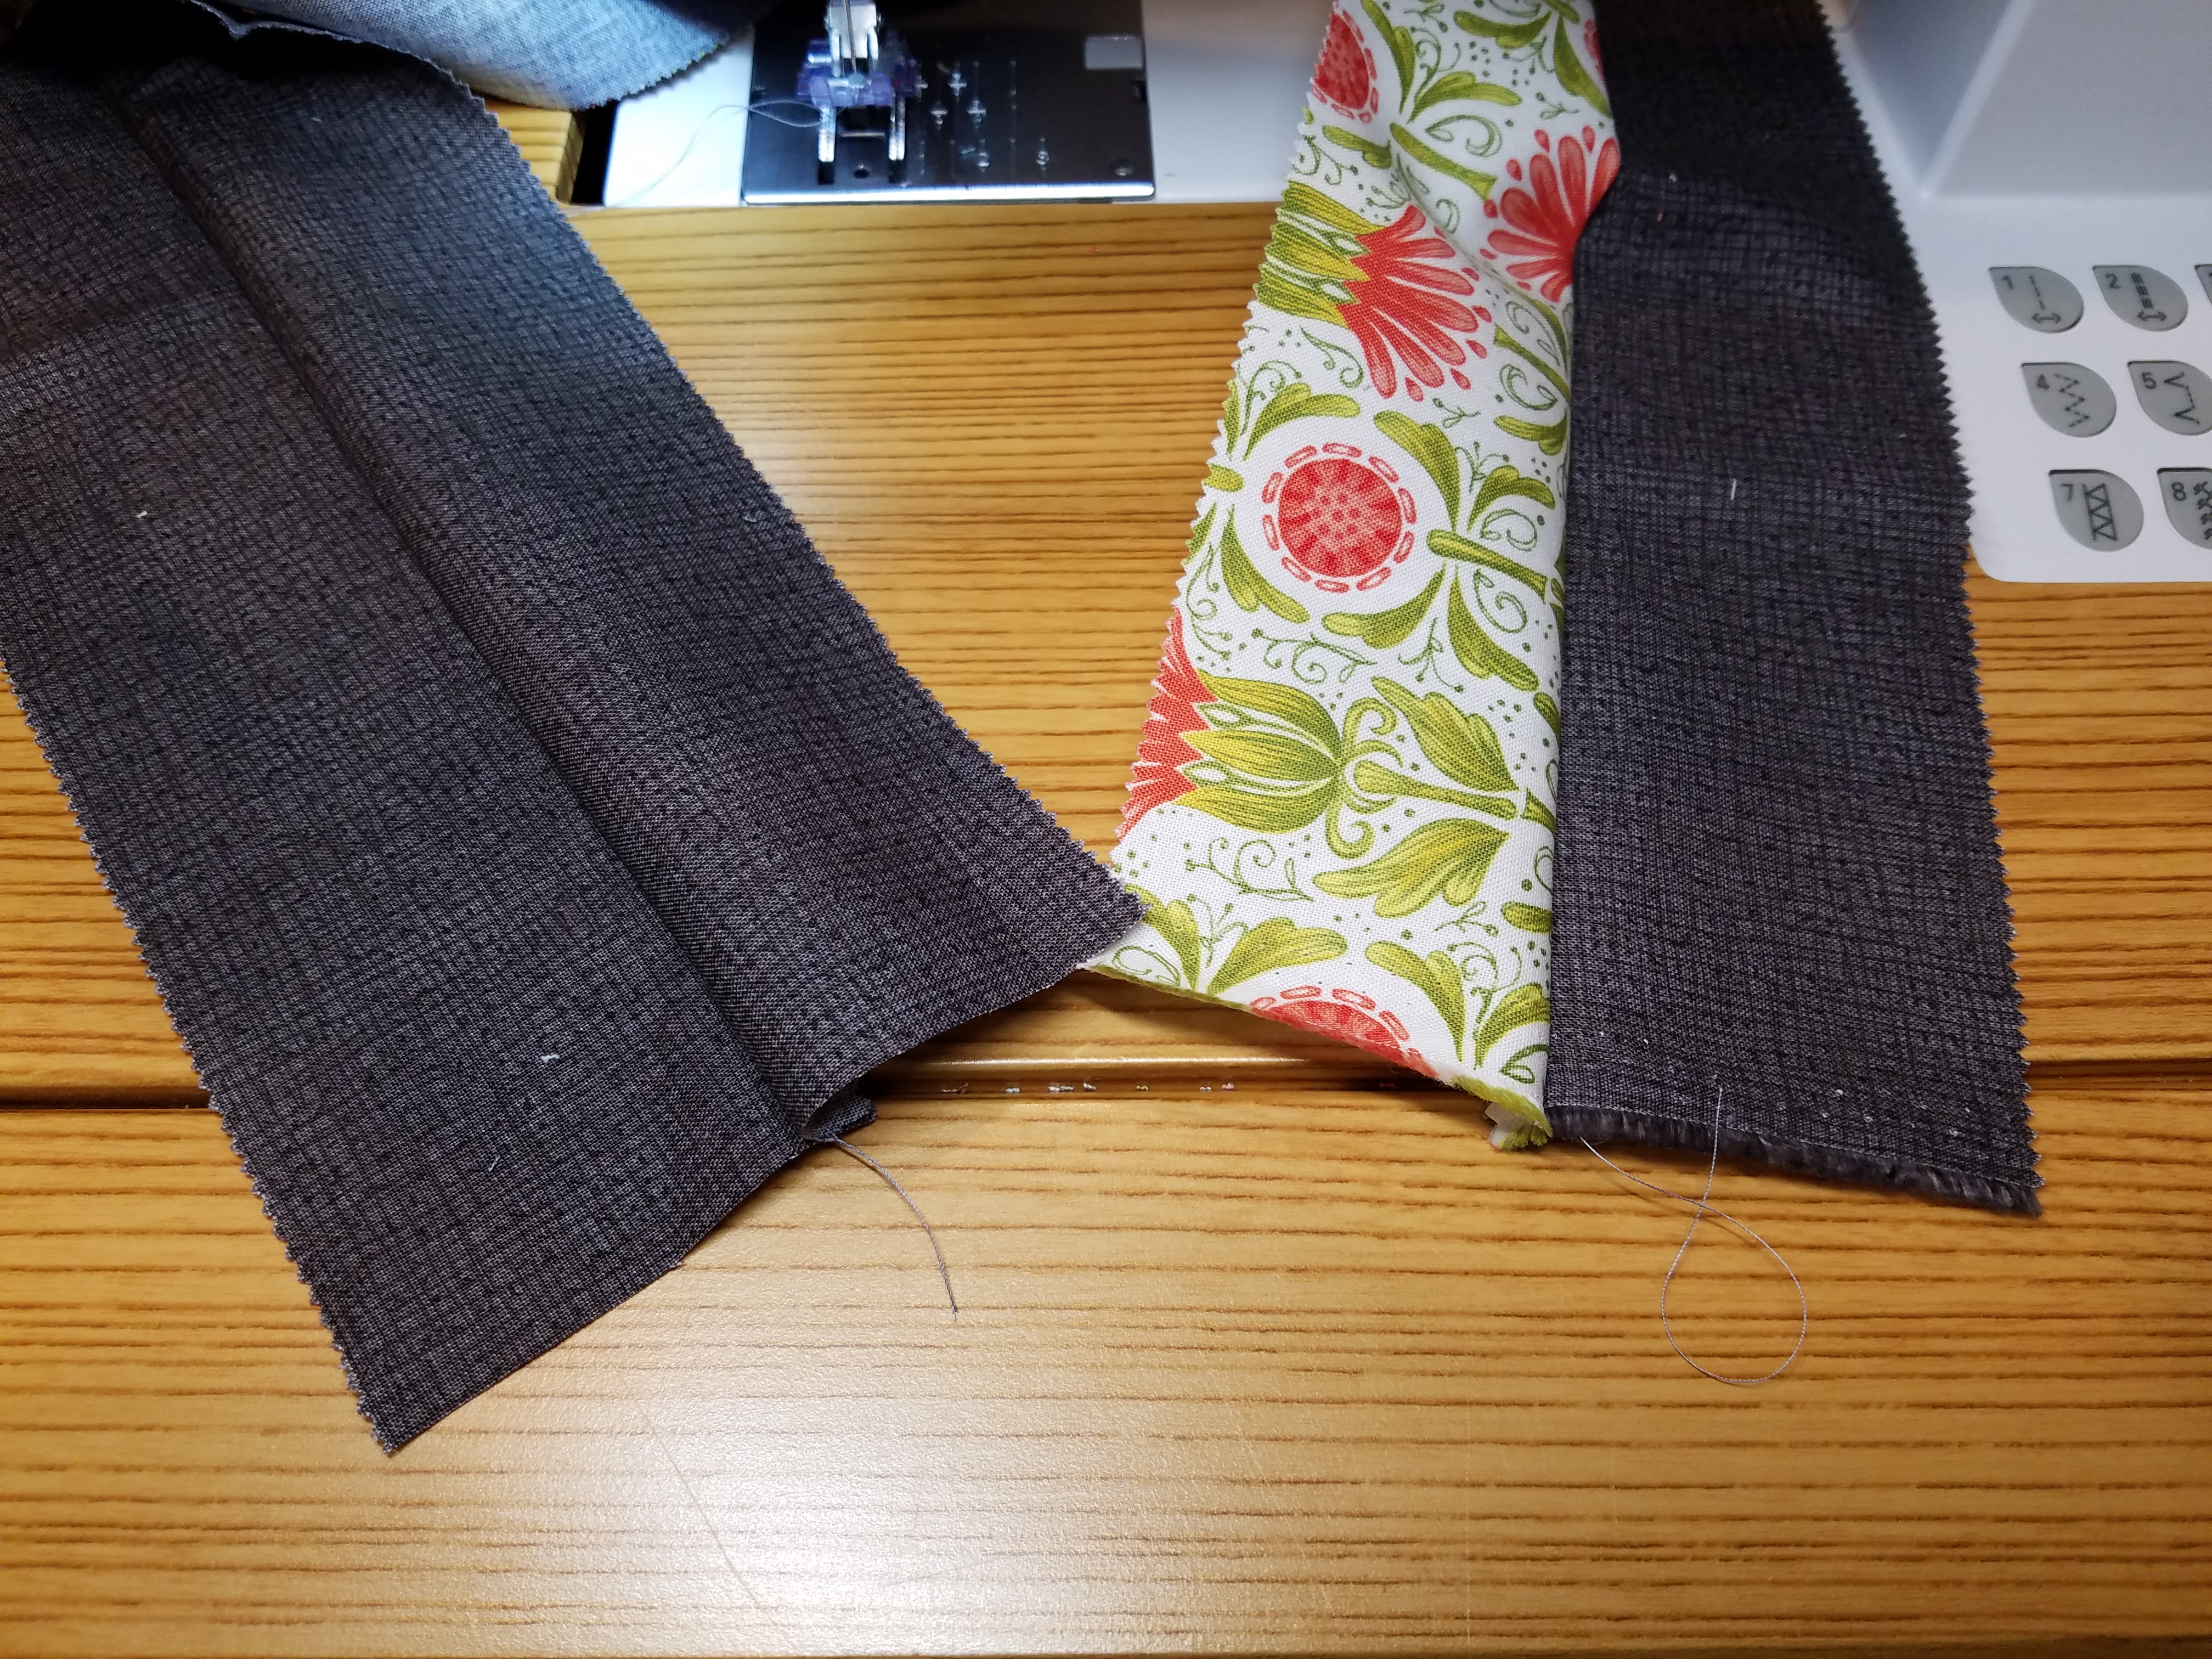
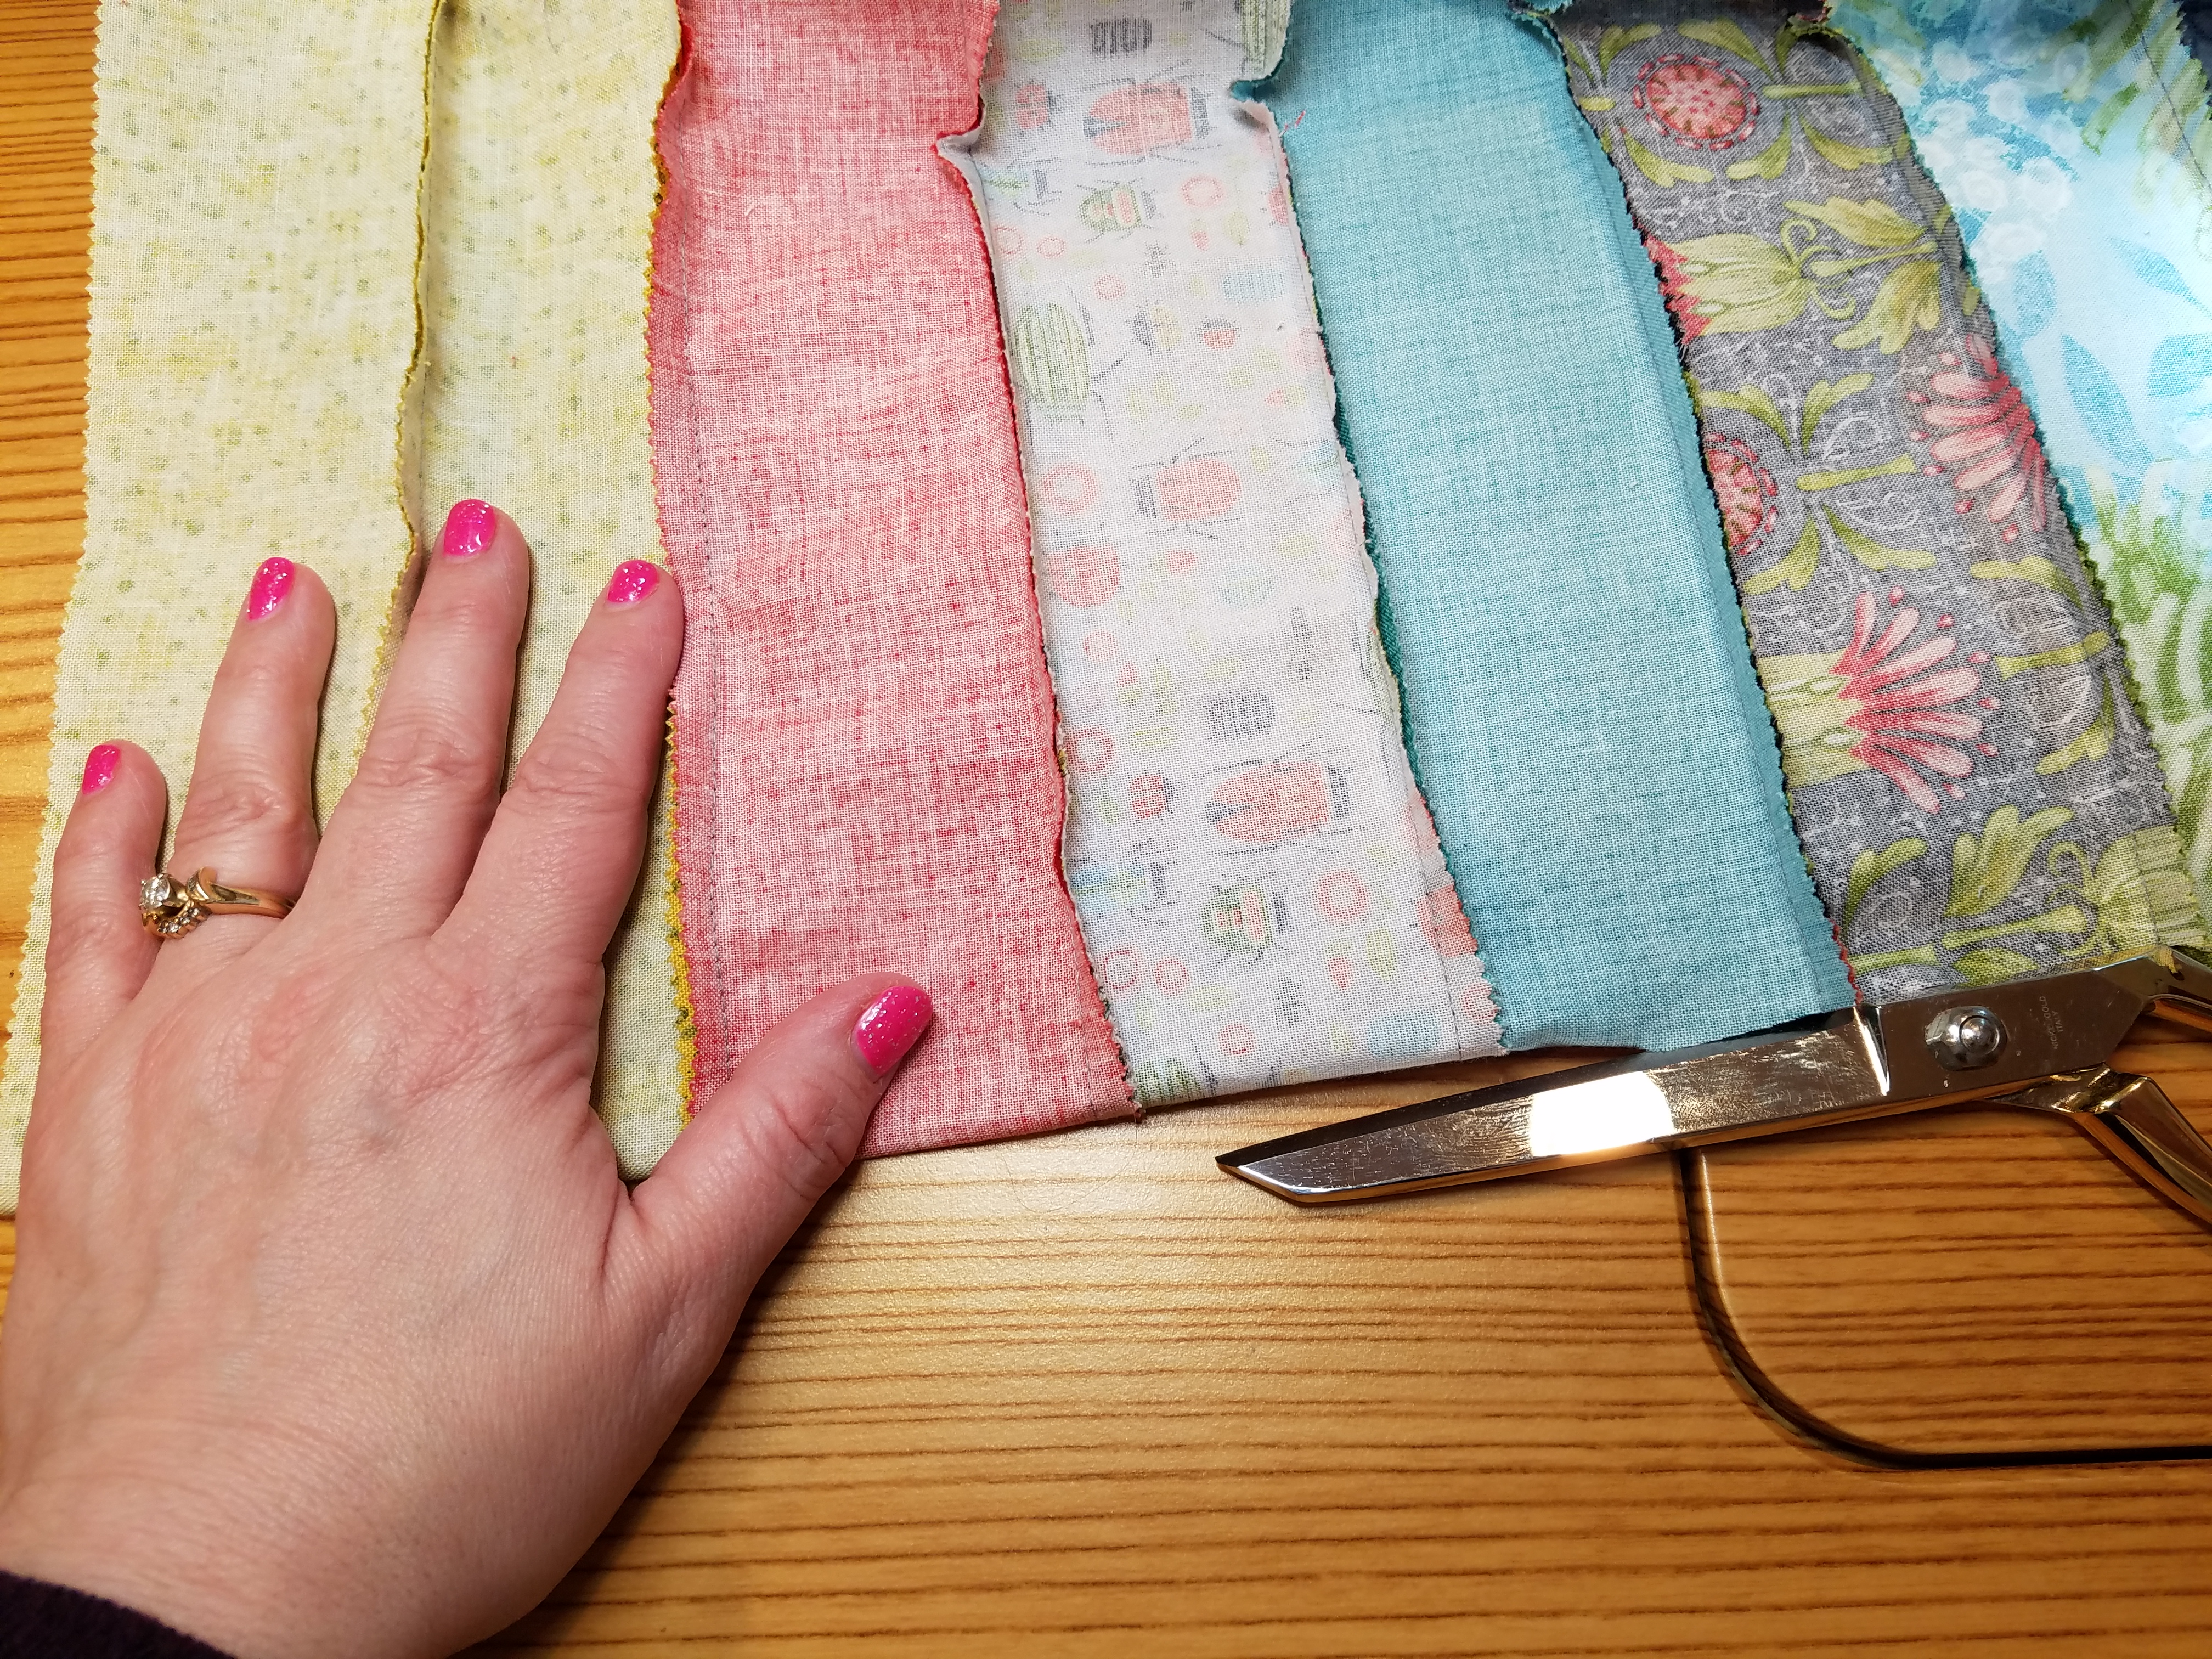
This next trick is SO important, especially if your fabric is the same on both sides. After you stitch, if you are not careful, you can twist the strip and get those seams going every which way. To avoid that, I “stitch and flip”. (It is like the “bend and snap” but not as attractive.) After you stitch, put one hand on the fresh-pieced strip. With your other hand, flip the end of the same strip over your hand so the right side is up. You are now ready to add the next strip. If you don’t flip now, you WILL rip later, just saying…
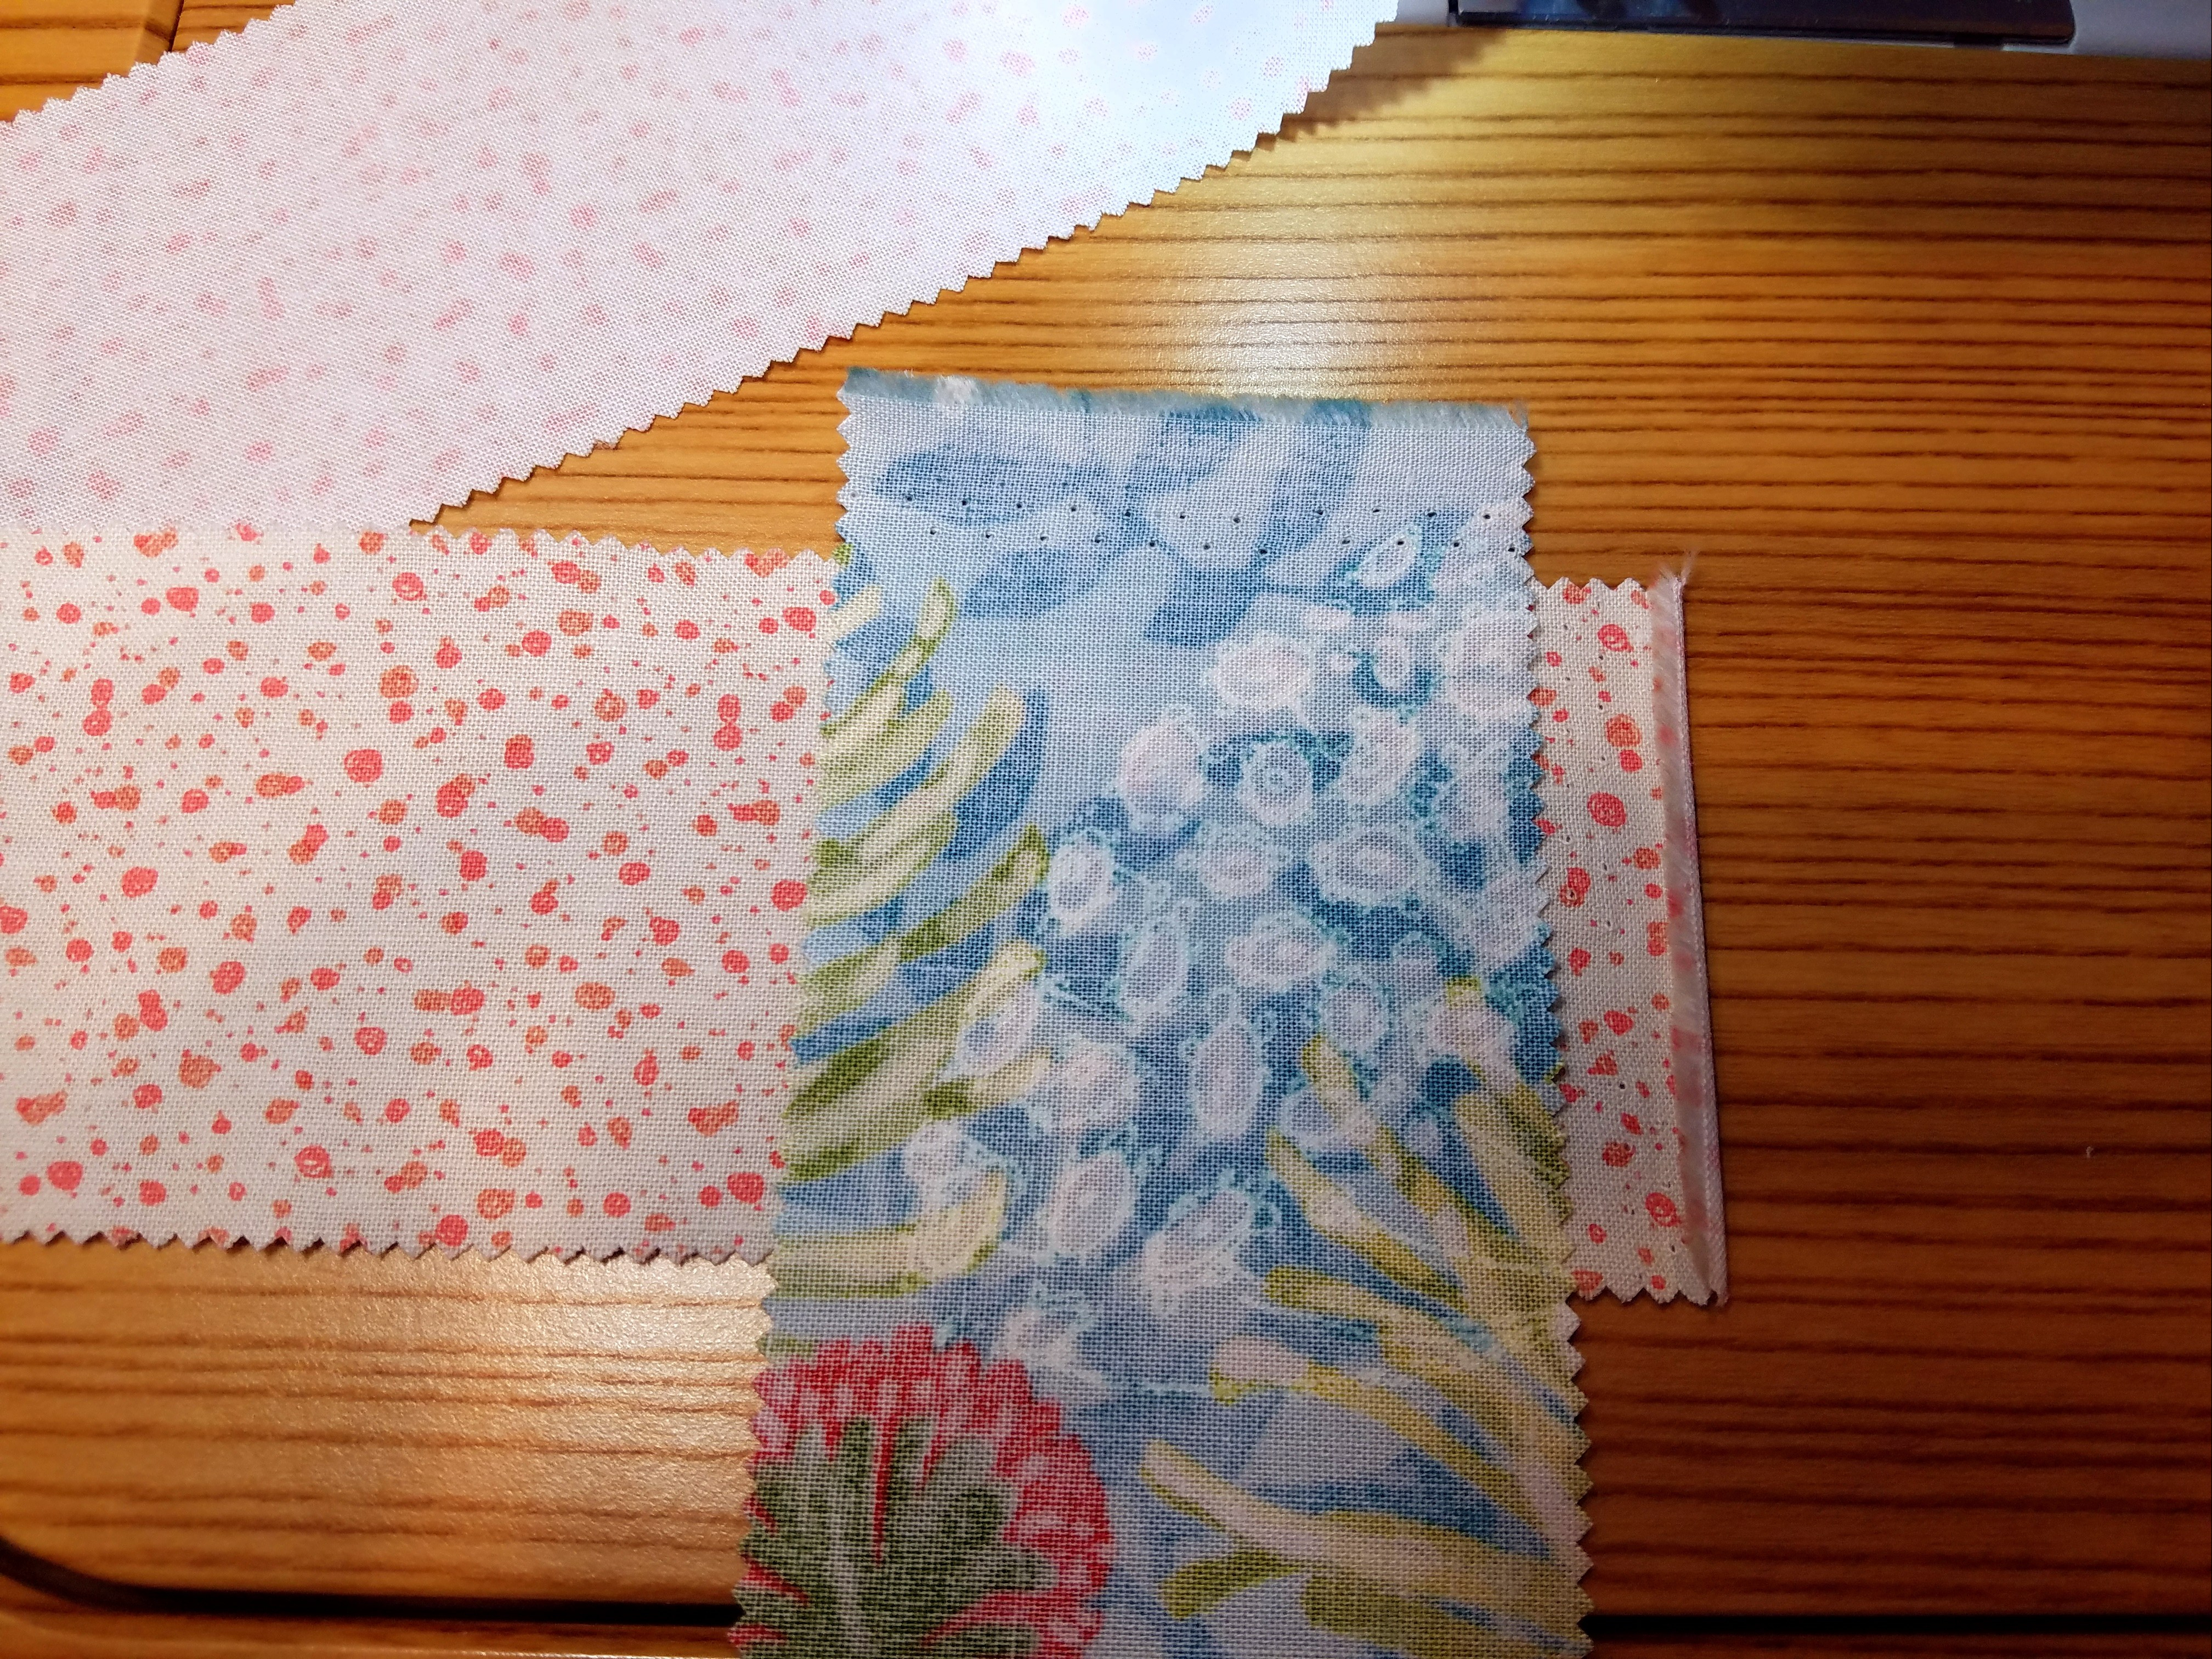
Add all the strips in your pile. I try to avoid putting the same fabrics right next to each other. I also try to vary the colors – Oh, I haven’t used green in a while, I’ll add green. And don’t worry about pressing, seriously. Just turn the iron off, you won’t need it for a while, um, about an hour.
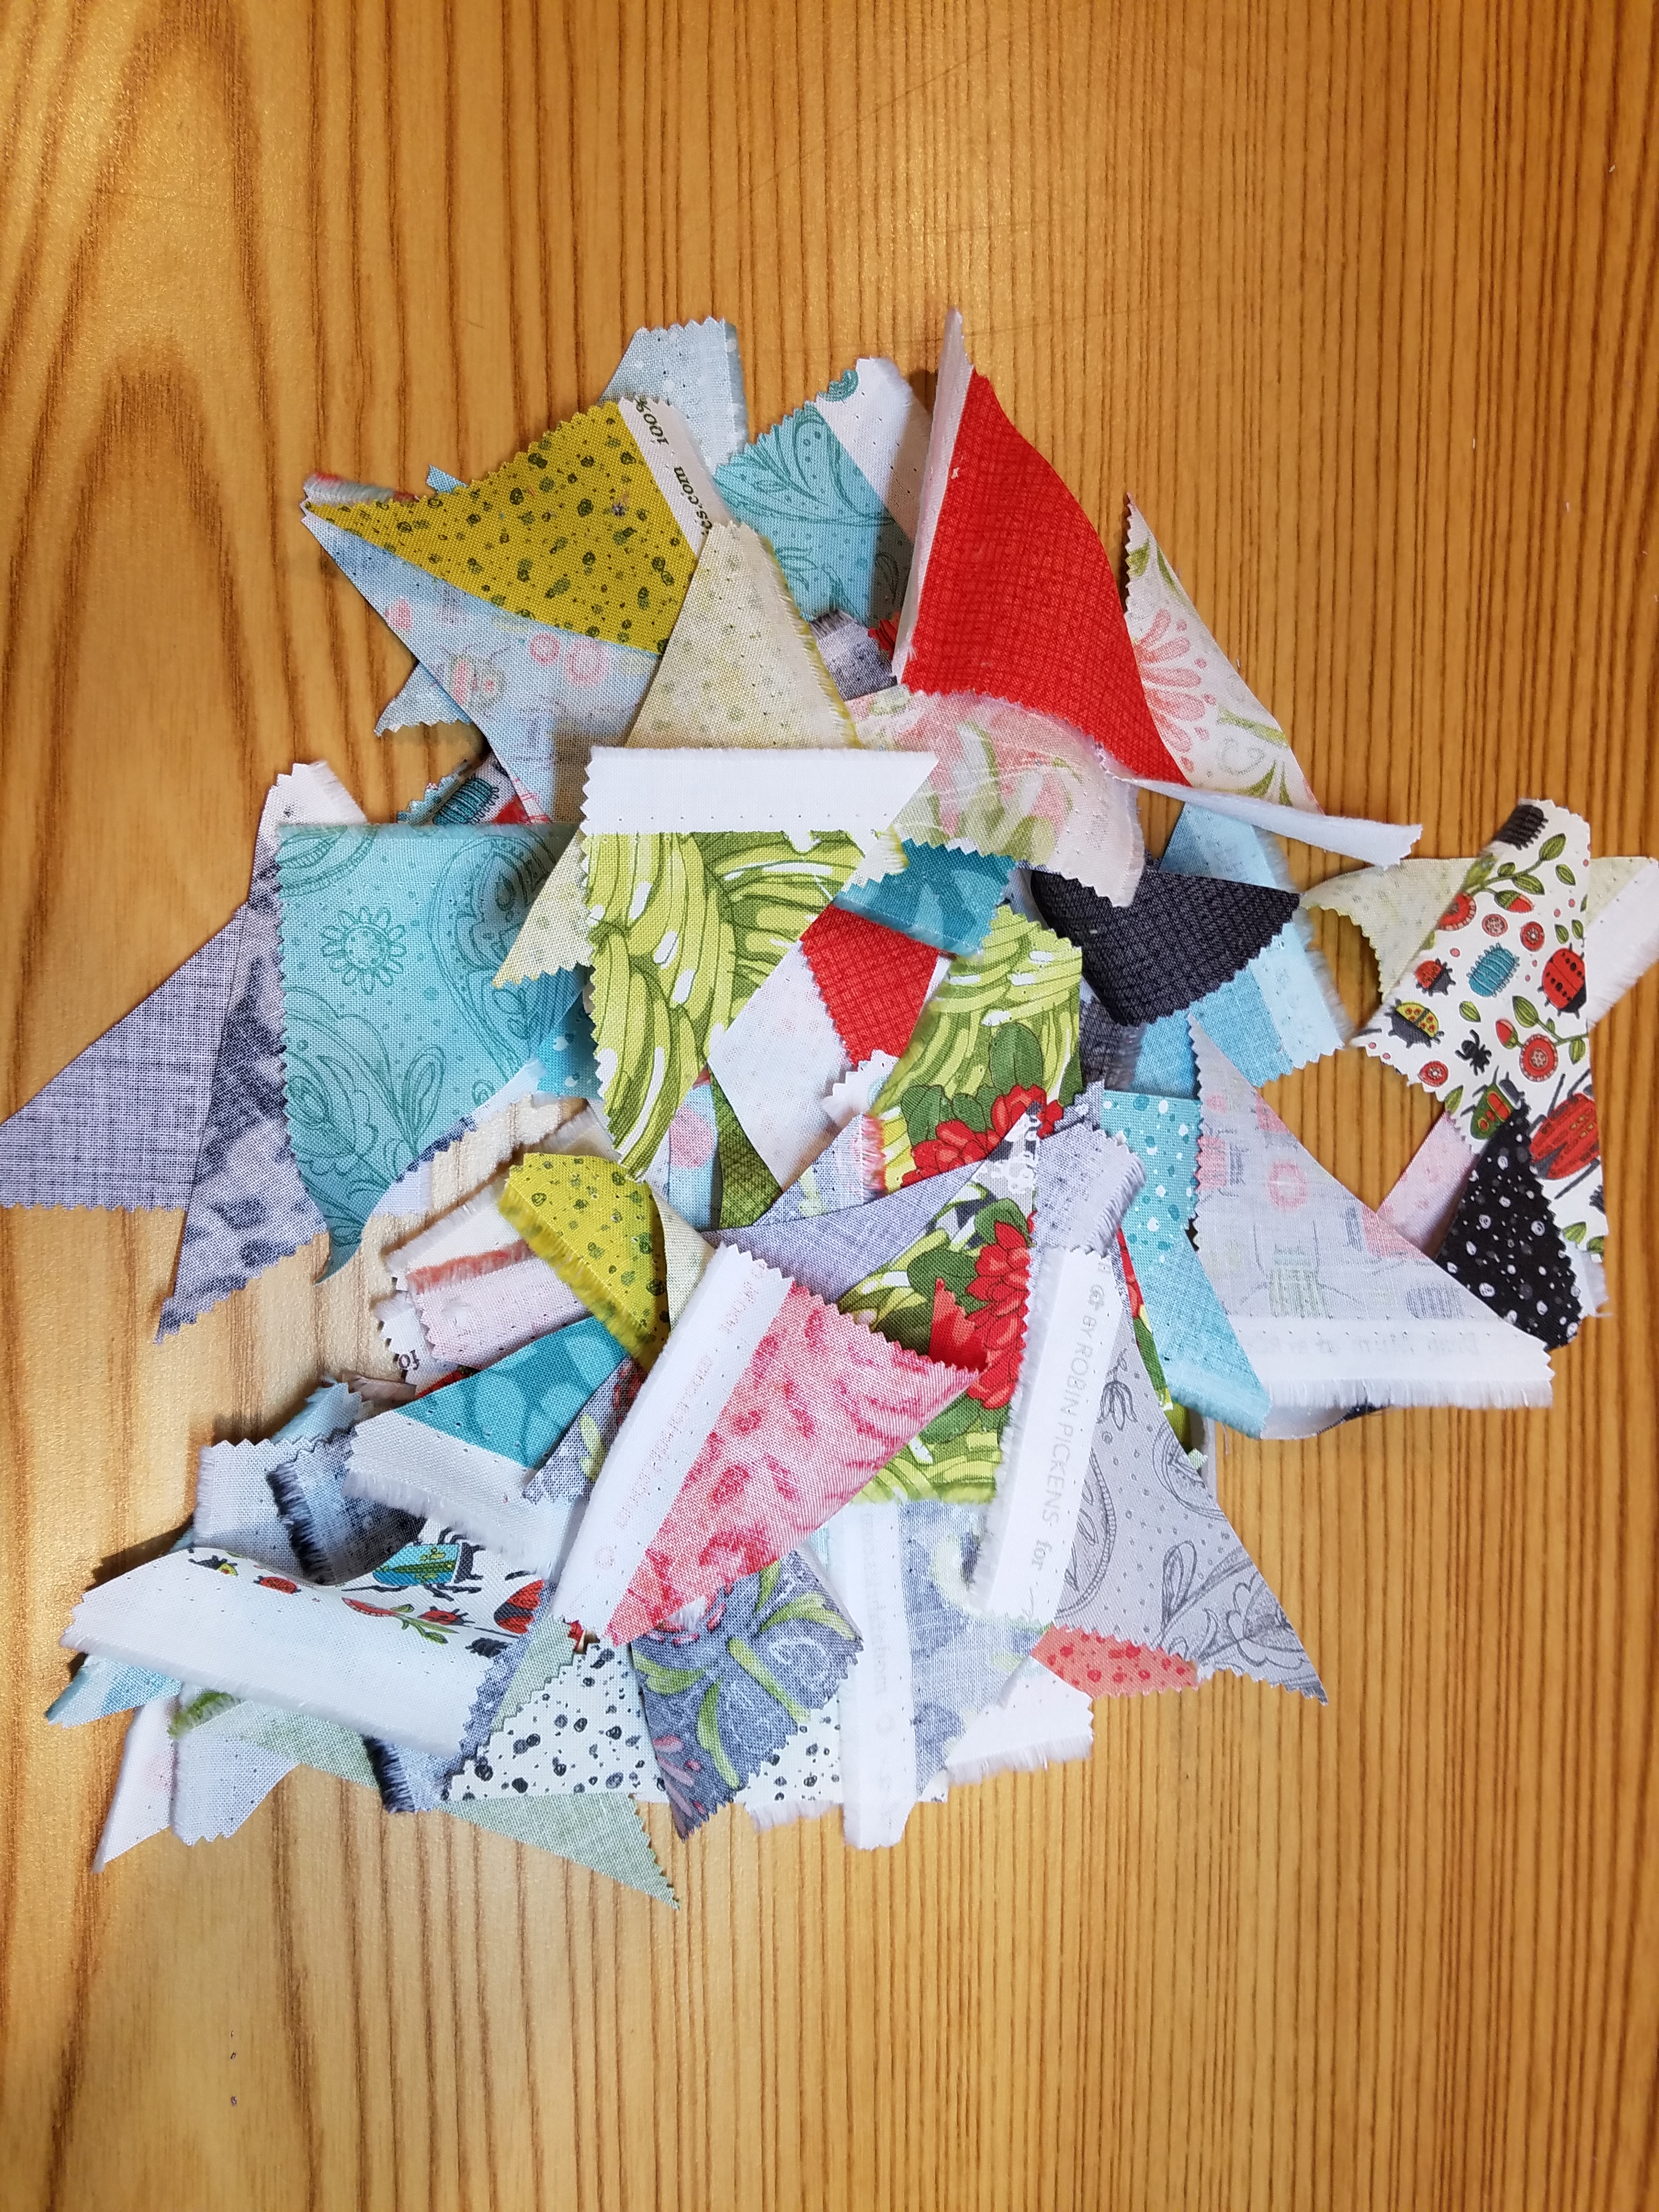
Once you have made the strip, clip the threads and trim the ends, leaving the 1/4″ seam allowance.
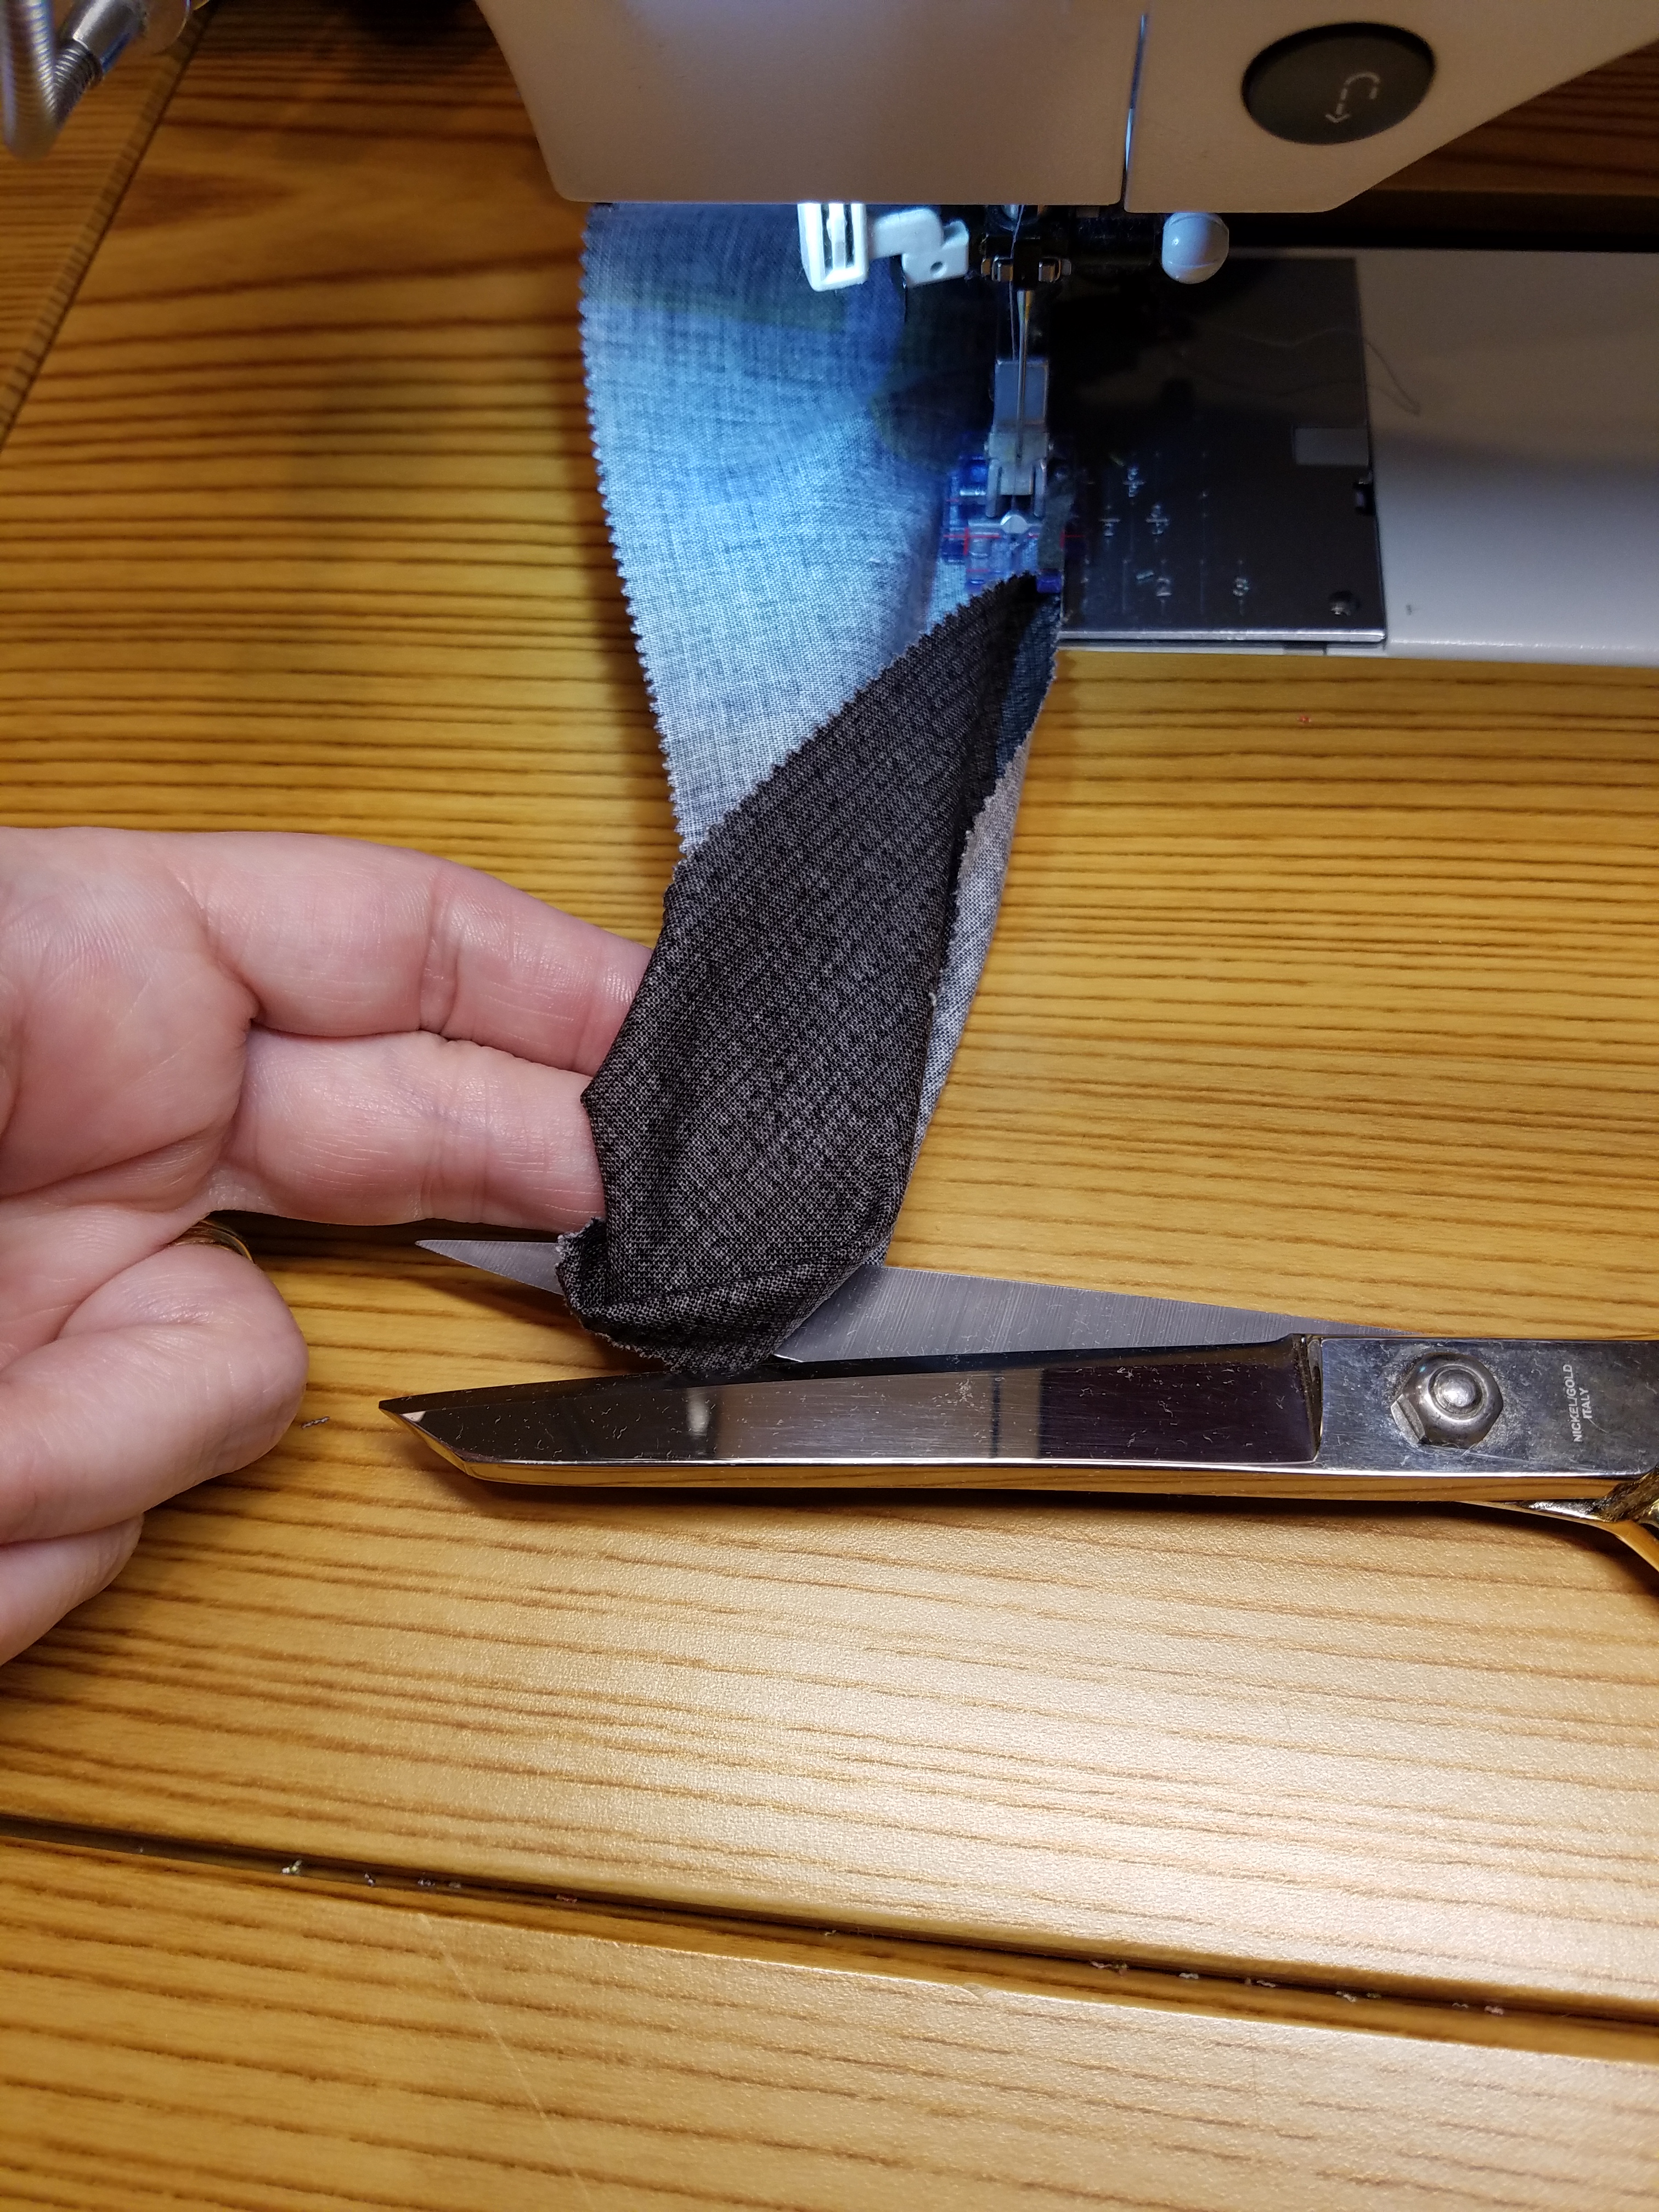
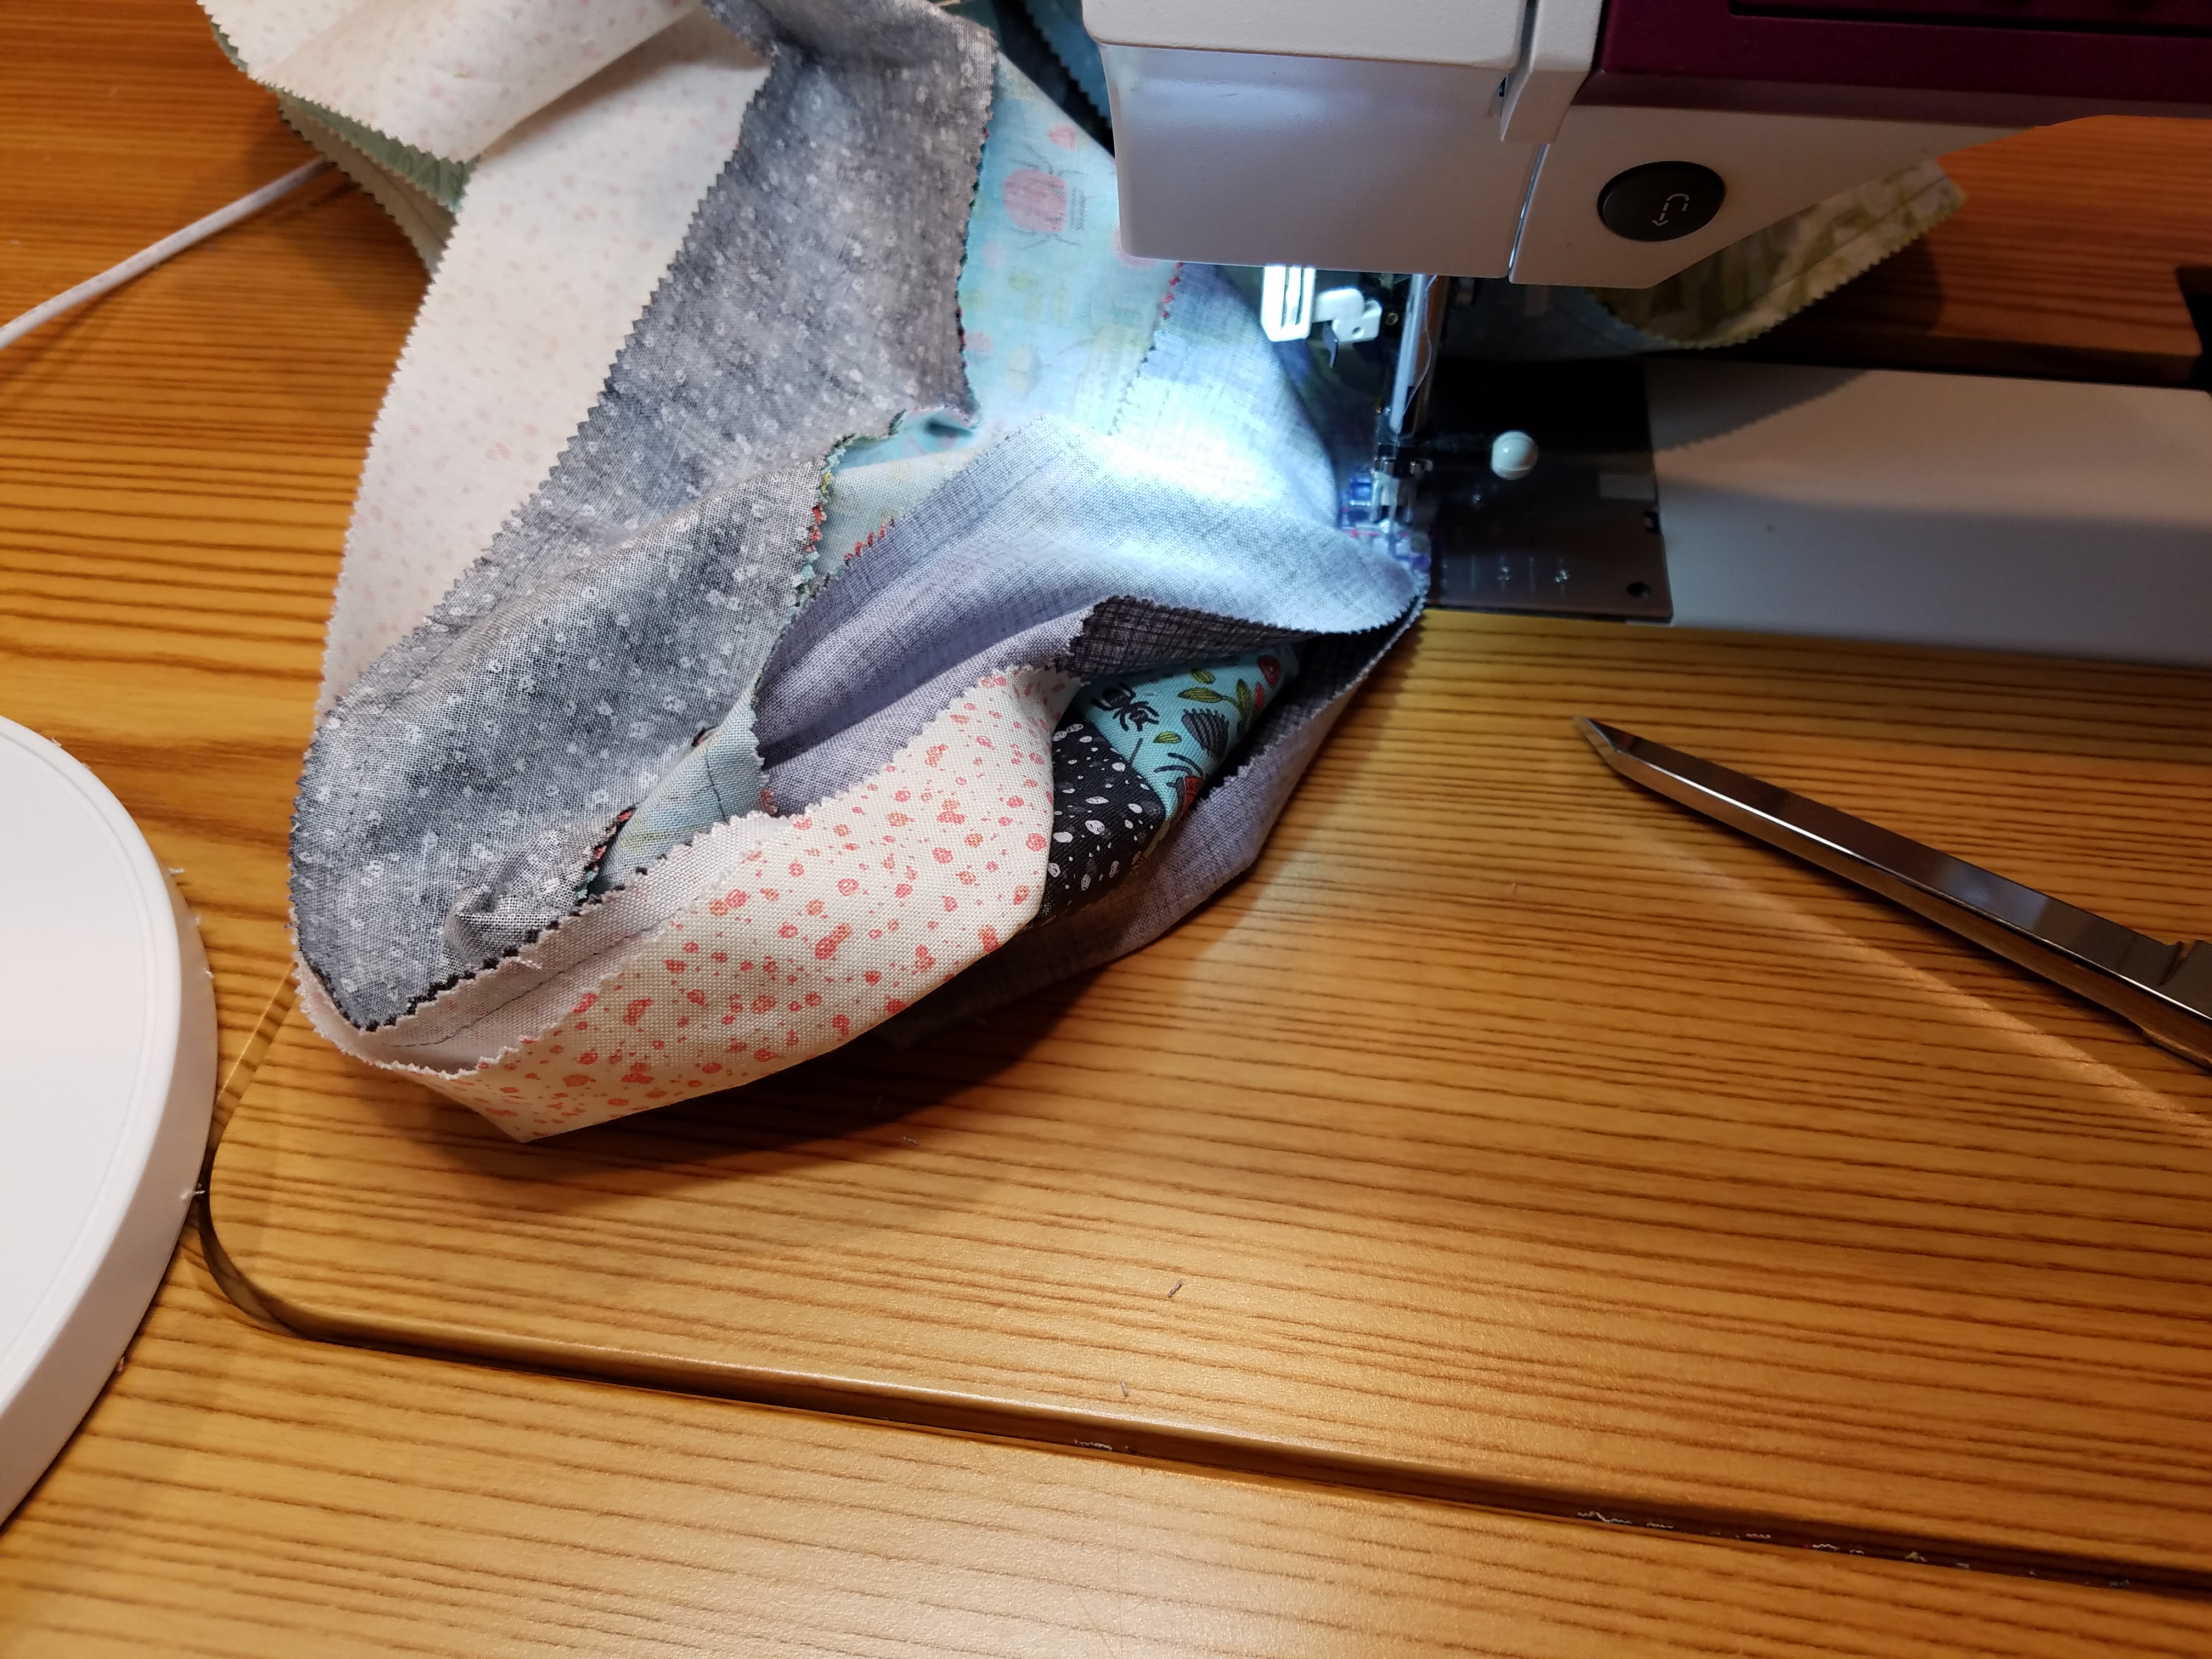
3. Make the first pass. Here is where you can start to race. Find one end. (You dropped it, didn’t you?) Now find the other end. (I promise it is there somewhere…it HAS to have an end.) Once you have your beginning strip and your ending strip, put them right sides together. Chose one side and sew. It doesn’t matter which side. (Pro tip here – after you sew a few feet, place the beginning of the strips under your tush. That way you can find it.) Sew all the way to the fold at the very end. Clip the fold apart.
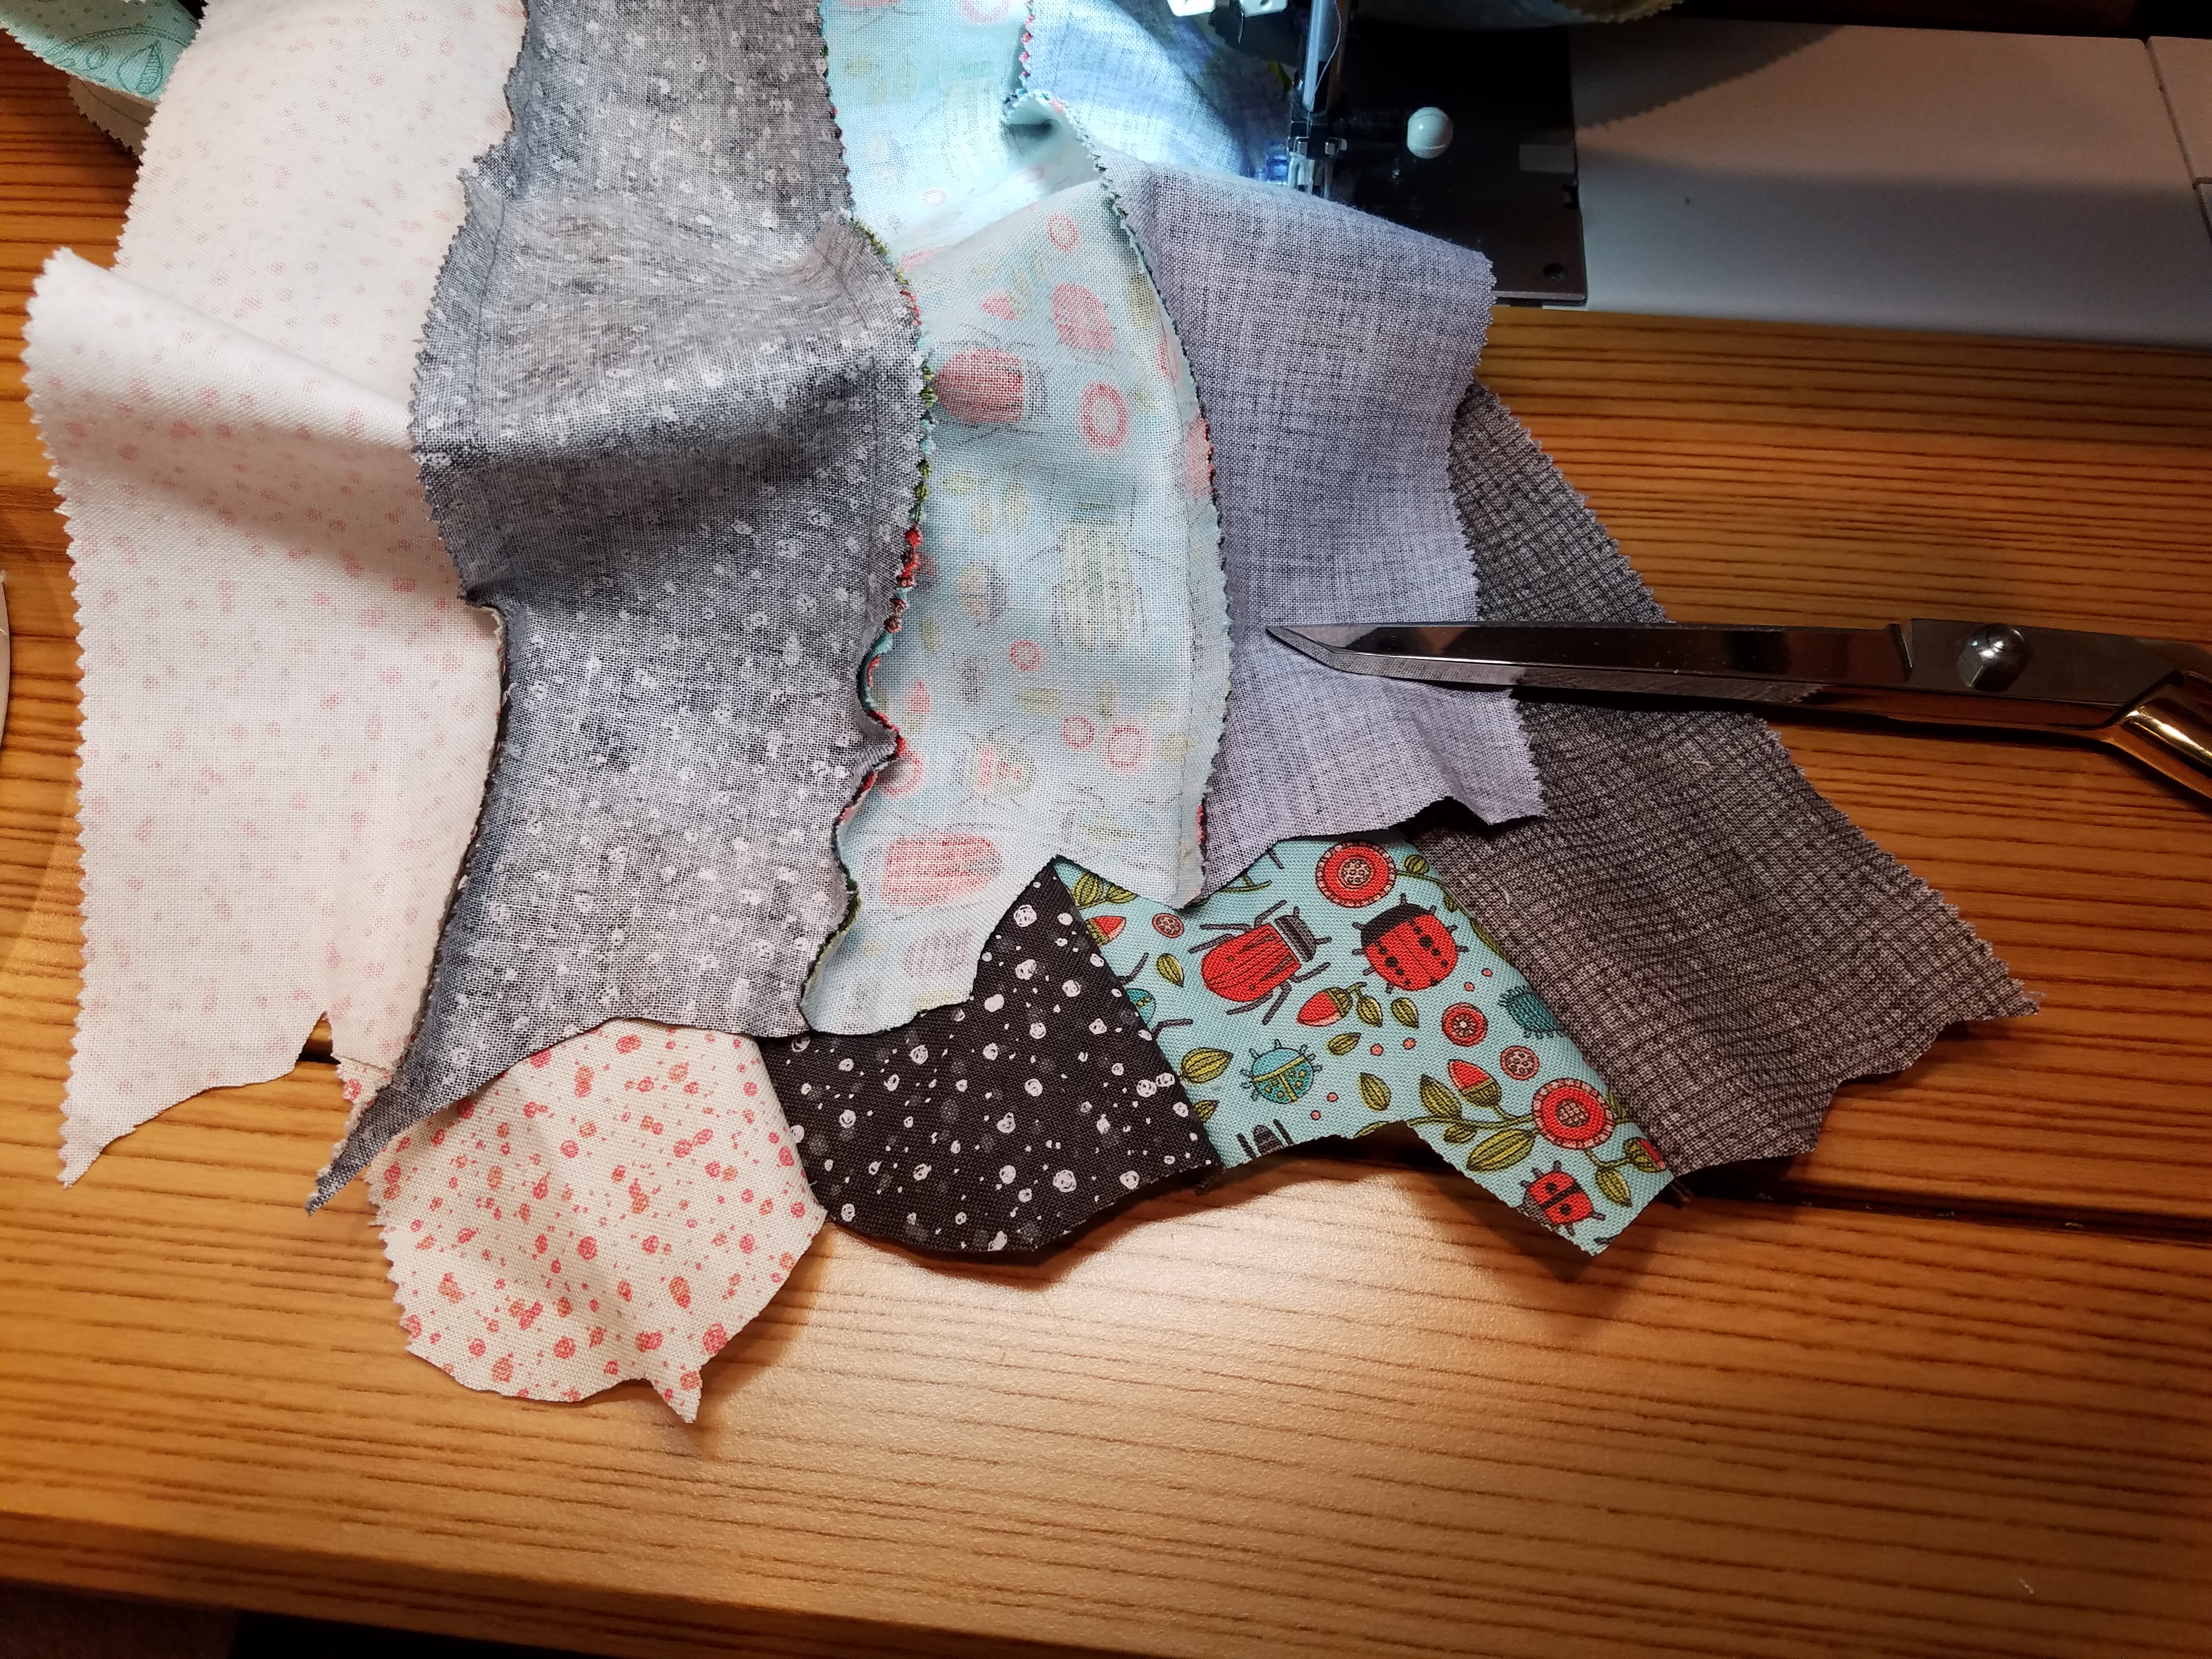
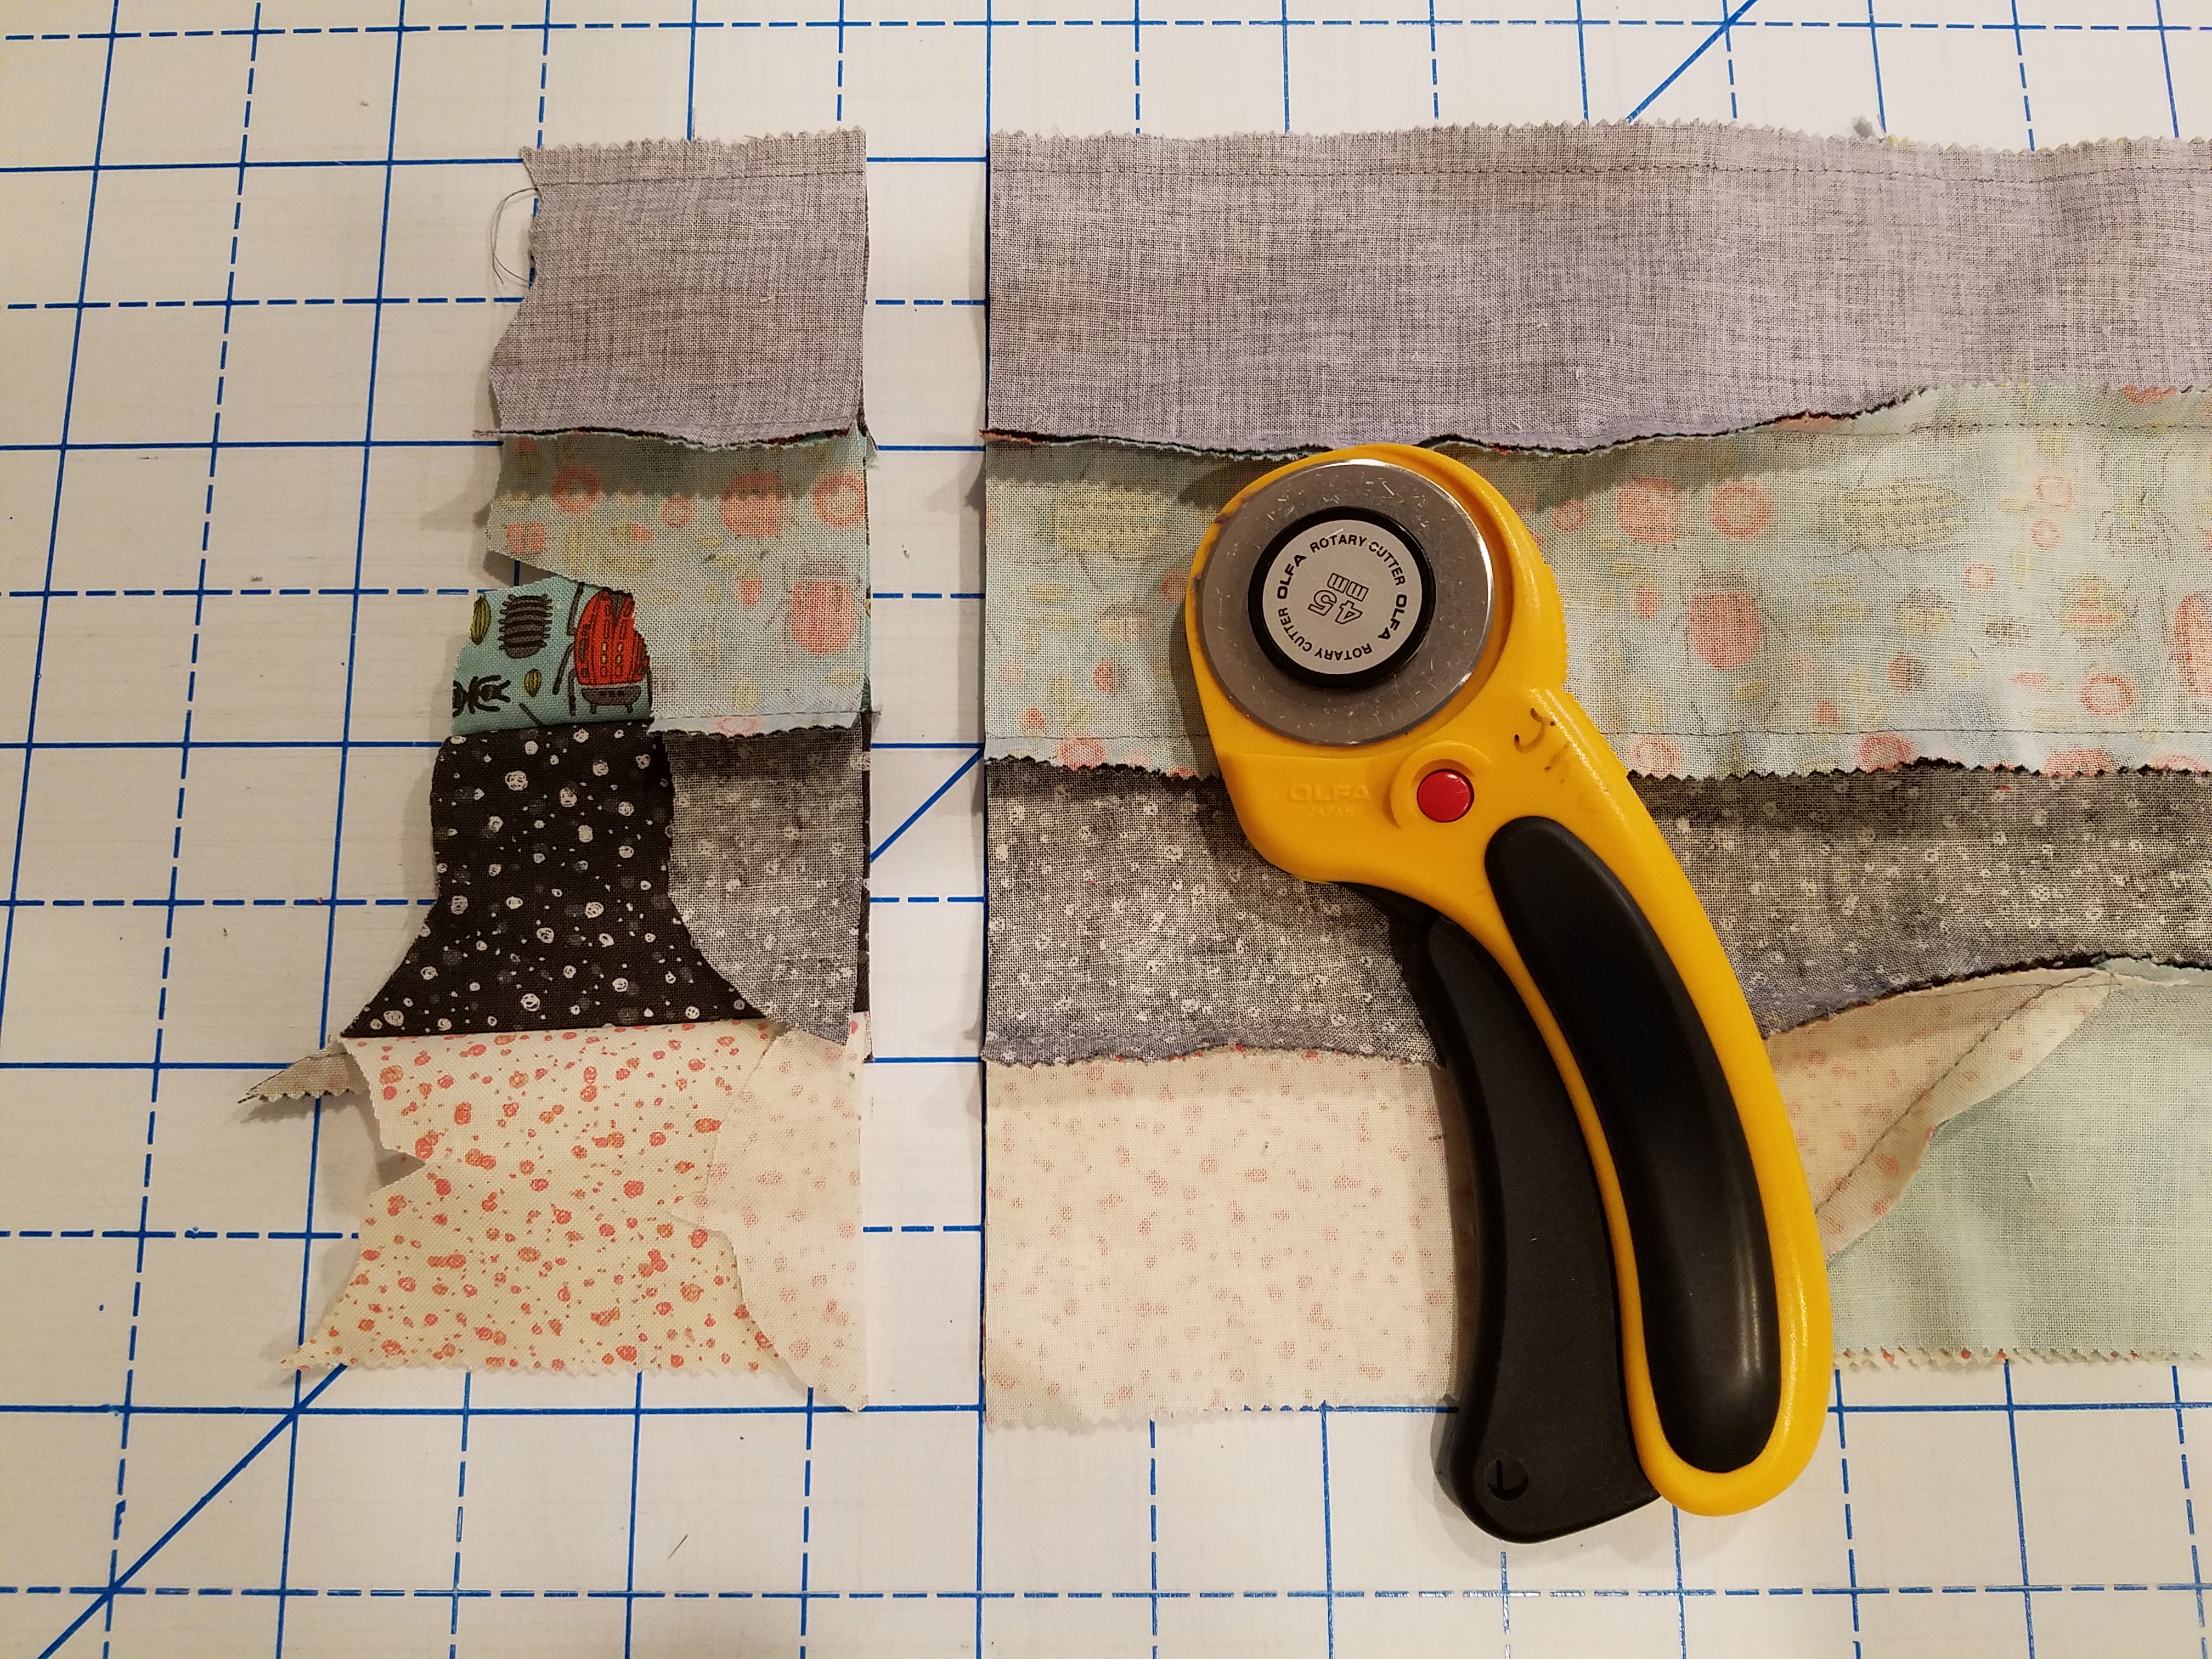
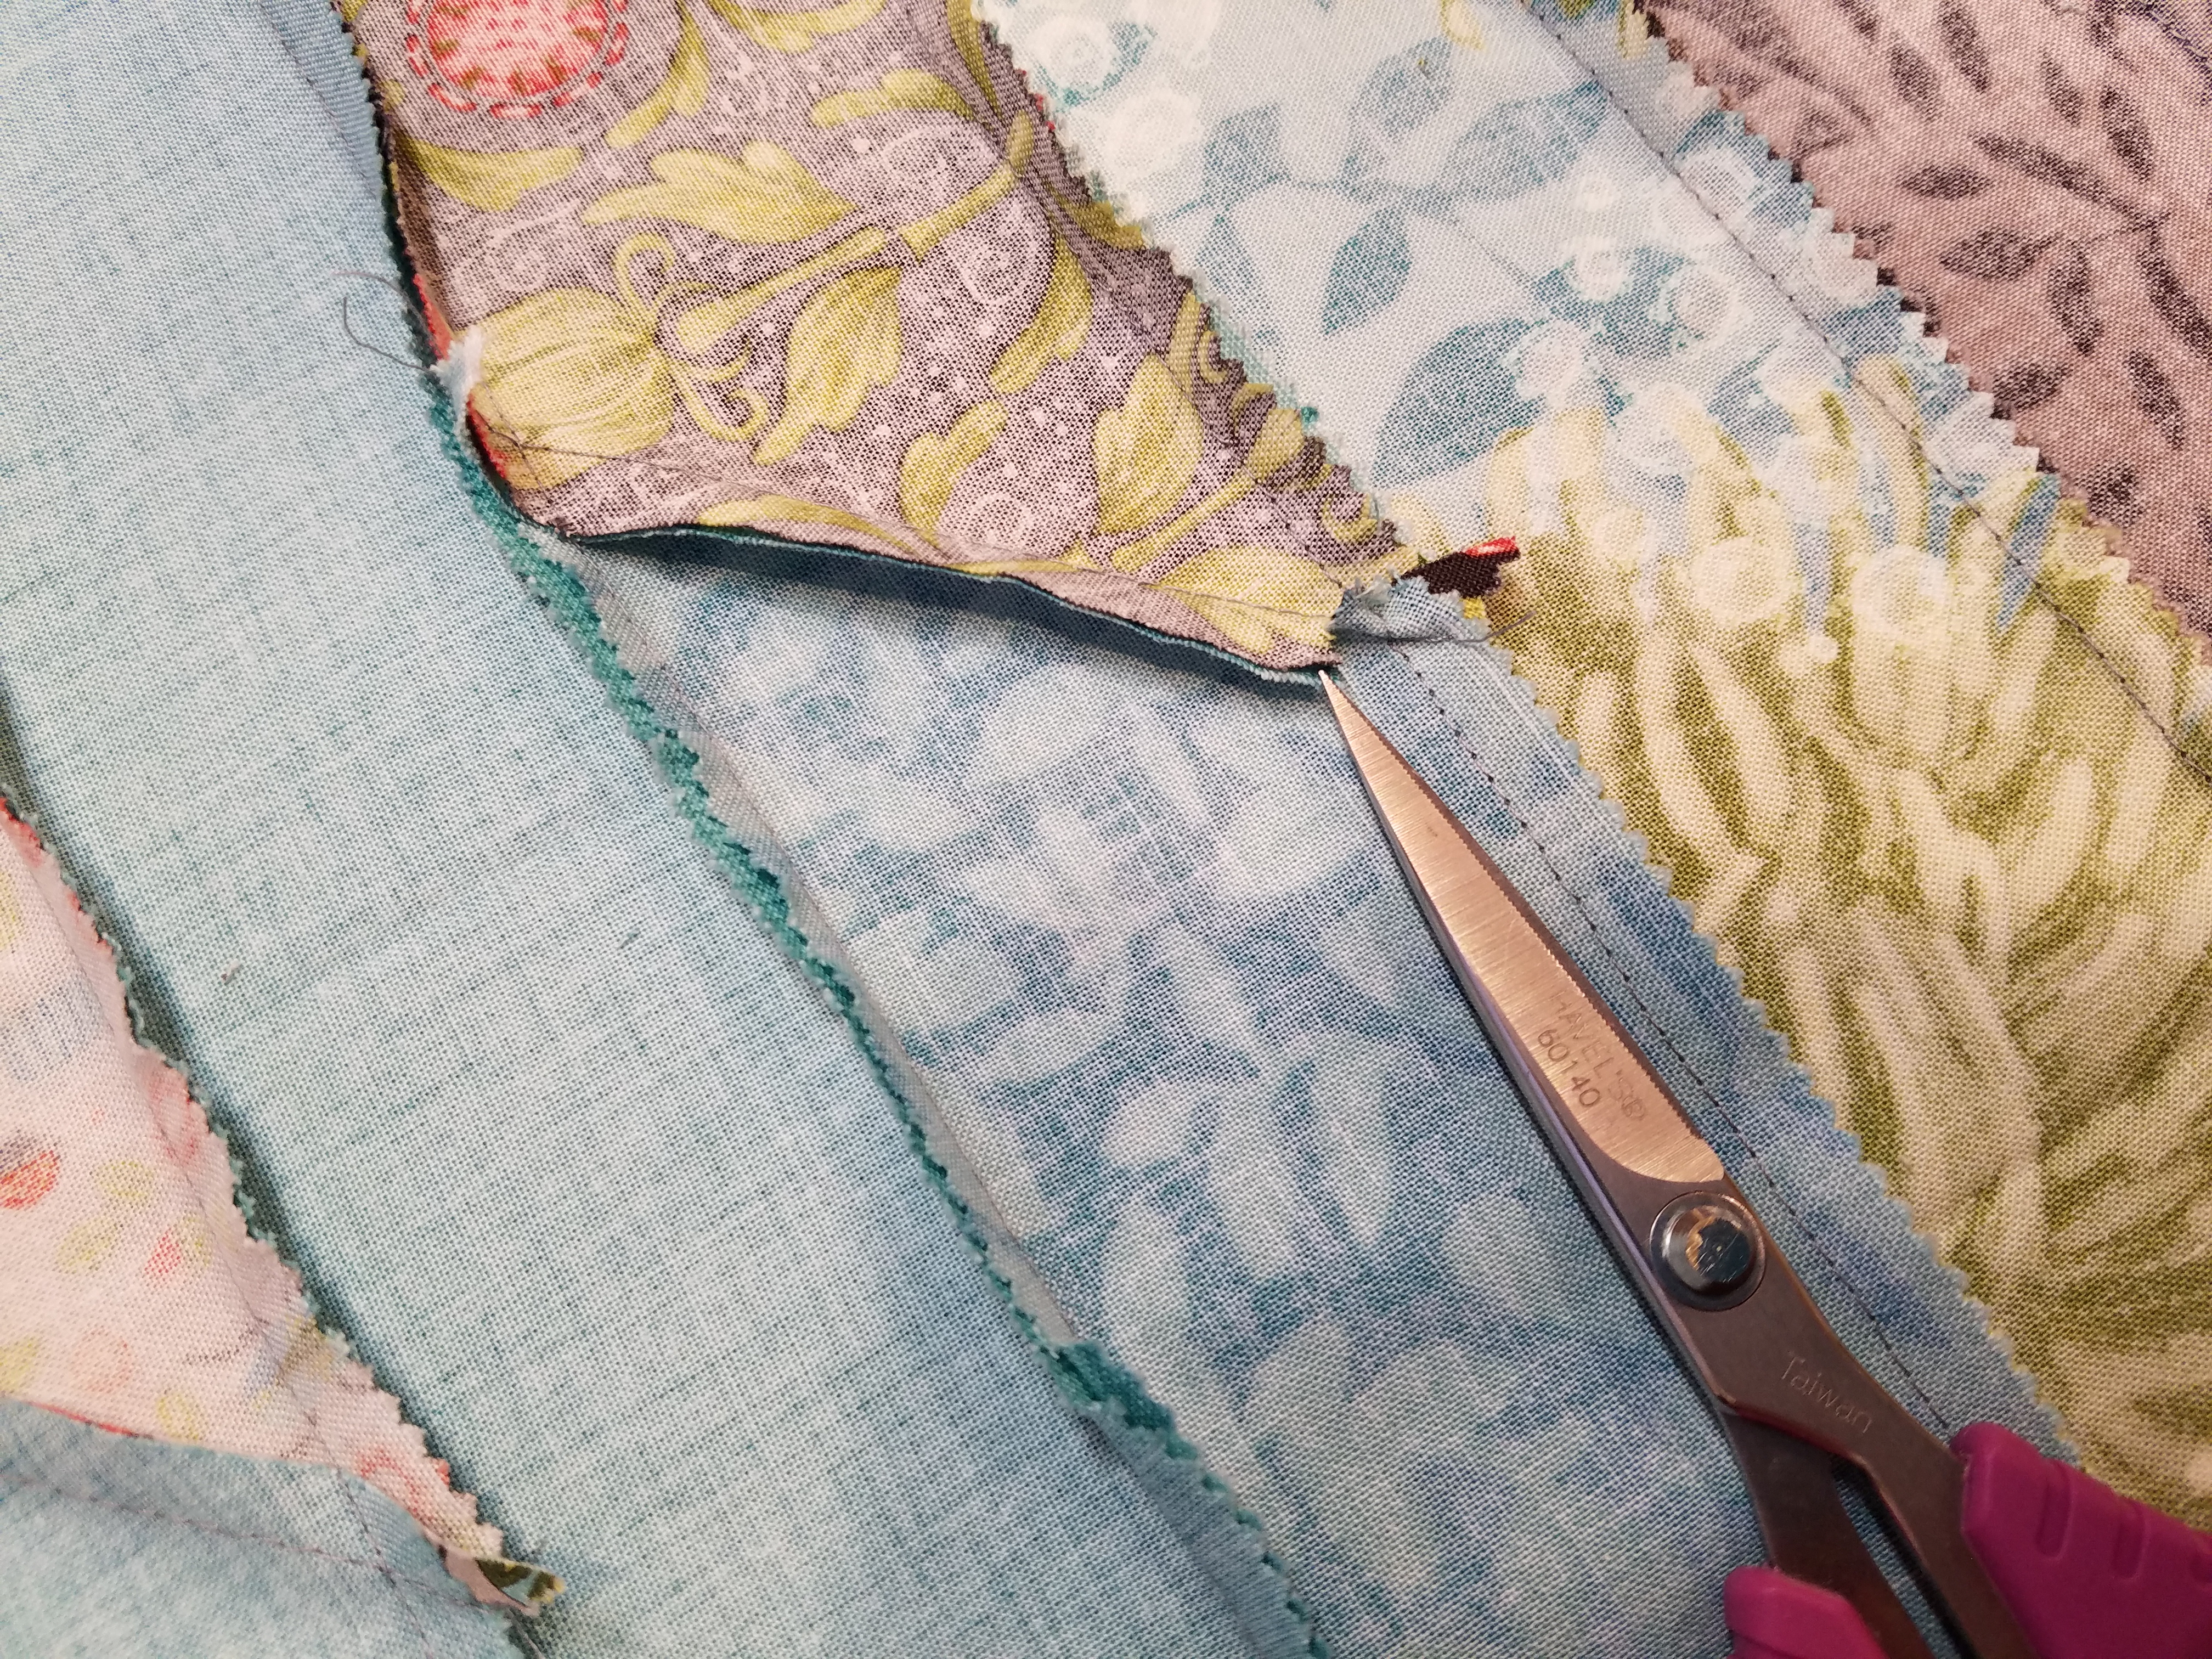
If you get a twist, sew as far as you can, then clip the twist apart and sew the last bit. If you get a big twist, trim with scissors and even out with the rotary cutter.
4. Finish the race. Continue each pass until you are done.
How will you know? You will cut the fold and VOILA, there is your quilt! Hold it up and get a picture because that was awesome!!!!
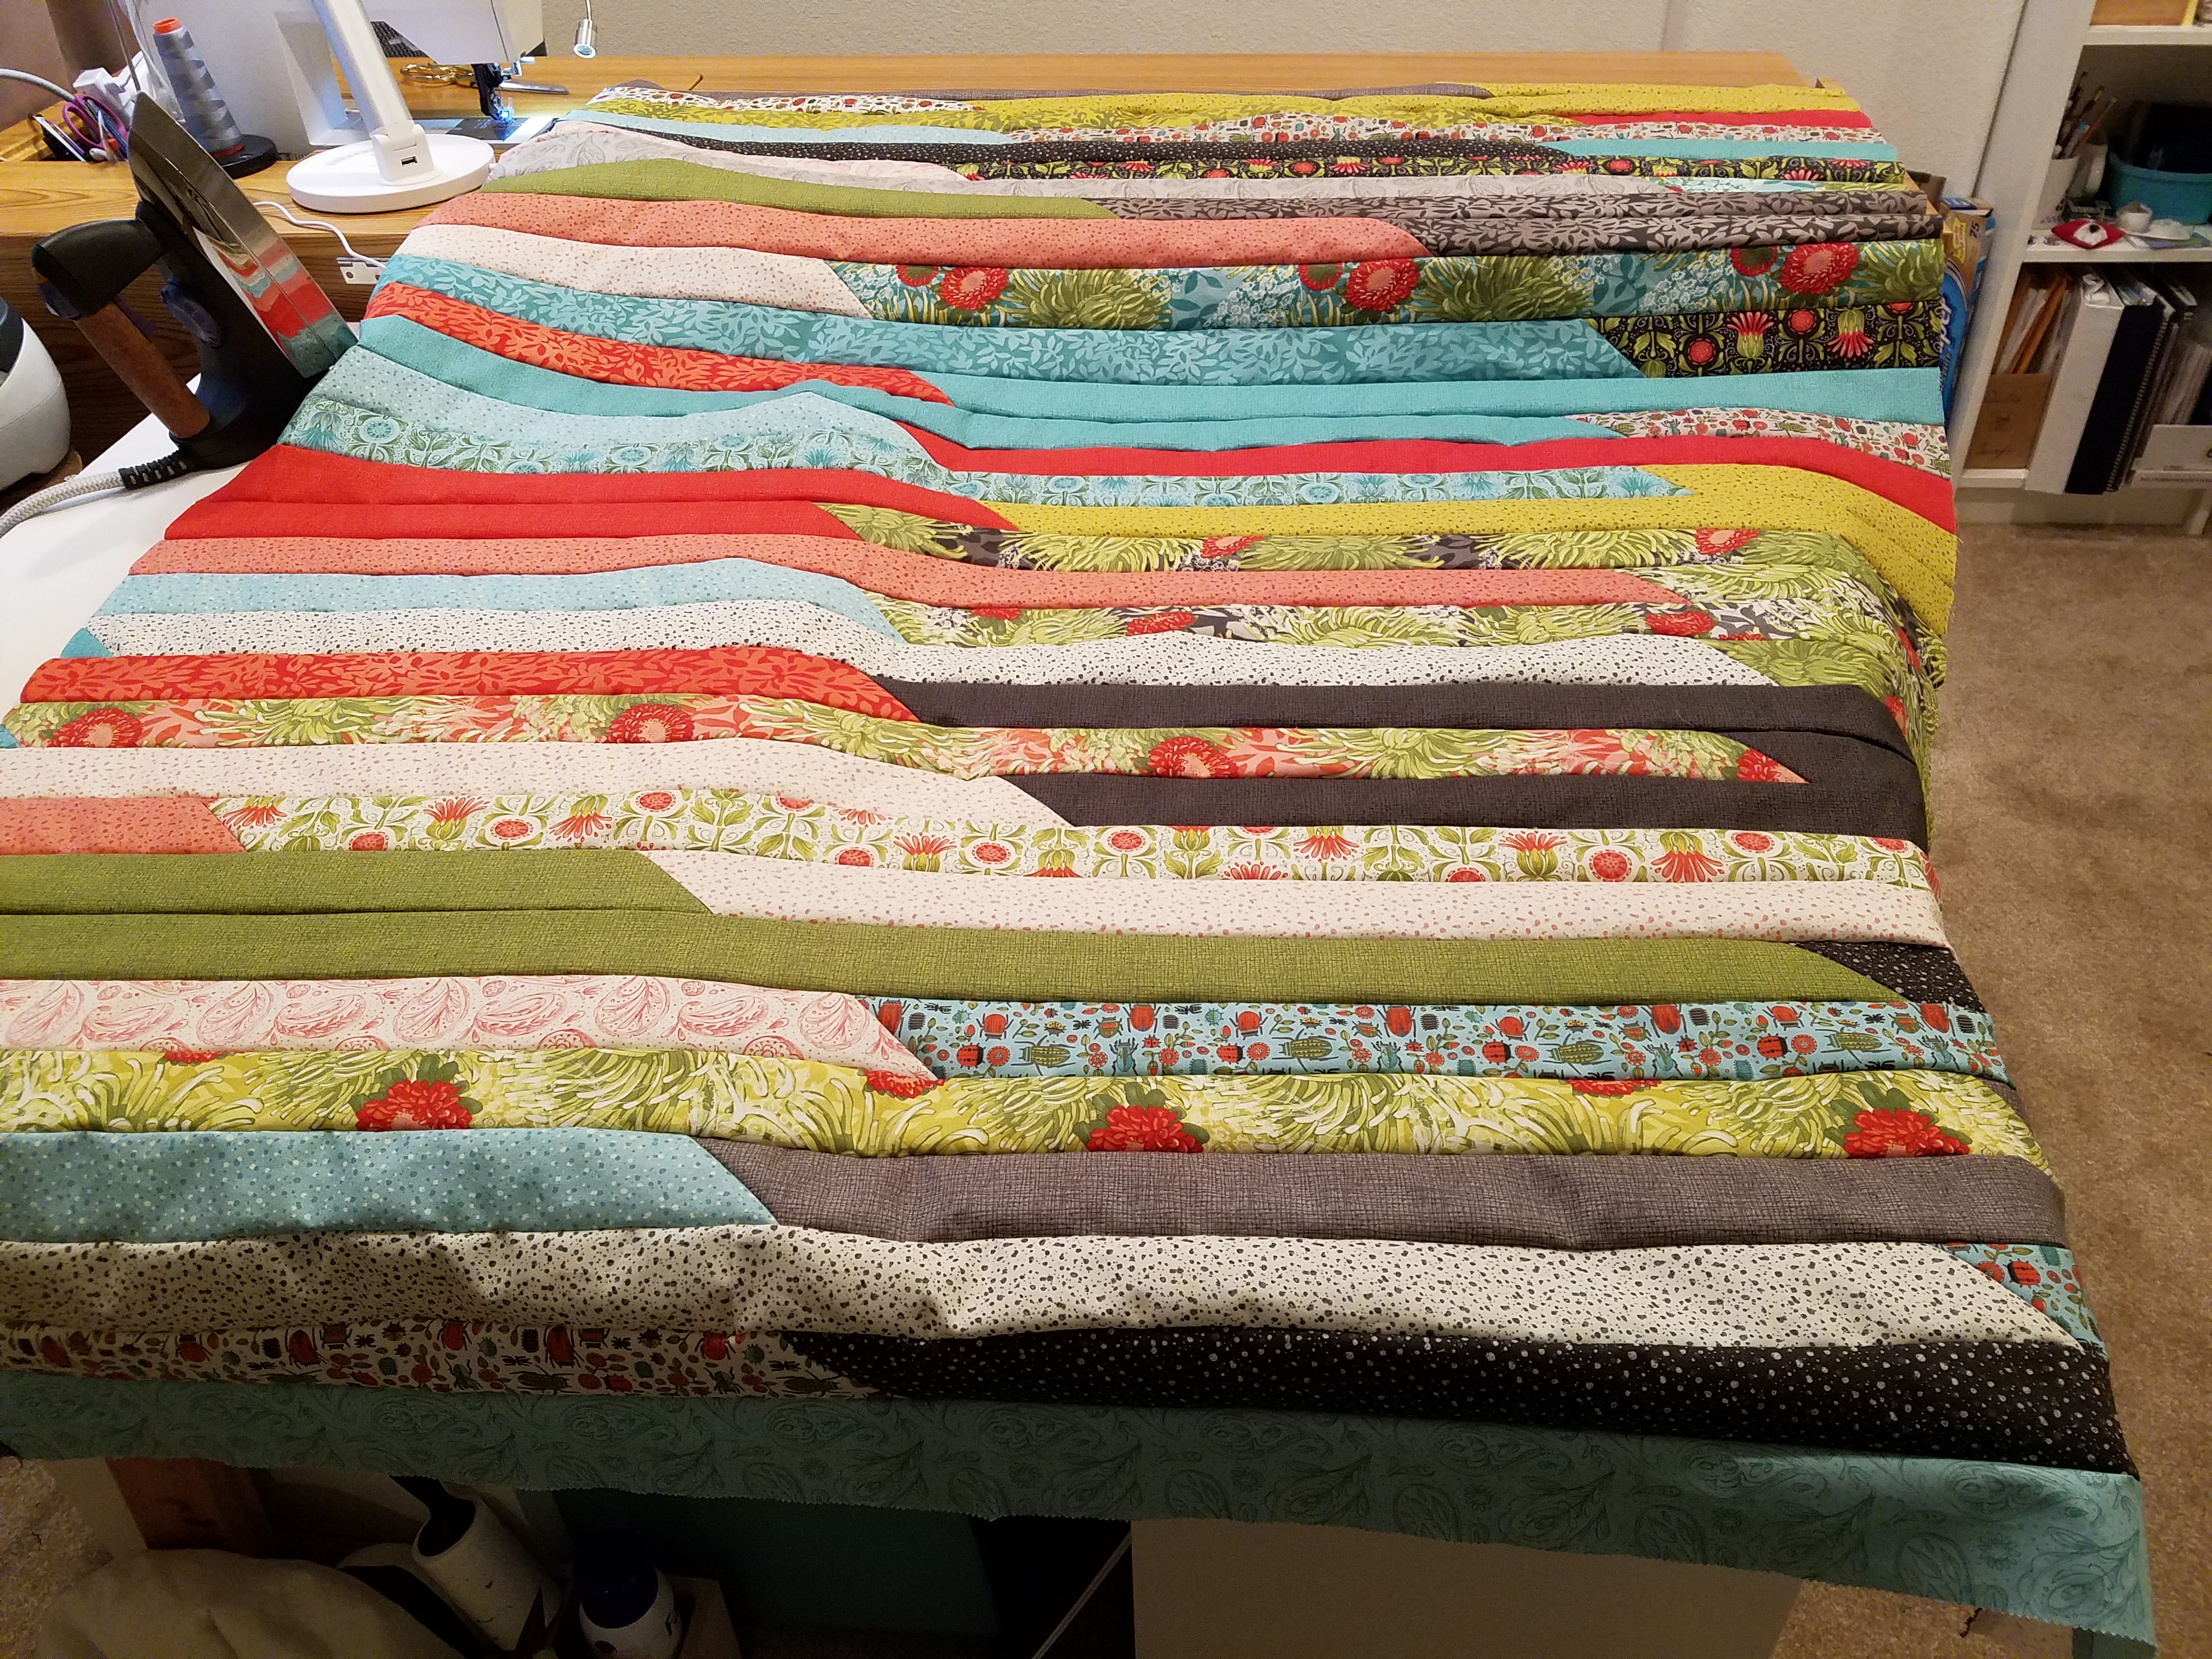
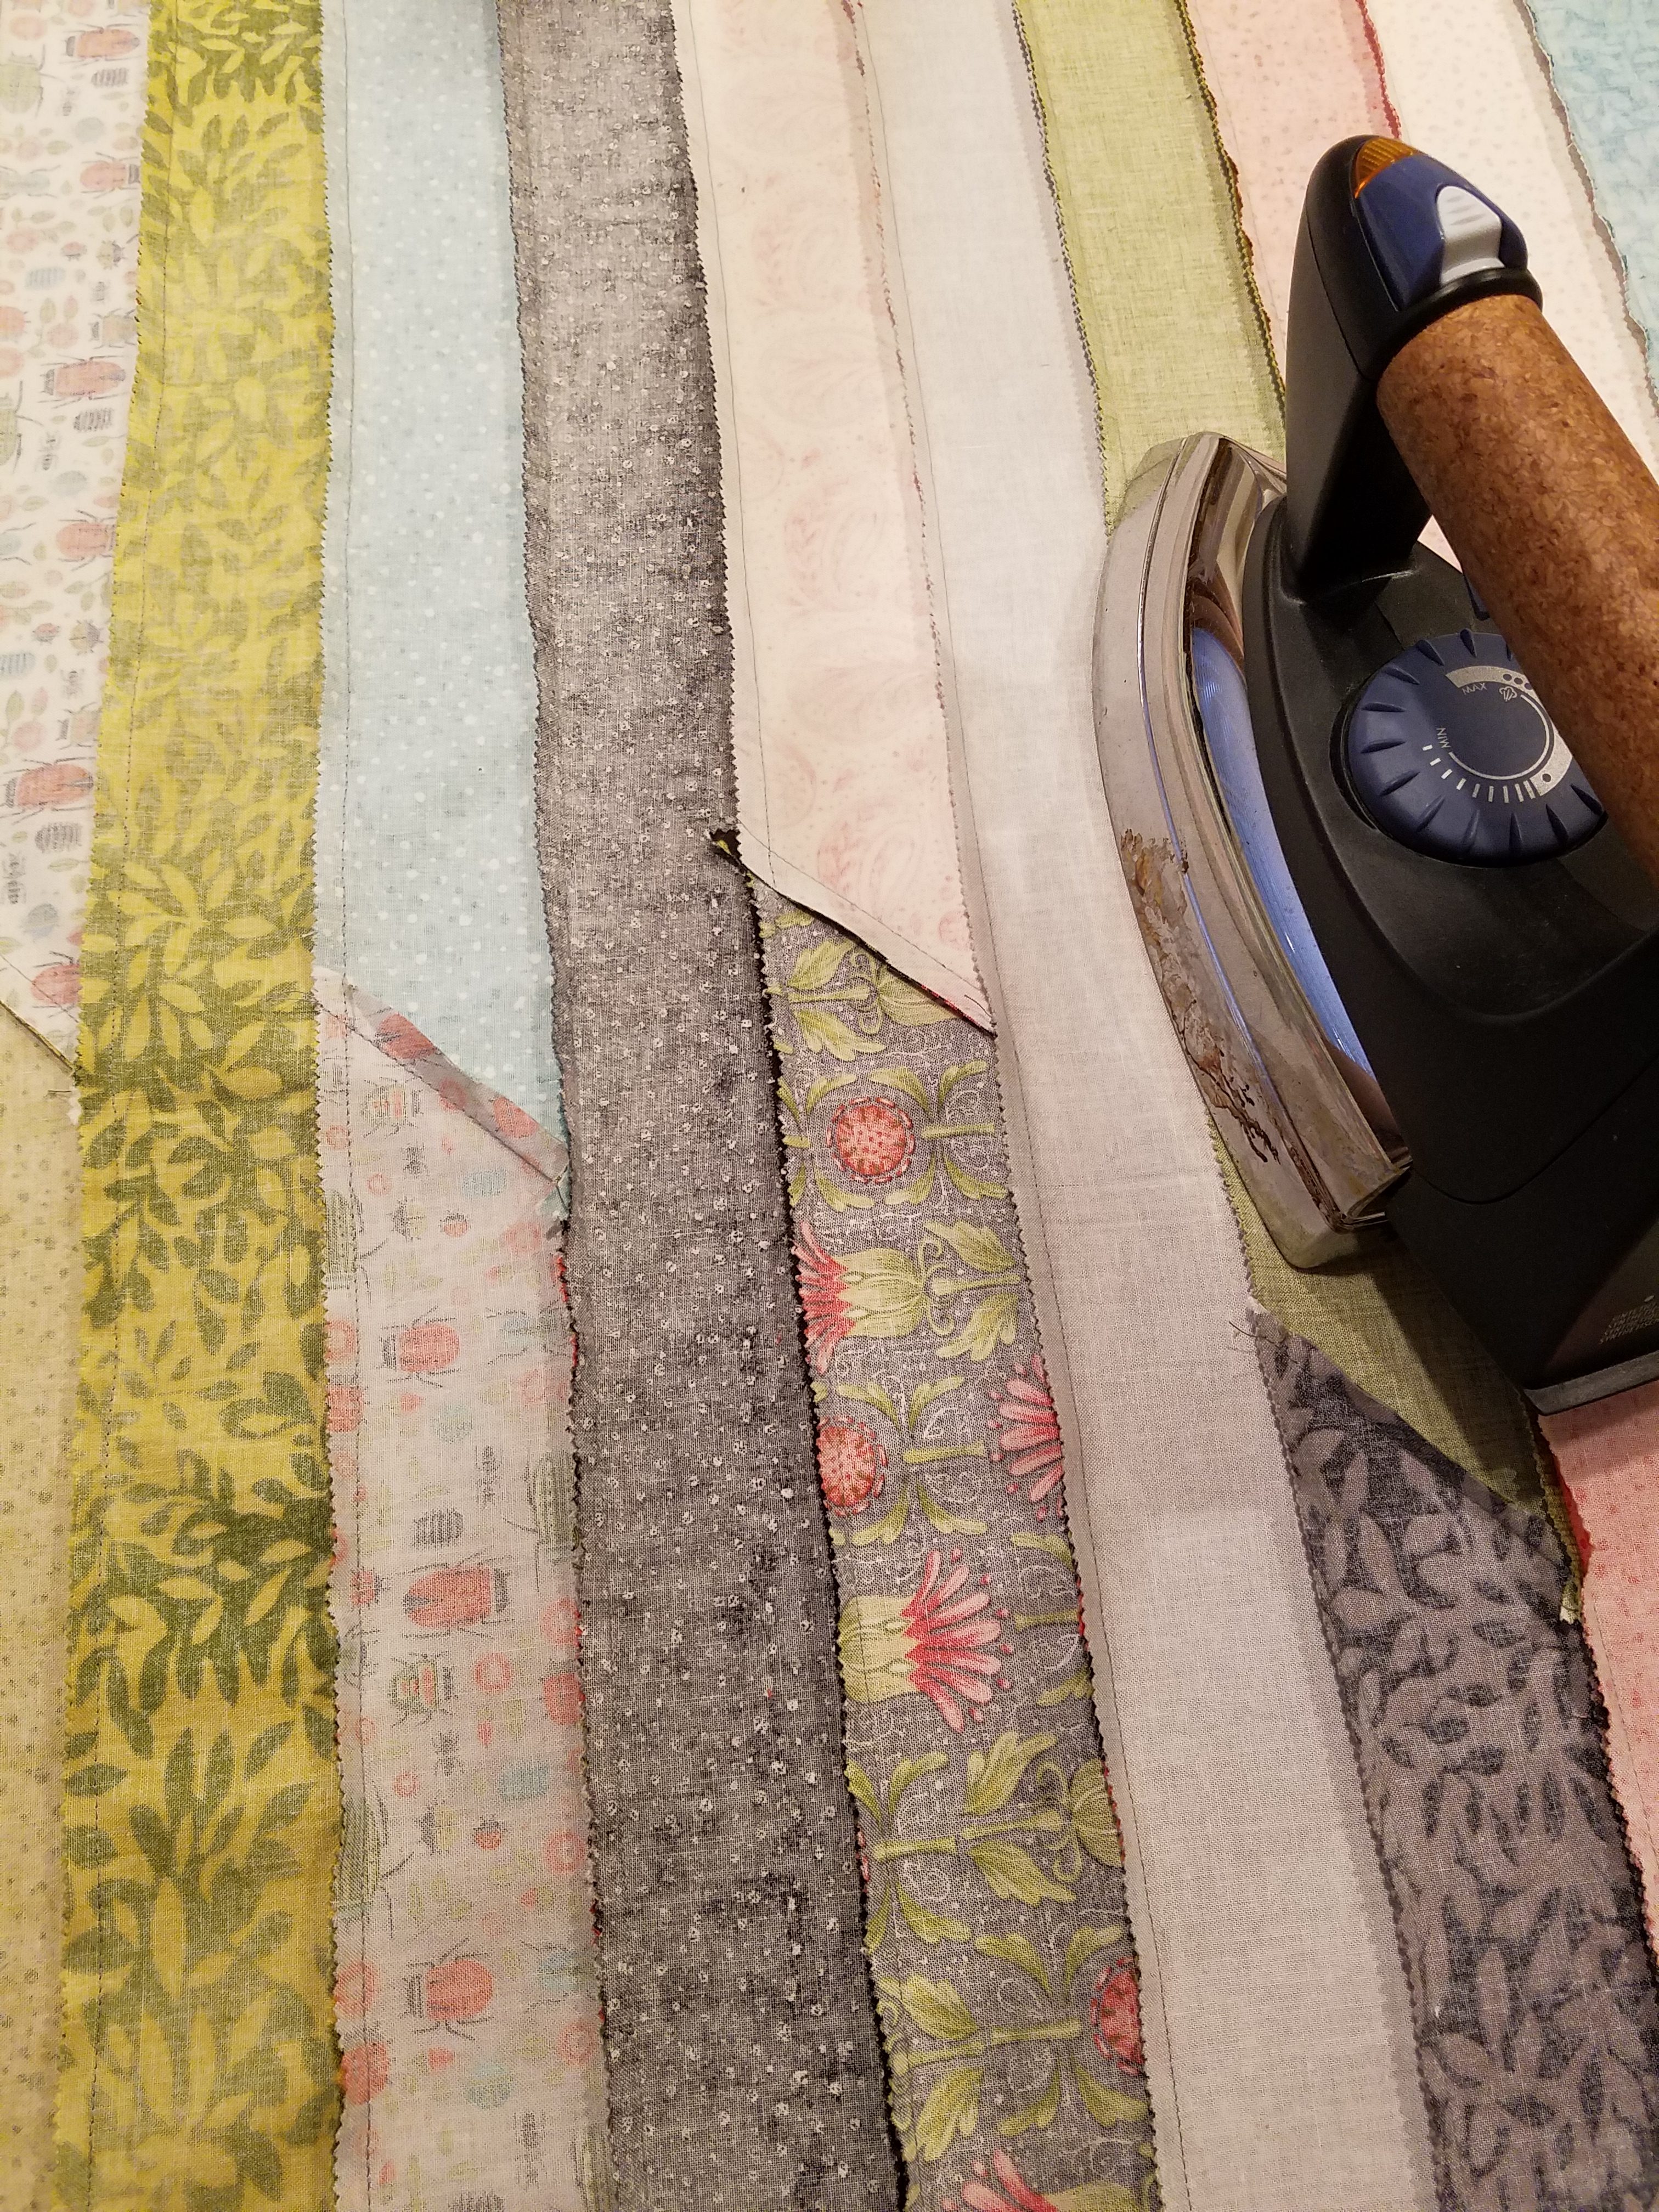
5. Press well and square the top. If you find any folded seams, clip a TINY bit of the seam allowance to make it lay flat.
That’s it! Take a break, you must be exhausted because you sewed ALL DAY.
So much of quilting is accuracy and precision and exactness and blah and blah and blah. And I really do love and value and teach those skills. But a 1600 quilt allows you to just SEW and break free to see what will happen! And they are fast enough, I always want to try another to see what will happen. I am sure I have a jelly-roll around here…
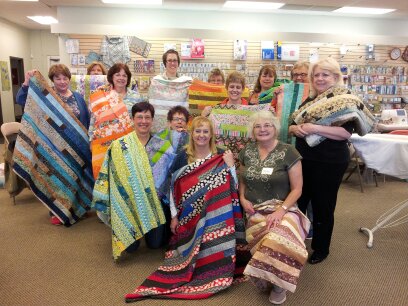
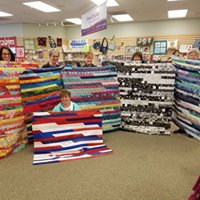
Need some inspiration? Here are some of my happy students.
See you next time!
Jenny
