My favorite star is the Lemoyne Star. It is so striking. I have made several, over the years. 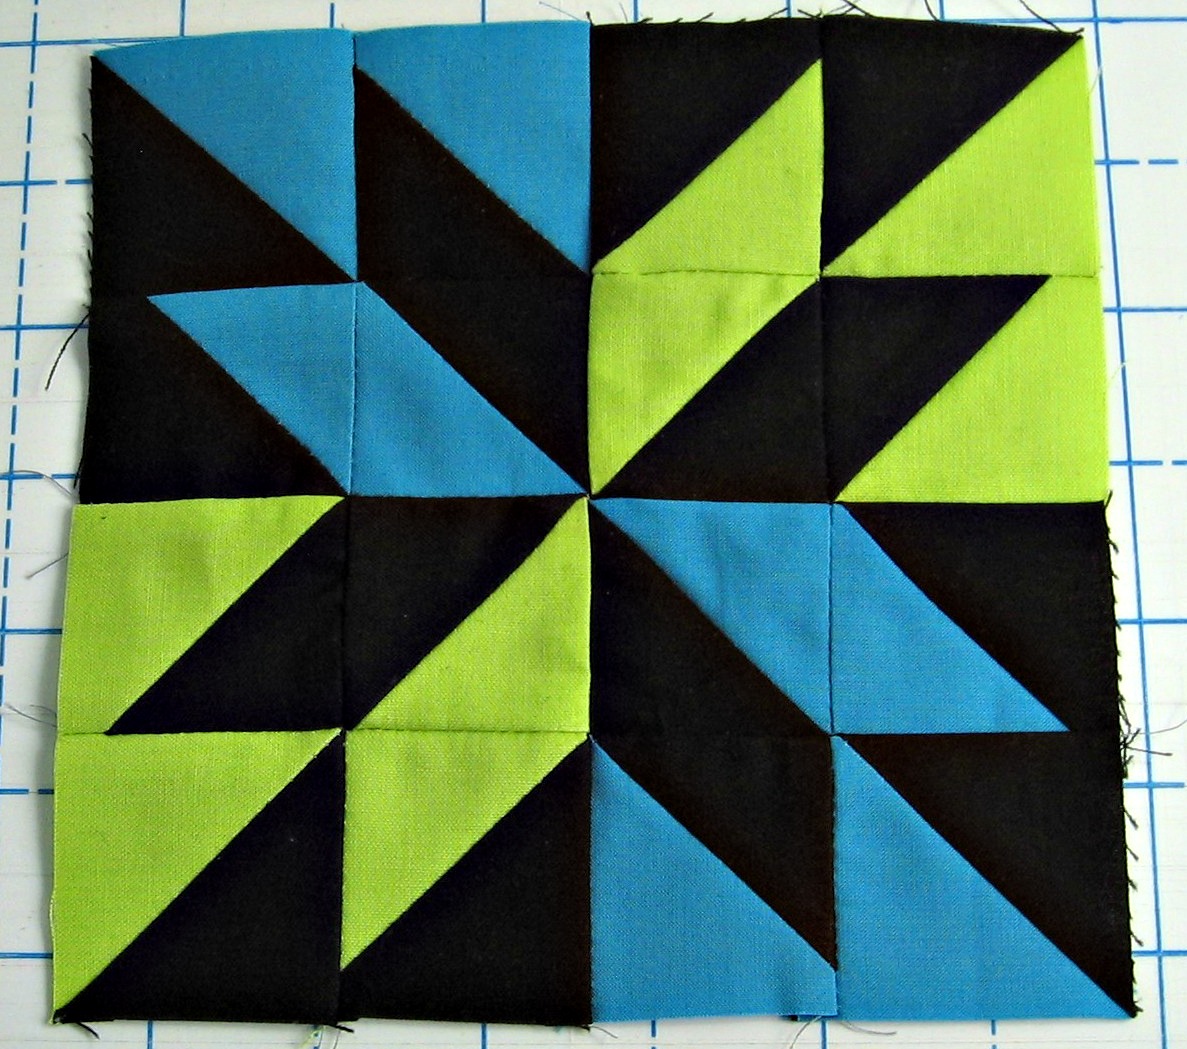
Matching the points is tricky. And triangles without points are, well, pointless.
This is my technique for matching points – Three Pins Perfect.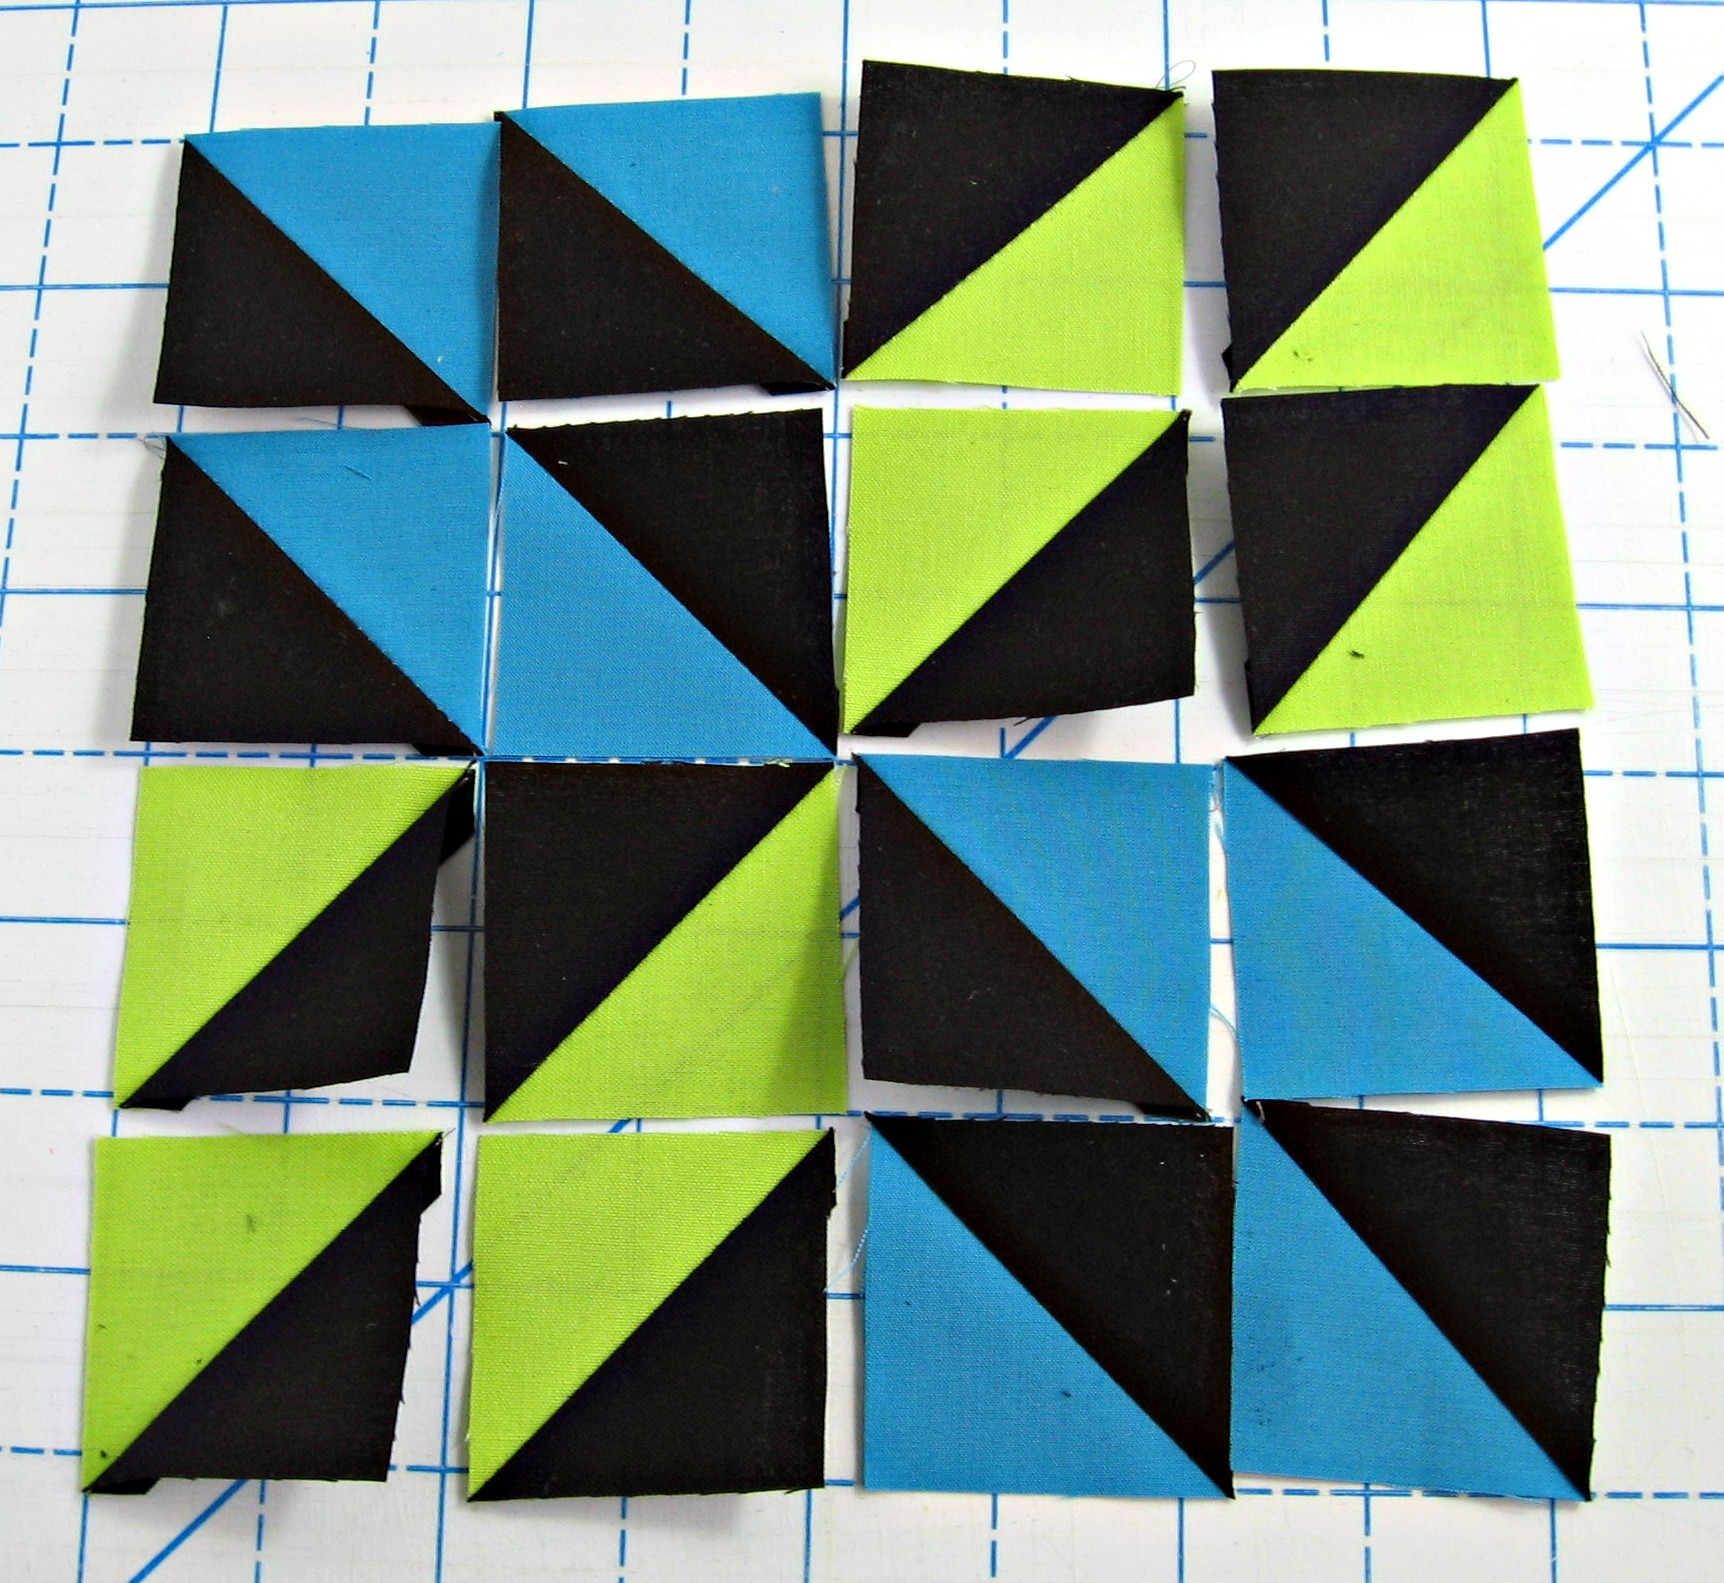
Before we start, keep in this in mind. Matching the points is more important than the 1/4″ seam allowance. If your 1/4″ is not perfect, now is not the time to worry about it.
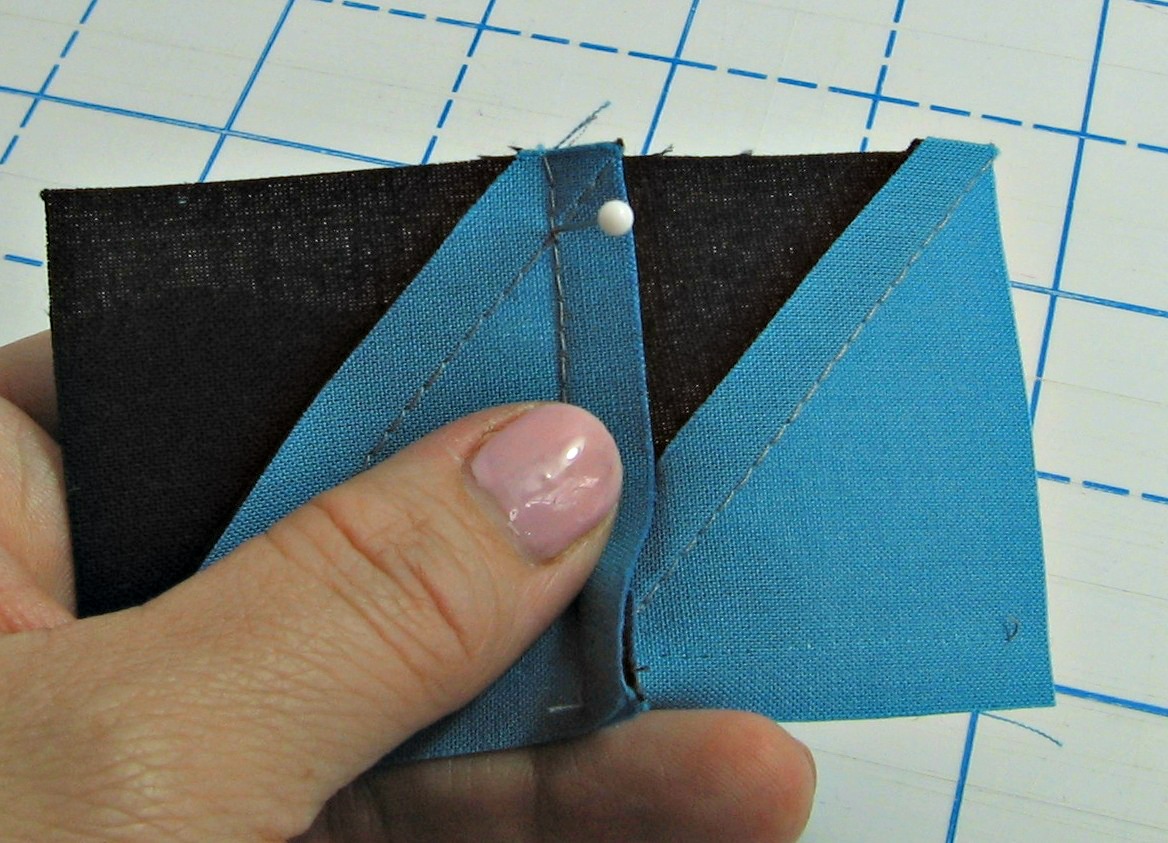 Step 1. Put a pin through the exact place you want the patches to meet. EXACTLY. An addition visual clue, it is usually where the threads cross.
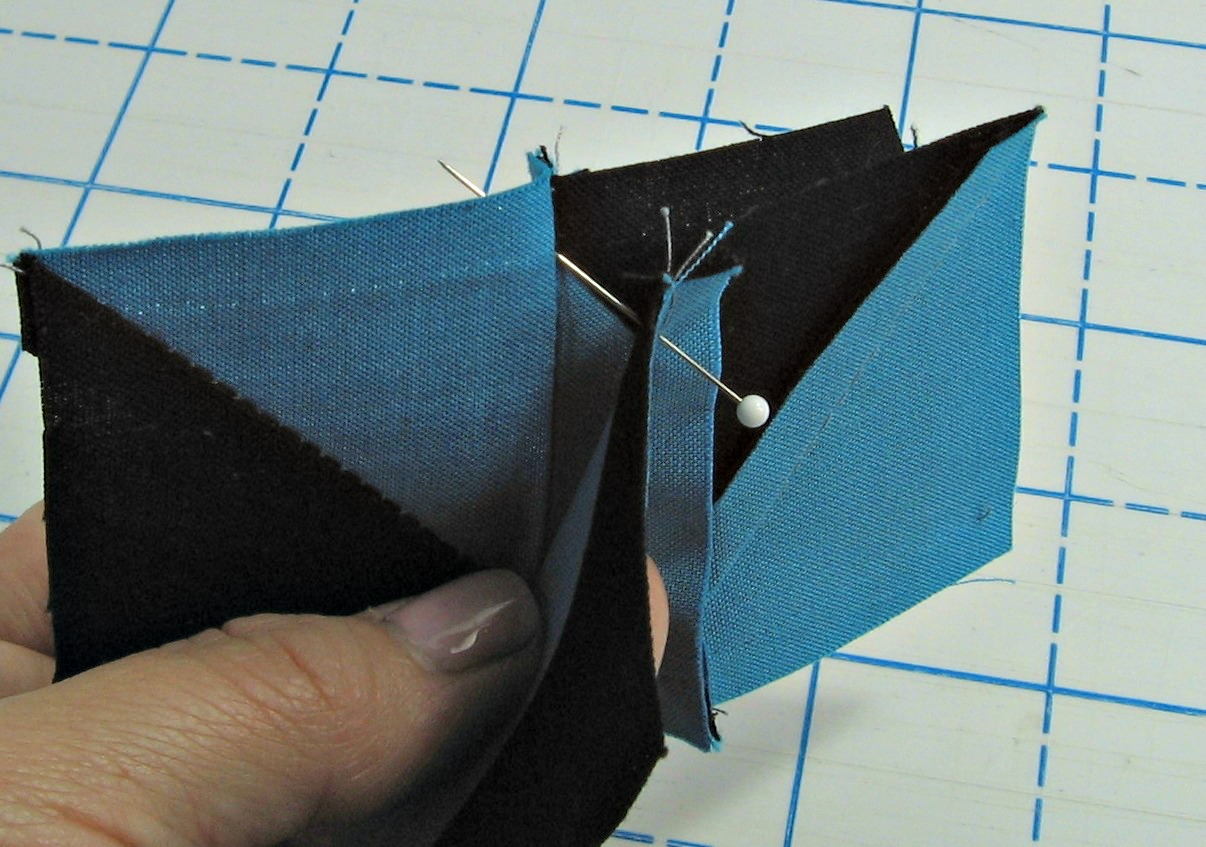 Step 2. Put a pin through the other unit, right sides together, in EXACTLY the place they need to meet.
Notice how the pin is straight out at this point!
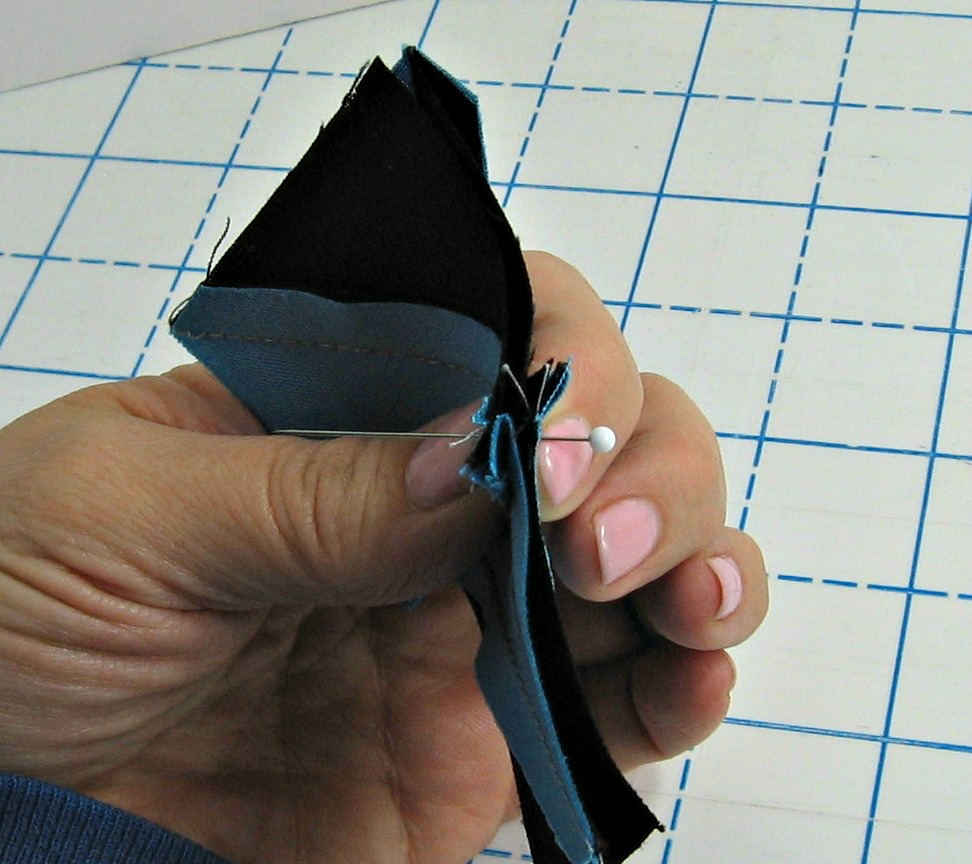 Step 3. Snuggle the two units together. Adjust the pin to keep it straight.
You may find your seam allowances are not great. Don’t focus on that now. Matching up will go a long way to correct that error.
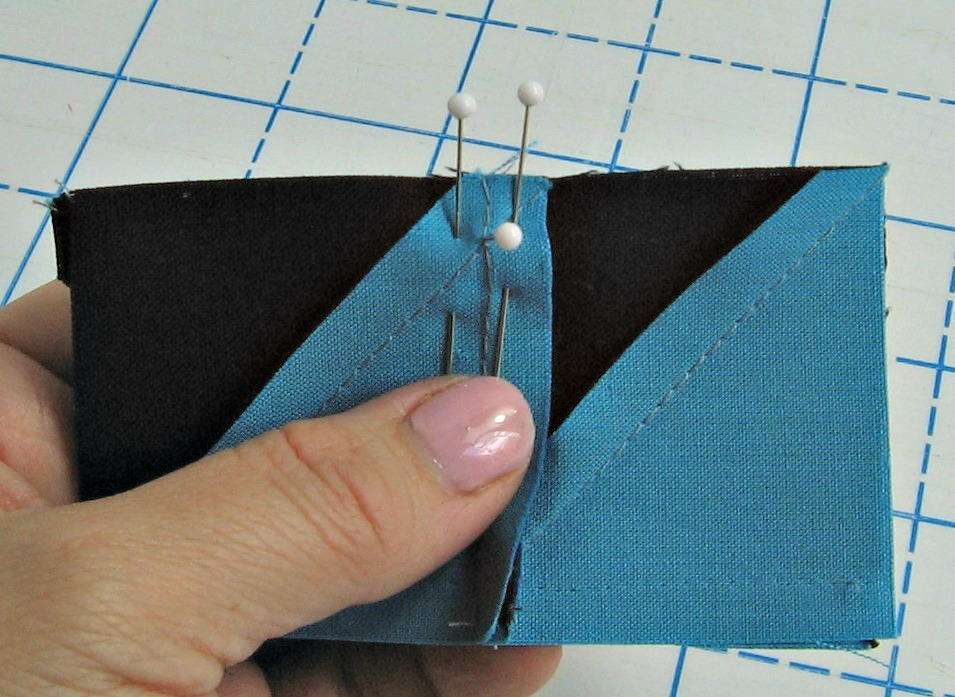 Step 4. Put a pin in one side, through both units and the seam allowance. Put one on the other side.
Be sure to keep the first pin perpendicular to the units.
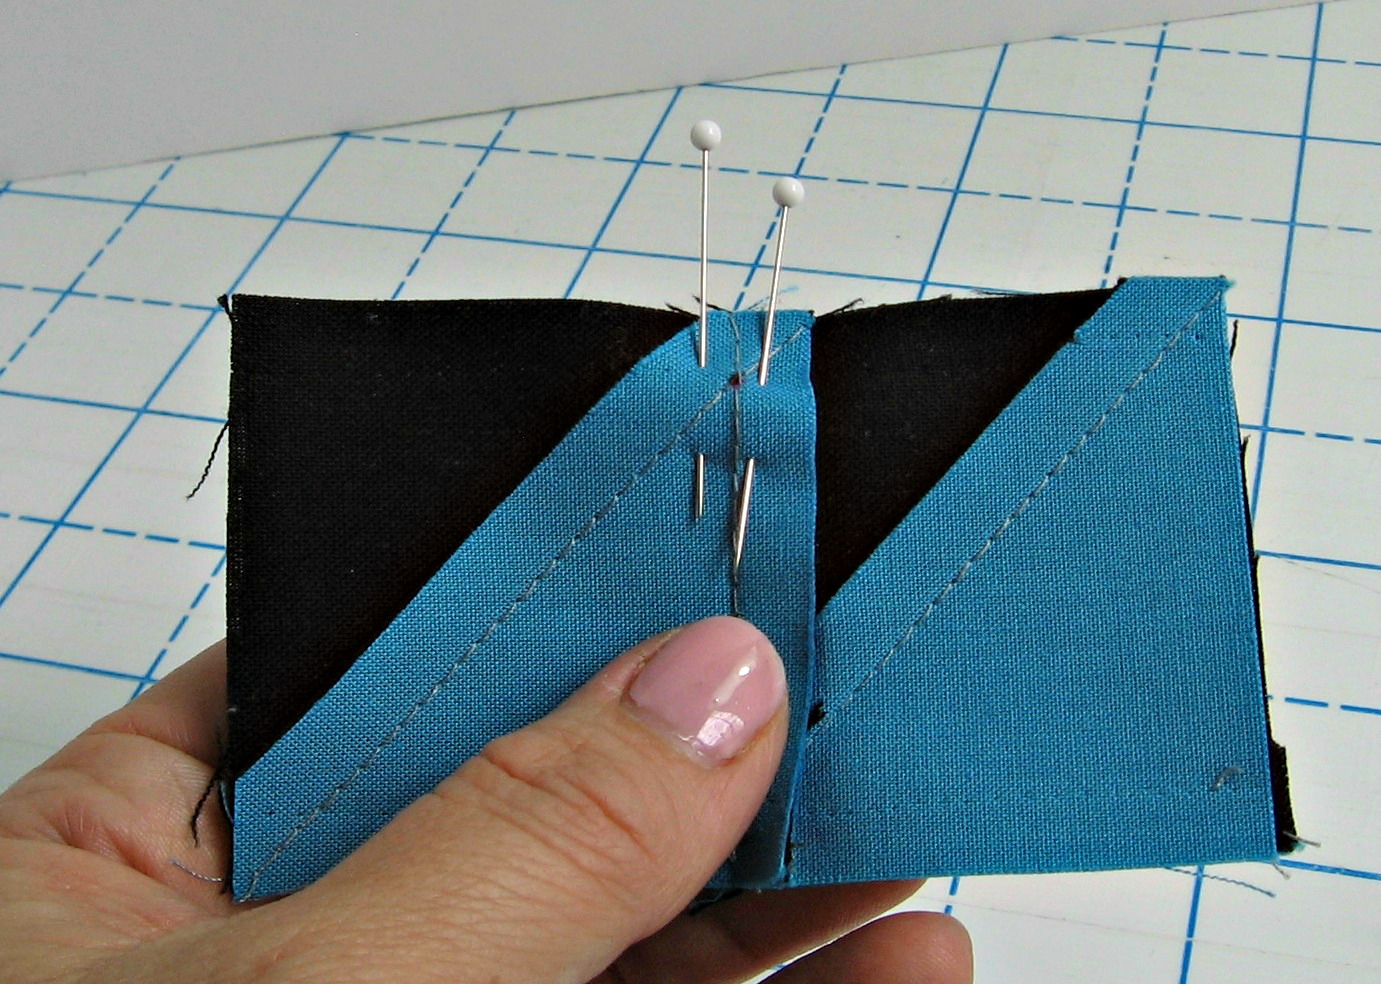 Step 5. Remove the first pin. I drew a dot on there so you could see it clearly.
Sometimes your pins will fight against you. My pins are extra-fine glass-head pins. They glide in easily and don’t pull or distort the fabric. Love these pins!
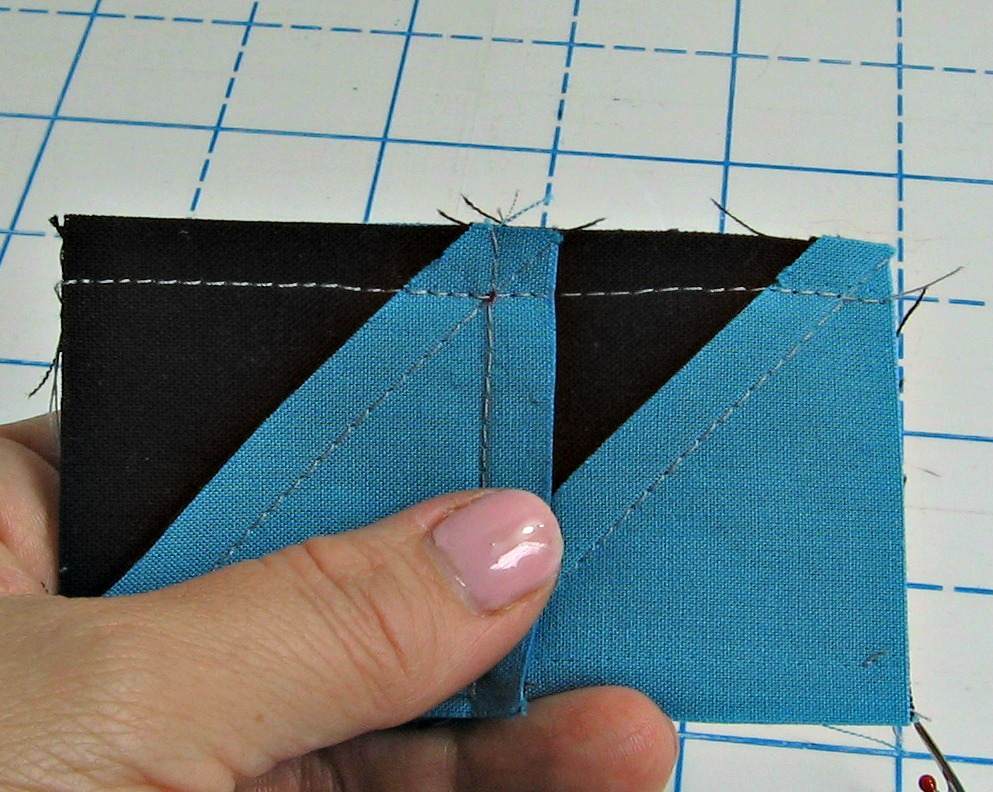 Step 6. Sew the units together, removing the pins as you sew.
X marks the spot! Where your threads cross is where the point is. Even if you have to adjust your seam allowance, if you hit the X, you nailed it!
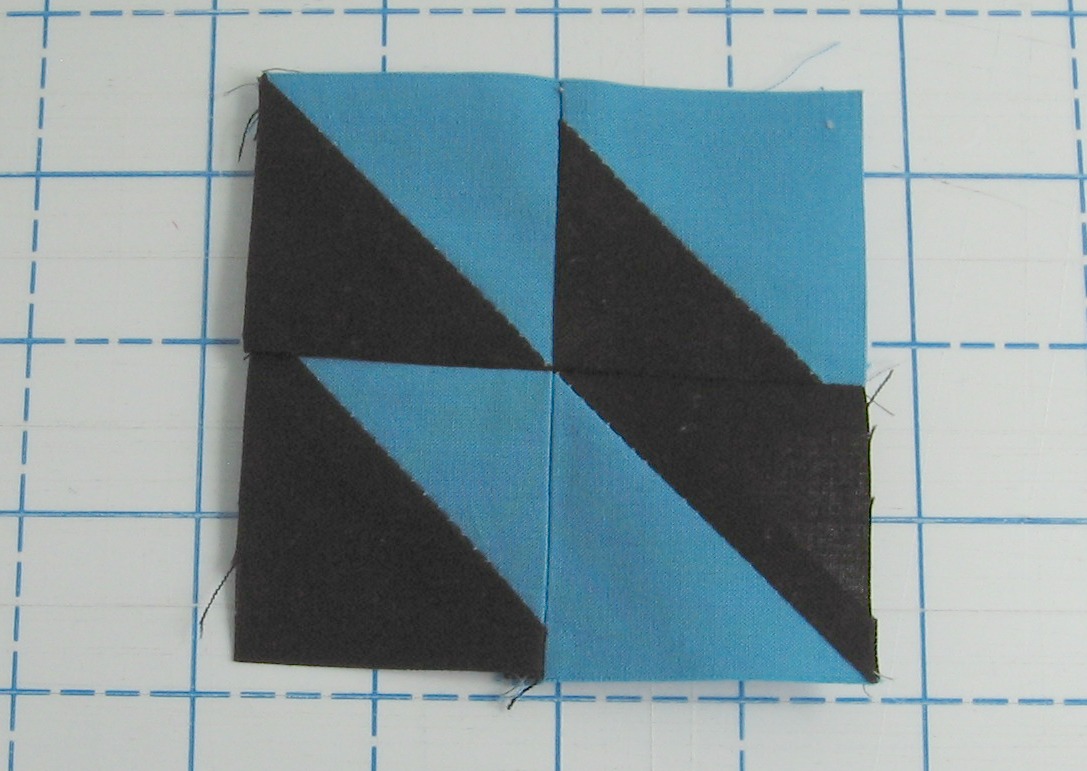 Ta-da!
Be sure to press well.
Thanks for reading. I hope this has been helpful. Give it a try!
Until next time,
Jenny Kae
P.S. I love your pictures, comments and questions. Feel free to post in the comment section.
